Table of Contents
Halloween looms, and the annual pumpkin carving challenge is upon us.
Getting Started: Tools and Tips for Fun Easy Pumpkin Carving Ideas

Getting Started: Tools and Tips for Fun Easy Pumpkin Carving Ideas
The Right Pumpkin Makes All the Difference
Picking the perfect pumpkin is step one for fun easy pumpkin carving ideas. Don't just grab the biggest one you see.
Look for a pumpkin with smooth, unblemished skin.
Bumps and bruises make carving harder.
A flat bottom helps it sit steady on your porch.
Tap it gently – a hollow sound means it's ripe and ready.
Consider the size too; smaller pumpkins are often easier for beginners or kids.
Think about the shape – sometimes a wonky pumpkin has character that sparks an idea.
Avoid pumpkins with soft spots or mold, obviously.
A healthy pumpkin is half the battle won before you even touch a knife.
Pumpkin Picking Checklist:
- Smooth, firm skin
- No soft spots or mold
- Flat bottom for stability
- Hollow sound when tapped
- Size appropriate for your project
Tools You Actually Need (Forget the Fancy Kits)
You don't need a professional carving kit for fun easy pumpkin carving ideas.
Most of the tools you need are probably in your kitchen drawer right now.
A sturdy, sharp kitchen knife (not a serrated one) is essential for cutting off the top.
A large spoon or ice cream scoop works wonders for scraping out the guts and seeds.
For the actual carving, a small, sharp paring knife is usually sufficient.
Cookie cutters are surprisingly useful for simple shapes – stars, moons, bats.
Push them firmly into the pumpkin skin.
A dry-erase marker is great for drawing your design first, as it wipes off easily if you mess up.
A small saw from a cheap pumpkin kit can be helpful for more detailed cuts, but it's not strictly necessary for easy designs.
Trust me, you can do a lot with just a few basic items.
Prepping Your Pumpkin for Carving Success
Before you start carving your fun easy pumpkin carving ideas, you need to prep it.
First, decide if you're cutting from the top or the bottom.
Cutting from the bottom makes it easier to place the pumpkin over a light source later.
Cut a large enough hole to comfortably fit your hand and the scoop.
Angle the cut inwards slightly so the lid (or base) doesn't fall into the pumpkin.
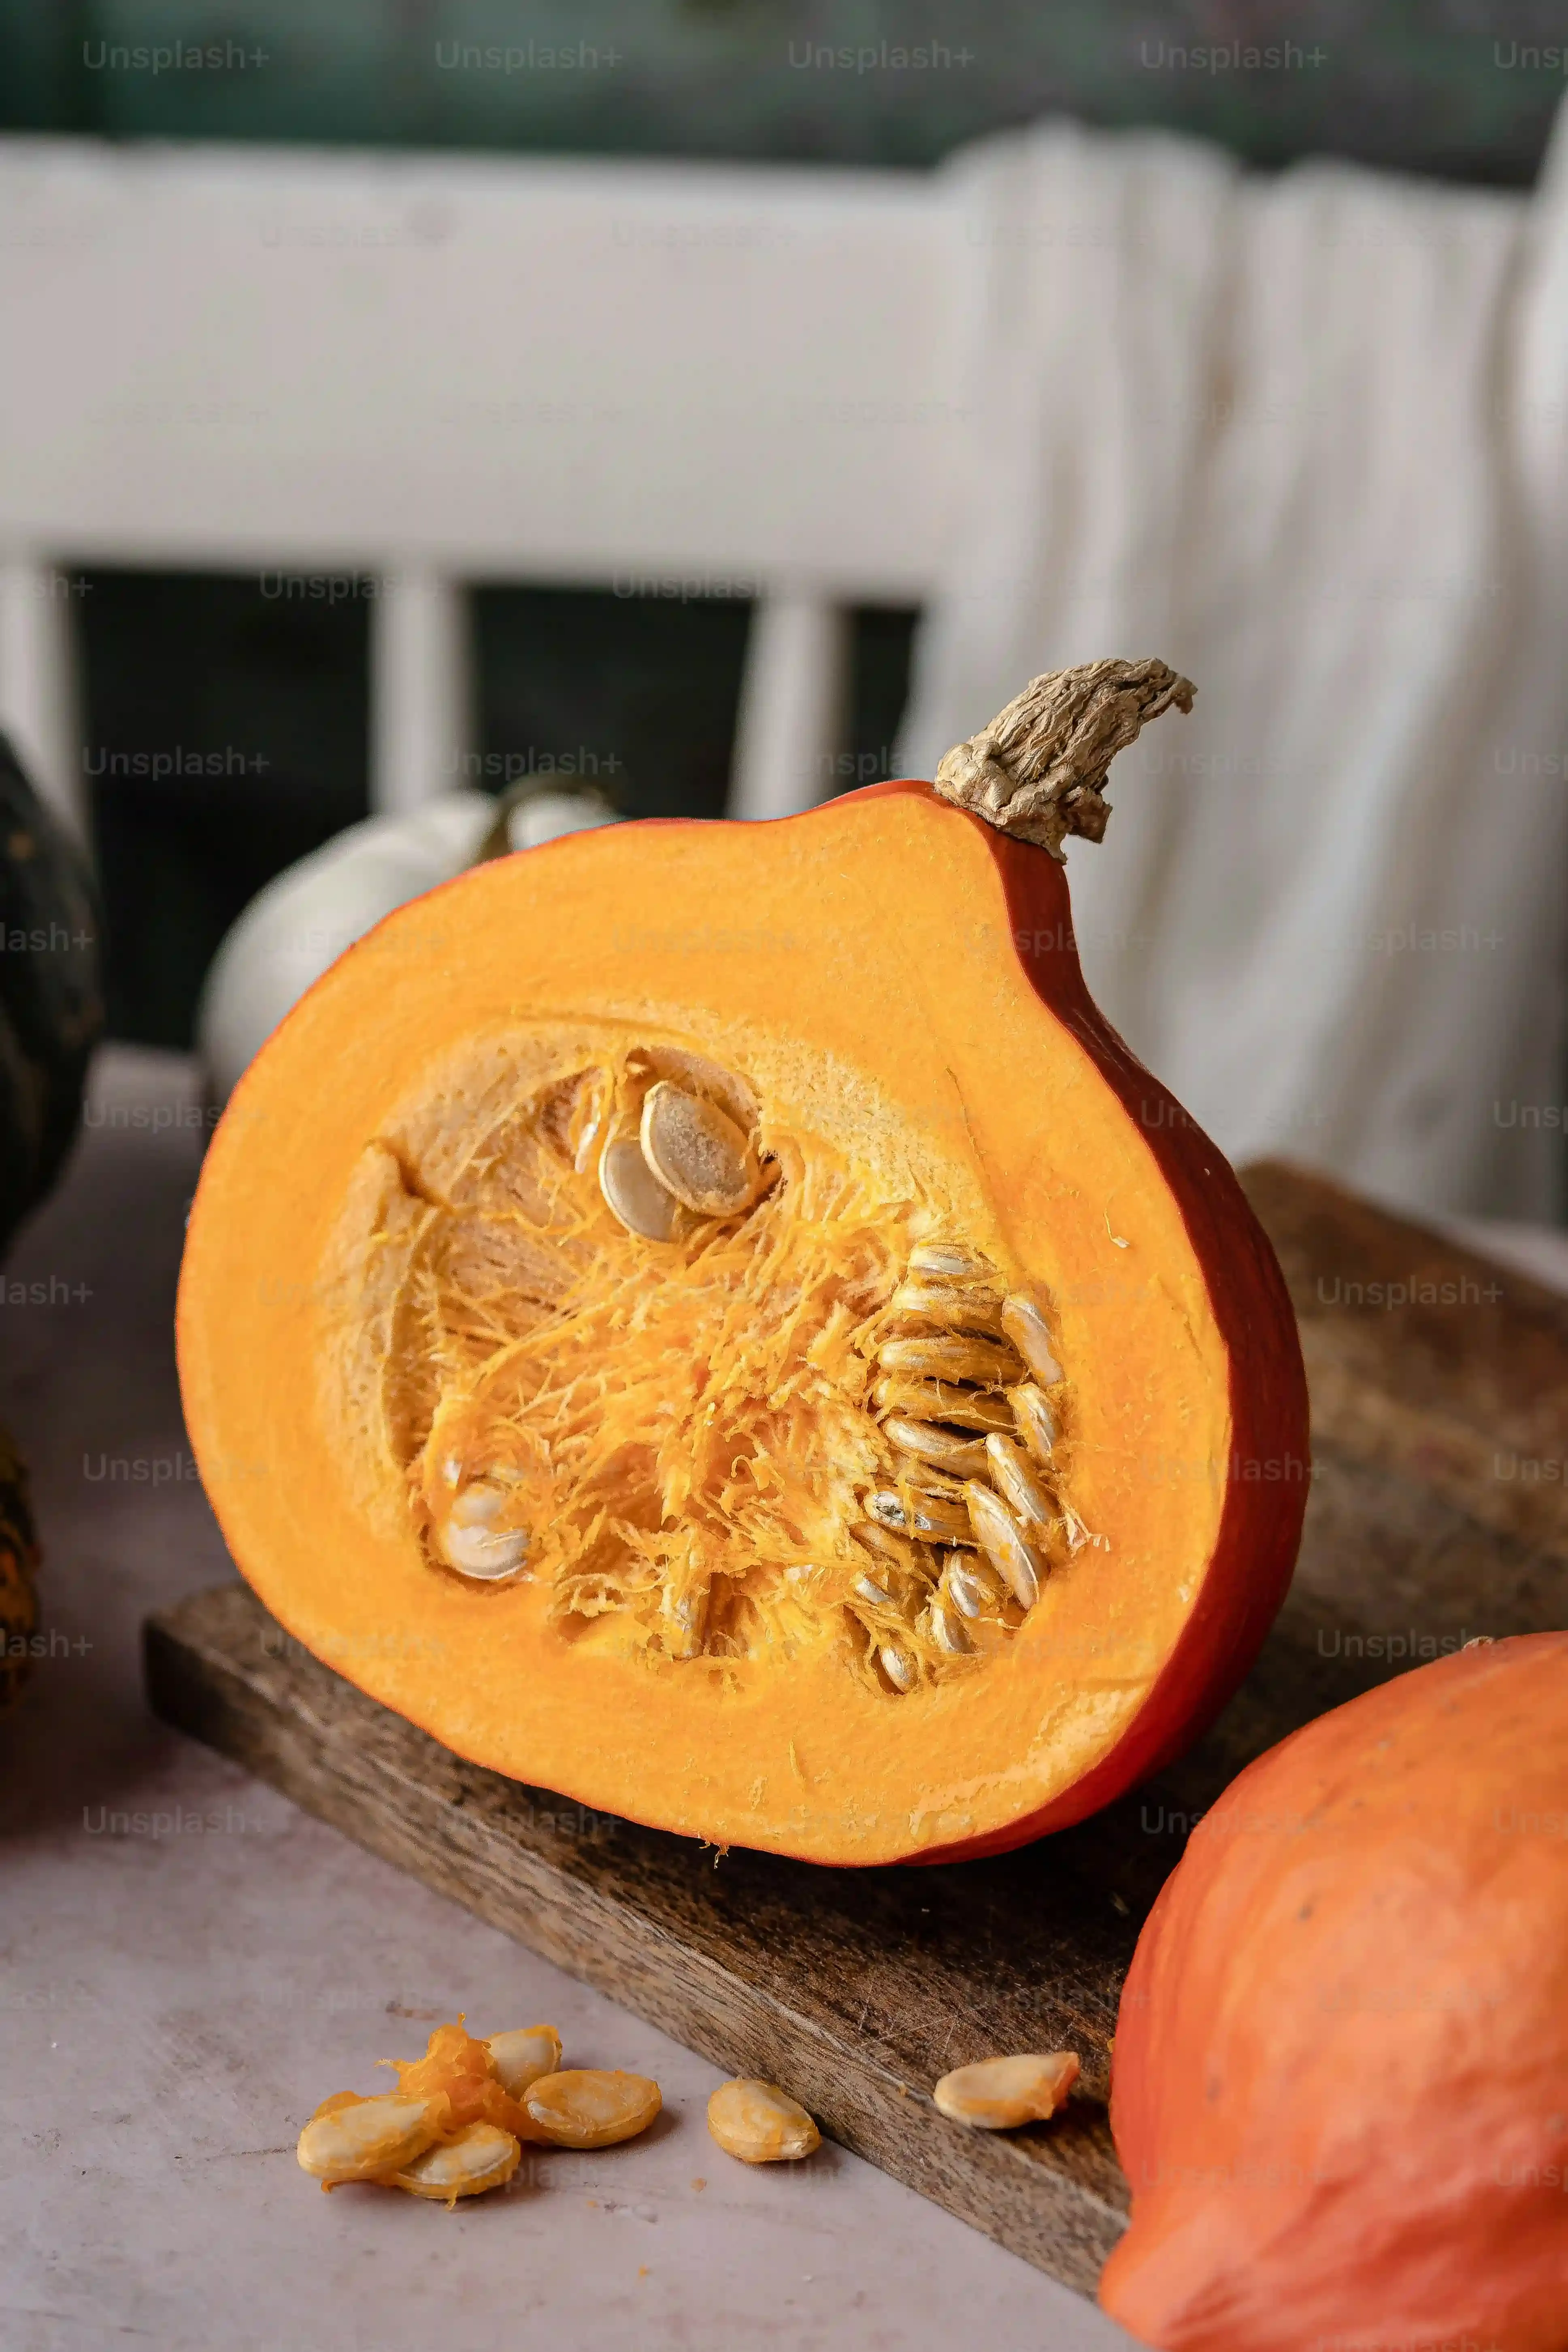
Scoop out ALL the seeds and stringy bits.
Scrape the inside walls until they are relatively smooth and about an inch thick.
Thicker walls are harder to carve.
Wipe down the outside of the pumpkin with a damp cloth to clean off any dirt.
Now you have a clean canvas ready for your design.
Beyond the Triangle: Simple Techniques for Fun Easy Pumpkin Carving Ideas

Beyond the Triangle: Simple Techniques for Fun Easy Pumpkin Carving Ideas
Beyond the Triangle: Simple Techniques for Fun Easy Pumpkin Carving Ideas
pumpkin prepped? Good. Now, let's move past the kindergarten-level triangle eyes and jagged mouth. There are plenty of simple ways to make your pumpkin pop without needing an engineering degree. Think etching, where you just scrape off the top layer of skin instead of cutting all the way through. This creates cool depth and highlights, and it's much less likely to end in a trip to the emergency room. Simple geometric shapes – circles, squares, even dots – arranged creatively can look surprisingly sophisticated. Or consider using those metal cookie cutters we talked about; a firm push creates a perfect shape every time, ideal for stars, moons, or tiny ghosts, adding to your repertoire of fun easy pumpkin carving ideas.
- Etching the skin for dimension
- Using simple geometric shapes
- Pressing cookie cutters through the wall
- Focusing on negative space
Spooky & Sweet: More Fun Easy Pumpkin Carving Ideas to Try
Spooky & Sweet: More Fun Easy Pumpkin Carving Ideas to Try
Simple Spooky Silhouettes
Alright, let's get a little spooky without needing an art degree. Forget trying to carve a photorealistic zombie face. For genuinely fun easy pumpkin carving ideas that lean spooky, think silhouettes.
Cutting out simple shapes like bats, spiders, or even just jagged lines around the pumpkin creates a creepy effect when lit from within.
Draw your shape directly on the pumpkin with a dry-erase marker.
Use a small paring knife or a pumpkin saw to carefully follow the lines.
Don't worry about perfection; a slightly uneven edge can add to the spooky charm.
A cluster of small holes in a random pattern can look like creepy crawlies too.
Sometimes, less is definitely more when aiming for spooky without the struggle.
My first attempt at a "ghost" was basically an oval with two circles for eyes, and honestly, backlit on the porch, it looked surprisingly effective and took about five minutes.
Easy Spooky Shape Ideas:
- Bats flying across the face
- Simple spider and web (just a few lines)
- Jagged "torn" mouth
- Random scattered holes (like bullet holes, maybe?)
- A single, large, eerie eye
Sweet and Simple Charmers
Maybe spooky isn't your vibe, or you've got little ones around. You can still execute fun easy pumpkin carving ideas that are all about sweetness and charm.
Think friendly faces.
Instead of scary triangles, use rounded shapes for eyes and a big, curved smile.
Cookie cutters are your best friend here for perfect circles, stars, or hearts.
Press them firmly into the pumpkin skin until they cut through.
You might need to wiggle them a bit or tap the back with a mallet (gently!).
Etching works great for cute designs too, like drawing freckles or simple flower patterns on the skin.
Consider using the stem as a nose or incorporating natural bumps into your design.
A simple etched outline of a cat or owl can be incredibly charming and much easier than trying to carve all the details.
These are the pumpkins that make people smile, not scream.
Keeping Your Creation Fresh and Bright for Halloween Night
Keeping Your Creation Fresh and Bright for Halloween Night
Keeping Your Creation Fresh and Bright for Halloween Night
So, you've put in the minimal effort required for your fun easy pumpkin carving ideas, and now you want your masterpiece to last longer than a single spooky evening. Carved pumpkins, sadly, start to break down pretty quickly once exposed to the air. The cut edges dry out and shrink, or worse, they start to mold and collapse into a sad, deflated mess. To give your creation a fighting chance, first, give the inside and carved edges a good clean with a spray bottle filled with a mixture of water and a splash of bleach (like one teaspoon per quart of water) to kill bacteria and mold spores. Let it dry completely. Then, here's the old trick: rub petroleum jelly or vegetable oil onto all the cut surfaces. This seals in moisture and slows down the drying process significantly. Some folks swear by commercial pumpkin sprays, but the petroleum jelly method is cheap and effective. Keep it out of direct sunlight and extreme temperatures if possible.
Carve On, Without the Tears
So there you have it. Pumpkin carving doesn't require an engineering degree or a steady hand forged in the fires of Mount Doom. With a few basic tools and a willingness to embrace simplicity, you can create something genuinely cool for your porch or window. Forget the pressure to produce a museum-worthy sculpture. The goal is a bit of spooky fun, maybe a laugh, and a pumpkin that doesn't look like it lost a fight with a blender. Pick an idea, grab a pumpkin, and give it a shot. Worst case, you've got some pumpkin seeds to roast and a funny story about the time your jack-o'-lantern looked vaguely like a potato. Happy carving.