Table of Contents
Halloween's creeping up, and suddenly everyone remembers the annual pumpkin carving ritual. Maybe you've got grand visions of intricate masterpieces, but the reality is often a sticky mess, dull tools, and a rapidly approaching deadline. Let's be honest, who has hours to spend wrestling with a gourd? If the thought of carving feels more like a chore than festive fun, you're not alone. That's precisely why we're diving into the world of fast and easy pumpkin carving ideas. You don't need to be a sculptor or own a fancy kit to create something cool for your porch. We're talking about getting a decent jack-o'-lantern or spooky decoration done without losing a finger or your sanity. We'll cover finding the right pumpkin, the basic tools that actually work, simple lighting options, and a bunch of straightforward designs that won't take all night. Plus, a few tricks to keep your creation looking sharp for more than a day. Ready to skip the struggle and get straight to the spooky?
Picking the Right Pumpkin and Tools for Fast Results
Picking the Right Pumpkin and Tools for Fast Results
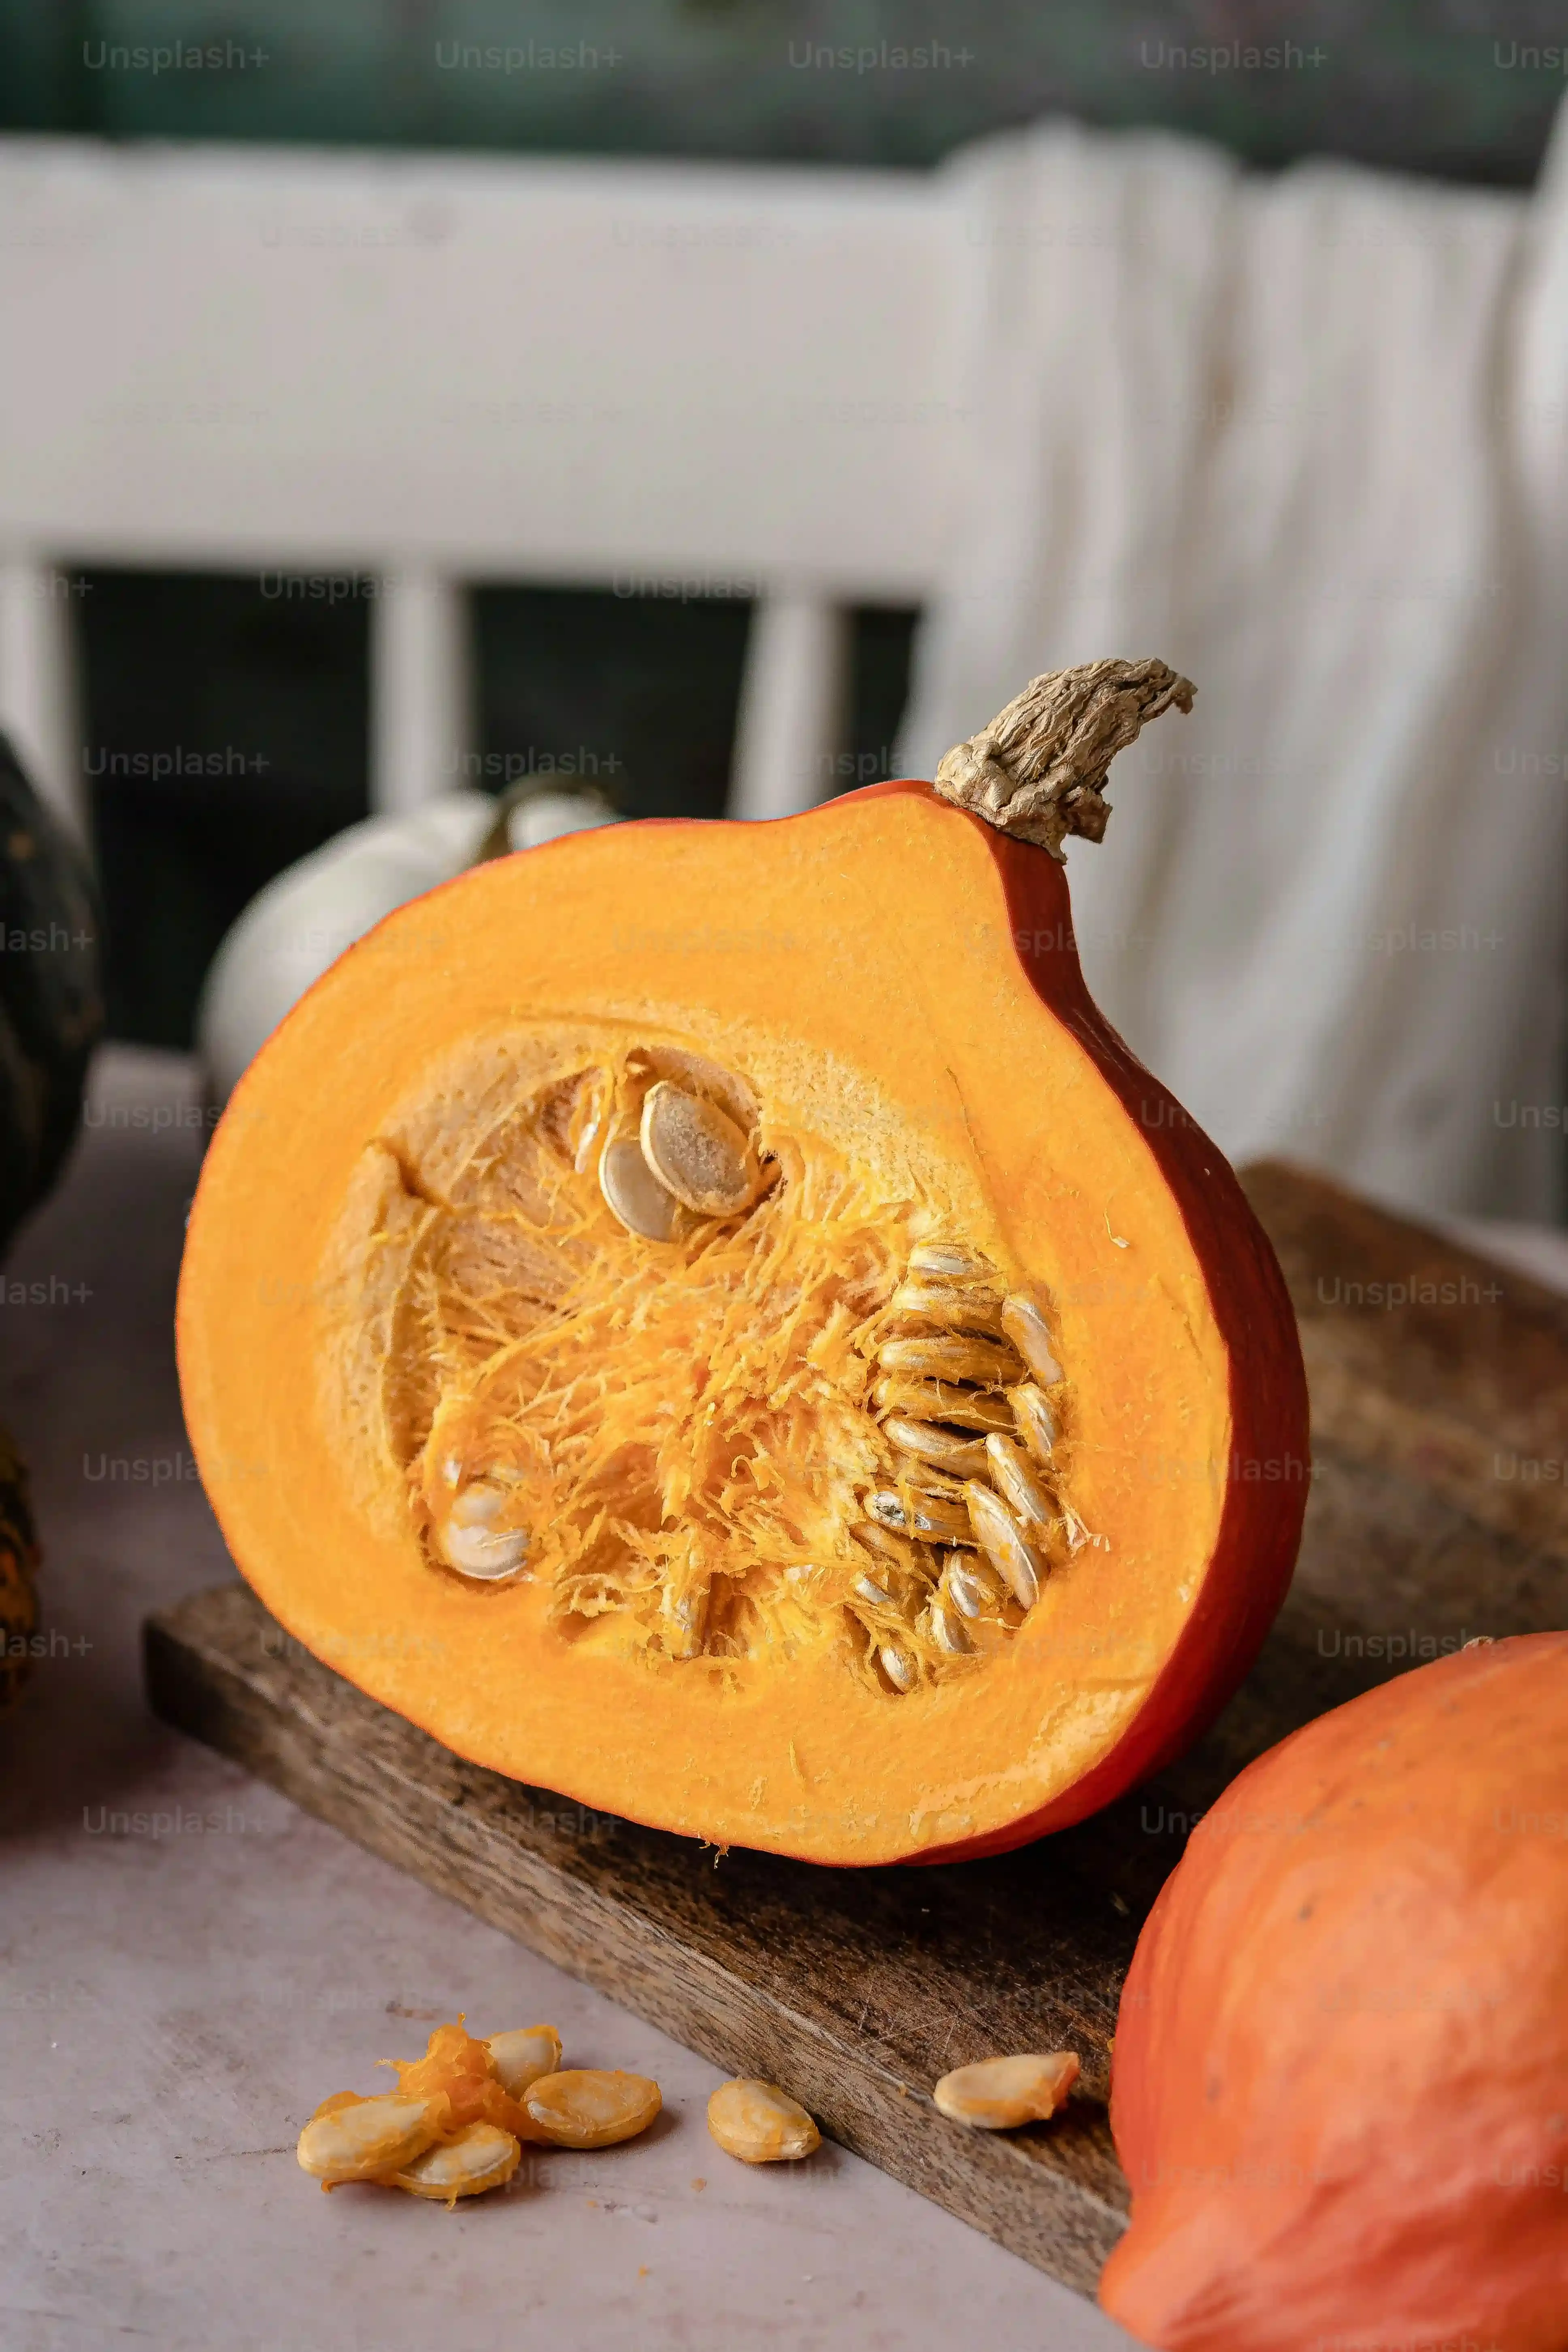
Alright, let's talk about the foundation of your fast and easy pumpkin carving ideas: the pumpkin itself and what you're going to use to hack into it. You walk into the patch or the grocery store, and there are mountains of them. Don't just grab the biggest one because it looks impressive; size doesn't equal carving ease. Look for one that feels sturdy, has relatively smooth skin (bumps are the enemy of a clean cut), and sits flat without wobbling. A medium-sized pumpkin, maybe the size of a basketball or slightly smaller, is usually the sweet spot – big enough to work with, small enough not to feel like a wrestling match. Skip the fancy, expensive carving kits with a million tiny saws you'll lose immediately. All you really need is a sturdy serrated knife for cutting the lid (an old steak knife works fine if you're careful), a large spoon or scoop for gutting (ice cream scoop is king here), and maybe a smaller serrated tool or even a sharp paring knife for the face details. Anything more is probably overkill for getting something done quickly.
Simple Lighting Options for Your Carved Creations

Simple Lighting Options for Your Carved Creations
Once you've got your pumpkin hollowed out and a face carved (or whatever design you chose from your fast and easy pumpkin carving ideas), you need to make it glow. Forget trying to wire up some elaborate light show. The simplest options are usually the best and safest. You've got the classic real candle, which gives that traditional flicker and a bit of smoky smell, but honestly, they're a fire hazard, blow out easily, and can scorch the top of your pumpkin. Not ideal for longevity or peace of mind. Much better are the battery-operated fake tea lights. They come in packs, are super cheap, don't heat up, and you can just drop them in. For a brighter, more consistent light, especially for larger pumpkins or more intricate designs, small LED puck lights or strings of battery-powered fairy lights work wonders. They provide a steady glow and are completely safe, even if the pumpkin gets knocked over. Keep it simple; the goal is illumination, not recreating the Vegas strip.
15 Top Fast and Easy Pumpkin Carving Ideas
15 Top Fast and Easy Pumpkin Carving Ideas
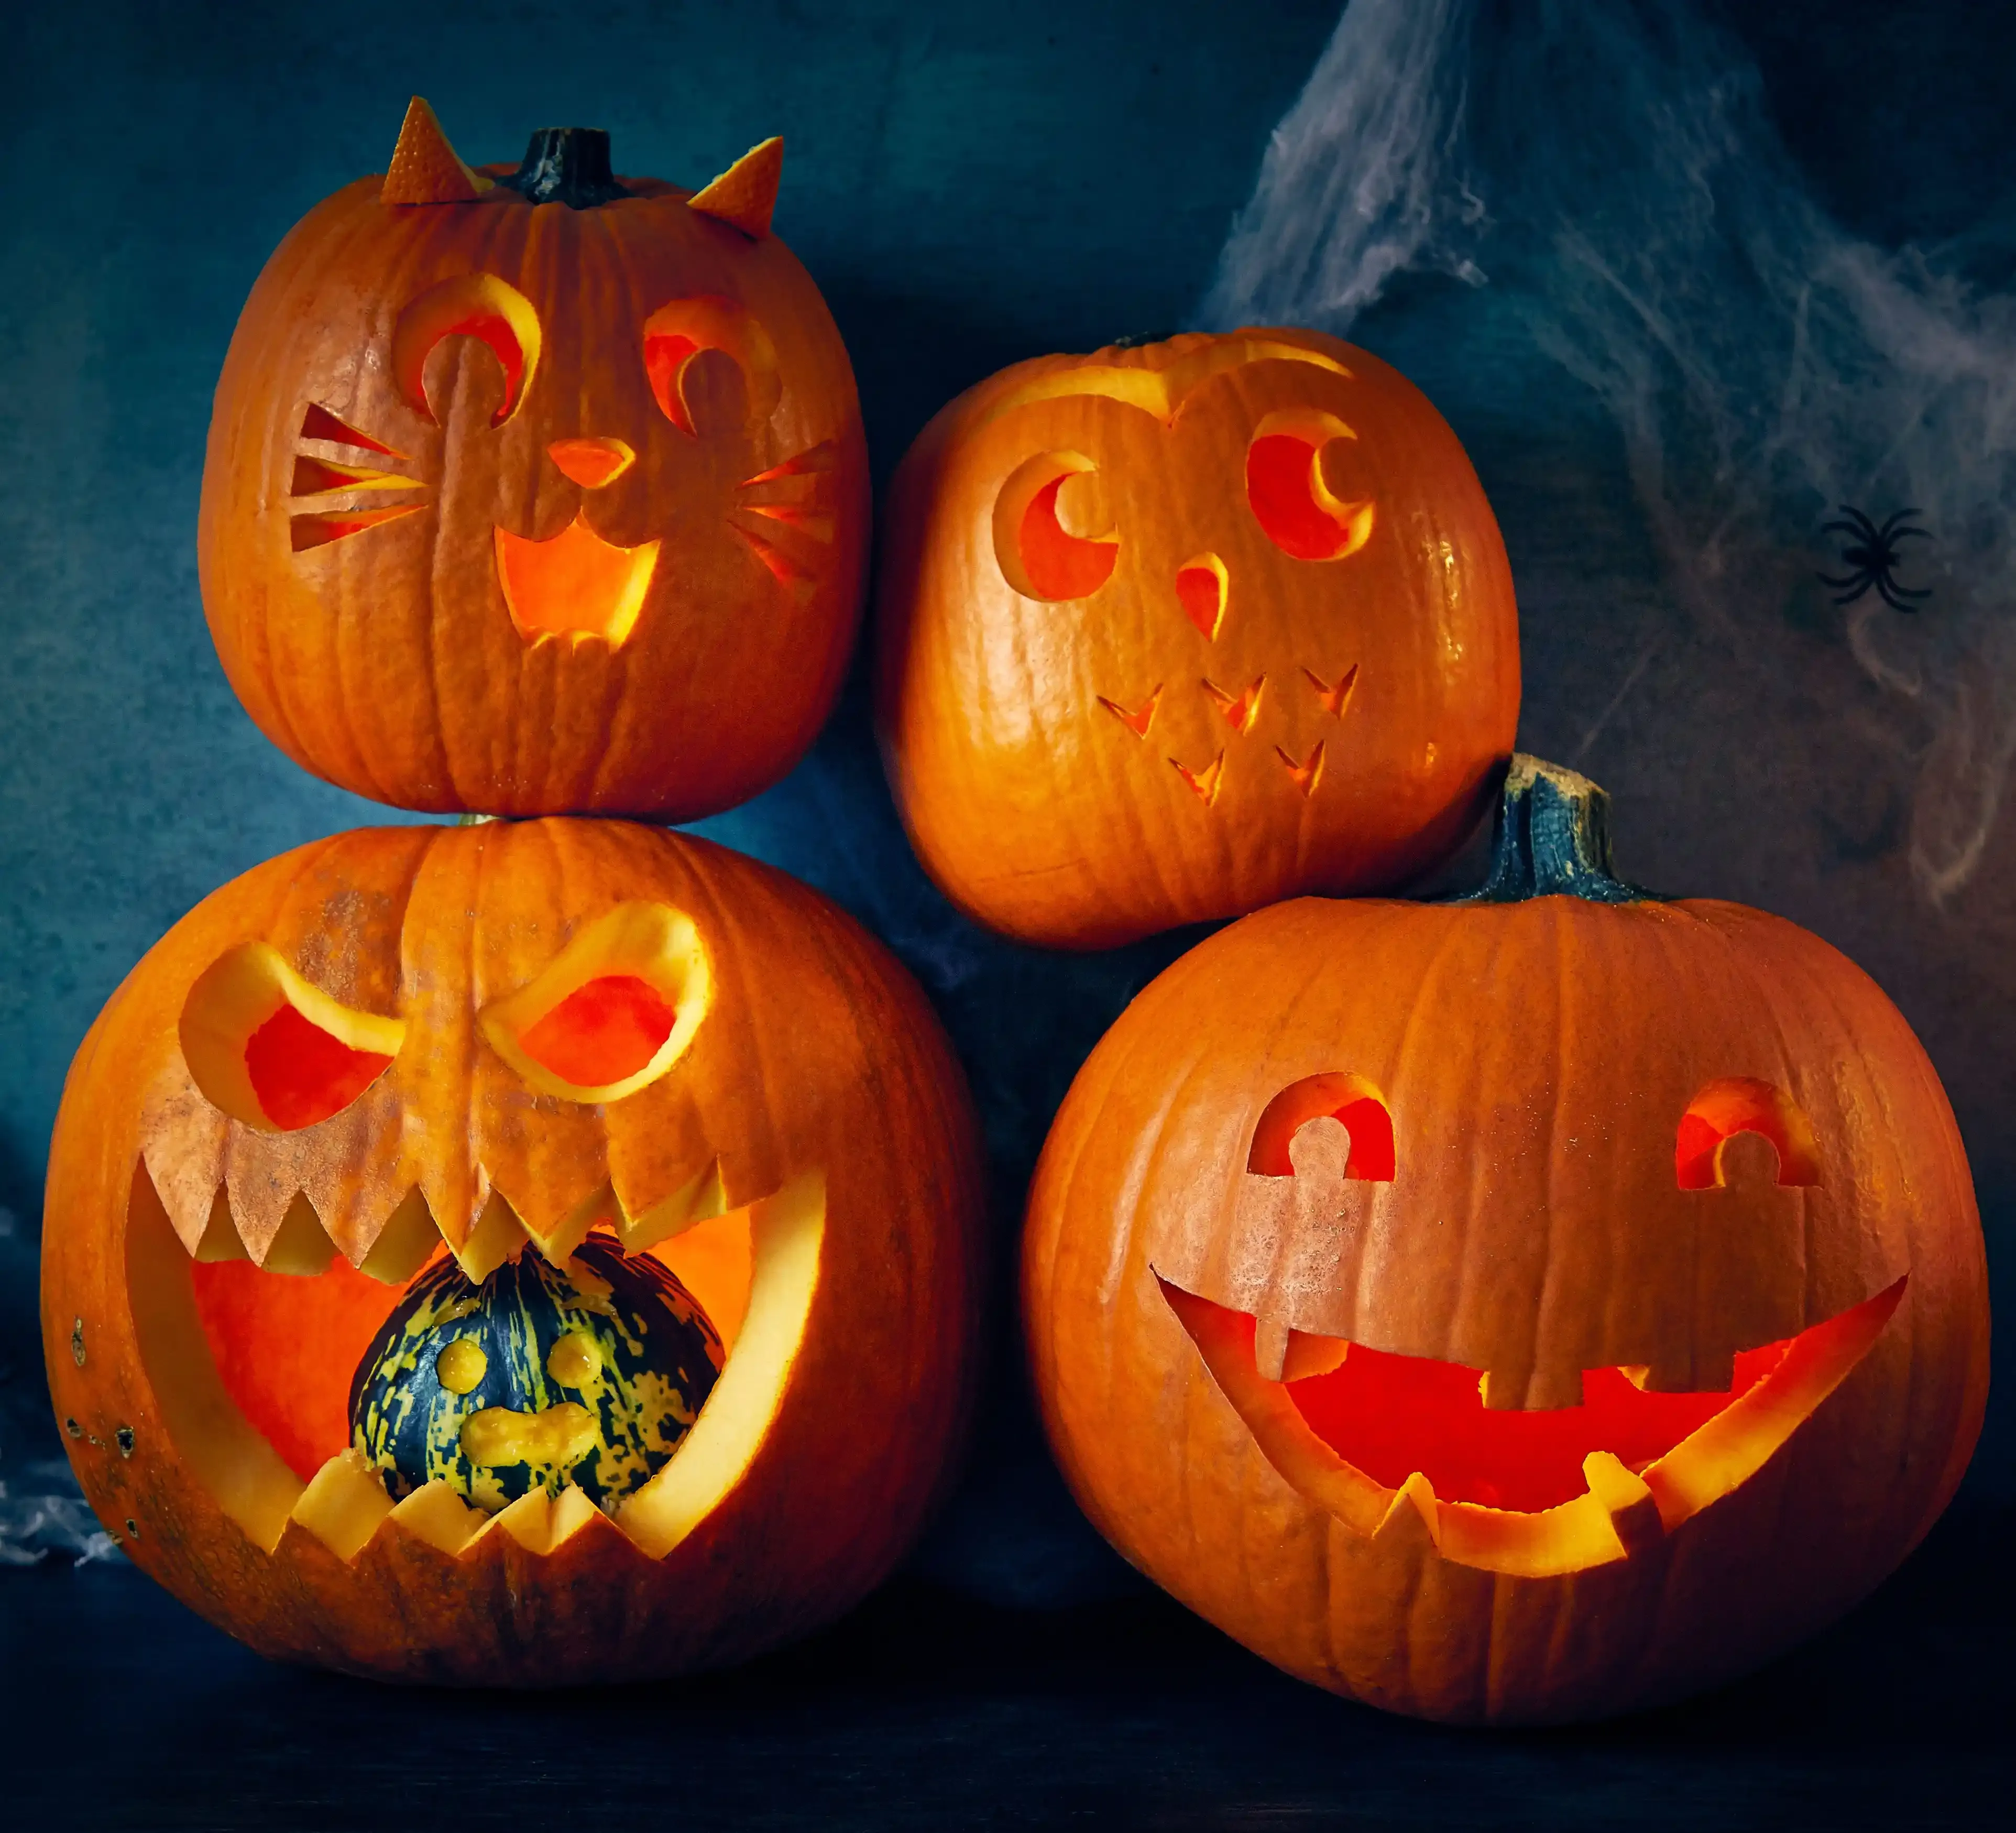
you've got your pumpkin, your basic tools, and a plan for lighting. Now for the fun part: what the heck do you actually carve? Forget those elaborate stencils that look like they require a laser cutter. We're focusing on 15 Top Fast and Easy Pumpkin Carving Ideas that look cool without making you want to throw the pumpkin across the yard. Think simple shapes, classic spooky tropes, and designs that forgive a wobbly line or two. We're aiming for maximum impact with minimal effort. You can go classic spooky, maybe something a little funny, or just focus on simple patterns that play with light. The key is confidence and not overthinking it. Pick something that looks doable and just go for it. What kind of vibe are you going for this year?
- The Classic Jack-o'-Lantern Smile (Can't go wrong)
- Simple Geometric Shapes (Triangles, squares, circles)
- A Single, Large Star or Moon
- Ghostly Squiggles
- Polka Dots (Drill or punch holes)
Beyond the Smile: More Quick Pumpkin Designs
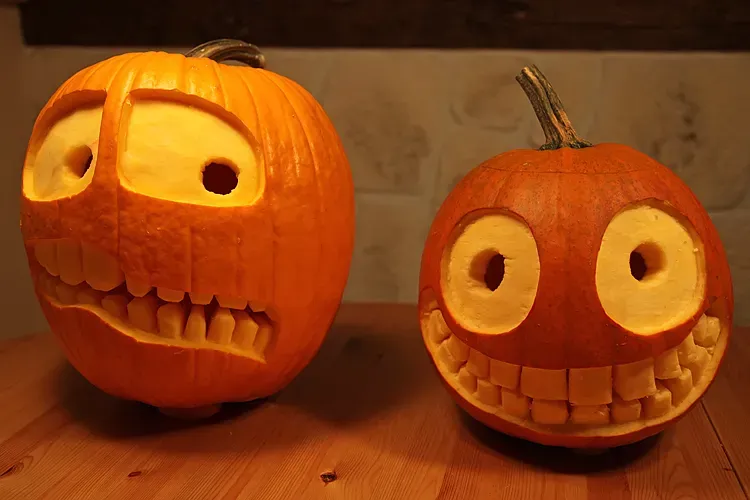
Beyond the Smile: More Quick Pumpkin Designs
Getting Creative Without the Headache
so you've mastered the basic triangle eyes and jagged grin. That's step one in your journey with fast and easy pumpkin carving ideas. But what if you want something a *little* more interesting than the same old face everyone else has? You don't need to suddenly become Michelangelo. Think about simple patterns that repeat or cover the surface. Drilling different sized holes creates a cool, modern polka dot effect that takes minutes and looks surprisingly sophisticated, especially when lit. Using a linoleum cutter or even just a sharp paring knife, you can scrape away just the top layer of skin instead of cutting all the way through. This creates a translucent effect that glows differently and is much faster than intricate cut-outs. Imagine swirling patterns, random lines, or even just initials scraped into the surface. It’s low-stakes, high-reward carving.
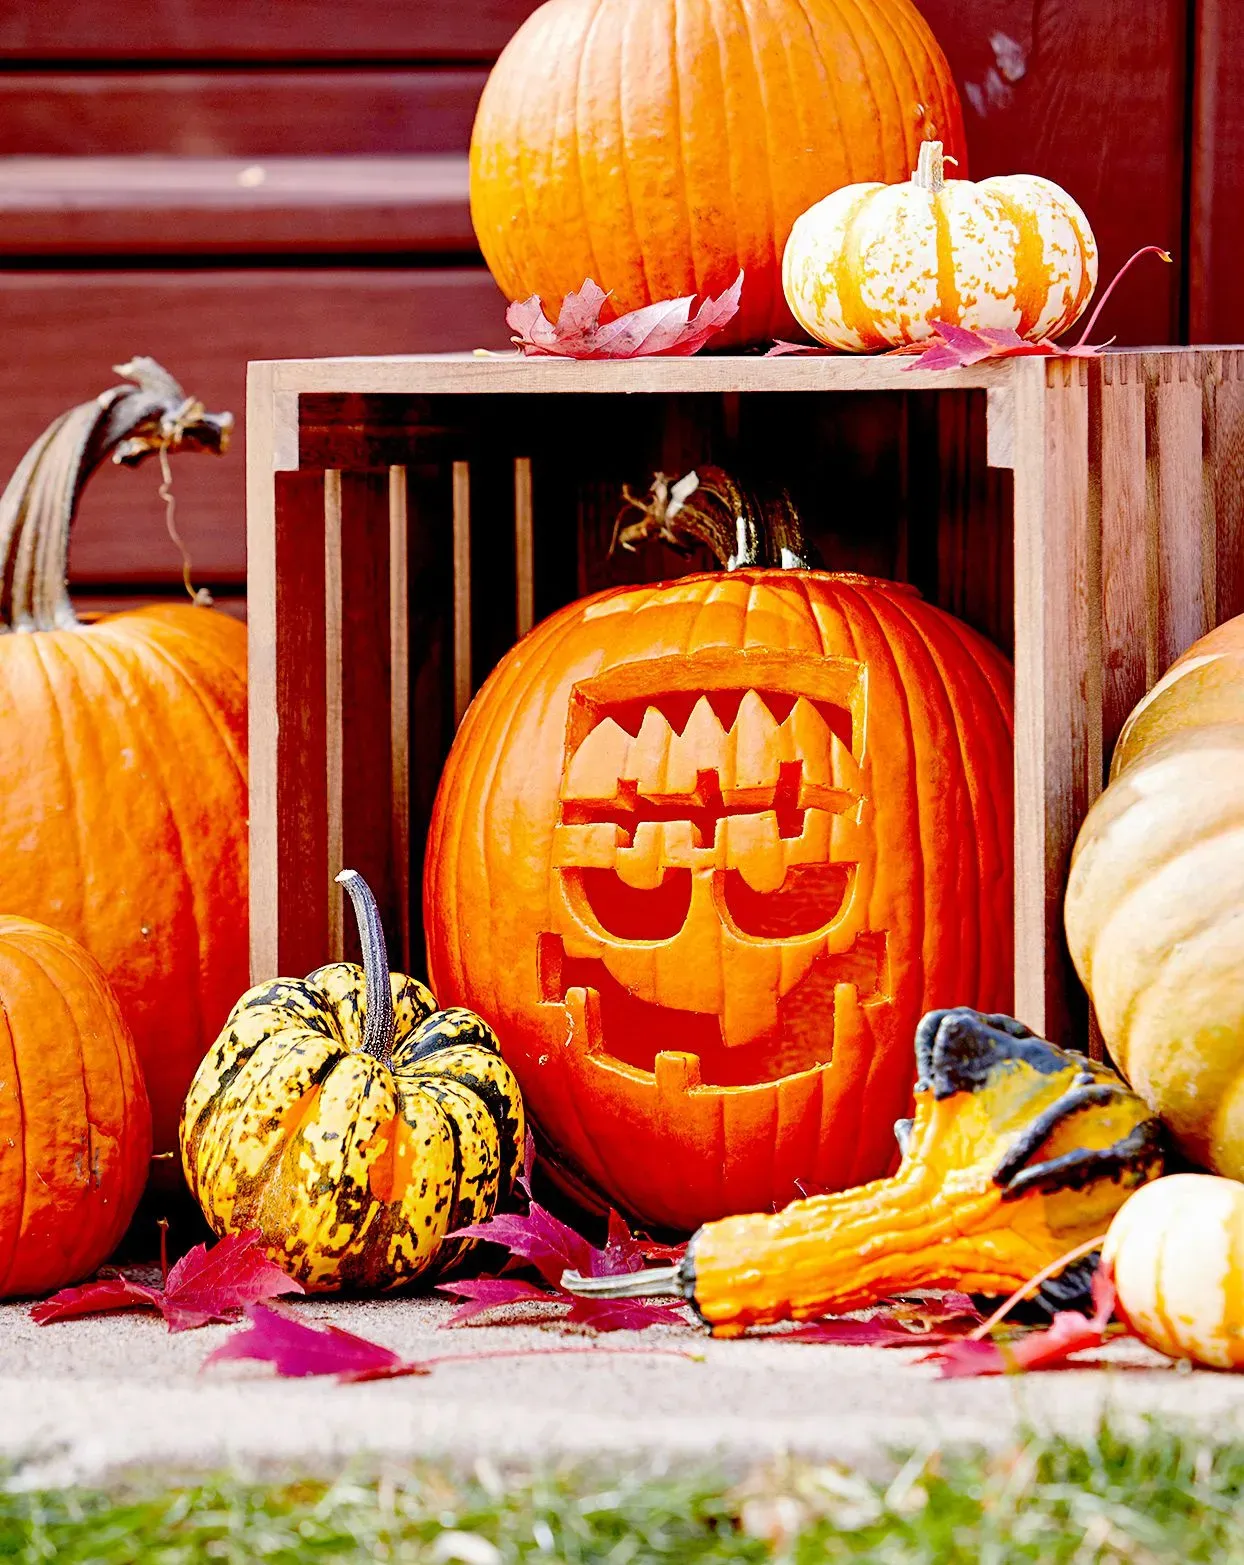
Playing with Shapes and Negative Space
Another way to elevate your fast and easy pumpkin carving ideas is to play with negative space or use simple, recognizable shapes in unexpected ways. Instead of carving a whole bat, maybe just carve the silhouette of a few bats flying across the pumpkin face. Or carve multiple small stars scattered around. Even just carving out large circles or abstract shapes can look striking when lit from within. Think about using cookie cutters – you can hammer them through the pumpkin wall (carefully!) to get perfect shapes like stars, moons, or even ghosts. It's a shortcut, sure, but who cares? The goal is speed and ease. My neighbor once did a whole series of pumpkins just covered in different sized drilled holes, and honestly, it looked more intentional and cool than half the over-carved disasters I’ve seen.
More Quick Design Ideas:
- Moon and Stars Silhouette
- Abstract Swirls (Scraped)
- Geometric Cut-outs (Circles, Squares)
- Animal Silhouettes (Cat, Bat)
- Random Hole Patterns (Using a Drill)
- Simple House or Tree Outline
Tips to Make Your Fast and Easy Pumpkin Carving Ideas Last
Tips to Make Your Fast and Easy Pumpkin Carving Ideas Last
Keep it Hydrated (Seriously)
You carved up your masterpiece, applying your fast and easy pumpkin carving ideas, and now you want it to last longer than a day before it starts looking like a shriveled mess. The biggest enemy is dehydration. That fresh pumpkin flesh is mostly water, and once exposed to air, it dries out faster than a bad online dating profile. After you've finished carving and cleaning up, give the whole pumpkin, inside and out, a good misting with water. Some folks swear by a water and bleach solution (about a tablespoon of bleach per quart of water) to kill mold spores, which is probably smart. Let it soak for a bit, maybe 30 minutes, then let it air dry. This rehydrates the tissues and gives it a fighting chance against the elements.
Protect Those Edges
Those freshly cut edges on your fast and easy pumpkin carving ideas are prime real estate for drying and shrinking. To slow this down, you need a barrier. A simple and effective trick is to rub petroleum jelly (like Vaseline) along all the cut surfaces. It sounds weird, I know, but it seals in moisture. Just a thin layer will do. Reapply it every day or two, especially if the pumpkin is sitting outside in the sun or wind. This isn't a magic bullet – it won't make your pumpkin last forever – but it definitely buys you a few extra days of spooky display time before the edges start curling inward and looking sad.
Quick Longevity Boosters:
- Mist daily with water (or water/bleach mix).
- Apply petroleum jelly to cut edges.
- Keep it out of direct sunlight.
- Bring it inside during the day if possible.
- Use LED lights instead of real candles.
Strategic Placement and Storage
Where you put your carved pumpkin matters a lot. Direct sunlight is basically an oven for your gourd, speeding up the drying and rotting process. Find a shady spot on your porch or steps. If you live in a warmer climate, consider bringing the pumpkin inside during the hottest parts of the day or overnight if temperatures drop significantly. Some people even stash their carved pumpkins in the refrigerator when they're not on display, especially smaller ones. It sounds extreme, but cold temperatures dramatically slow down decay. If you've put effort into your fast and easy pumpkin carving ideas, giving them a cool break can extend their life considerably. It might look silly next to your milk, but hey, desperate times call for desperate measures.
Carve On, Without the Drama
So there you have it. Turns out, you don't need a fine arts degree or a surgeon's precision to put something halfway decent on your front step. We've looked at picking the right gourd, the tools that won't make you weep, lighting that actually works, and a pile of fast and easy pumpkin carving ideas that skip the fuss. From simple shapes to clever cutouts and even just painting the darn thing, the goal is a bit of Halloween spirit, not a spot in a museum. Keep it simple, maybe try that Vaseline trick, and enjoy the fact that you got a pumpkin done without sacrificing your evening or your patience. Now go forth and make a spooky, or maybe just slightly wonky, glowing face.