Table of Contents
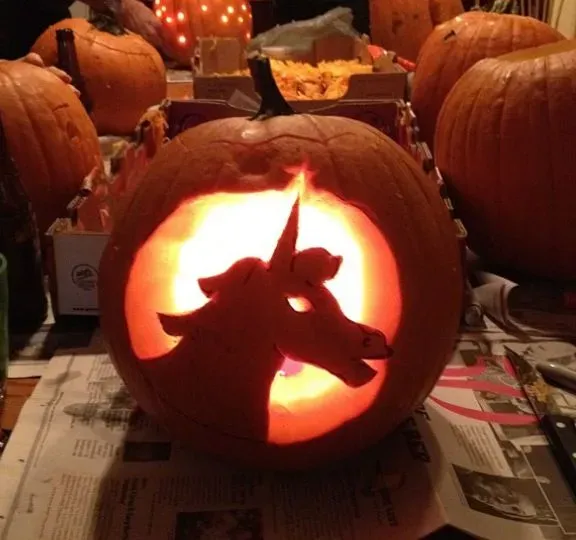
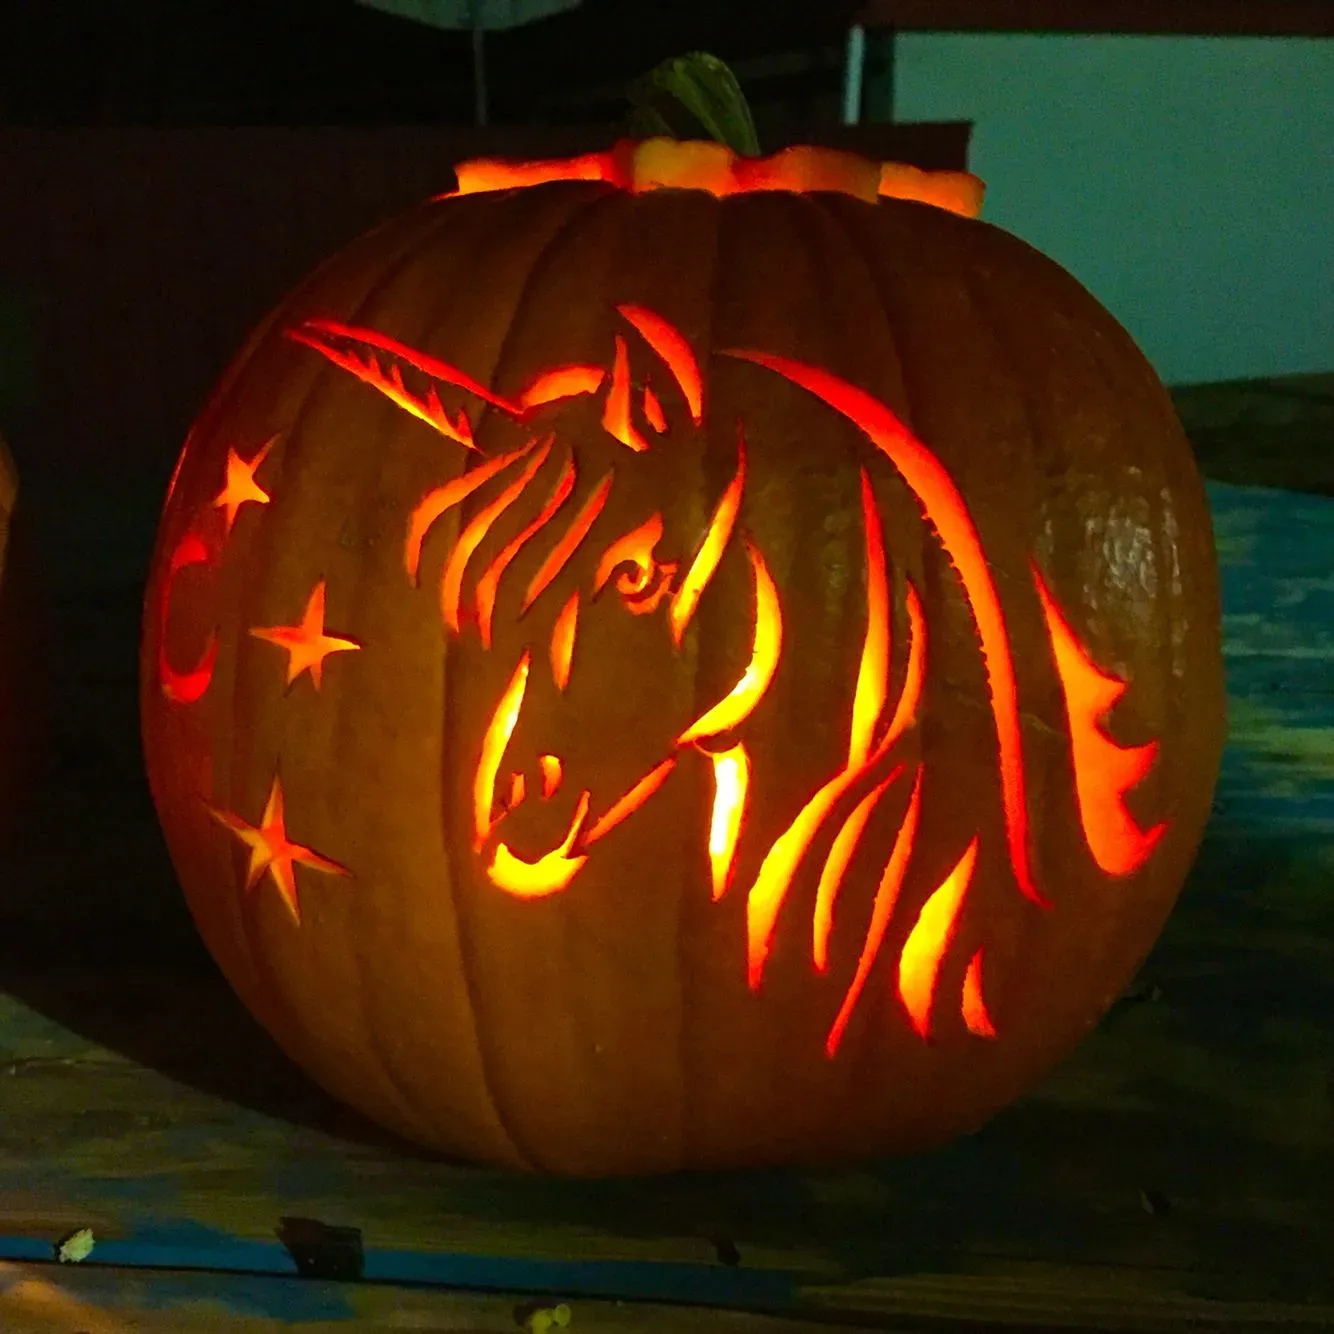
Let's be real: Traditional pumpkin carving? It's a mess. Guts everywhere, slippery tools, and frankly, most carved designs look... well, let's just say they don't always match the picture in your head. Plus, they start looking sad pretty fast. If you're tired of the pumpkin guts and chipped teeth grins, but still want some Halloween magic, listen up.
Skip the Knife: Why Easy Unicorn Pumpkins Rule
Skip the Knife: Why Easy Unicorn Pumpkins Rule
Tired of the Guts and the Mess?
Let's face it, the romantic idea of carving a pumpkin often clashes with the reality. You scoop out slimy seeds that stick to everything, wrestle with sharp tools, and inevitably end up with a design that looks nothing like the intricate pattern you taped on. Then there's the smell – that specific, slightly sweet, rotting smell that starts creeping in after just a few days. It's a lot of effort for something that quickly becomes compost fodder. This is precisely why embracing easy unicorn pumpkin ideas that skip the knife makes so much sense.
Longevity and Safety First
Carved pumpkins are essentially open wounds; they invite bacteria and decay the moment you breach the skin. A painted or decorated pumpkin, on the other hand, keeps its protective shell intact. This means your magical creation can last for weeks, sometimes even months, sitting pretty on your porch or mantel. Think about it: you put in the work once, and you get to enjoy it for the entire spooky season, maybe even into Thanksgiving. Plus, no sharp objects means little hands can get involved without you having a minor panic attack every five seconds. It's a win-win.
Method | Typical Lifespan | Mess Factor | Safety |
|---|---|---|---|
Traditional Carving | 3-7 Days | High | Requires Adult Supervision |
No-Carve Decorating | Weeks to Months | Low to Medium (depending on paint/glue) | Kid-Friendly |
Unleash Your Inner Sparkle Without the Struggle
Creating easy unicorn pumpkin carving ideas (by not carving at all!) opens up a world of creative possibilities that are much harder to achieve with a knife. You can paint intricate designs, layer glitter, attach faux flowers, yarn manes, and sparkling horns with ease. The surface is your canvas, not just a hole you're trying to cut. It's forgiving – a shaky line of paint is easier to fix than a slipped carving tool. It allows for vibrant colors and textures that simply aren't possible with traditional methods. If you want a truly dazzling, whimsical Halloween display, skipping the knife is the way to go.
Gather Your Supplies for an Easy Unicorn Pumpkin

Gather Your Supplies for an Easy Unicorn Pumpkin
What You Actually Need (It's Not Much)
so you're ready to ditch the carving chaos and jump into the sparkly world of easy unicorn pumpkin ideas. Good choice. The best part? You don't need a workshop full of tools. We're talking basic craft supplies you might even have lying around. A good quality acrylic paint in white or a pastel color is your base coat – don't skimp here, cheap paint means more coats and more frustration. You'll need some glitter cardstock or craft foam for the horn and ears; choose colors that scream "unicorn magic," obviously. A hot glue gun is your best friend for attaching everything securely, just be careful with those fingers. And for those dreamy eyes and rosy cheeks? Black felt or vinyl for the eyes and a little pink blush or paint for the cheeks work wonders.
- A pumpkin (real or craft foam)
- White or pastel acrylic paint
- Paintbrushes (various sizes)
- Glitter cardstock or craft foam
- Scissors
- Hot glue gun and glue sticks
- Black felt, vinyl, or marker for eyes
- Pink blush or paint for cheeks
- Optional: Faux flowers, yarn, extra glitter
StepbyStep: Creating Your Easy Unicorn Pumpkin Masterpiece
StepbyStep: Creating Your Easy Unicorn Pumpkin Masterpiece
Giving Your Pumpkin a Magical Base Coat
Alright, supplies gathered? Excellent. First things first, your pumpkin needs a blank canvas. If you're using a real pumpkin, give it a good wipe-down to get rid of any dirt or grime. If it's a craft foam pumpkin, you can skip this step. Now, grab that white or pastel acrylic paint. Don't just slap it on; apply thin, even coats. Why thin? Because thick paint takes forever to dry and can get gummy. Two or three thin coats are much better than one thick, drippy mess. Let each coat dry completely before adding the next. Patience is key here, even for something this easy. You want a smooth, opaque finish that really makes the unicorn elements pop. This base coat is the foundation for your easy unicorn pumpkin carving ideas (or lack thereof!).
Crafting and Attaching the Horn and Ears
While your paint is drying, let's get started on the signature unicorn bits: the horn and ears. For the horn, grab that glitter cardstock or craft foam. Cut out a large circle or a semi-circle shape. Roll it into a cone. Secure the edge with a line of hot glue. Hold it for a few seconds until it sets. For the ears, cut out two ear shapes from the same material – think a slightly rounded triangle. You can cut smaller inner ear pieces from a different color or material for a little detail. Hot glue the inner ear pieces onto the main ear shapes. Once your pumpkin is dry and your horn and ears are ready, it's assembly time. Apply a generous dab of hot glue to the base of the horn and firmly press it onto the top of the pumpkin, slightly forward. Hold it until it feels secure. Then, glue the ears on either side, just behind the horn. Position them how you like – perky or slightly floppy.
What's the worst that can happen if the horn is a little crooked? It adds character, right?
Expert Tips for Your Easy Unicorn Pumpkin Ideas
Expert Tips for Your Easy Unicorn Pumpkin Ideas
Getting That Flawless Base Coat
so you've got your pumpkin base coated, hopefully without major drips. But let's talk about making that white or pastel really *sing*. Don't settle for one thin layer that lets the pumpkin's original color peek through like a bad secret. Use a good quality acrylic craft paint. Apply thin, even coats, letting each one dry completely. A hairdryer on a cool setting can speed this up if you're impatient (and who isn't?). For a super smooth finish, you can even lightly sand between coats once they're dry, though that's probably overkill for most easy unicorn pumpkin ideas. If you're using a real pumpkin with a bumpy surface, embrace it! It adds character. If you want perfection, a craft foam pumpkin is your friend.
Making the Magic Happen: Horns, Ears, and Sparkle
Attaching the horn and ears seems simple, right? Hot glue and go. But placement matters. Look at your pumpkin; does it have a natural "face" side? Position the horn slightly forward on top, angled slightly. The ears go just behind it, angled outwards a bit. Play around before you commit with the glue. For extra stability, especially on larger pumpkins, you can poke small holes with a skewer where the horn and ears will go, giving the glue more surface area to grip. And the eyes? Black felt cut into simple sleepy shapes works perfectly. Glue them on with craft glue or hot glue. Rosy cheeks can be added with a dry brush and a little pink paint, or even actual makeup blush if you're feeling fancy. Don't forget the sparkle! A thin layer of craft glue and a sprinkle of fine glitter around the base of the horn or on the ears adds that essential unicorn shimmer. You can also add faux flowers around the base of the horn for a flower crown effect – hot glue them on one by one.
Think about adding a yarn mane trailing down the back. Just hot glue strands of colorful yarn along the top and back of the pumpkin.
- Use good quality paint for better coverage.
- Apply thin coats and let them dry fully.
- Test horn and ear placement before gluing.
- Poke small holes for better glue grip on real pumpkins.
- Use craft glue for felt eyes; hot glue for stability on 3D elements.
- Don't be shy with the glitter!
Beyond the Horn: More Easy Unicorn Pumpkin Variations
Beyond the Horn: More Easy Unicorn Pumpkin Variations
Switching Up the Palette and Personality
So, you've mastered the classic white or pastel unicorn. Feeling bold? Who says a unicorn has to be white? Try a deep space blue with silver glitter stars, a vibrant rainbow swirl, or even a spooky black unicorn with metallic accents for a darker Halloween vibe. The personality isn't just in the color, though. Change the eye shape – maybe wide-awake eyes instead of sleepy ones, or even add eyelashes made from felt or pipe cleaners. Give it a grumpy expression, a surprised look, or a mischievous wink. You can also add extra details like painted freckles, glitter tears trailing down the cheek, or even tiny painted flowers directly onto the pumpkin's surface instead of using faux ones. These small tweaks can completely change the character of your easy unicorn pumpkin, making it unique.
Adding More Magic (or Less Effort)
Want to go beyond just a horn and ears? Think about adding other mystical elements. Maybe a tiny pair of wings on the back made from felt or craft foam? Or a little painted constellation pattern trailing across the pumpkin? You could even incorporate other creatures – a tiny dragon perched on its head or a friendly ghost hovering nearby (also no-carve, naturally). On the flip side, if you want *even less* effort, skip the paint base coat entirely and work directly on the pumpkin's natural color. A bright orange pumpkin with a gold horn and rainbow yarn mane is still pretty magical, and it cuts down on drying time significantly. It's about finding the level of "easy" that works for you while still getting that whimsical, eye-catching result.
Here are a few ways to tweak your easy unicorn pumpkin:
- Use metallic paints instead of standard colors.
- Add stick-on gems or sequins for extra sparkle.
- Create a multi-colored yarn mane.
- Paint abstract swirls or dots instead of a solid base color.
- Add eyebrows for more expression.
Your Magical, Mess-Free Unicorn Pumpkin Awaits
So there you have it. Ditch the soggy, sad carved pumpkins that last about five minutes before collapsing into a moldy mess. These easy unicorn pumpkin ideas offer a genuinely less stressful, far more durable way to get your festive freak on. You get a cute decoration that actually looks like you planned it, zero pumpkin guts on your kitchen floor, and a project that's genuinely fun, not just a chore. Go grab some paint and glitter; your inner unicorn (and your clean-up crew) will thank you.