Table of Contents
Alright, let's talk pumpkins. Every fall, you see those elaborate, gallery-worthy carved gourds online and maybe feel a pang of inadequacy. You think, "My attempt usually looks like a potato with a toothache." The pressure is real, especially if you've got kids or just want your porch to look less... pathetic. But here's the deal: you don't need to be a sculptor to create something cool. We're here to cut through the complexity and show you some genuinely easy to do pumpkin carving ideas.
Getting Started with Easy Pumpkin Carving Ideas
Getting Started with Easy Pumpkin Carving Ideas
Picking the Right Pumpkin
step one for tackling easy to do pumpkin carving ideas isn't about the knife; it's about the gourd itself. Don't just grab the first orange blob you see. You want a pumpkin with a smooth, firm surface. Bumps and deep ridges are your enemy here; they make cutting a straight line feel like navigating a minefield. Give it a tap. It should sound hollow. Check the base – you want it flat so it doesn't wobble precariously on your porch. And look at the stem; a sturdy, green or brown stem usually means a healthier pumpkin that might last a bit longer.
Gathering Your Simple Tools
Forget those flimsy, tiny saws they sell in kid's kits that bend if you look at them funny. For truly easy to do pumpkin carving ideas, you need tools that actually work. A basic serrated knife from your kitchen can handle the top or bottom cut. For the details, a small, sharp paring knife is much better than those toy saws. Pumpkin carving kits *can* be helpful, but skip the cheap plastic ones. Look for metal tools with decent handles. A sturdy scoop or large spoon is essential for cleaning out the guts.
- A medium-sized serrated knife for the lid.
- A sharp paring knife for cutting designs.
- A sturdy metal scoop or large spoon for cleaning.
- Maybe a small saw from a *good* carving kit if you're feeling fancy.
- A drill can be surprisingly useful for simple dot patterns.
Prepping Your Gourd for Glory
Now, the messy part. You've got your pumpkin, you've got your tools. Decide if you're cutting from the top or the bottom. Cutting the bottom can sometimes make it easier to place over a light, and the top stays intact. Either way, cut a circle or square large enough to get your hand and scoop inside. Angle your cut inward so the lid has a ledge to rest on and doesn't just fall in. Then, dig in. Get all the seeds and stringy bits out. Scrape the inside wall you plan to carve until it's about an inch thick. This makes cutting much easier.
Simple Techniques for Easy Pumpkin Carving Ideas
Simple Techniques for Easy Pumpkin Carving Ideas
Simple Techniques for Easy Pumpkin Carving Ideas
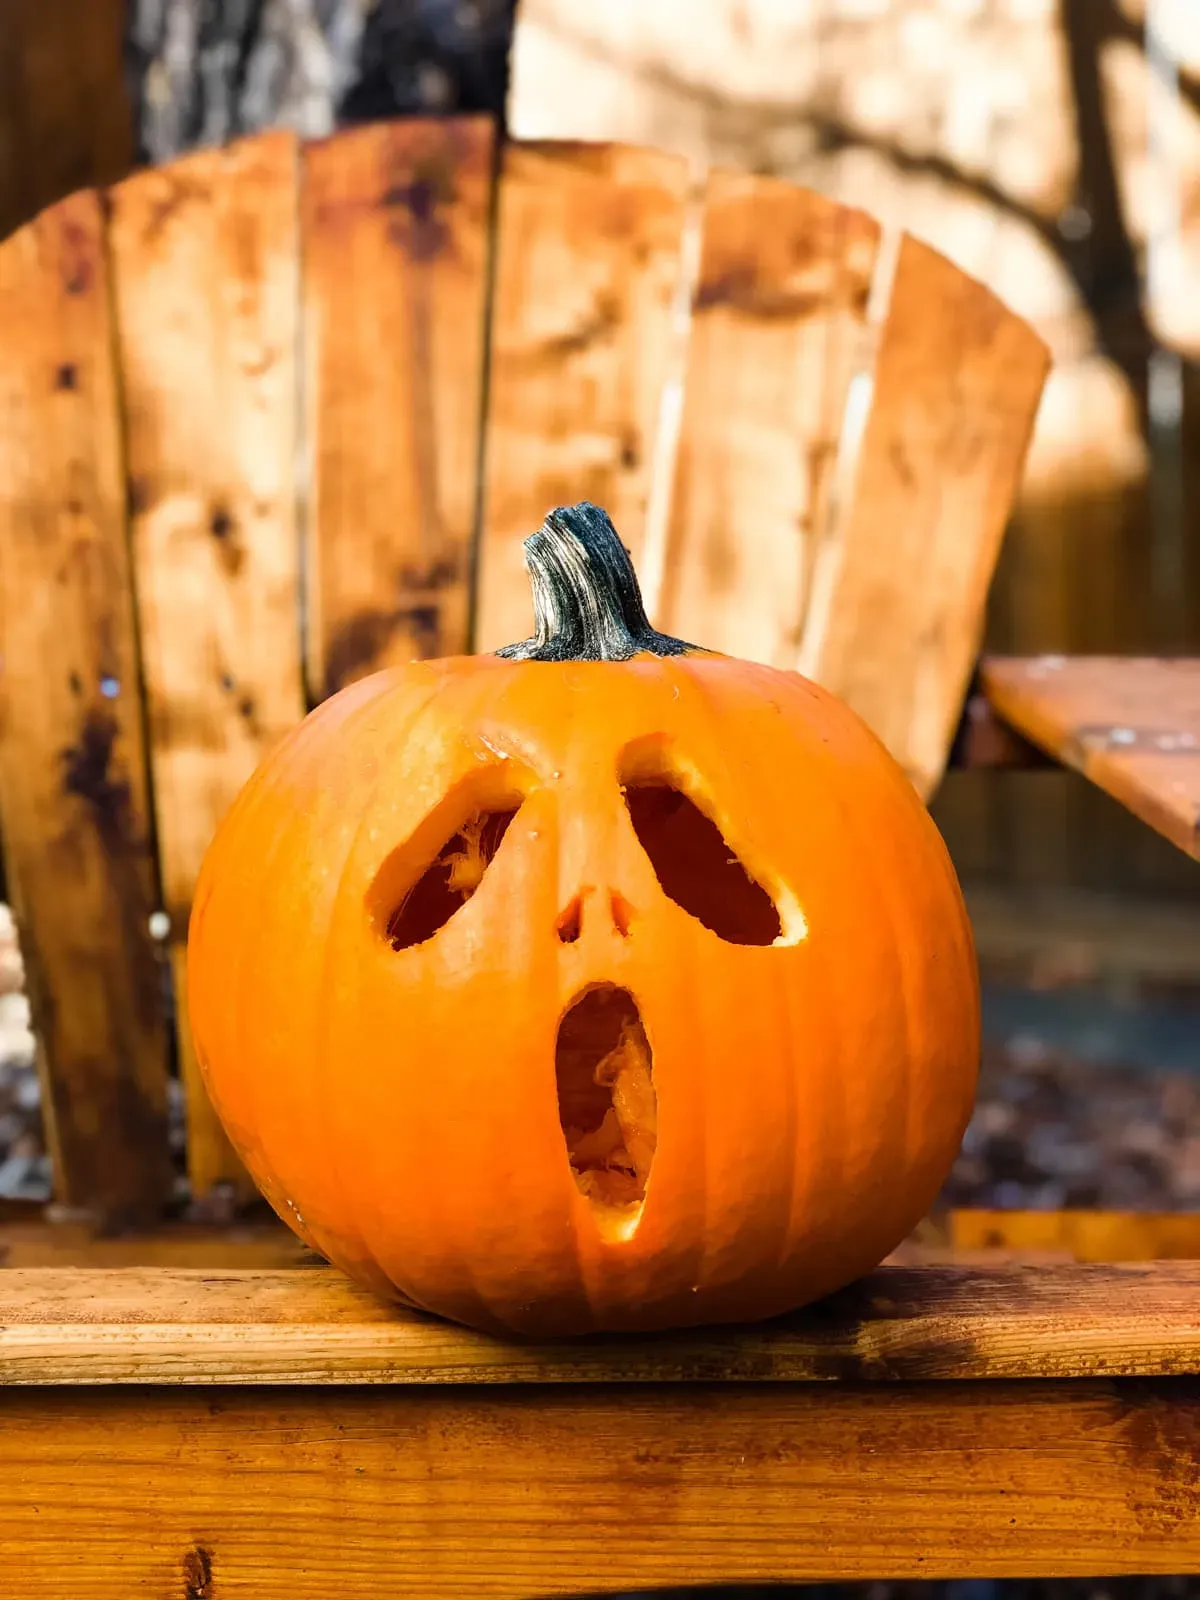
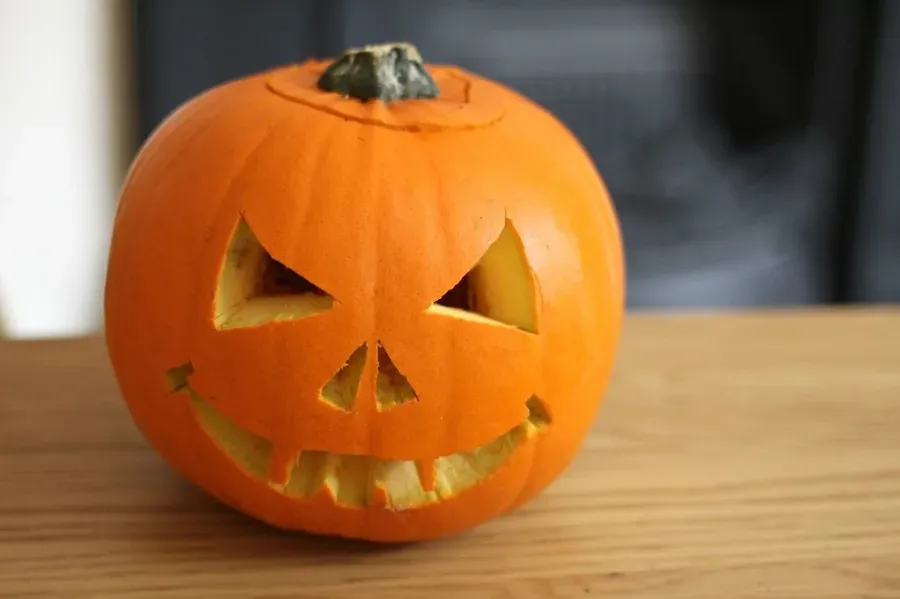
you've got the pumpkin prepped, guts scooped, and your tools ready. Now for the fun part: the carving itself. The key to easy to do pumpkin carving ideas isn't about making tiny, intricate cuts that require a magnifying glass. It's about bold shapes and simple lines. Don't draw something complicated; draw something you can actually cut. Think triangles for eyes, a jagged line for a mouth, maybe a simple circle nose. Use your paring knife to make controlled cuts, moving slowly. Don't try to saw back and forth like you're cutting wood; push the knife through the pumpkin wall steadily. If you're doing a shape with corners, cut each line segment separately. For curves, take your time and make small, connected cuts rather than one long, shaky slice.
- Draw simple shapes first (triangles, squares, jagged lines).
- Push the knife steadily through the pumpkin wall.
- Cut straight lines and corners as separate segments.
- Use small, connected cuts for curves.
- Don't rush; slow and steady wins the race (and prevents lost fingers).
Beyond the Basic Face: More Easy Pumpkin Carving Ideas

Beyond the Basic Face: More Easy Pumpkin Carving Ideas
Playing with Simple Shapes and Patterns
so you’ve mastered getting the guts out and maybe tried a basic triangular eye. You're thinking, "What else can I do that won't end in a trip to the emergency room or a pumpkin that looks like it lost a fight with a badger?" This is where Beyond the Basic Face: More Easy Pumpkin Carving Ideas comes in. Skip the complex expressions. Think simple patterns. Dots are incredibly easy with a drill or even just pushing a sturdy skewer through the rind. You can make constellations, random polka dots, or even spell out initials with dots. Stars, moons, or simple geometric cutouts like squares and circles are also much more forgiving than trying to carve a convincing smile. These require steady hands, sure, but not the precision needed for, say, a realistic toothy grin.
Using Stencils for Clean Silhouettes
If freehand drawing on a pumpkin feels intimidating, grab a stencil. No, not the super-detailed ones. Look for stencils with bold, simple shapes. Think a black cat silhouette, a witch on a broomstick, or even just the word "BOO" or "FALL" in a clear font. Tape the stencil firmly to the pumpkin. Use a poker tool or even a sharp pencil to trace the outline by poking small, close-together holes along the lines. Once the outline is dotted, remove the stencil and connect the dots with your paring knife, pushing steadily. This method breaks down the carving into manageable steps and results in a clean, recognizable image, proving that Beyond the Basic Face: More Easy Pumpkin Carving Ideas are totally within reach for the average human.
- Simple dot patterns using a drill or skewer.
- Geometric cutouts: circles, squares, triangles.
- Star and moon shapes.
- Using stencils for basic silhouettes (cats, bats, simple words).
- Carving simple initial or number designs.
- Creating abstract patterns with lines and angles.
Keeping Your Easy Pumpkin Looking Fresh
Keeping Your Easy Pumpkin Looking Fresh
Keeping Your Easy Pumpkin Looking Fresh: A Losing Battle, But You Can Delay the Inevitable
Alright, you've put in the effort, you've got your easy to do pumpkin carving ideas proudly displayed, and now you face the cruel reality: carved pumpkins don't last forever. They are, after all, organic matter exposed to the elements, destined to become sad, shriveled messes. But before you resign yourself to watching your creation turn into compost by Halloween night, there are a few things you can do to buy yourself some time. Think of it less as preservation and more as delaying the inevitable decay. It's not glamorous, but neither is a collapsed pumpkin face.
- Spray or wipe the cut edges with a bleach solution (about 1 tablespoon bleach per quart of water) to kill mold and bacteria.
- Apply petroleum jelly (Vaseline) to all the cut surfaces. This seals in moisture and slows down drying.
- Keep the pumpkin out of direct sunlight and away from heat sources. Cool, shady spots are best.
- If it starts looking dry, give it a bath! Submerge the pumpkin in cold water for a few hours to rehydrate it.
- Consider using LED or battery-powered lights instead of candles, as the heat from candles speeds up deterioration.
Your Easy Pumpkin Carving Mission Accomplished
So there you have it. No need for a fine arts degree or a workshop full of power tools. We've covered picking a decent gourd, using the right (simple) gear, tackling techniques that won't make you weep with frustration, and even a few ideas that look impressive but are surprisingly straightforward. The goal was always easy to do pumpkin carving ideas, and hopefully, you now feel equipped to tackle one without the usual pre-Halloween dread. Your porch pumpkin might not win any national awards, but it'll look a darn sight better than last year's sad, lopsided effort. Go forth and carve something that doesn't immediately scream "beginner."