Table of Contents
So, you went big this year. You hauled home that monstrous, vertically gifted pumpkin and now it's sitting on your porch, staring back at you, looking less like a canvas for spooky art and more like a challenge you might lose. You're thinking, "How am I supposed to carve this thing without needing a ladder and a structural engineering degree?" Forget the intricate, multi-day projects you see online that look like they belong in a museum. We're talking about making a statement without losing a finger or your sanity. There are genuinely easy tall pumpkin carving ideas out there, ways to make that towering gourd look impressive with surprisingly simple cuts and clever approaches.
Taming the Giant: Why Try Easy Tall Pumpkin Carving Ideas?

Taming the Giant: Why Try Easy Tall Pumpkin Carving Ideas?
The Undeniable Presence of a Tall Pumpkin
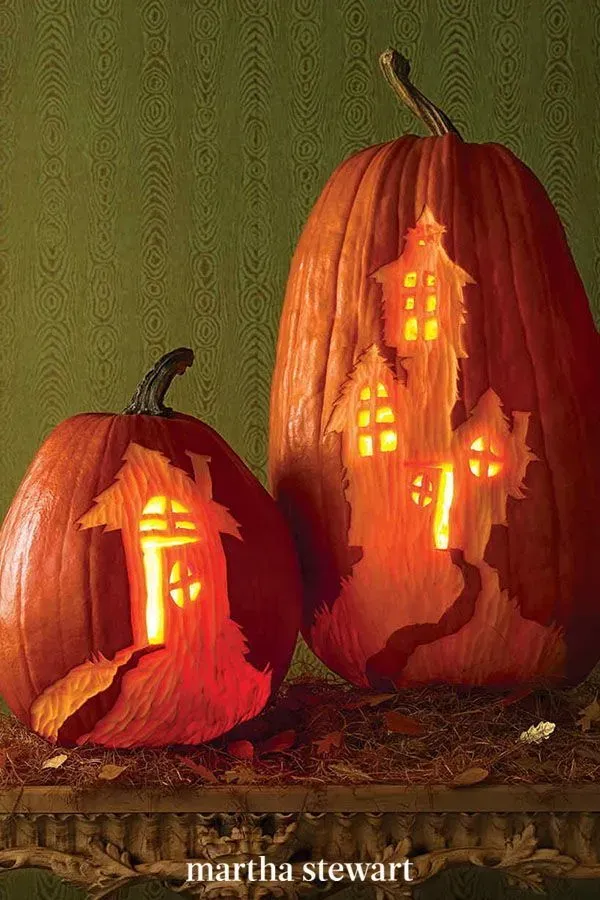
Let's be honest, a standard round pumpkin is fine. It's classic, it's reliable. But a tall pumpkin? That's a statement. It commands attention on your porch in a way its shorter siblings just can't. Think of it like the difference between a bungalow and a skyscraper – one blends in, the other dominates the skyline. Carving a tall pumpkin gives you a unique canvas, literally adding another dimension to your Halloween display. It provides vertical real estate you don't get with a squat gourd, opening up possibilities for designs that stretch and climb. It's not just a pumpkin; it's a pillar of spooky, festive energy.
Breaking Down the Intimidation Factor
so they look intimidating. We get it. Hauling one feels like a workout, and the sheer scale can make you doubt your carving skills. But the beauty of focusing on easy tall pumpkin carving ideas is that you don't need to be a master sculptor. You just need a few smart techniques and a willingness to think vertically. Simple, bold cuts often have more impact on a large surface than intricate details that get lost. The height works in your favor, allowing even basic shapes or patterns to look dramatic. It’s about leveraging the size, not being overwhelmed by it.
Why bother with the big ones?
- They stand out from the crowd.
- The height offers a unique design challenge (and opportunity).
- Even simple designs look dramatic on a large scale.
- Bragging rights, obviously.
Simple Cuts, Big Impact: Easy Techniques for Tall Pumpkins
Simple Cuts, Big Impact: Easy Techniques for Tall Pumpkins
so you've got this towering gourd and the standard intricate stencil looks ridiculous scaled up. The trick to easy tall pumpkin carving ideas is realizing that simplicity is your friend on a large canvas. Complex details get lost from a distance, but big, bold shapes? They pop. Think about techniques that leverage the height without requiring surgical precision. We're talking about large geometric cutouts that run up the side, simple silhouettes of figures or objects that stretch vertically, or even just carving out large sections to create dramatic light and shadow effects. It’s less about tiny teeth and more about impactful negative space and strong lines that define the pumpkin's form.
Classic Faces Get a Vertical Twist: Easy Tall Pumpkin Carving Ideas
Classic Faces Get a Vertical Twist: Easy Tall Pumpkin Carving Ideas
Stretching the Smile: Adapting Standard Designs
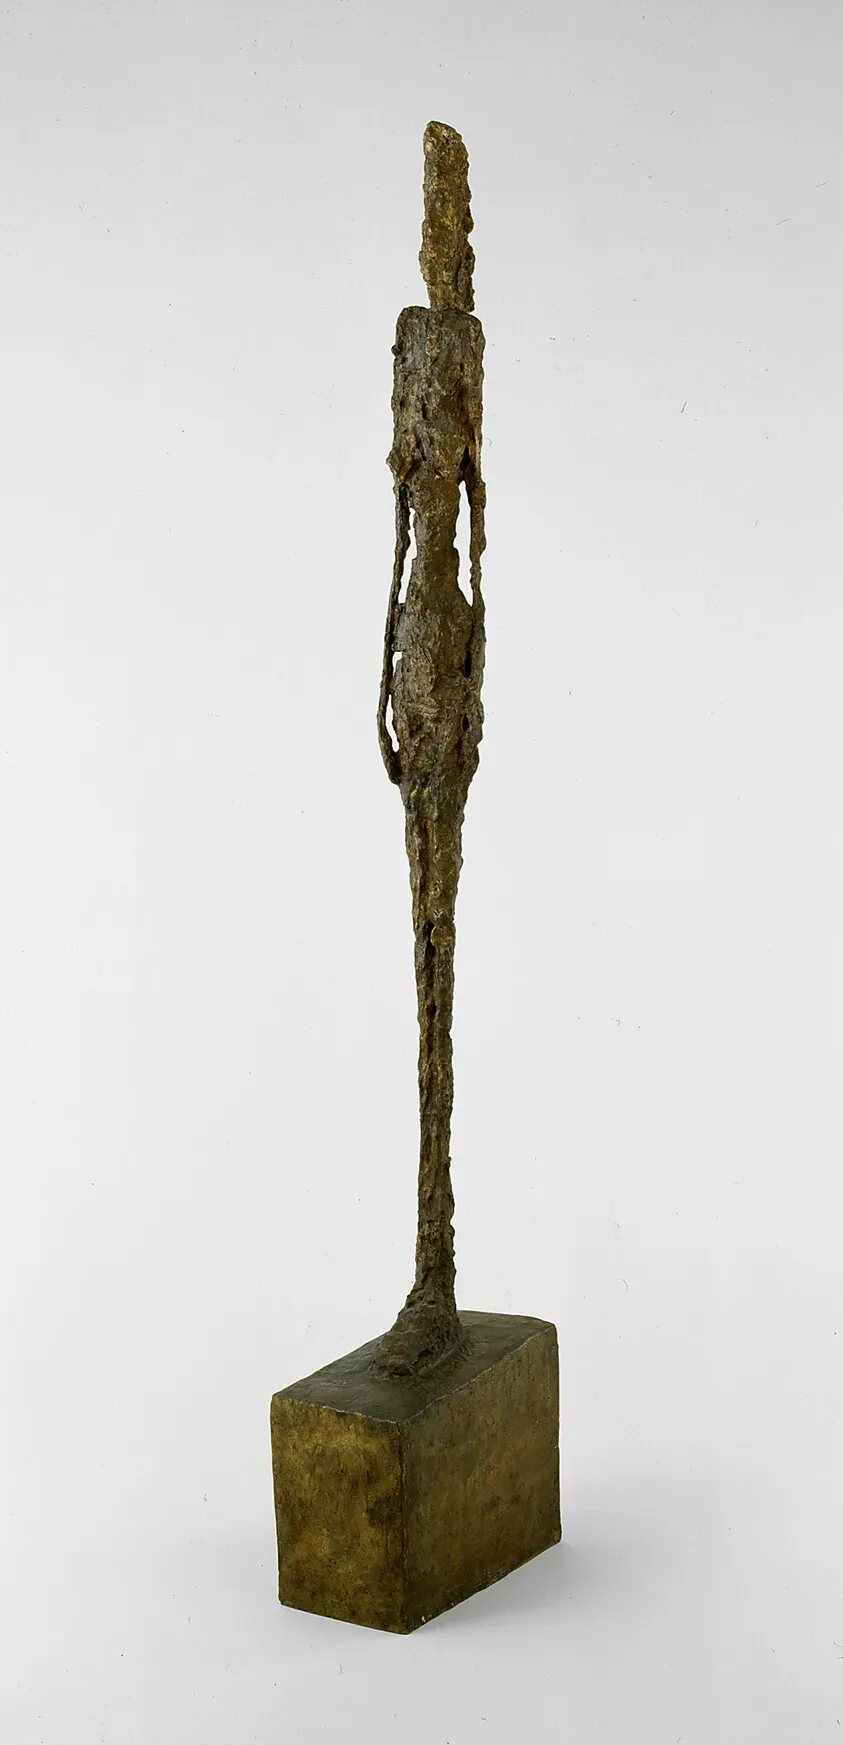
so you've got this lanky gourd, and the standard squat Jack-o'-lantern stencil looks utterly ridiculous on it. Trying to cram a wide grin and two round eyes onto a narrow, tall surface just doesn't work. But that doesn't mean classic faces are off the table for easy tall pumpkin carving ideas. You just need to think vertically. Instead of making features wide, make them tall. Elongate the eyes, stretch the mouth into a long, eerie grin that runs up the pumpkin's face. Think funhouse mirror distortion, but intentional. It's about playing with the proportions the pumpkin gives you, not fighting them.
Stacking Features for Maximum Impact
Another trick for these vertically inclined pumpkins is to stack your classic features. Maybe you have a series of eyes going up the front, or a mouth that takes up half the pumpkin's height, with just simple triangular eyes perched near the top. Consider giving your pumpkin a long, winding nose or a single, massive, jagged tooth that dominates the lower half. You can also use negative space effectively – carving out large, simple shapes for eyes and a mouth can look incredibly dramatic on a tall form, especially when lit from within. It's less about intricate detail and more about bold, recognizable shapes that read well from a distance.
- Elongate eyes and mouths vertically.
- Stack features instead of placing them side-by-side.
- Focus on large, simple shapes for eyes, nose, and mouth.
- Use jagged or wavy lines to emphasize height.
- Think "stretch" and "stack" for your design plan.
Simplifying Shapes for Bold Silhouettes
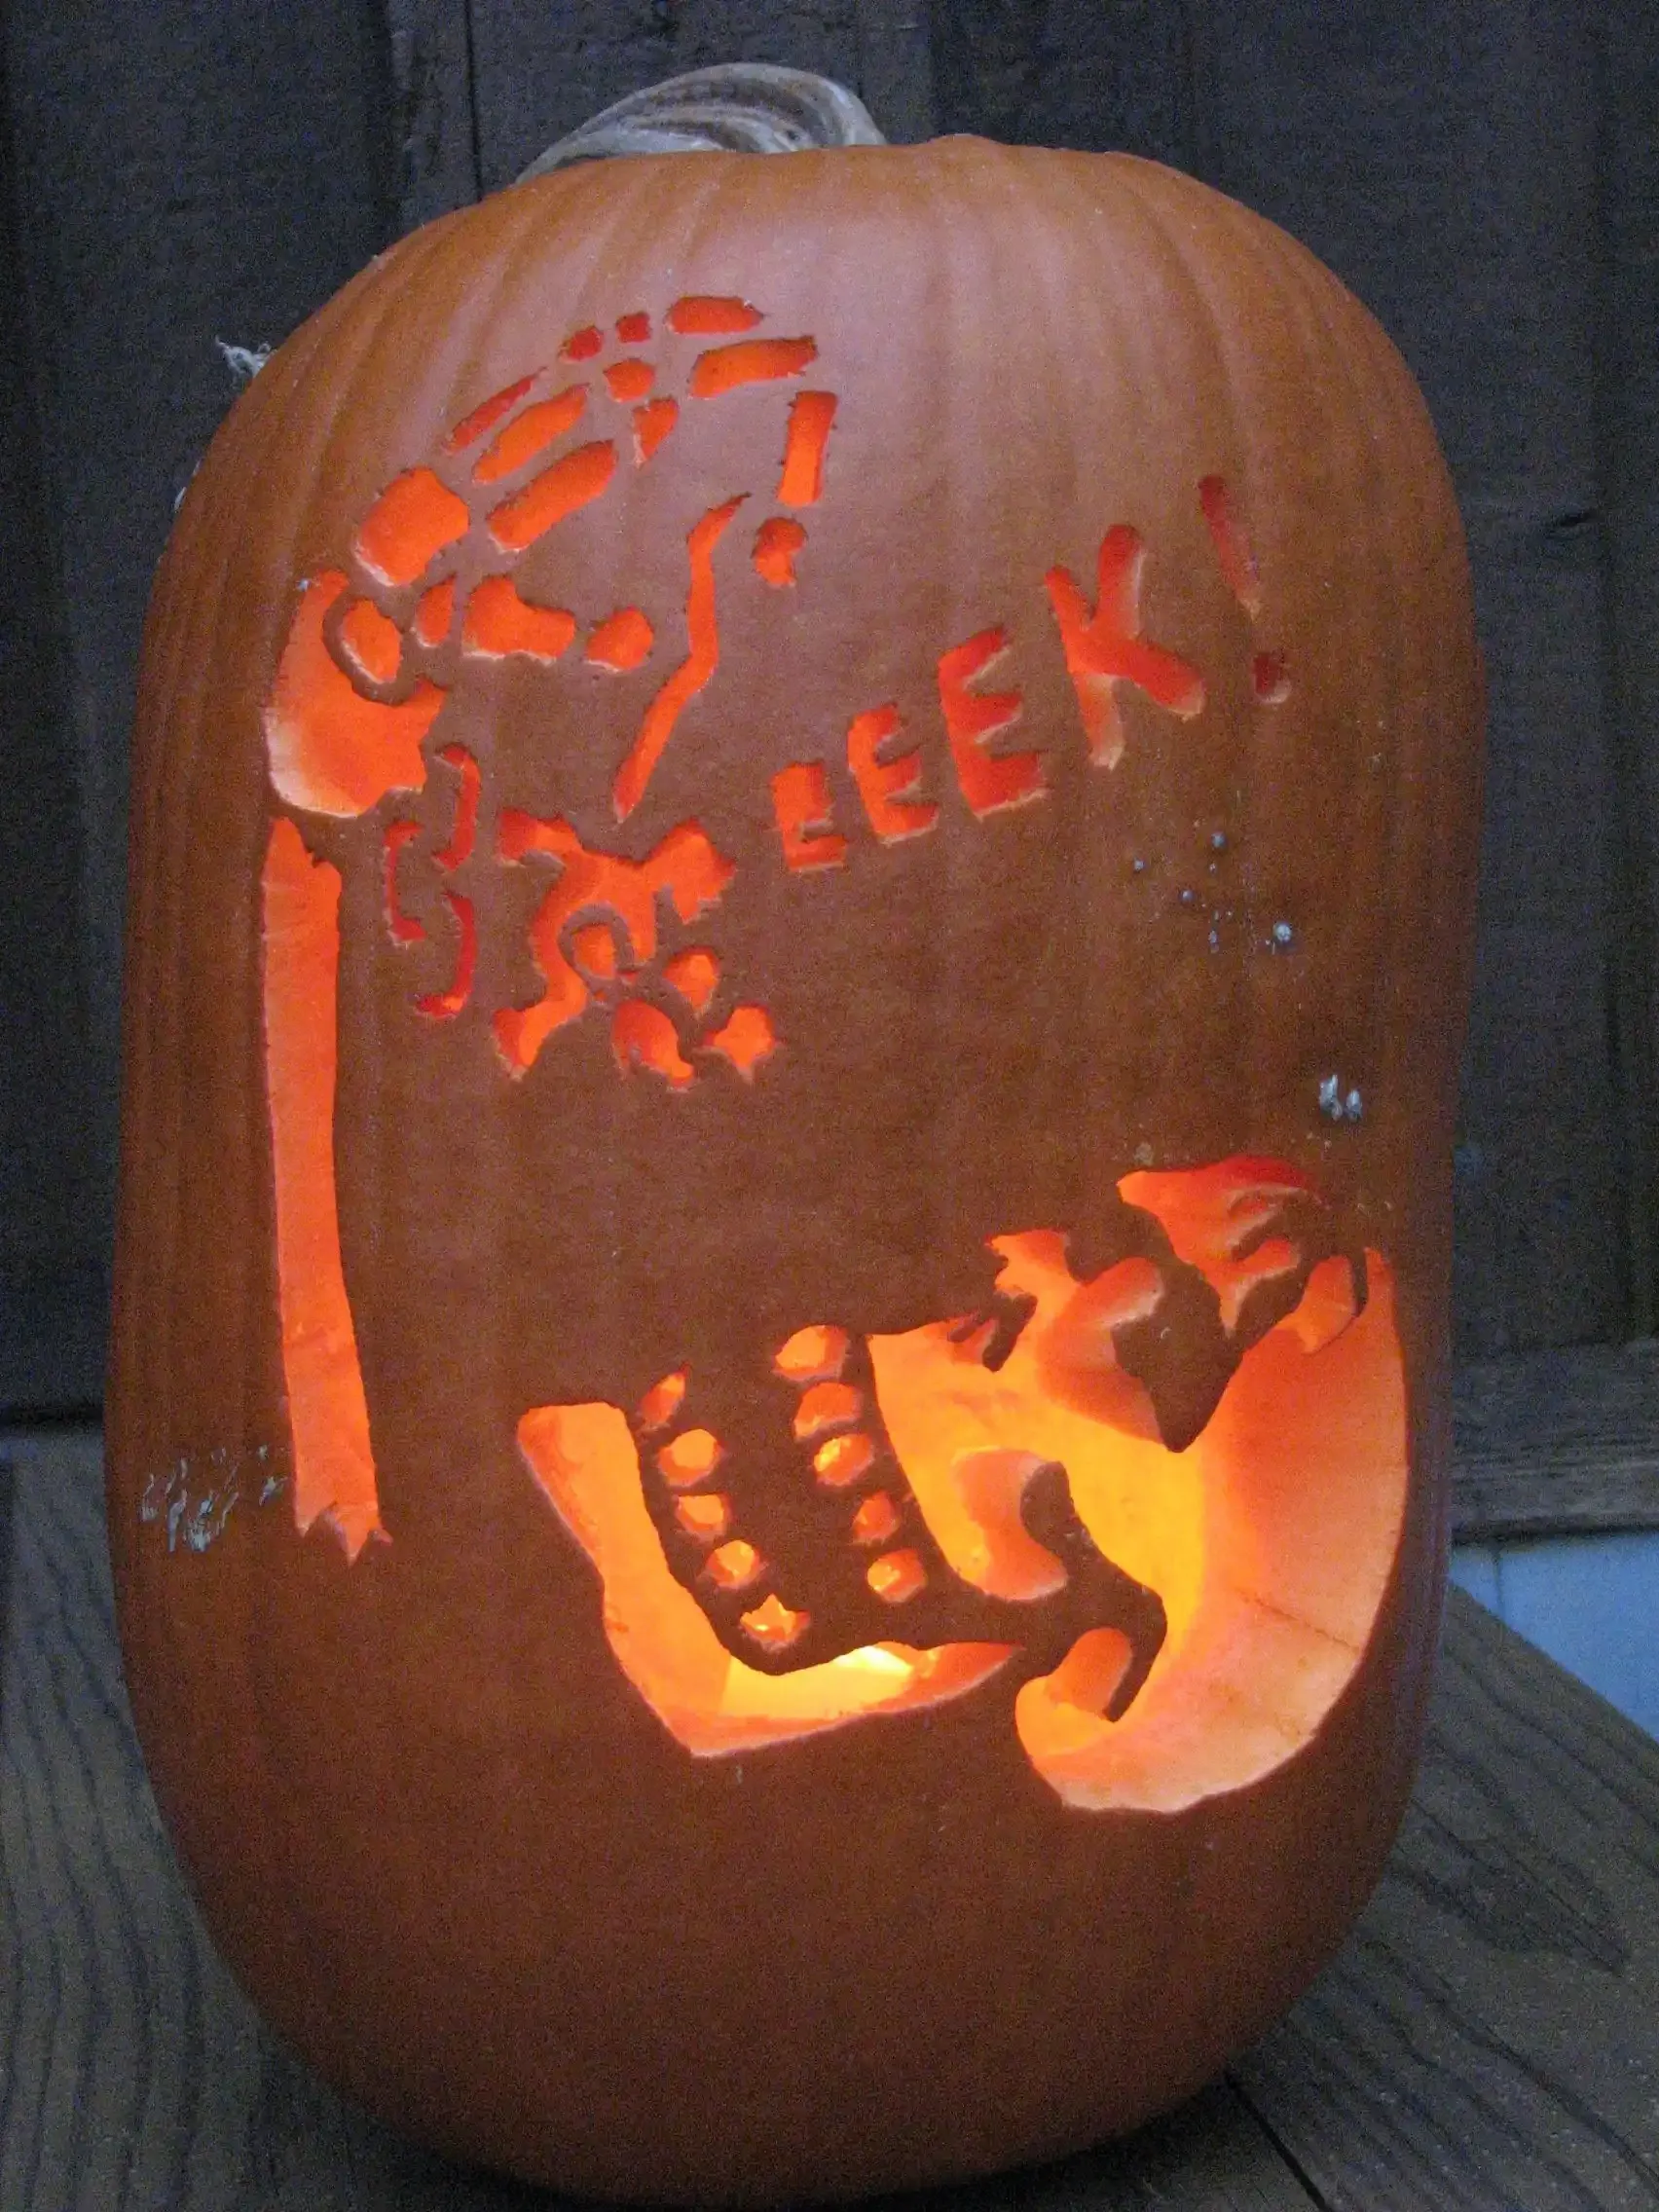
When working with easy tall pumpkin carving ideas, remember that the height itself is part of the design. You don't need complex shading or tiny details to make an impression. A simple silhouette of a screaming face, with just the mouth and eyes carved out as large, gaping holes, can be terrifyingly effective on a tall pumpkin. Think about classic horror movie posters – often they rely on stark, high-contrast images. Your tall pumpkin can do the same. A long, narrow set of fangs running down the front, or a single, piercing eye near the top with a long, dripping shape below it – these are easy to carve but create a strong visual narrative on that vertical canvas.
Beyond the Grin: More Easy Tall Pumpkin Carving Ideas That Stand Tall
Beyond the Grin: More Easy Tall Pumpkin Carving Ideas That Stand Tall
so maybe the stretched-out face isn't your jam, or you just want something different this year. Good. There are plenty of other easy tall pumpkin carving ideas that leverage that vertical real estate without needing a degree in fine art. Think graphic patterns that climb the pumpkin, simple silhouettes of spooky creatures or objects, or even abstract designs using basic shapes like circles, squares, or triangles repeated up the side. A winding vine pattern, a stack of misshapen blocks, or a single, large bat or ghost shape carved into the front can look incredibly effective on a tall pumpkin and are surprisingly straightforward to execute. It’s about using the height to your advantage for visual flow, not just treating it like a standard pumpkin stood on end.
Pro Tips for Your Easy Tall Pumpkin Carving Project
Pro Tips for Your Easy Tall Pumpkin Carving Project
Prep Your Pumpkin (and Your Back)
before you even think about picking up a knife, you need to get this giant ready. Tall pumpkins are heavy and awkward. Don't try to carve this thing standing up on a wobbly stool unless you enjoy hospital visits. Find a sturdy surface, ideally one where you can work comfortably without craning your neck or bending over too much. Covering your workspace with newspaper or a drop cloth is non-negotiable unless you want pumpkin guts permanently decorating your floor. Cutting the lid off a tall pumpkin can be tricky because of the depth. Make sure your scooping tool has a long handle. Get *all* the guts out; it makes carving easier and helps it last longer. Trust me, a flimsy wall is harder to carve than a clean one.
Tools That Make Life Easier
You *can* use kitchen knives, but specialized pumpkin carving tools make a huge difference, especially with the thicker walls of a large gourd. Look for saws designed for pumpkins – they cut through the flesh much cleaner than a regular knife. A keyhole saw is particularly useful for getting into tighter spots or starting cuts. For scraping the inside thin enough for light to show through without carving all the way, a sturdy scraper tool is your best friend. And for those easy tall pumpkin carving ideas that involve simple shapes, consider cookie cutters or templates you can trace directly onto the pumpkin. Don't forget a small, sharp paring knife for minor clean-up, but rely on the saws for the heavy lifting.
- Pumpkin saw (essential for large cuts)
- Keyhole saw (good for detail and starting cuts)
- Sturdy scraper (to thin walls for lighting)
- Cookie cutters or templates (for simple shapes)
- Small paring knife (for touch-ups)
Lighting Up Your Masterpiece
You did the work, now make it shine. Lighting is crucial for showing off your easy tall pumpkin carving ideas. Because these pumpkins are tall, a single small candle might not illuminate the whole design effectively. Consider using multiple small LED tea lights placed at different levels inside, or a single, brighter LED pumpkin light. Some tall pumpkins are narrow at the top, making it tricky to get light all the way up. If your design goes high, ensure you've thinned the walls adequately in those upper sections. Positioning the light source correctly can emphasize your cuts and make even the simplest vertical patterns look dramatic after dark. A well-lit tall pumpkin is a neighborhood beacon.
Standing Tall: Your Easy Pumpkin Triumph
So there you have it. That imposing gourd no longer has to be a source of dread or an excuse to just slap on some googly eyes. With a few straightforward techniques and some smart design choices, those easy tall pumpkin carving ideas really do work. You've got the basic cuts down, seen how to adapt classic looks, and got a few extra tricks up your sleeve. It's about working with the pumpkin's shape, not fighting it. Go grab your tools, maybe put on some slightly questionable Halloween music, and get to it. Your porch (and your ego) will thank you.