Table of Contents
Halloween's creeping closer, and that means one thing: it's pumpkin carving time! But forget those same old triangle eyes and goofy grins. This year, we're diving headfirst into a cauldron of easy spooky pumpkin carving ideas that'll make your jack-o'-lantern the envy of the neighborhood. Whether you're a carving newbie or a seasoned pro looking for fresh inspiration, we've got you covered. From frightfully simple spooky faces perfect for beginners to unique designs that go beyond the basic jack-o'-lantern, we'll explore a range of techniques to suit every skill level. Not feeling the carving commitment? No problem! We'll also unearth some seriously stylish and spooktacular no-carve alternatives that are easy to execute and guaranteed to impress. So, grab your carving tools (or ditch them altogether!), unleash your inner artist, and prepare to transform ordinary pumpkins into extraordinary Halloween masterpieces. Get ready to discover 90+ easy spooky pumpkin carving ideas that will elevate your Halloween game this year!
Spooky Faces & Silly Grins: Easy Pumpkin Carving Ideas for Beginners
Spooky Faces & Silly Grins: Easy Pumpkin Carving Ideas for Beginners
Classic Jack-O'-Lantern: The Gateway Ghoul
Let's face it, you can't go wrong with the classic jack-o'-lantern. It's the quintessential Halloween symbol, and it's surprisingly easy to create, even if you're a total newbie. Think simple triangle eyes, a crooked nose, and a toothy grin. The key here is to embrace imperfections – wonky lines and slightly uneven shapes only add to the spooky charm. It’s all about having some fun with it.
Don't be afraid to experiment with different expressions. A wide, surprised mouth can be just as effective as a menacing sneer. And remember, safety first! Always use proper carving tools and supervise children closely. Or better yet, let them draw the face and you do the cutting.
Ghostly Goodies: Simple Silhouette Carving
Want to up your carving game without adding too much complexity? Try silhouette carving! This involves carving away the pumpkin's surface to create a spooky shape or design, rather than cutting all the way through. Ghosts, bats, and simple tombstones are all great options for this technique. You can easily find stencils online or create your own using cookie cutters as templates.
The cool thing about silhouette carving is that it creates a subtle, eerie glow when you place a candle or LED light inside. It's perfect for adding a touch of mystery to your Halloween display without requiring expert carving skills. Plus, it's a great way to use those pumpkin carving kits that have been sitting in your closet for years!
Silly Grins & Goofy Goblins: Kid-Friendly Carving Fun
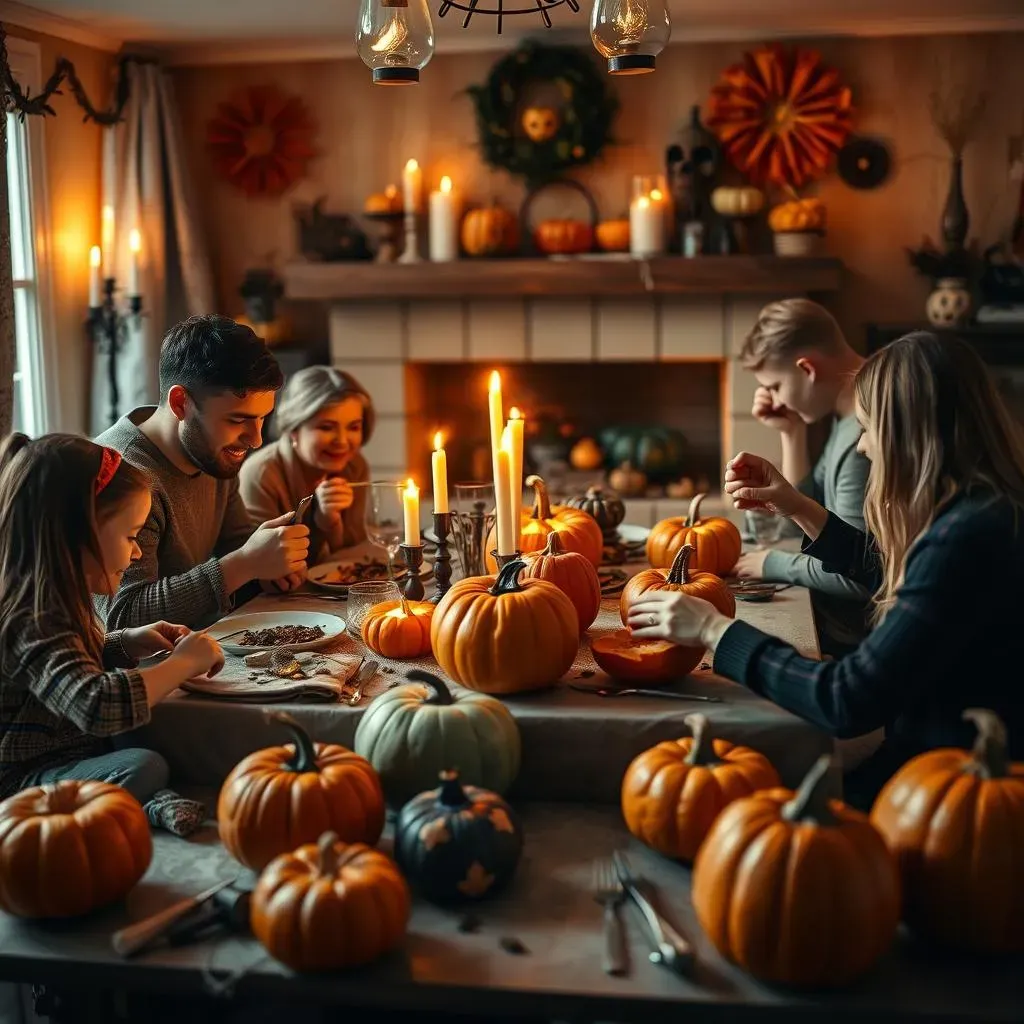
Halloween is all about family fun, and pumpkin carving is the perfect activity to get everyone involved. But let's be honest, intricate designs aren't exactly kid-friendly. That's where silly grins and goofy goblins come in! Encourage your little ones to create their own wacky characters, complete with oversized eyes, crazy hairstyles, and ridiculous mouths.
Consider using paint, markers, or even googly eyes to add extra personality to their creations. The goal here is to let their imaginations run wild and create pumpkins that are as unique and quirky as they are. Who knows, you might just discover the next pumpkin carving prodigy in your own home!
Pro-Tip:
- Use battery-operated candles for safety.
- Let kids draw the faces, then you carve.
- Don't be afraid to get messy!
Beyond the Basic JackO'Lantern: Unique & Easy Spooky Pumpkin Designs
Beyond the Basic JackO'Lantern: Unique & Easy Spooky Pumpkin Designs
Mummy Pumpkin: Wrap It Up!
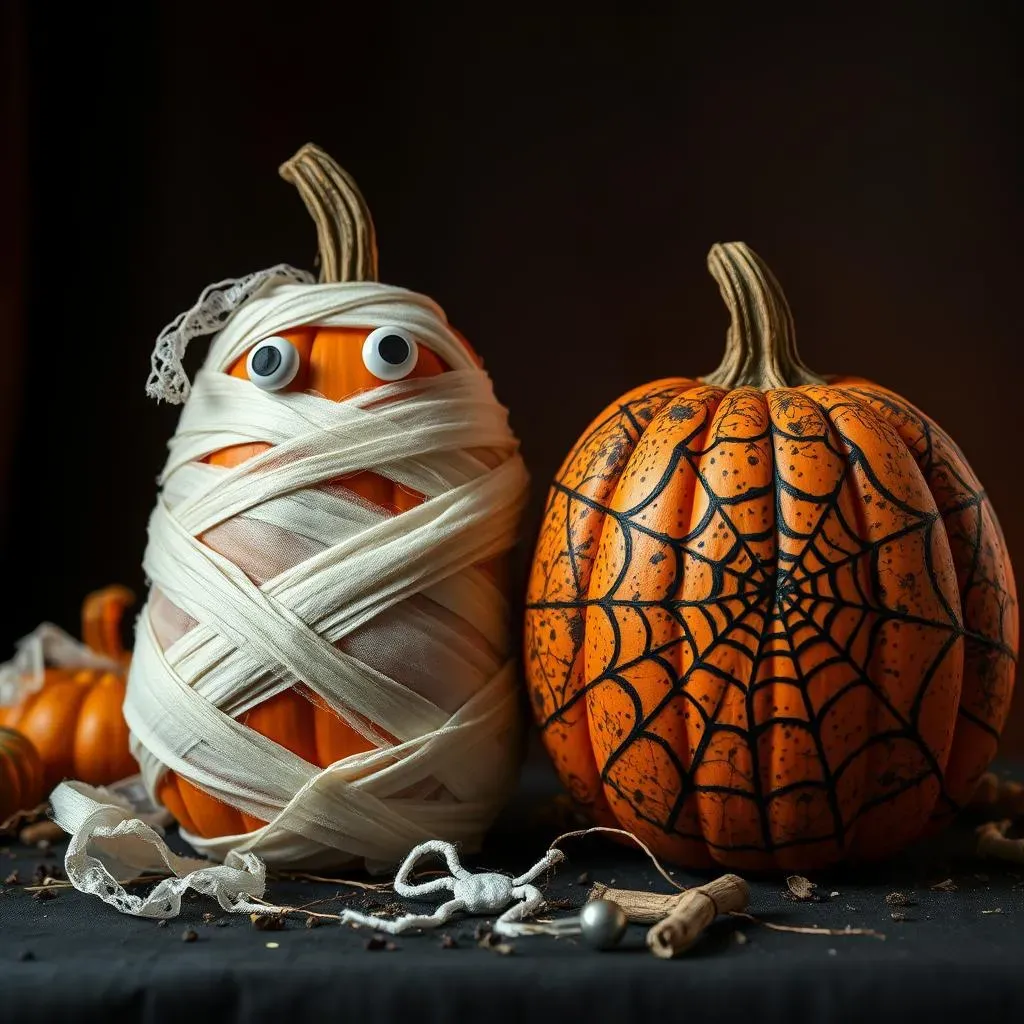
so you've mastered the classic jack-o'-lantern. Now, let's get a little more creative! How about a mummy pumpkin? It's surprisingly simple, and it looks awesome. All you need are some white cheesecloth or gauze bandages and a pair of googly eyes. Simply wrap the bandages around the pumpkin, securing them with glue or tape. Leave a small opening for the eyes to peek through, and voila! You've got a spooky mummy that's sure to impress.
For an extra touch of creepiness, you can stain the bandages with tea or coffee to give them a weathered, ancient look. Or, add some fake spiders crawling out from under the wrappings. The possibilities are endless! This is a great way to use up those leftover Halloween decorations and create a truly unique pumpkin.
Spiderweb Pumpkin: A Tangled Terror
If you're looking for a design that's both spooky and elegant, a spiderweb pumpkin is the way to go. There are a couple of ways to achieve this look. One option is to carve out a series of concentric circles around the pumpkin, then connect them with straight lines to create a web-like pattern. This requires a bit more precision, but the result is stunning.
Another, easier option is to use hot glue to create the spiderweb on the surface of the pumpkin. Simply draw the web design with the hot glue gun, let it dry, and then paint the entire pumpkin black. The raised web will create a cool textured effect that's perfect for adding a touch of gothic flair to your Halloween display. Don't forget to add a plastic spider or two for extra creepiness!
Design Idea | Difficulty | Materials |
|---|---|---|
Mummy Pumpkin | Easy | Cheesecloth, googly eyes, glue |
Spiderweb Pumpkin (Carved) | Medium | Carving tools |
Spiderweb Pumpkin (Glue) | Easy | Hot glue gun, black paint, plastic spiders |
NoCarve Pumpkin Decor: Spooky, Stylish & Seriously Easy Alternatives
NoCarve Pumpkin Decor: Spooky, Stylish & Seriously Easy Alternatives
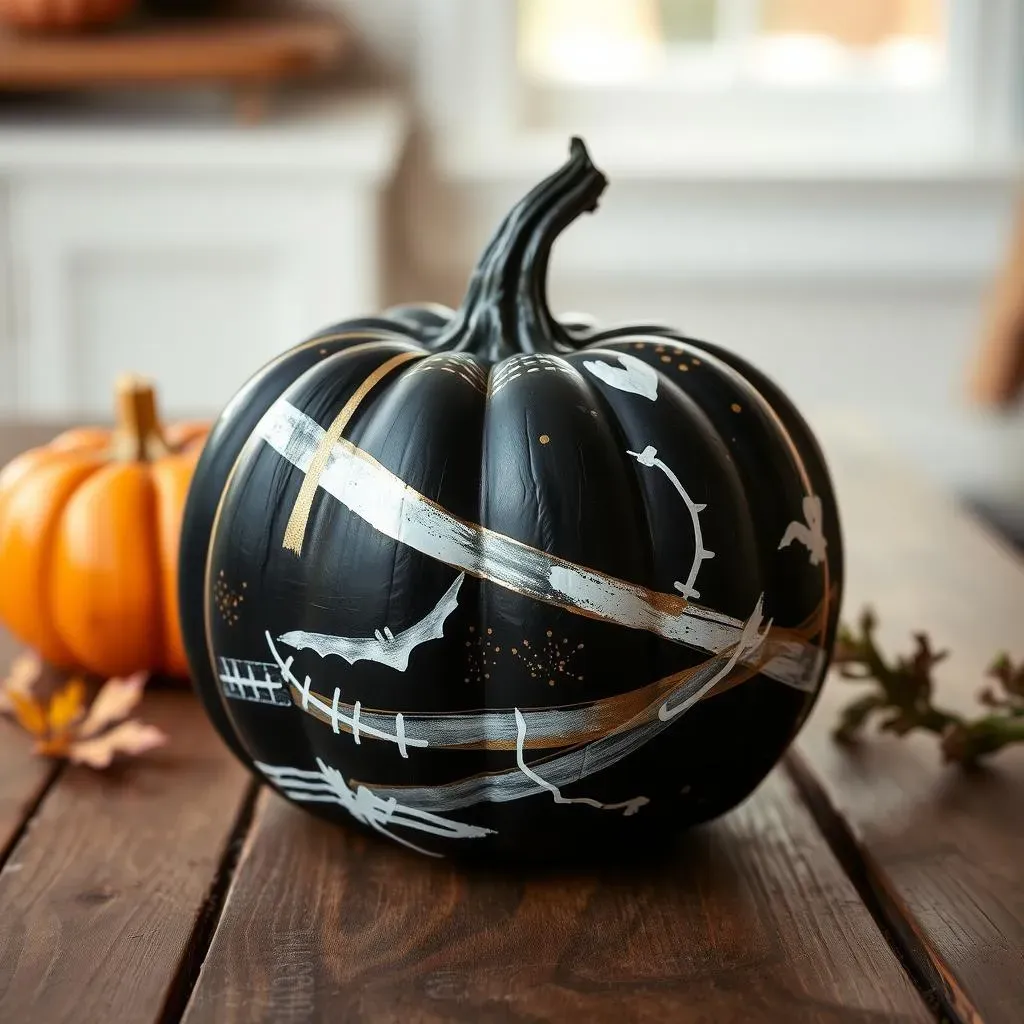
Paint It Black (or White, or Gold!): The Power of a Brush
Alright, so maybe you're not into the whole carving thing. Maybe you're short on time, or maybe you just don't trust yourself with sharp objects. Fear not! There are tons of ways to create stunning no-carve pumpkin decor that's just as spooky (and way less messy) than traditional jack-o'-lanterns. First up: paint! A simple coat of black paint can transform a plain pumpkin into a gothic masterpiece. Add some splatters of white for a ghostly effect, or go wild with metallic gold for a touch of glamour.
Get creative with your designs! Use stencils to create intricate patterns, or freehand your own spooky scenes. Glow-in-the-dark paint is another fun option for adding an eerie touch. And don't forget about texture! Use sponges, brushes, or even your fingers to create interesting effects. The possibilities are endless!
Want to make it even easier? Chalk paint is your best friend! It's easy to apply, dries quickly, and you can distress it for an extra vintage-y look.
Washi Tape Wonders: Spooky Shapes in Seconds
Looking for a super quick and easy way to add some spooky flair to your pumpkins? Washi tape is your answer! This decorative tape comes in a huge variety of colors, patterns, and widths, making it perfect for creating all sorts of fun designs. Simply tear off strips of tape and stick them onto your pumpkin to create stripes, polka dots, zigzags, or even spooky silhouettes.
Bats, spiders, and ghosts are all easy to create with washi tape. Or, get creative and design your own unique patterns. The best part about washi tape is that it's repositionable, so you can easily fix any mistakes. Plus, it's a great way to get the kids involved in the decorating process. They can create their own washi tape masterpieces while you sit back and relax (or supervise, at least!).
You can find washi tape at almost any craft store. Or, if you're feeling lazy, you can just order it online.
No-Carve Idea | Difficulty | Materials |
|---|---|---|
Painted Pumpkin | Easy | Paint, brushes, stencils (optional) |
Washi Tape Pumpkin | Easy | Washi tape |
Level Up Your Spooky Game: Advanced (But Still Easy!) Pumpkin Carving Techniques
Level Up Your Spooky Game: Advanced (But Still Easy!) Pumpkin Carving Techniques
Dremel Magic: Power Carving for Precision
so you're ready to ditch the basic carving tools and embrace some serious pumpkin power. Enter the Dremel! This rotary tool is a game-changer when it comes to creating intricate designs and adding depth to your carvings. With a variety of bits and attachments, you can easily carve fine lines, smooth out rough edges, and even create 3D effects.
Start by sketching your design onto the pumpkin, then use the Dremel to carefully carve along the lines. Experiment with different bits to achieve different textures and effects. A small engraving bit is perfect for creating fine details, while a larger sanding drum can be used to smooth out larger areas. Just remember to take your time and work in layers. It's always better to remove too little than too much!
Safety first, always wear safety glasses when using a Dremel, and make sure your pumpkin is securely positioned.
Stencils, Stencils, Stencils: Your Design Secret Weapon
Let's be real, not everyone is a freehand artist. And that's totally okay! Stencils are your best friend when it comes to creating complex and professional-looking pumpkin designs. You can find tons of free stencils online, ranging from spooky characters and intricate patterns to pop culture icons and funny sayings. Simply print out your chosen stencil, tape it to your pumpkin, and use a poking tool or a thin knife to transfer the design onto the surface.
Once you've transferred the design, you can start carving! Use a variety of carving tools to create different depths and textures. Remember to work from the inside out, carving the smaller details first and then moving on to the larger areas. And don't be afraid to get creative with your stencil! You can always modify the design or add your own personal touches to make it truly unique.
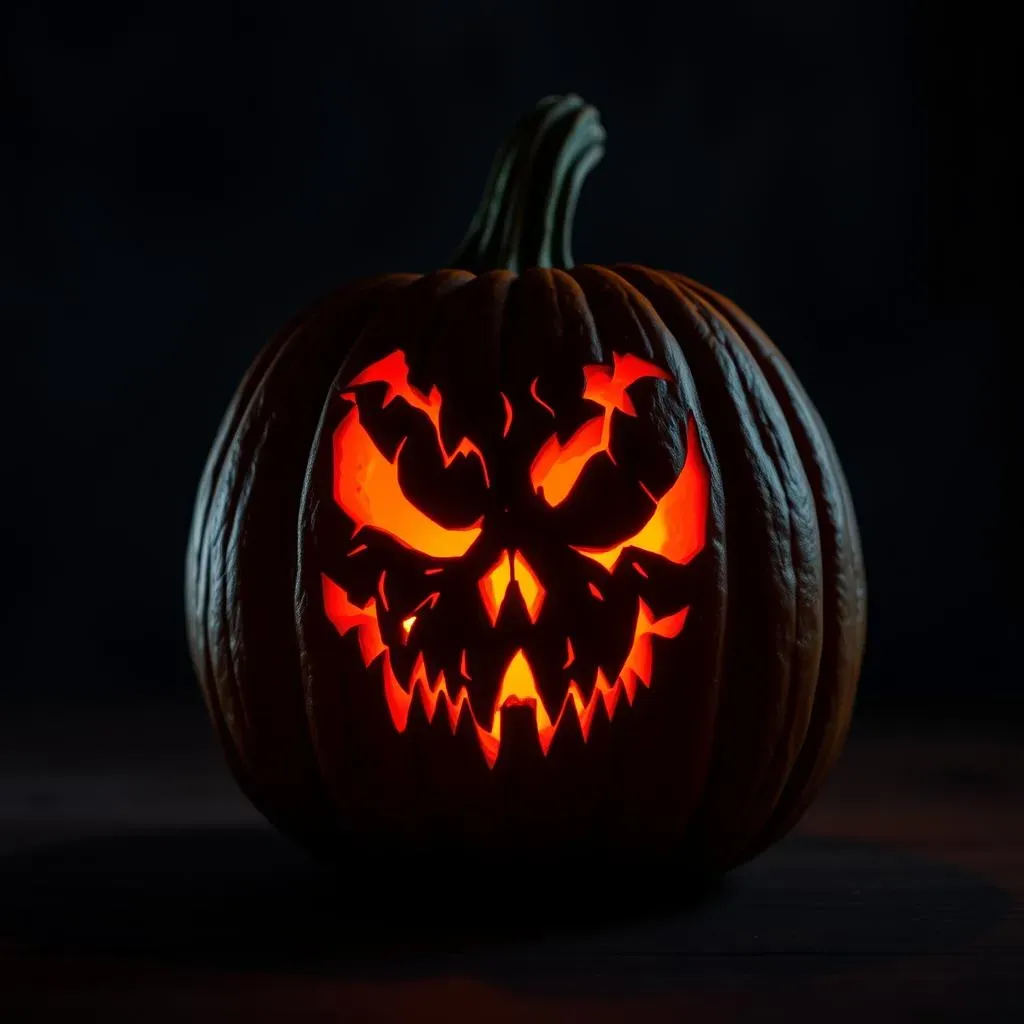
Light It Up: Creative Illumination Techniques
You've carved an amazing pumpkin, but the job's not done yet! The right lighting can take your jack-o'-lantern from spooky to spectacular. Forget the basic candle – it's time to get creative with your illumination techniques. Battery-operated LED lights are a great option for safety and convenience. You can find them in a variety of colors and styles, from flickering flames to steady glows.
For an extra touch of drama, consider using spotlights to highlight specific areas of your design. Or, try projecting patterns or images onto your pumpkin using a small projector. Another fun idea is to use glow sticks or glow-in-the-dark paint to create an eerie, otherworldly effect. The possibilities are endless! Just remember to experiment and have fun with it.
Technique | Difficulty | Materials |
|---|---|---|
Dremel Carving | Medium-Advanced | Dremel, carving bits, stencils (optional) |
Stencil Carving | Medium | Stencils, carving tools |
Creative Lighting | Easy-Medium | LED lights, spotlights, projectors, glow sticks |
Spooktacular Pumpkins, Effortlessly Achieved
So there you have it – a treasure trove of easy spooky pumpkin carving ideas to ignite your Halloween creativity. Whether you opted for a classic scary face, a unique silhouette, or a no-carve masterpiece, the most important thing is to have fun and let your personality shine through. With a little imagination and these simple techniques, you can transform ordinary pumpkins into extraordinary Halloween decorations that will delight trick-or-treaters and impress your neighbors. Happy carving, and have a spooktacular Halloween!