Table of Contents
October rolls around, and suddenly the pressure's on to create that perfect, spooky jack-o'-lantern. You see those intricate designs online, maybe a terrifying monster or a detailed scene, and think, "Yeah, right, like I have the time or talent for that." But what if you could get a seriously creepy effect without needing an art degree or endless patience? That's where easy spider pumpkin carving ideas come in. Forget the hours spent meticulously scraping tiny details. We're talking about simple, effective ways to turn your pumpkin into a web-slinging, eight-legged nightmare that will still make the neighbors jump.
Why Go for Easy Spider Pumpkin Carving Ideas This Year?
Why Go for Easy Spider Pumpkin Carving Ideas This Year?
Skip the Stress, Get the Spook
Let's be real, carving pumpkins can be a messy, frustrating business. You start with grand ambitions, maybe a detailed portrait or a complex scene, and end up with a lopsided mess and strained wrists. That's precisely why focusing on easy spider pumpkin carving ideas makes so much sense. Instead of wrestling with tiny details and fragile pumpkin walls, you can create a genuinely creepy effect with minimal fuss. Think less surgical precision, more bold shapes and simple lines. It's about getting maximum spooky bang for your buck, saving your sanity, and avoiding the dreaded "pumpkin-carving fail" photo.
Spiders Just *Work* for Halloween
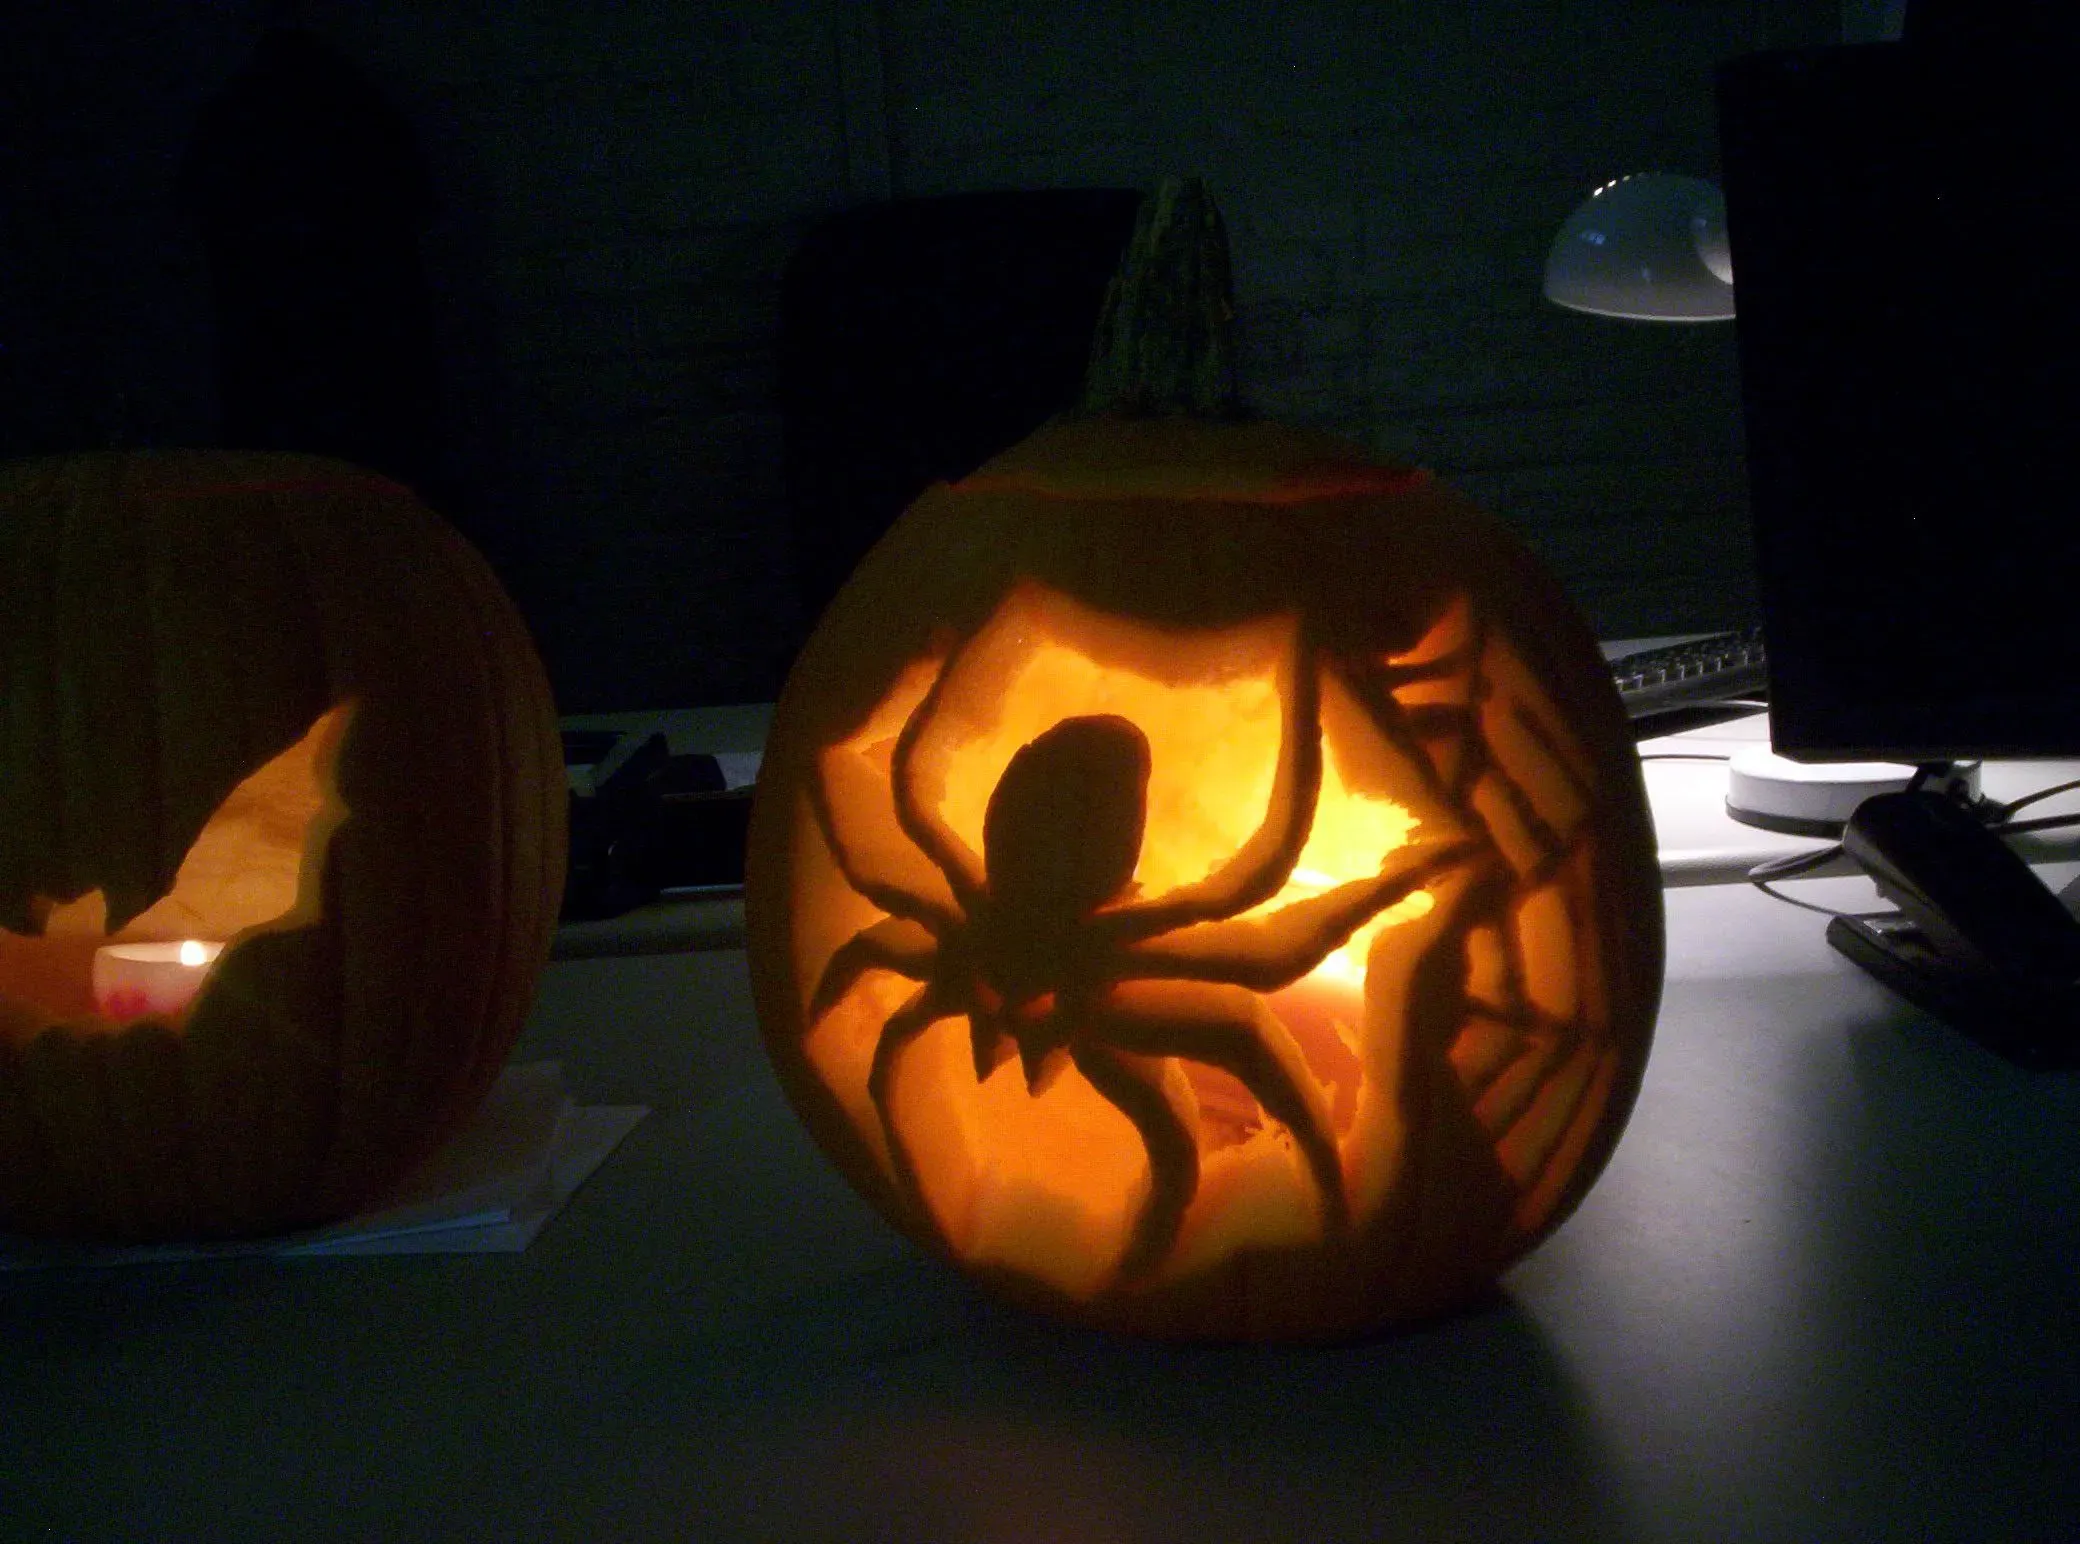
There's something inherently unsettling about spiders, isn't there? Eight legs, multiple eyes (sometimes), the way they skitter – it's prime Halloween fodder. And the beauty is, even a simple spider silhouette or a basic web design instantly screams "spooky season." You don't need to render a hyper-realistic tarantula to freak people out. A few well-placed circles and lines convey the message loud and clear. It's a classic horror trope for a reason, and it translates perfectly to pumpkin decor, providing that instant creepy vibe without requiring advanced carving techniques. Why go for easy spider pumpkin carving ideas? Because they deliver on the scare factor efficiently.
Consider the advantages:
- Less time spent hunched over a gooey pumpkin.
- Higher chance of the finished product actually looking like a spider.
- Easier cleanup compared to intricate designs.
- Great for beginners or carving with kids (with supervision, obviously).
- Still genuinely creepy and effective Halloween decor.
Everyone Loves (to Hate) a Spider
Whether it's a fear of creepy crawlies or just the general vibe of webs and darkness, spiders resonate with the Halloween spirit across the board. Choosing easy spider pumpkin carving ideas means you're tapping into a universally recognized symbol of the holiday. It's not obscure, it's not overly complicated, and it fits right in whether your style is cute-spooky or full-on horror. Plus, the simplicity means you can easily adapt the design – add more spiders, create a giant one, or combine it with a simple web. It's a versatile theme that doesn't demand expert skill to execute effectively.
Prepping Your Pumpkin for Spider Success
Prepping Your Pumpkin for Spider Success
Cleaning House Before the Carving Commences
Alright, before you even think about sketching out your easy spider pumpkin carving ideas, you've got to tackle the messy part: prepping the pumpkin itself. This isn't glamorous work, but it's non-negotiable. First, find a sturdy spot and cut a hole around the stem. Don't make it perfectly round; a jagged edge can actually look cooler, plus it hides imperfections. More importantly, cut at an angle, inwards towards the center, so the lid doesn't just fall in when you put it back. Once the lid is off, grab a scoop – an ice cream scoop works surprisingly well, or just a big spoon – and get to work. You need to scrape out all the seeds and stringy guts. Seriously, get *all* of it. Scrape the inside walls until they're relatively smooth and about an inch thick. This makes carving significantly easier, especially for those simpler spider shapes.
Think of this as clearing the cobwebs before you add new ones. A clean, properly prepped pumpkin is half the battle won for any carving project, but it's especially helpful when executing easy spider pumpkin carving ideas because you want clean lines and shapes. Don't rush this step; a thin, weak pumpkin wall is a recipe for disaster, turning your potential masterpiece into a collapsed, sad mess. A sturdy wall holds the design better and gives you more control with your tools.
Essential Prep Steps:
- Cut the lid at an angle, not straight down.
- Scoop out *all* the seeds and stringy bits.
- Scrape the inside walls until about 1 inch thick.
- Wipe down the outside of the pumpkin to remove dirt.
- Let the pumpkin dry slightly if it's very wet inside.
Simple Steps for Easy Spider Pumpkin Carving Ideas
Simple Steps for Easy Spider Pumpkin Carving Ideas
Transferring Your Creepy Crawly Design
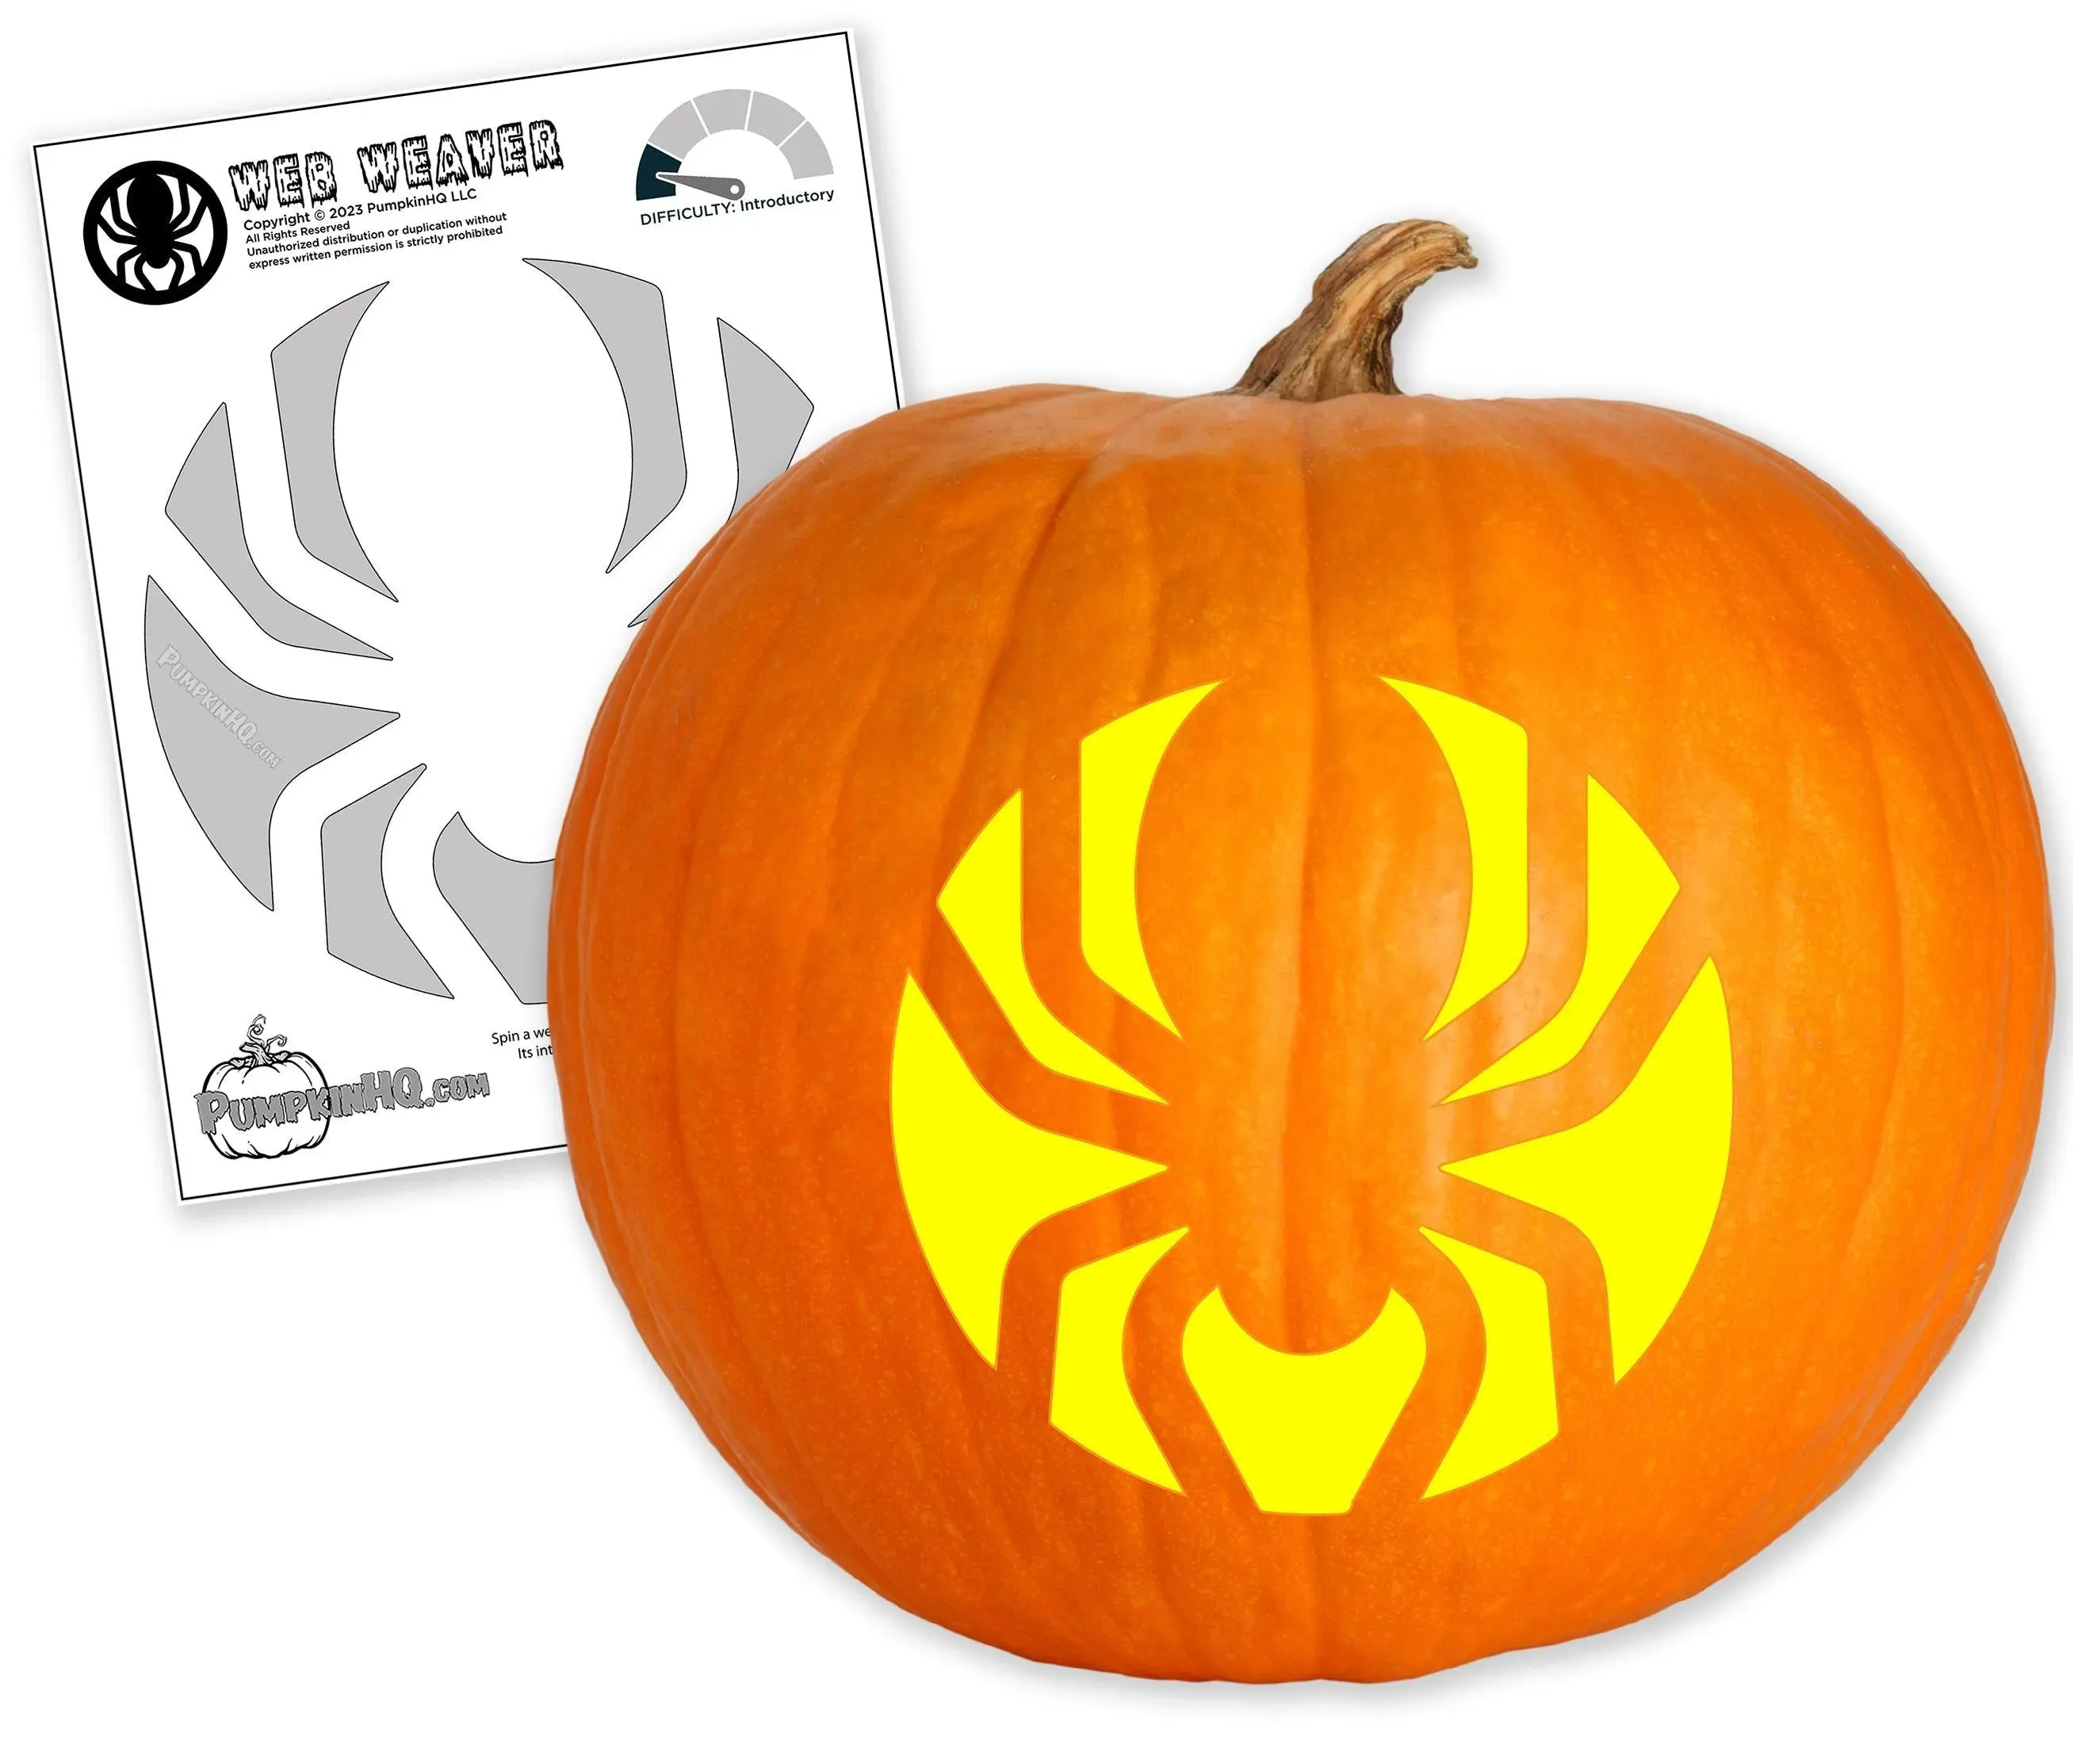
Alright, pumpkin prepped? Good. Now for the fun part: getting your easy spider design onto the gourd. You don't need freehand drawing skills for this, thankfully. The simplest method for easy spider pumpkin carving ideas involves a stencil. You can print one you found online, or even draw a basic spider silhouette on a piece of paper. Cut out the shape you want to carve. Tape the paper stencil onto your pumpkin where you want the spider to live. Now, take a sharp tool – a pumpkin poking tool, a thumbtack, or even the tip of a sharp knife (carefully!) – and poke small holes through the paper along the outline of your spider. Keep the holes close together. Once you've gone all the way around, remove the paper. You'll have a dotted outline on your pumpkin, ready to guide your carving.
Making the Cut: Less Art, More Outline Following
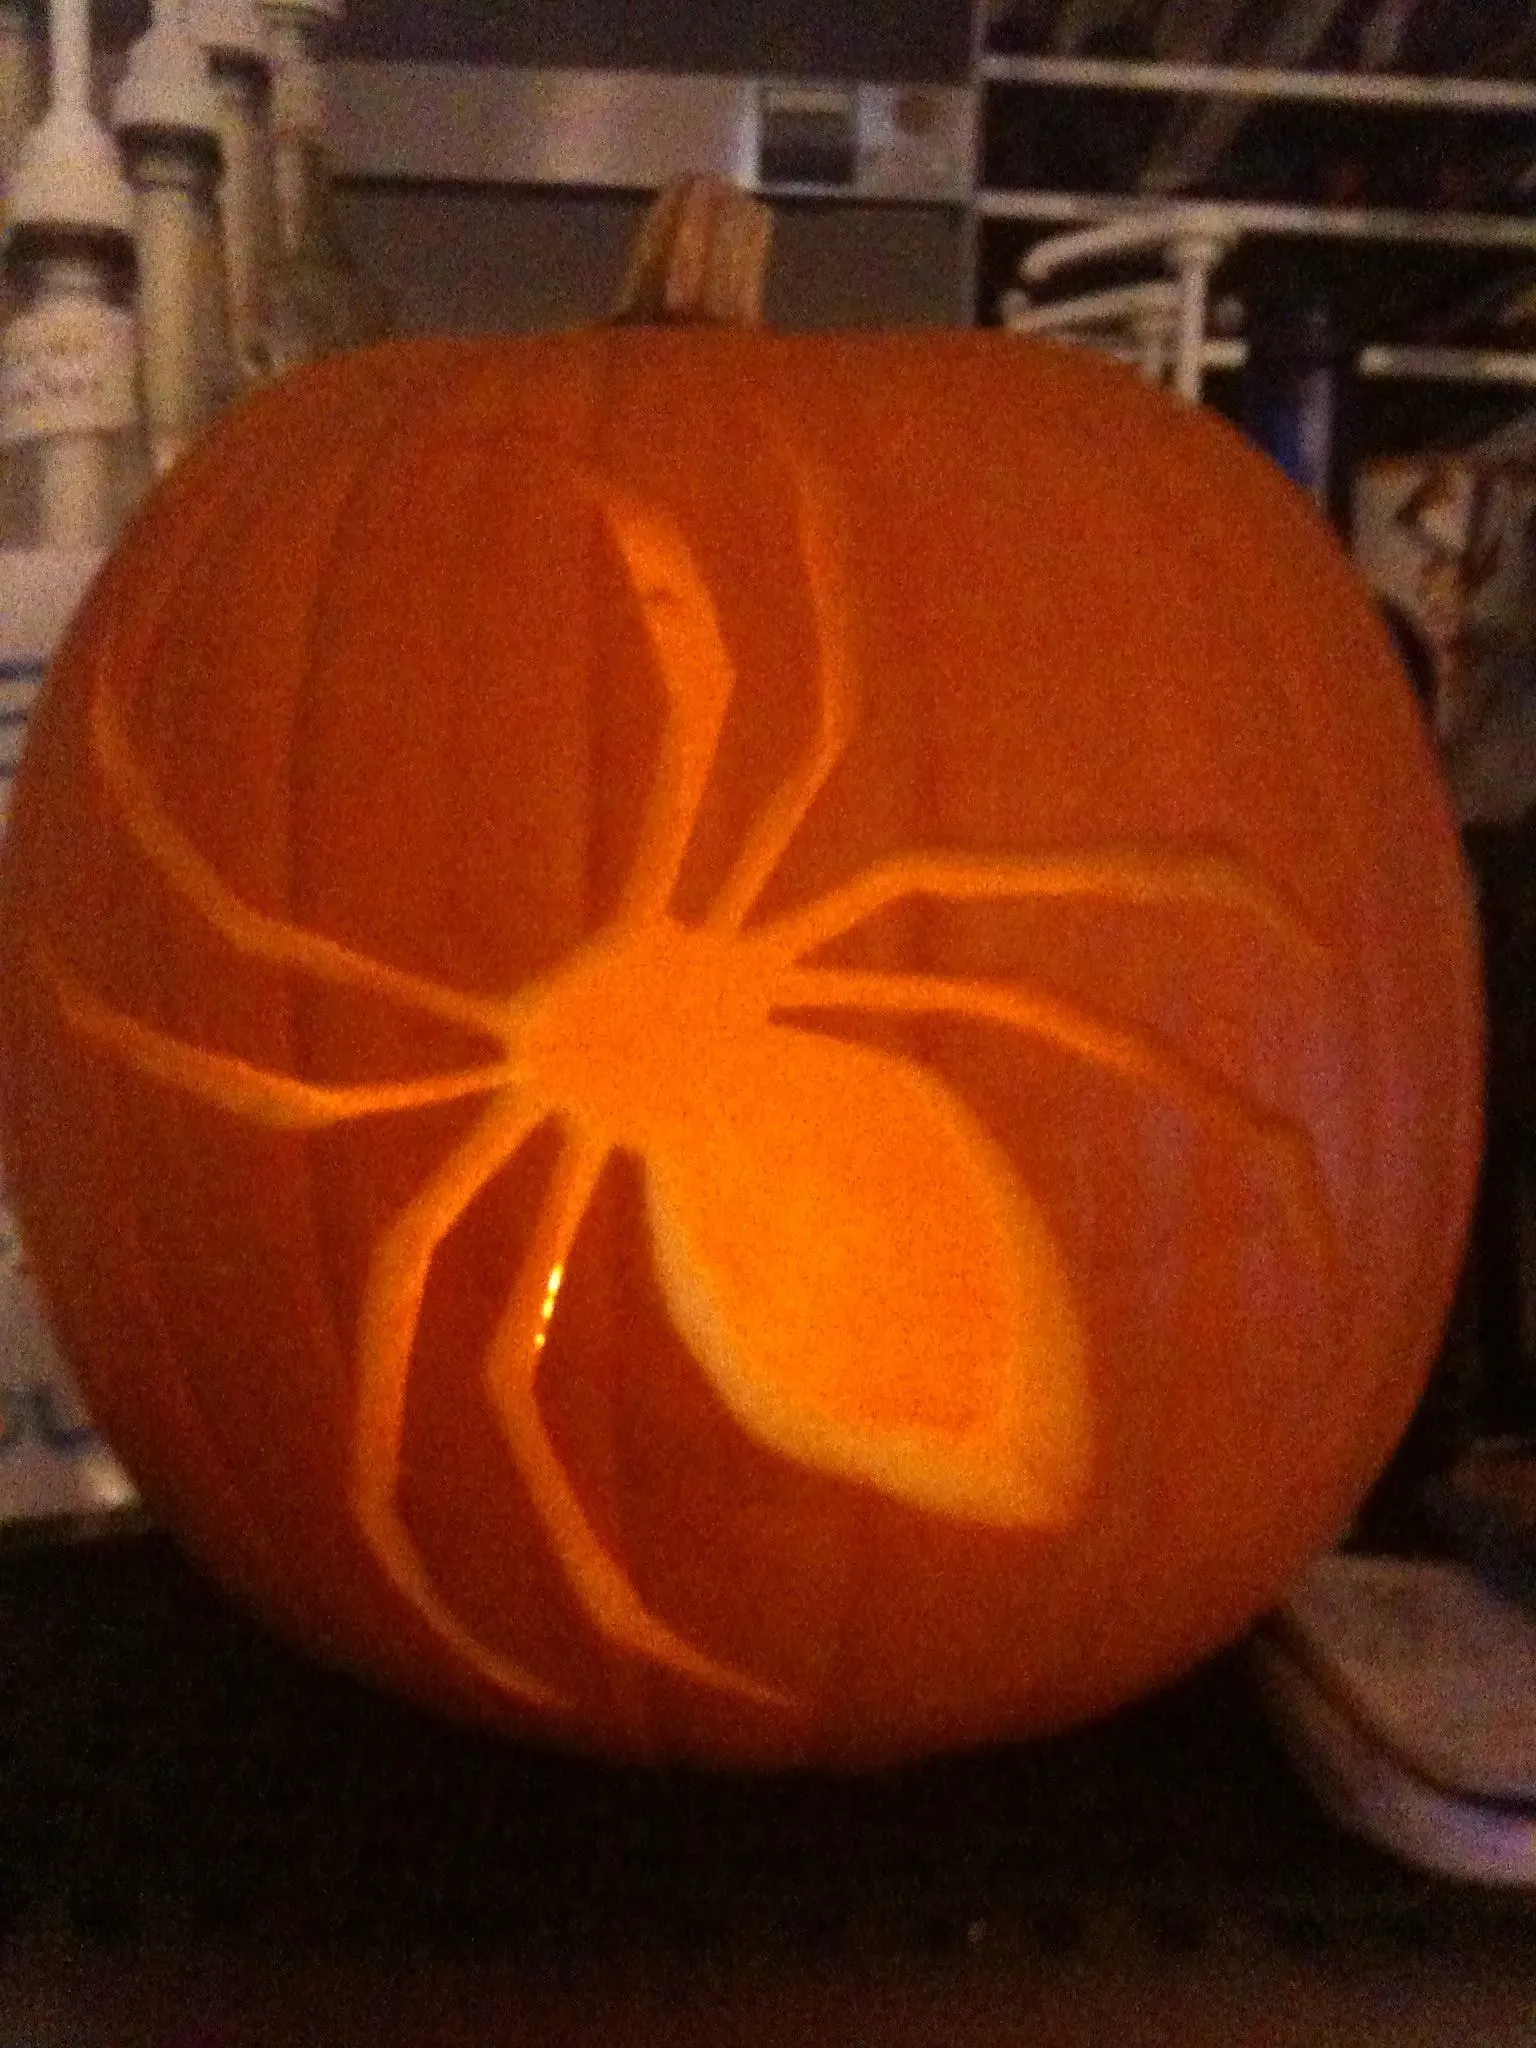
With your dotted outline in place, it's time to grab your carving tools. For easy spider pumpkin carving ideas, you typically only need a basic saw-like tool from a cheap pumpkin carving kit. Insert the tip of the saw into one of your guide holes and start slowly cutting along the dotted line. Don't try to do it all in one go. Work in short, controlled strokes. Keep the blade perpendicular to the pumpkin surface as much as possible. This prevents the cut from slanting inwards or outwards, which makes removing the piece much harder. Take your time, especially around any tighter curves for legs or bodies. Once you've cut all the way around the outline, gently push the carved piece out from the inside of the pumpkin. If it's stuck, carefully re-cut any spots you missed. Congratulations, you've just carved a spider!
Need a quick tool check?
- Pumpkin poking tool or thumbtack
- Basic pumpkin carving saw
- Scoop for guts (already used, but worth remembering)
- Maybe a smaller detail saw for refining edges (optional for *easy* ideas)
NoCarve Spider Pumpkin Alternatives

NoCarve Spider Pumpkin Alternatives
Skip the Knife, Embrace the Glue Stick
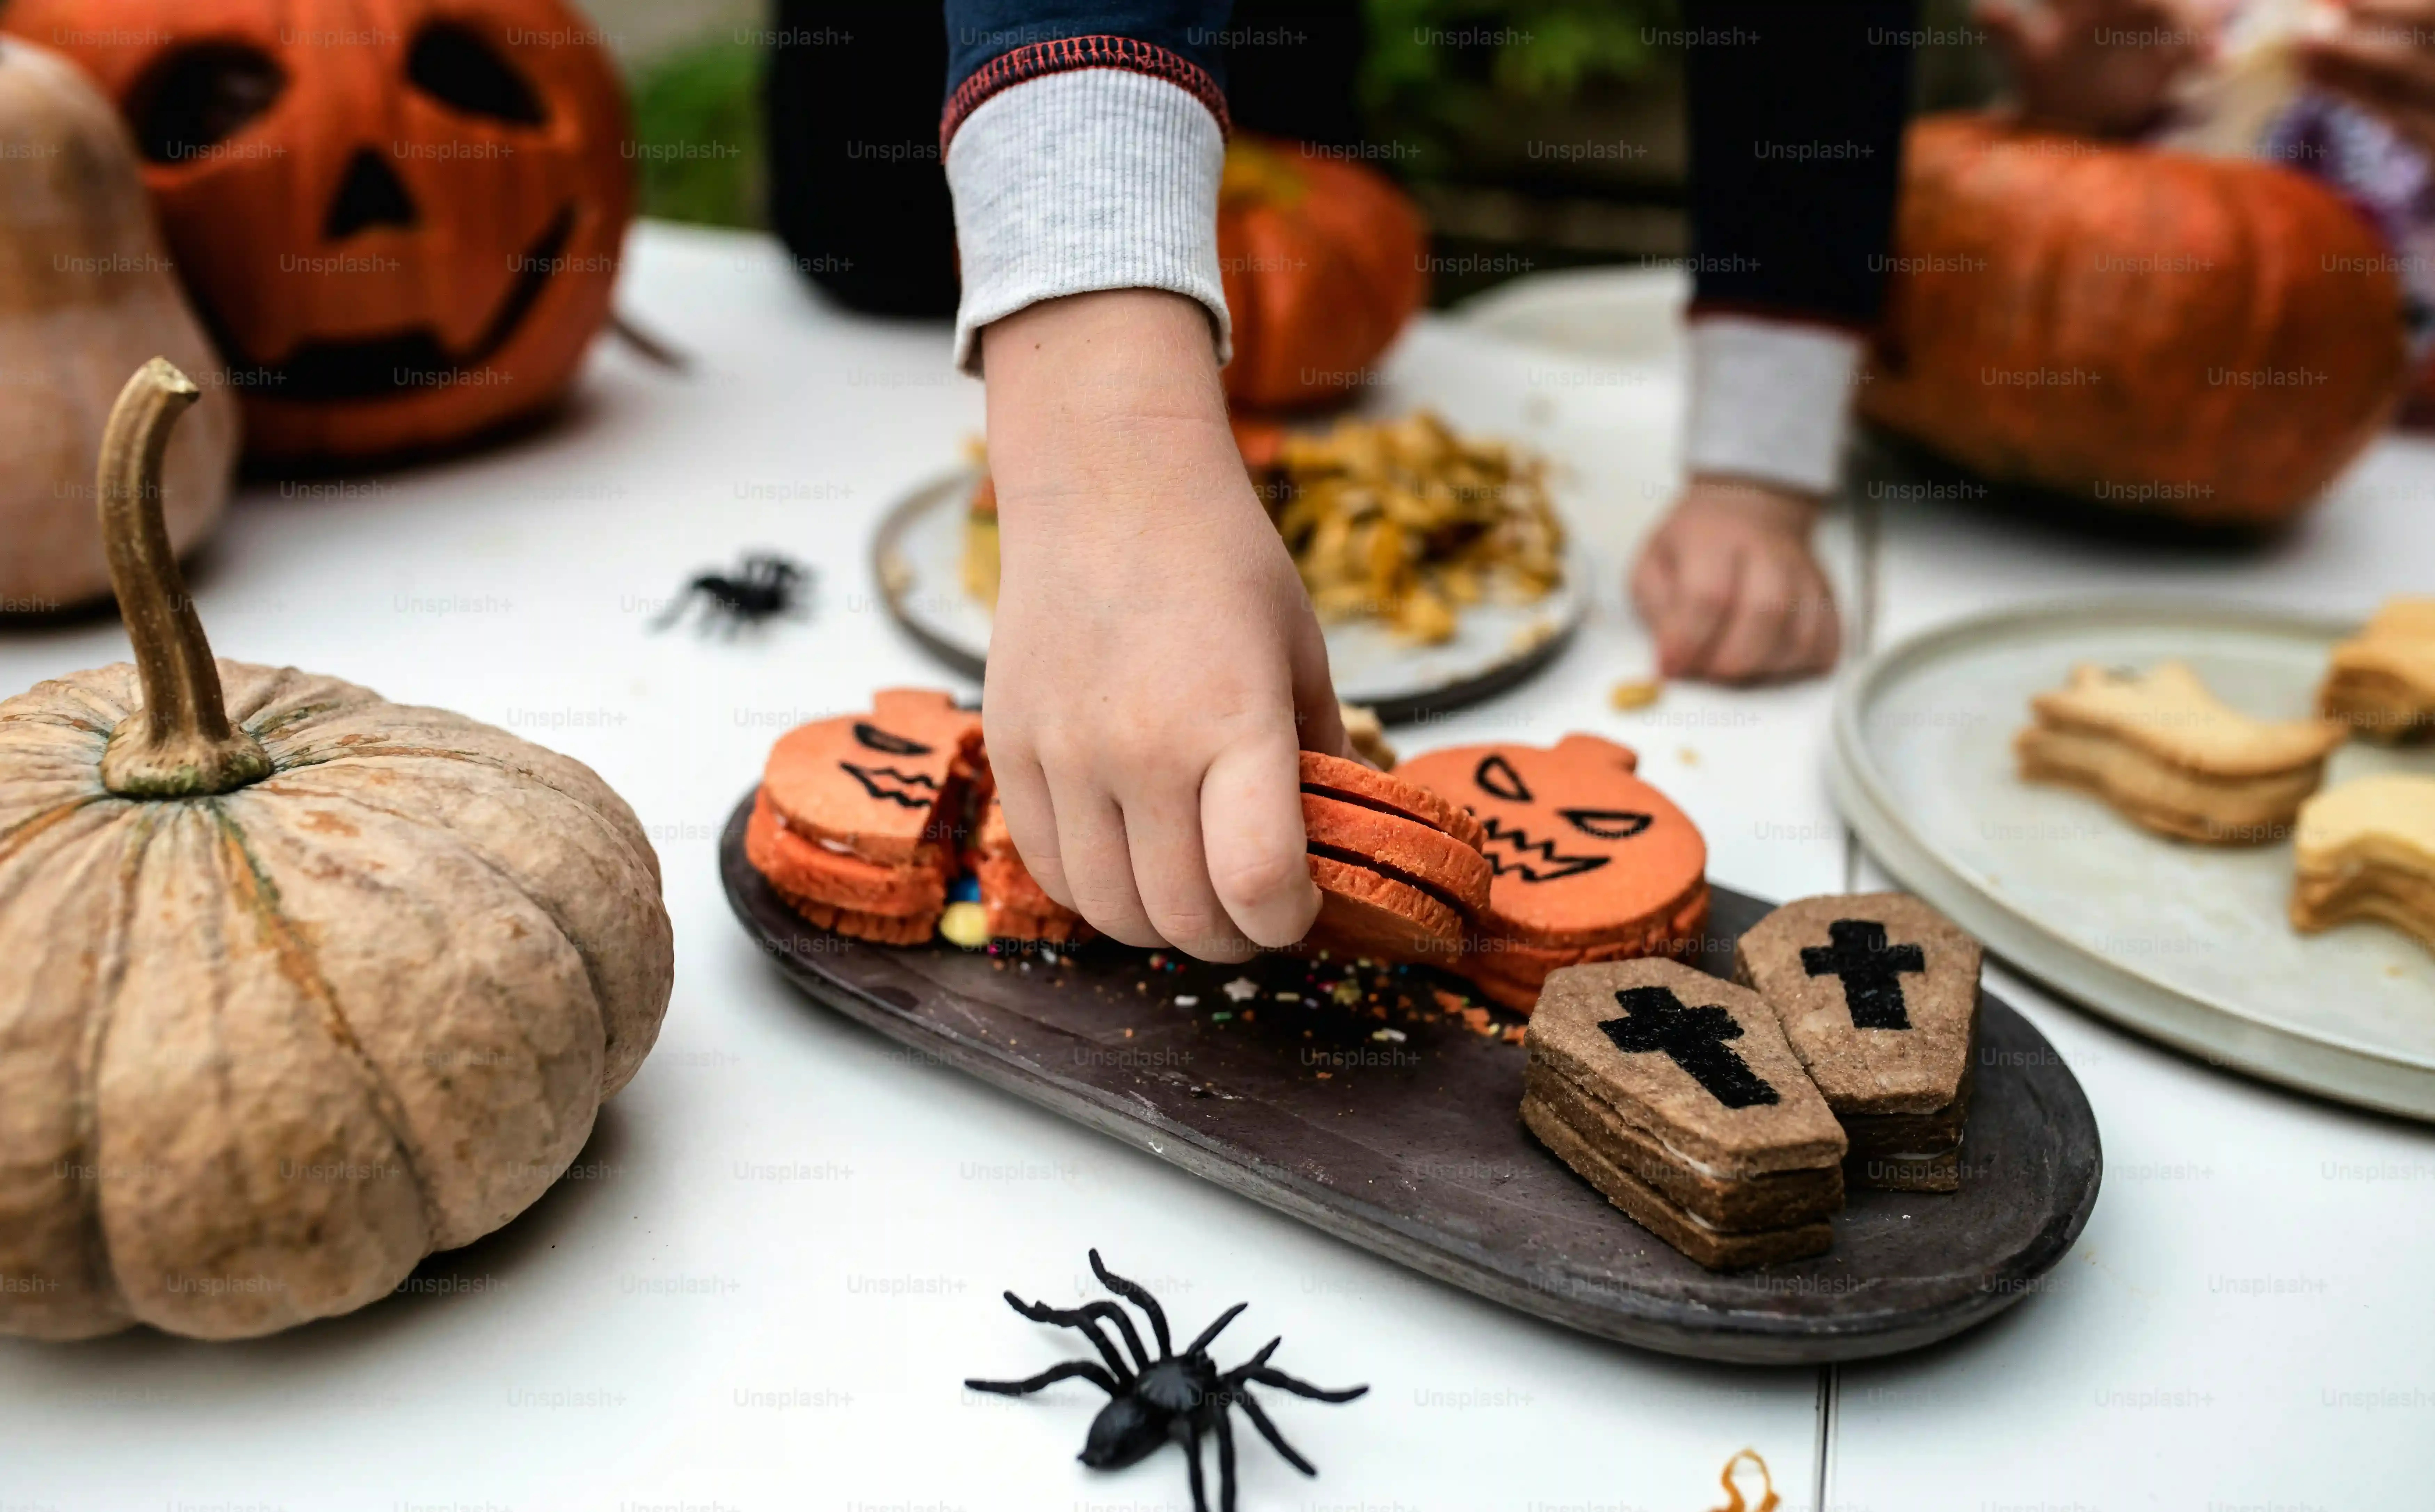
Let's face it, not everyone enjoys plunging a sharp object into a gourd. Maybe you've got little kids around, maybe you just value your fingers, or maybe the thought of pumpkin guts makes you queasy. Whatever the reason, embracingNo-Carve Spider Pumpkin Alternativesis a perfectly valid, and often much easier, route to spooky decor. You can achieve seriously creepy results without ever making a single cut. We're talking paint, markers, googly eyes, pipe cleaners – a whole different toolbox that opens up a world of possibilities beyond traditional carving. It’s less about precision surgery and more about creative assembly.
Materials Matter: Painting, Sticking, and Wrapping Spiders
So, what magic potions and tools do you need for these no-carve wonders? Black acrylic paint is your best friend for creating spider bodies. You can paint simple circles or ovals directly onto the pumpkin. Black permanent markers work well for drawing legs or webs. For a more tactile spider, think about gluing on fuzzy pom-poms or even small plastic spiders you buy at the dollar store. Pipe cleaners are fantastic for bending into creepy, spindly legs. Want a web? White yarn or string glued in a simple pattern does the trick. The beauty here is the forgiving nature of these materials; a shaky line of paint is just... artistic, right?
Basic No-Carve Spider Supplies:
- Black acrylic paint & brush
- Black permanent markers
- White permanent markers (for webs or eyes)
- Googly eyes (various sizes!)
- Black pom-poms or craft balls
- Black pipe cleaners
- White yarn or string
- Craft glue or hot glue gun (adult supervision needed)
Adding Texture and 3D Creepiness
Don't limit yourself to flat designs.No-Carve Spider Pumpkin Alternativesallow for some fun 3D effects. Glue larger black pom-poms or even small painted mini-pumpkins onto a larger pumpkin to create the spider's body. Use pipe cleaners twisted together for sturdy, poseable legs that stick out. You can even wrap the entire pumpkin in fake spiderweb material from the store before adding your spiders for an extra layer of spooky texture. It’s about building the spider *on* the pumpkin, rather than cutting it *into* it. This method often results in more durable decorations that last longer too, since you haven't compromised the pumpkin's structure.
Lighting Up Your Easy Spider Pumpkin Masterpiece
Lighting Up Your Easy Spider Pumpkin Masterpiece
Choosing the Right Glow for Your Gourd
You've put in the minimal effort required for your easy spider pumpkin carving ideas, or maybe you went the no-carve route. Great. But a spooky spider silhouette in the dark is just... a dark pumpkin. The magic happens when you introduce light. The right light source transforms your simple design into a glowing, eerie statement piece. It brings the spider to life, casting shadows that make it seem like it's crawling right off the pumpkin. Choosing how to light it is almost as crucial as the design itself. This isn't just about visibility; it's about setting the mood and highlighting your creepy creation effectively.
Battery-Powered Beats Open Flame
While traditionalists might reach for a candle, let's talk practicality and safety. For your easy spider pumpkin carving ideas, especially if the cuts are simple or walls are thin, an open flame is a fire hazard waiting to happen. Plus, candles flicker unevenly and can blacken the inside of your pumpkin quickly. Battery-operated LED lights are the way to go. They come in various colors (though white or a spooky green/purple works best for spiders), are much safer, last longer, and provide a consistent, bright glow. You can find cheap LED puck lights, strings of fairy lights, or even purpose-built pumpkin lights with remote controls that let you change colors or modes. They sit neatly inside and don't require constant monitoring.
Light Source Showdown:
- Candles: Traditional feel, uneven light, fire risk, short lifespan.
- Basic LED Puck Lights: Safe, consistent light, affordable, typically white or single color.
- LED String Lights: Can fill the space better, good for larger pumpkins, comes in colors/modes.
- Remote Control LED Pumpkin Lights: Safest, versatile colors/modes, easy operation, slightly more expensive.
Positioning for Maximum Creep Factor
Slamming a light inside your pumpkin is a start, but strategic placement makes a difference. For your easy spider pumpkin carving ideas, think about where the light will hit the carved or decorated areas. If you've carved a spider, position the light so it shines directly through the opening. For no-carve spiders painted on the surface, place the light to cast shadows that emphasize the shape or any 3D elements you added, like pipe cleaner legs. Sometimes, placing the light slightly off-center creates more dramatic shadows, making the spider look even more menacing. Test different positions in a darkened room to see what looks best. A little experimentation here pays off in a much creepier final display.
Spinning Up Your Spooky Spider Pumpkin
So there you have it. Transforming a humble pumpkin into a creepy crawly masterpiece doesn't require an engineering degree or the steady hand of a neurosurgeon. With some basic tools, a simple plan, and maybe a stencil or two, you can achieve a genuinely spooky effect that says "I put in just enough effort to be festive, but not so much I'm questioning my life choices." Whether you carve, paint, or glue, these easy spider pumpkin carving ideas prove that Halloween decor can be impactful without being complicated. Now go forth and infest your porch with eight-legged frights. The trick-or-treaters will appreciate the effort (or maybe just the candy).