Table of Contents
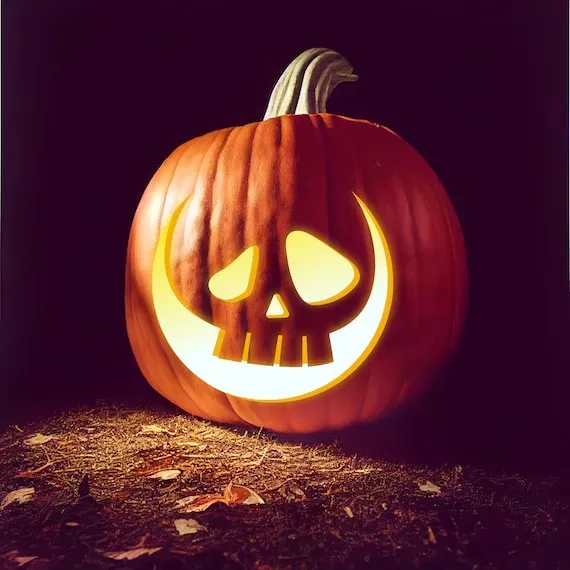
Halloween is creeping up, and if you're anything like me, you've got pumpkins waiting on the porch. The classic jack-o'-lantern is fine, sure, but there's something undeniably cool and a little spooky about a skull. Maybe you've seen intricate skull carvings online and thought, "Yeah, no way I can do that." I get it. Precision carving can feel intimidating, like you need a sculpting degree and the patience of a saint.
Why Try Easy Skull Pumpkin Carving Ideas?
Why Try Easy Skull Pumpkin Carving Ideas?
Ditch the Triangle Grin, Embrace the Spooky
Look, we've all done the classic triangle eyes and jagged mouth. It's the pumpkin equivalent of a participation trophy. It's fine, it's traditional, it gets the job done. But if you want your porch to actually look like Halloween decided to show up, a skull is where it's at. Skulls just scream spooky season in a way a simple happy face never will. They have that edge, that slightly unsettling vibe that makes people pause. Trying easy skull pumpkin carving ideas lets you tap into that without needing to be Michelangelo with a carving tool. It’s about upping your Halloween game beyond the basics.
Maximum Spook, Minimum Sweat
Maybe you've seen those jaw-dropping, hyper-realistic skull carvings online and thought, "Nope. Not for me." Those things look like they take days and require a surgeon's steady hand. The beauty of focusing on *easy* skull pumpkin carving ideas is that you bypass all that frustration. We're talking about techniques that get you the skull effect – the eye sockets, the nose hole, maybe some tooth hints – without requiring intricate detail or hours hunched over a gourd. It's about getting the iconic shape and feel with simple cuts, stencils, or even just strategic scraping. You get the cool factor without the carpal tunnel.
Reasons to Go Skull This Year
- Skulls are iconic Halloween imagery.
- They look more advanced than they often are (with the right techniques).
- You can scare the neighborhood kids just a little bit more.
- It's a fun break from the same old jack-o'-lantern faces.
- Easy methods mean less frustration and more finished pumpkins.
Gathering Your Gear for Easy Skull Pumpkin Carving

Gathering Your Gear for Easy Skull Pumpkin Carving
Start with the Basics: Kitchen Drawer Raid
Alright, before you hit the seasonal aisle looking for fancy carving kits, let's be real. You probably have half the stuff you need for easy skull pumpkin carving right in your kitchen drawer. A sturdy spoon is your best friend for gutting that gourd. Seriously, don't underestimate the power of a good, solid soup spoon to scrape out all that stringy pulp and seeds. A large, sharp kitchen knife is essential for cutting off the top (or bottom, more on that later) of the pumpkin. Just make sure it's sharp; a dull knife is way more dangerous than a sharp one because you have to force it. Grab a bowl for the guts and another for the seeds if you plan on roasting them. Simple.
Specific Tools That Make Skulls Easier
While kitchen basics get you started, a few dedicated pumpkin tools do make the job smoother, especially when you're aiming for defined shapes like eye sockets and teeth for your easy skull pumpkin carving ideas. Those little serrated carving saws you get in kits? They're actually pretty useful for cutting through the thick pumpkin rind without slicing your finger off. Look for one with a fine blade for tighter curves. Pumpkin scrapers with jagged edges are also fantastic for thinning the wall where you plan to carve or just making the inside nice and smooth. A drill with different sized bits can even be a cheat code for perfect circles for eyes or nostrils – just saying.
Essential Skull Carving Tools
- Sturdy spoon for gutting
- Large, sharp kitchen knife (adult use only!)
- Small serrated pumpkin saw
- Pumpkin scraper
- Optional: Drill and drill bits
- Optional: Poke tool or awl
Don't Forget Safety and Cleanup
Nobody wants a trip to the emergency room interrupting their spooky fun. Safety first, always. A pair of work gloves can give you better grip and protect your hands from accidental slips, especially when using sharp tools. A non-slip surface to work on is also crucial – old newspapers spread out on a table work well, or even working directly on concrete if the weather cooperates. And trust me on this: cleanup is way easier if you're prepared. Have trash bags ready for the pumpkin guts and scraps. Keep some paper towels and maybe a wet cloth handy for sticky hands and drips. A little foresight here saves you scraping dried pumpkin goop off your countertop later.
Simple Stencil Techniques for Easy Skull Pumpkin Carving
Simple Stencil Techniques for Easy Skull Pumpkin Carving
Stencils: Your Shortcut to a Spooky Skull
Alright, let's talk stencils. If the idea of freehanding a skull makes you break out in a cold sweat, a stencil is your new best friend for easy skull pumpkin carving ideas. Think of it as tracing for grown-ups, but way cooler and with less glitter glue. You can find tons of free skull stencils online, ranging from super simple outlines to slightly more detailed ones. The key is to pick one that matches your comfort level and the size of your pumpkin. Print it out, tape it firmly onto your cleaned pumpkin surface, and then use a poke tool or even a sharp pencil to transfer the design by poking small holes along the lines. These little dots will be your guide when you start carving (or scraping!). It takes the guesswork out of getting the basic skull shape right, which is half the battle.
Painting vs. Carving: More Easy Skull Pumpkin Ideas

Painting vs. Carving: More Easy Skull Pumpkin Ideas
Painting: The No-Cut Skull Solution
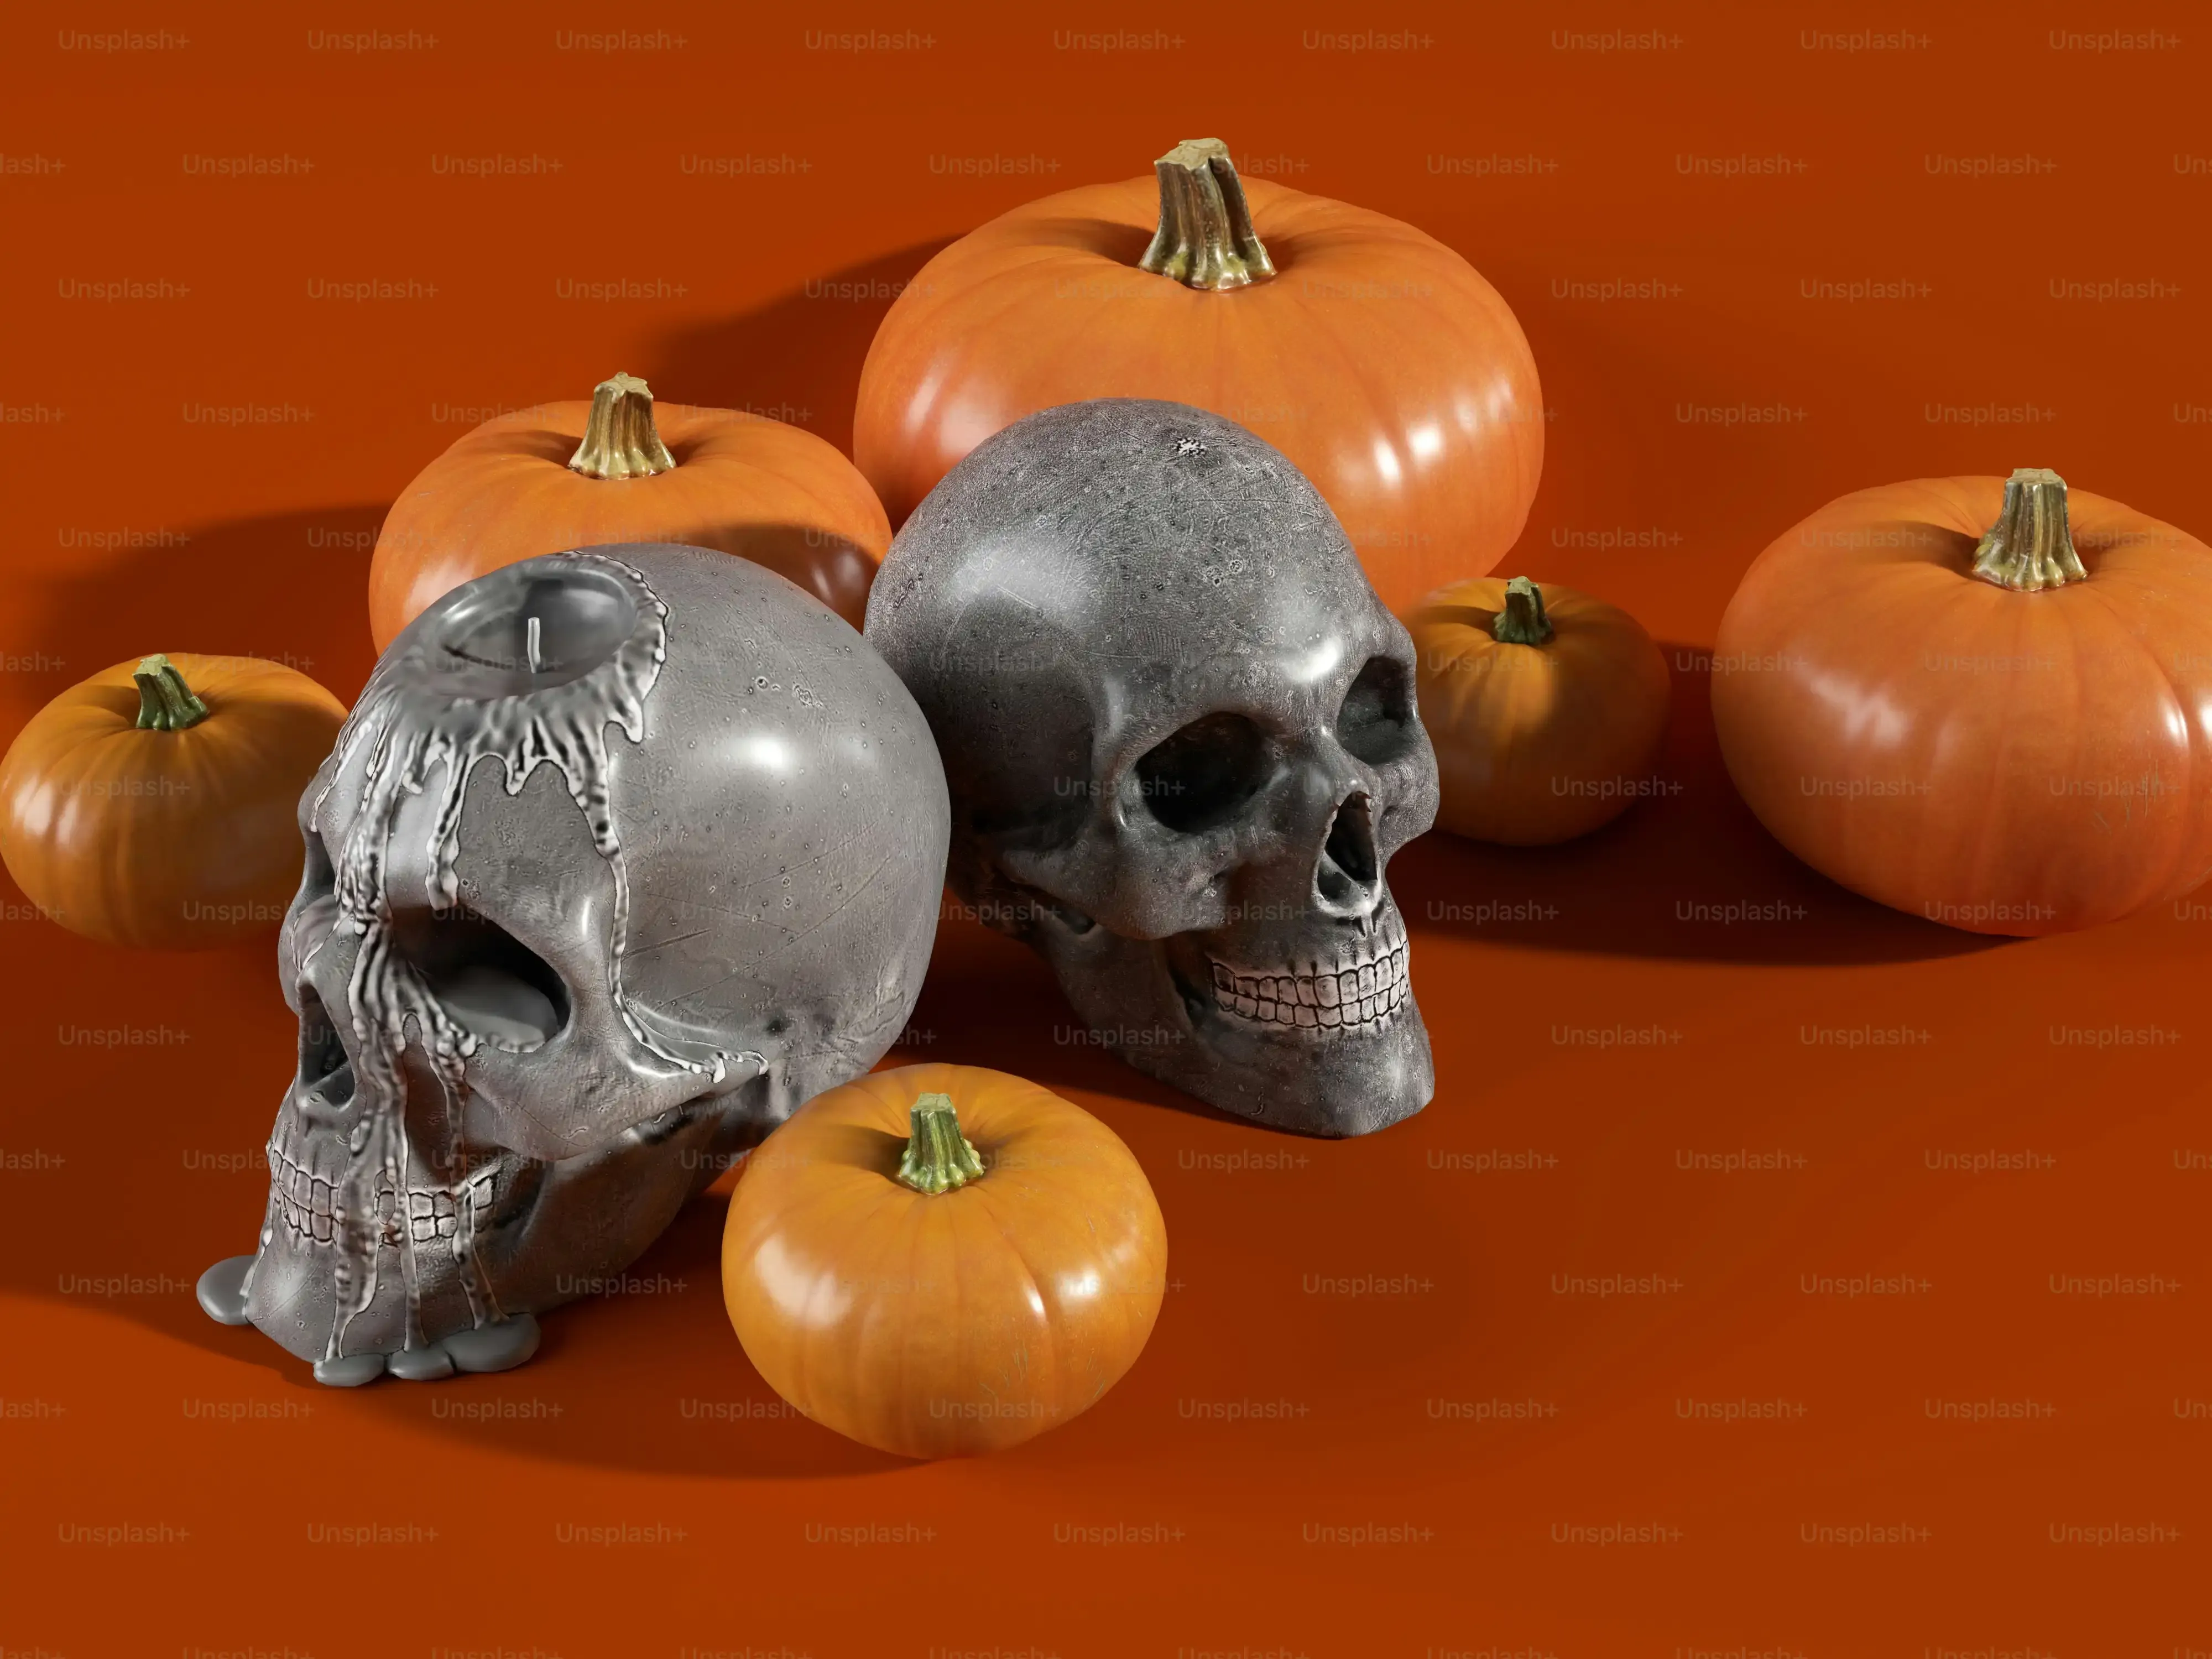
Maybe the idea of sticking a sharp object into a pumpkin still makes you nervous, or perhaps you're working with younger helpers where sharp tools are a no-go. That's where painting comes in as a fantastic alternative for easy skull pumpkin carving ideas that don't involve any carving at all. You can get incredibly detailed or keep it super simple. A black pumpkin painted with white skull features – eye sockets, nose, maybe some jagged teeth – is striking and requires zero cutting. You can use acrylic paints, which stick well to pumpkin surfaces. Draw your design on first with a pencil or chalk, then fill it in. It's messy in a fun, paint-splatter kind of way, not a potential-finger-loss kind of way.
Shallow Carving and Scraping Secrets
If you want the look of carving but without cutting all the way through, consider shallow carving or scraping. This technique is perfect for adding texture and depth to your easy skull pumpkin carving ideas. Instead of pushing the tool through the rind, you just remove the top layer of skin, exposing the lighter flesh underneath. This works particularly well for creating areas like sunken cheeks, cracks in the skull, or even outlining teeth without having to cut out individual shapes. A linoleum cutter or a simple scraping tool from a pumpkin kit works great for this. You can scrape away large areas for eye sockets or use finer tools for lines. It adds dimension and feels more like traditional carving without the structural commitment.
Why Scrape or Paint?
- Safer than full carving, especially for kids.
- Pumpkins last longer as they aren't cut all the way through.
- Allows for fine detail without precision cutting.
- Great for layered effects (e.g., scraping over painted areas).
- Less mess than dealing with pumpkin guts everywhere.
Mixing and Matching Techniques
Who says you have to choose just one method? The best easy skull pumpkin carving ideas often combine techniques. You could carve out the main eye sockets and nose hole, then use scraping to add texture around them or create cheekbones. Or, paint the basic skull shape white, and then scrape away areas for spooky shadows or cracks. You could even paint a black background and then carve or scrape out the white skull features for a high-contrast look. Don't be afraid to experiment. What's the worst that happens? You mess up a pumpkin? They're temporary art anyway. Grab some paint, grab a scraper, and see what kind of ghoulish creation you can conjure up without spending hours stressing over perfect lines.
Finishing Touches: Making Your Easy Skull Pumpkin Pop

Finishing Touches: Making Your Easy Skull Pumpkin Pop
Light It Up: Choosing the Right Glow
You've done the carving, or the scraping, or the painting. Now your easy skull pumpkin carving ideas are taking shape, but they won't look truly spooky until they're lit. Forget the old wax candles unless you enjoy a fire hazard on your porch. Seriously, don't do it. Battery-operated LED lights are the way to go. They come in various colors – a flickering orange is classic, but a cool white or even a creepy green can give your skull a whole different vibe. Pop one or two inside, depending on the size of your pumpkin and how much light you want spilling out of the eyes and mouth. Place the light towards the back or center so it illuminates the carved areas effectively. It's like adding the final, glowing eyes to your ghoulish creation.
Add Some Ghoulish Accessories
Why stop at just the pumpkin itself? You can enhance your easy skull pumpkin carving ideas by adding a few simple accessories. Think beyond the gourd. Maybe glue some fake spiders crawling around the eye sockets. Drape a bit of fake cobweb over the top. You could even give your skull a little hat or a spooky bow tie if you're going for a more whimsical, yet still skull-ish, look. Small plastic bones or rubber bats can be strategically placed nearby. These little touches don't require any extra carving skill but add layers of visual interest and push the spooky factor just a bit further. It’s about creating a scene, not just a single object.
- Fake cobwebs draped lightly.
- Plastic spiders or insects glued on.
- Small plastic bats hanging nearby.
- Moss or dried leaves for texture.
- A mini top hat or bow tie for personality.
- Glow-in-the-dark paint accents.
Keep It Fresh: Making Your Skull Last
You put in the effort, even if they were easy skull pumpkin carving ideas. Now you want your masterpiece to last longer than a couple of nights before it starts looking sad and deflated. Once your pumpkin is carved or scraped, moisture loss is the enemy. A simple trick is to rub petroleum jelly or vegetable oil on all the cut or scraped surfaces. This helps seal in moisture. You can also give the whole pumpkin a spritz with a bleach-and-water solution (about one tablespoon of bleach per quart of water) to kill off mold and bacteria that cause it to rot faster. Let it dry completely before bringing it inside or lighting it. Storing it in a cool, dry place when it's not on display also helps prolong its spooky life.
Your Easy Skull Pumpkin Awaits
So there you have it. Turning a humble pumpkin into a spooky skull doesn't require advanced degrees in gourd anatomy or a workshop full of specialized tools. By sticking to simple stencils, smart cuts, and maybe a little paint trickery, you can achieve a genuinely cool, slightly creepy effect without wanting to throw the pumpkin across the yard. These easy skull pumpkin carving ideas mean you can actually enjoy the process, get a great decoration, and still have time to figure out what you're wearing for Halloween. Go grab a pumpkin and give it a shot; the worst that happens is you get a slightly lopsided skull, and honestly, sometimes that's even spookier.