Table of Contents
Alright, let's be honest. The idea of carving a pumpkin sounds great until you're elbow-deep in guts, wrestling with a dull knife, and the intricate design you planned looks less like a masterpiece and more like a sad, lopsided mess. It doesn't have to be a horror show before Halloween even arrives. Forget the Pinterest-perfect pressure and the tiny, impossible details.
Choosing the Right Pumpkin for Easier Carving
Choosing the Right Pumpkin for Easier Carving
let's talk pumpkins. Not all pumpkins are created equal when it comes to carving. You might spot a behemoth that looks impressive on your porch, but trust me, wrestling that thing with a small saw is a workout you didn't sign up for. For genuinely easier carving, you want a pumpkin that feels sturdy but isn't rock hard. Give it a tap; it should sound a bit hollow. Look for one with smooth skin, free of major bumps or deep ridges, because those are just obstacles waiting to ruin your design flow. A flat bottom is also your friend – nothing worse than a wobbly pumpkin trying to escape your knife. Pay attention to the stem too; a firm, intact stem gives you something to hold onto while you're working. Choosing the Right Pumpkin for Easier Carving is the first step to avoiding a carving disaster.
Essential Tools and Prep for Easy Pumpkin Ideas Carving
Essential Tools and Prep for Easy Pumpkin Ideas Carving
Gathering Your Pumpkin Carving Arsenal
you've got your perfect pumpkin, the one that isn't trying to roll away and doesn't look like it survived a wrestling match with a badger. Now, let's talk tools. Forget that tiny, flimsy saw that came in a kid's kit – it's the express train to frustration-ville. You want something sturdy. A basic serrated knife works for the big cuts, like taking the top (or bottom, more on that later) off. For the actual carving, specialized pumpkin carving tools are actually decent now; they have smaller, sharper blades designed for curves and details without getting stuck. Cookie cutters are surprisingly effective for simple shapes like stars or circles – just place, press, and maybe give it a tap with a rubber mallet. A sturdy scoop, like an ice cream scoop, is essential for gutting the thing. Trust me, a spoon will just make you angry. Having the right gear for Essential Tools and Prep for Easy Pumpkin Ideas Carving makes a world of difference.
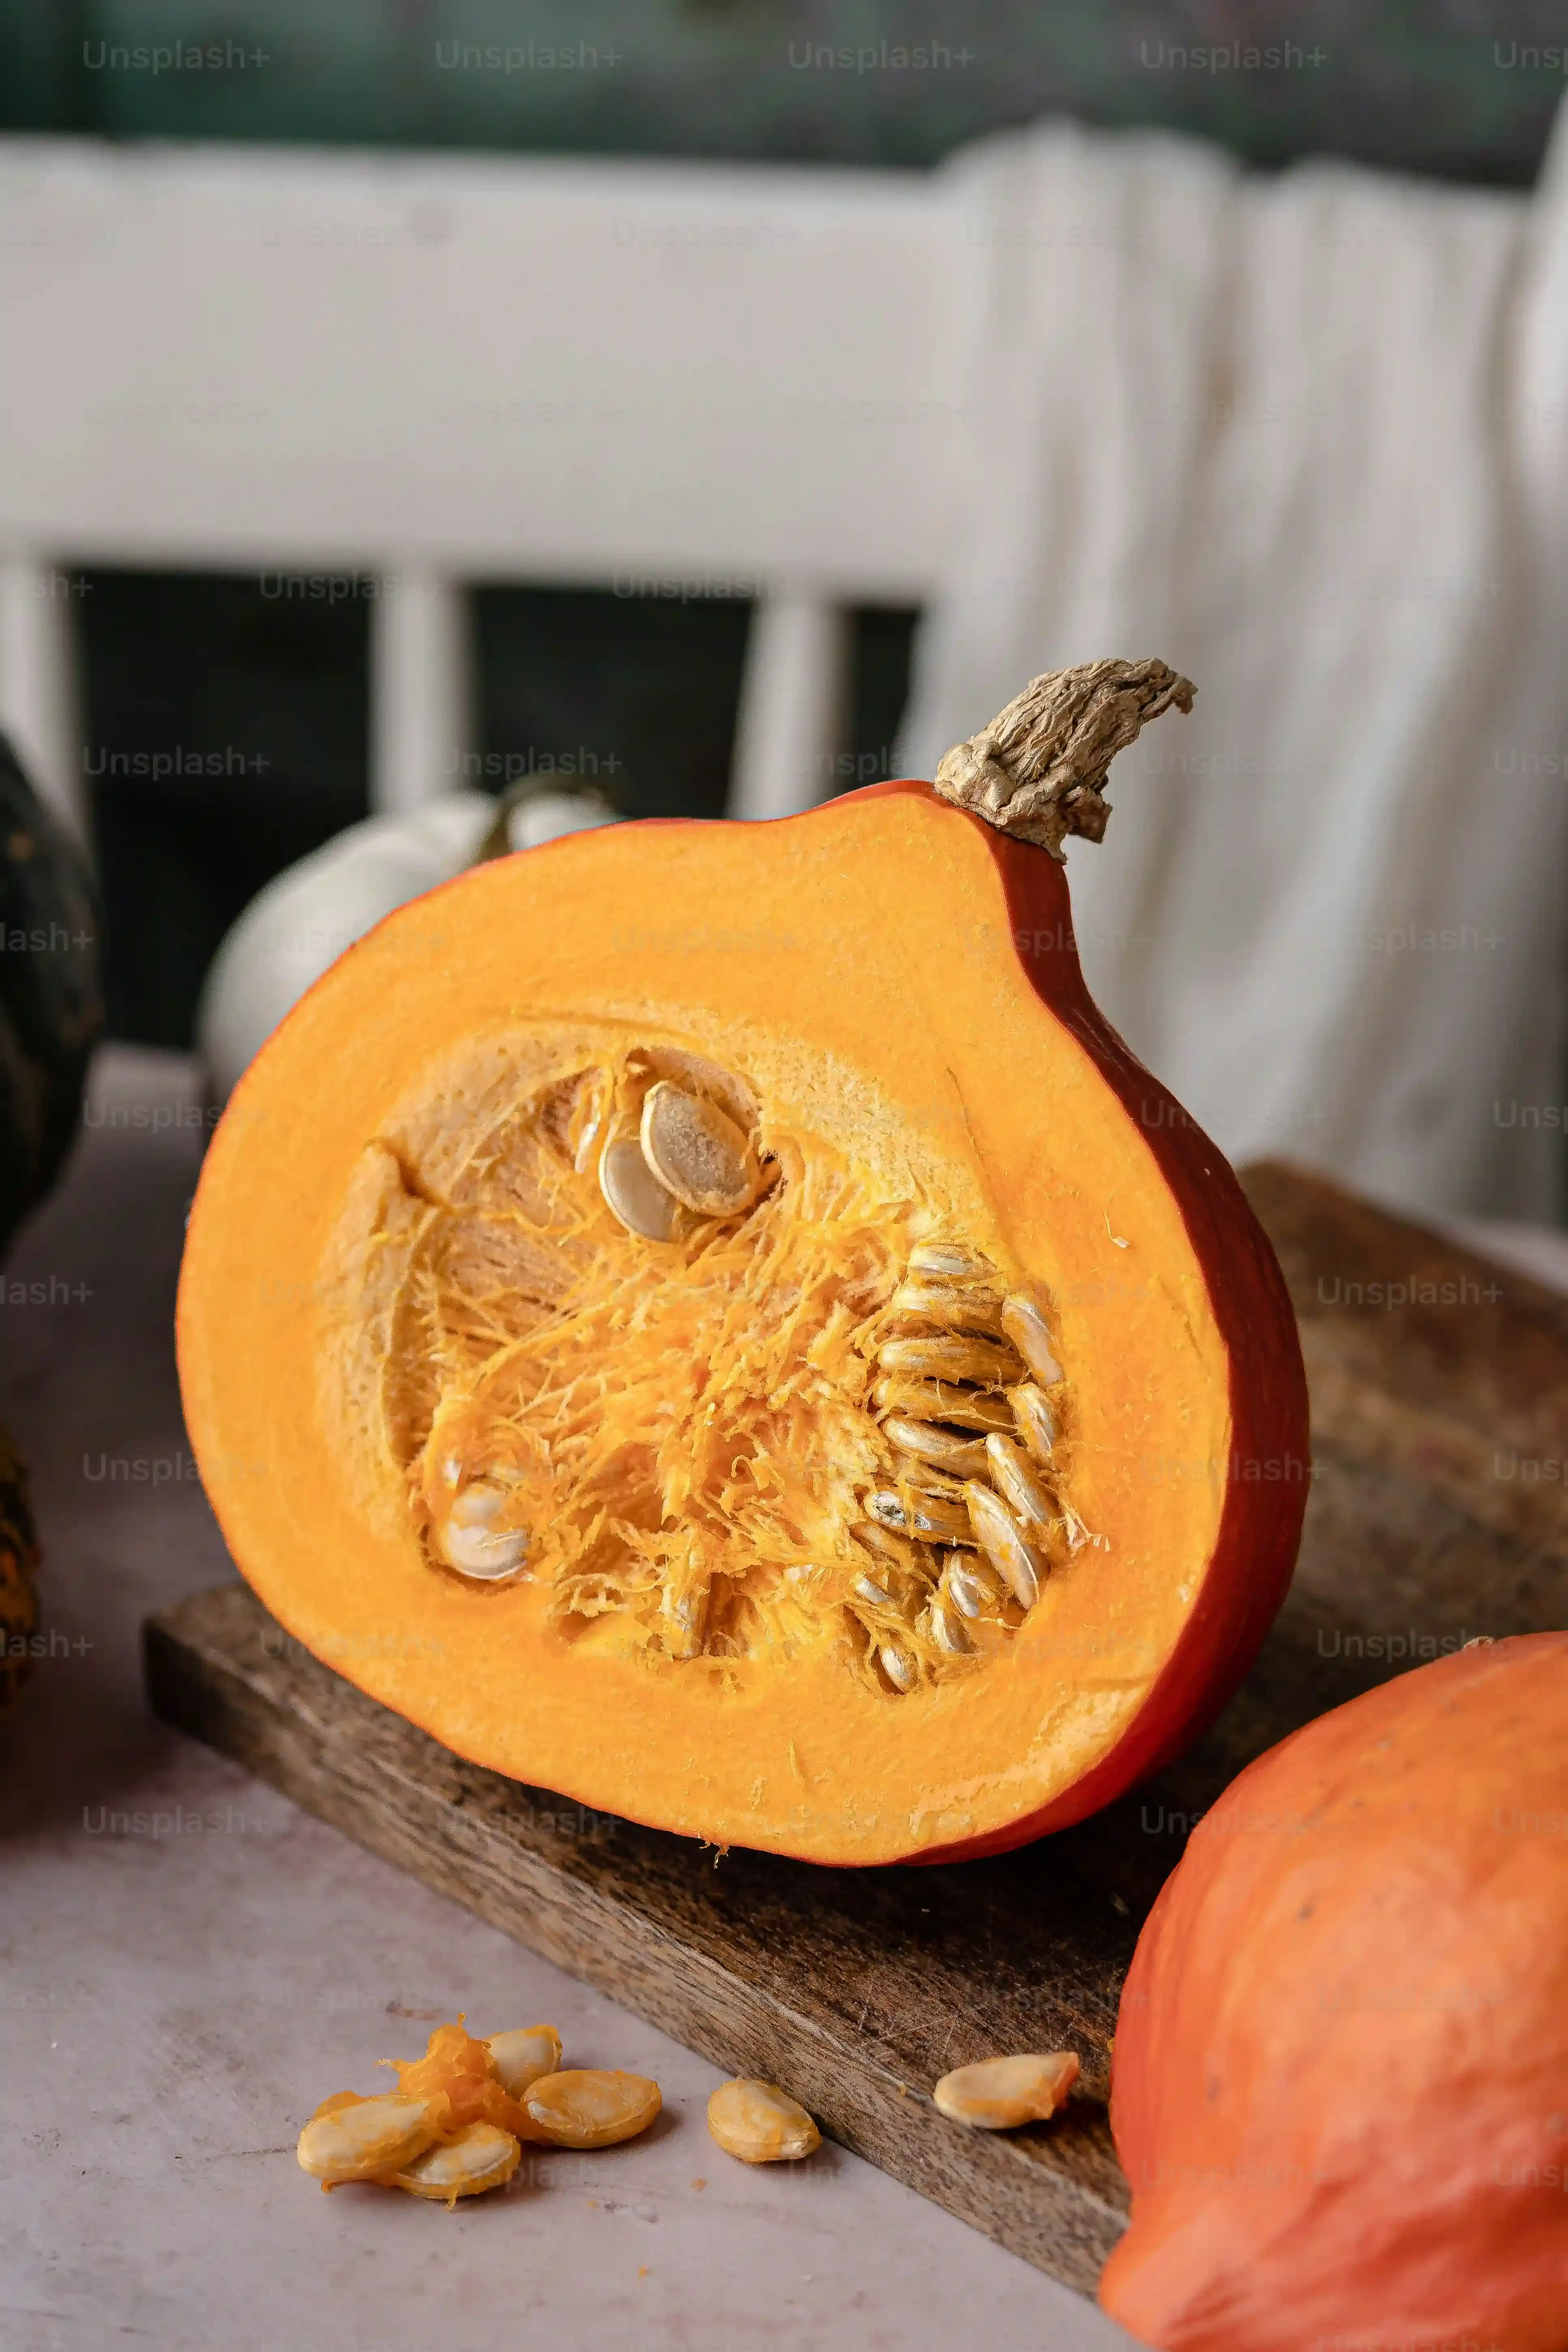
The Guts and Glory of Pumpkin Prep
Before you start slicing and dicing, you've got to deal with the insides. Cutting the lid (or bottom) is your entry point. Some folks swear by cutting the bottom out; it makes placing the pumpkin over a light easier later. Either way, make the cut angled inward slightly, so the lid doesn't fall into the pumpkin later. Once it's open, it's time for the messy part. Use that sturdy scoop or even your hands (wear gloves if you're squeamish) to scrape out all the seeds and stringy bits. Get it clean! The thicker the wall you leave, the harder it is to carve, but too thin and it collapses. Aim for about an inch thick. This prep work is crucial for smooth sailing during the actual carving part of your easy pumpkin ideas carving project.
Here's a quick checklist for your carving station:
- Sharp serrated knife (for lid/base)
- Pumpkin carving saw tools (various sizes)
- Sturdy scoop (ice cream scoop works great)
- Large bowl for guts and seeds
- Newspaper or drop cloth (for the mess)
- Dry erase marker (red is good, blends in if you miss a spot)
- Cookie cutters and rubber mallet (optional, but handy)
Classic and KidFriendly Easy Pumpkin Ideas Carving Designs
Classic and KidFriendly Easy Pumpkin Ideas Carving Designs
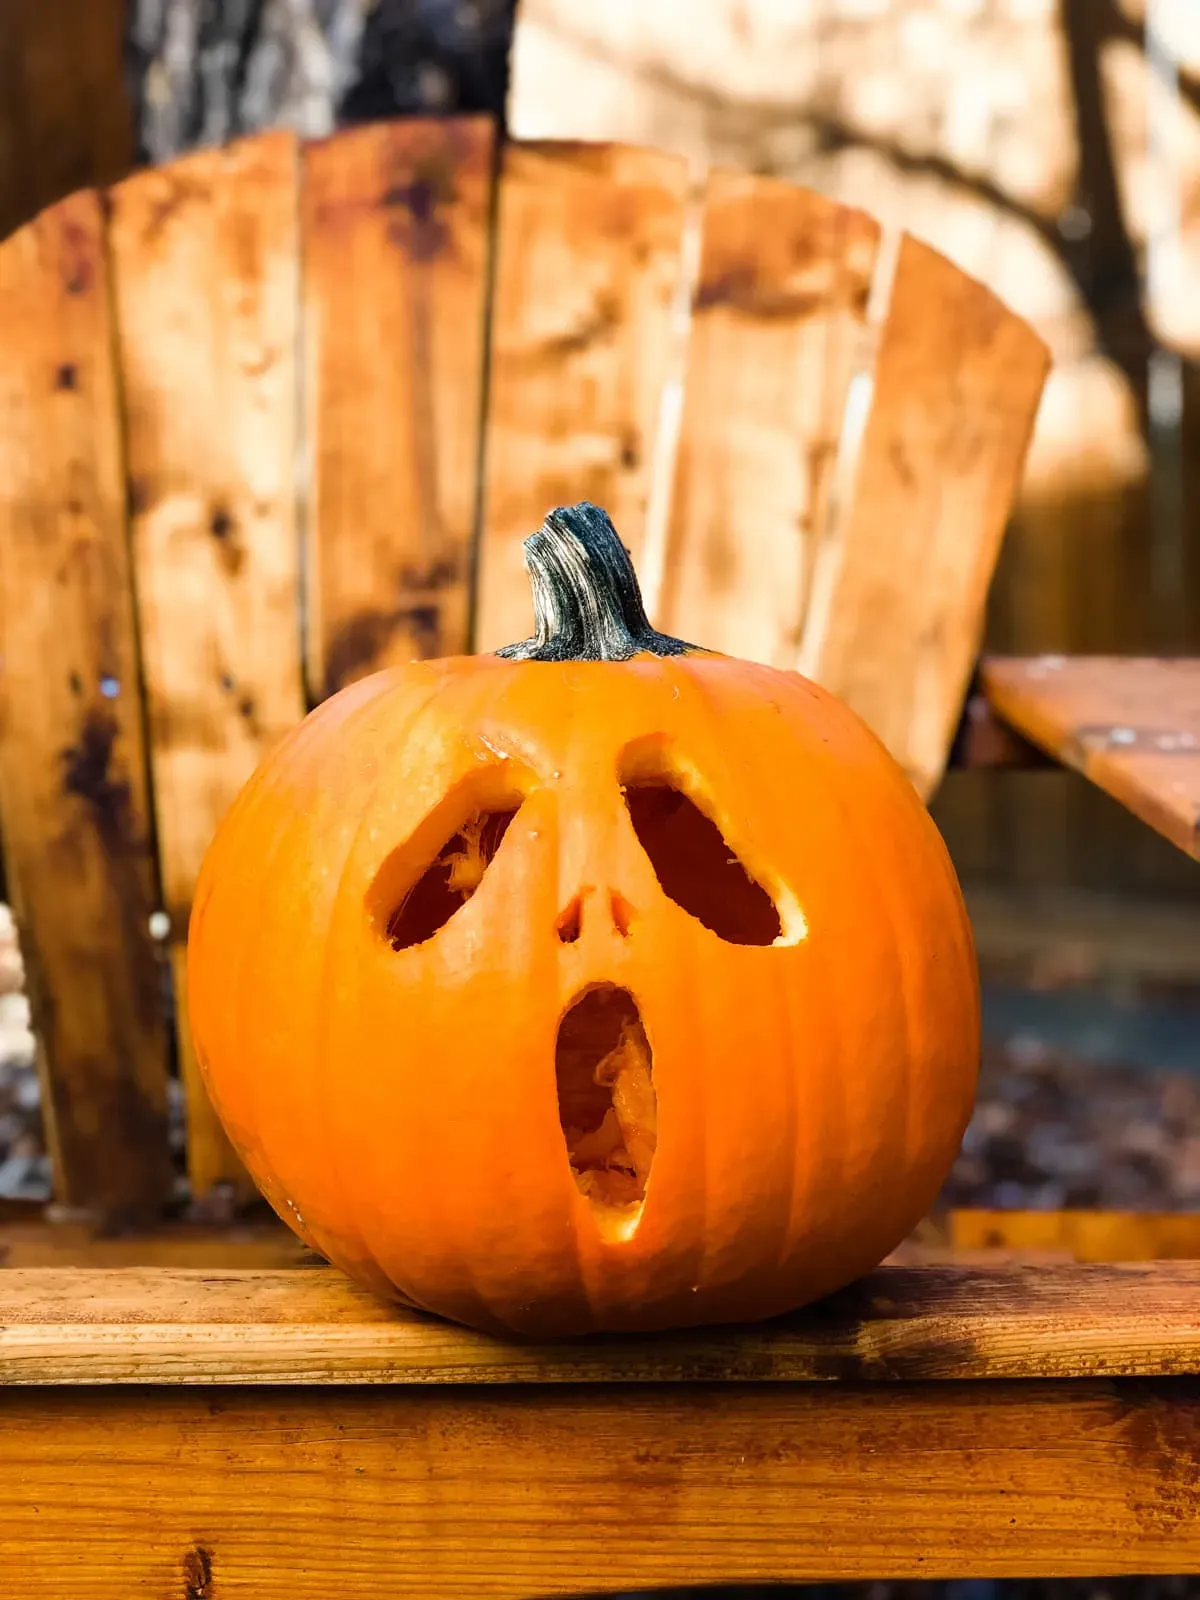
so you've prepped your pumpkin and you're ready to make some magic happen, or at least something that won't scare the trick-or-treaters away for the wrong reasons. When it comes to Classic and KidFriendly Easy Pumpkin Ideas Carving Designs, you don't need to reinvent the wheel. The absolute go-to is the classic jack-o'-lantern face. You know the one: two triangles for eyes, another triangle for a nose, and a jagged, toothy grin. It's iconic, simple, and instantly recognizable. For younger kids, simple circles or squares work just as well and are much easier to cut. Think basic shapes – stars, moons, maybe a simple ghost outline if you're feeling ambitious but still want it easy. Don't overthink it; sometimes, the simplest designs are the most charming (and the least likely to result in tears, yours or the kids').
Here are a few easy design ideas to get you started:
- Classic Triangle Face
- Simple Circle/Square Eyes and Mouth
- Star Cutouts (using cookie cutters)
- Ghost Outline (simple wavy shape)
- Initials or Simple Numbers
Getting Creative: More Easy Pumpkin Ideas Carving Techniques
Getting Creative: More Easy Pumpkin Ideas Carving Techniques
Beyond the Basic Grin
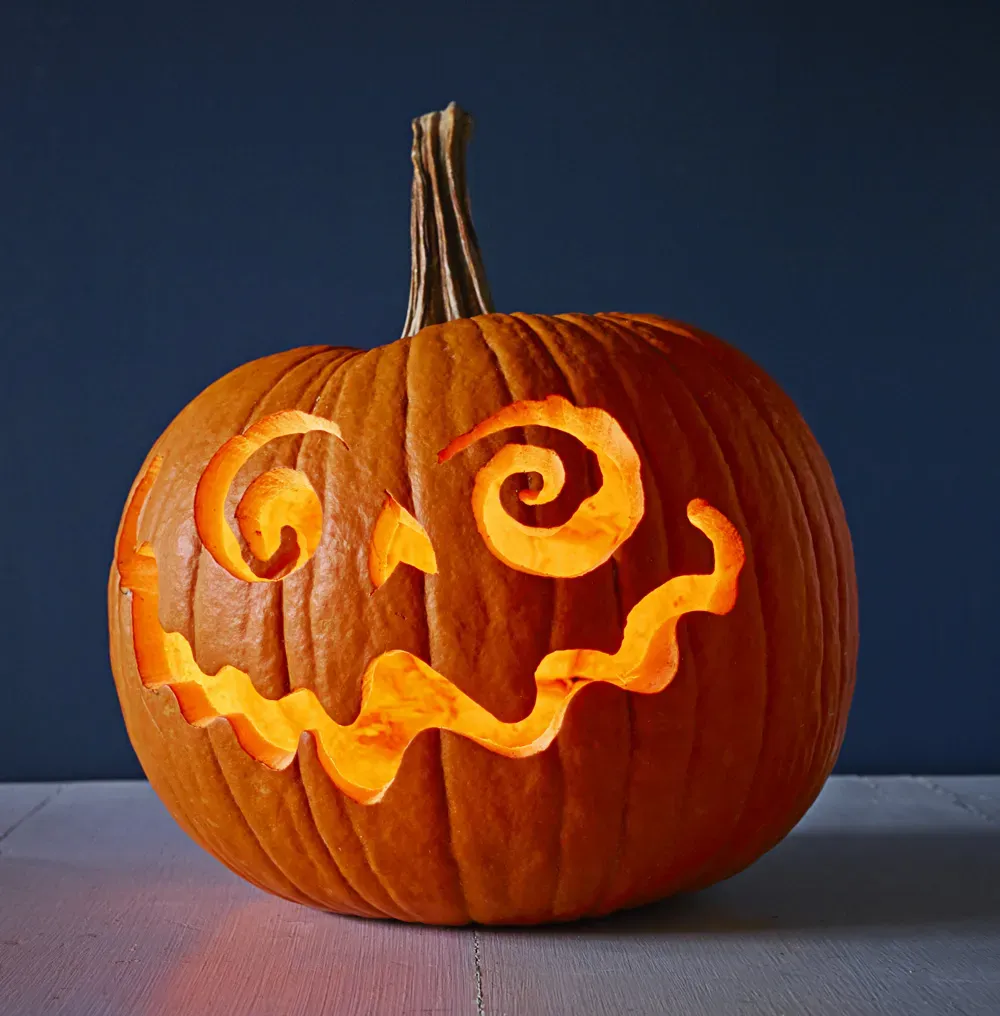
so you've mastered the triangle eyes and jagged mouth. Feeling a little bolder but still want to keep it squarely in the easy pumpkin ideas carving zone? Let's ditch the predictable. Think about using negative space. Instead of cutting out shapes, try scraping away just the outer layer of the pumpkin skin. This technique, sometimes called "skinning," creates a translucent effect that glows beautifully when lit. Simple patterns like dots, swirls, or even outlines of objects work great with this method. You just need a linoleum cutter or even a sturdy spoon handle to scrape. It's less about precision cutting and more about controlled scraping, which frankly, is less stressful than trying to navigate tight corners with a saw.
Simple Silhouettes and Patterns
Another way to elevate your easy pumpkin ideas carving without needing a fine arts degree is focusing on simple silhouettes. Instead of trying to carve a whole scene, pick one clear shape: a bat, a cat, a simple starfield, or even just letters. Cut out the entire shape so light shines through. Using stencils can help here, but honestly, freehanding a basic bat shape isn't rocket science. Remember those cookie cutters we talked about? They aren't just for eyes and mouths. Use different sizes and shapes all over the pumpkin for a polka-dot effect or a random scattering of stars and moons. It's repetitive, sure, but it's easy, and the final look is much more interesting than just one face. Plus, it's hard to mess up a cookie-cutter shape.
Here are a few techniques to try for a creative twist:
- Skinning/Scraping (for translucent effects)
- Simple Silhouette Cutouts (bats, cats, stars)
- Cookie Cutter Patterns
- Drilled Holes (various sizes for starbursts or patterns)
- Using Vegetable Peelers for Grooves
Lighting Your Jacko'Lantern and Making It Last

Lighting Your Jacko'Lantern and Making It Last
Candles vs. The Modern Glow-Up
you've done the work, you've got your easy pumpkin ideas carving masterpiece sitting there, looking ready for its moment in the spotlight. Traditionally, we stuck a candle in it and called it a day. And sure, a real flickering flame has a certain classic charm. But let's talk practicality and safety for a second. A real candle needs watching, can blow out, and scorches the top of your pumpkin black way too fast. Plus, you need to cut a chimney hole, which is just another step. My vote? Battery-operated LED lights. They're brighter, last way longer, don't pose a fire risk (especially around kids or dry leaves), and stay cool. You can find them in all sorts of colors and even flickering versions now. Just pop a few in, maybe string some mini LED lights inside for a more even glow, and you're set. No soot, no stress, just consistent spooky light.
Keeping Your Creation From Collapsing
You spent time on this! You don't want your fantastic Lighting Your Jacko'Lantern and Making It Last effort to turn into a sad, moldy pile after two days. Carved pumpkins are basically just very temporary, perishable art. The cut edges dry out, shrink, and start to rot. To slow down the inevitable, hydration is key. Some people swear by giving the carved pumpkin a bath in cold water for a few hours. Another common trick is to rub petroleum jelly (Vaseline) onto all the cut surfaces. It seals in moisture. A light misting of water inside daily can also help. Keep your pumpkin out of direct sunlight and away from heat sources. If it's particularly warm where you live, bringing it inside at night or during the hottest part of the day can buy you a little extra time. Think of it as temporary life support.
- Rub cut edges with petroleum jelly
- Mist the inside with water daily
- Keep out of direct sunlight and heat
- Bring inside during warm days/nights
- Consider a cold water bath for hydration
Placement and Setting the Scene
You've lit it up, you've given it some TLC to help it last, now where does your creation go? The final step in Lighting Your Jacko'Lantern and Making It Last is placement. Put it somewhere visible but also safe. If you're using LED lights, you have a lot more freedom – on steps, railings, even hanging. With candles, obviously, a flat, stable, non-flammable surface away from anything that can catch fire is non-negotiable. Think about how it looks from the street. Does the light show off your easy pumpkin ideas carving design effectively? Grouping several pumpkins together at different heights creates a nice display. Add some fake spiderwebs or corn stalks around the base to complete the look. Don't just plop it down; give your pumpkin the stage it deserves after all that hard work (or easy work, as the case may be!).
Wrap Up Your Easy Pumpkin Carving Adventure
So there you have it. Carving a pumpkin doesn't need to feel like brain surgery or a competitive sport. By starting with the right pumpkin, using some smart, simple tools, and picking designs that match your skill level (or lack thereof), you can create something genuinely cool for Halloween. It's about enjoying the process, getting a little messy, and ending up with a glowing, spooky, or silly face staring out into the night. Don't overthink it; grab a pumpkin, grab your tools, and have some fun with these easy pumpkin ideas carving techniques. Your porch will thank you.