Table of Contents
Alright, let's talk pumpkins. Every year, October rolls around, and suddenly everyone's a master sculptor with a dull kitchen knife and a gourd that probably won't cooperate. You've seen the intricate, gallery-worthy carvings online, and frankly, they look exhausting. Maybe you just want something recognizable, something classic Halloween, but without the commitment of sacrificing three hours and a few fingertips. A witch seems like a solid choice – iconic, spooky, lends itself to various styles. But how do you get that cackling figure or pointed hat onto an uneven surface without it looking like a melted mess?
Why Choose a Witch for Easy Pumpkin Carving?

Why Choose a Witch for Easy Pumpkin Carving?
Witches Have Built-in Simple Shapes
Let's be honest, not everyone's trying to recreate the Mona Lisa on a pumpkin. When you're aiming for easy pumpkin carving ideas witch designs just make sense. Think about the core elements: a pointy hat, a long nose, maybe a messy hairdo. These aren't complex curves or intricate details. They're basic geometric shapes – triangles, simple lines, maybe a crescent moon or a star tossed in for good measure. You don't need a fancy carving kit with fifteen different tools. A standard pumpkin carving saw and maybe a scoop is often plenty to get the job done. It's about recognizable symbols, not perfect portraits.
Instantly Recognizable, Zero Ambiguity
Nobody's going to squint at your pumpkin and wonder if it's a ghost, a goblin, or just a lumpy mess. A witch, even a crudely carved one, screams Halloween. That pointy hat is a dead giveaway. This instant recognition is key when you're going for "easy." You don't have to nail every single detail to convey the idea. You get maximum spooky impact for minimal carving effort. Plus, there's something inherently fun about a witch – they can be creepy, cartoony, or somewhere in between, all with just a few strategic cuts. It’s why they pop up everywhere come October.
Simple Witch Elements for Carving:
- Pointy Hat Outline
- Long, Jagged Nose
- Simple Eye Shapes (circles, slits, triangles)
- Crescent Moon
- Star
- Basic Broomstick Shape
Getting Started: Basic Cuts for Easy Witch Shapes

Getting Started: Basic Cuts for Easy Witch Shapes
Gutting the Gourd: Less Guts, More Glory
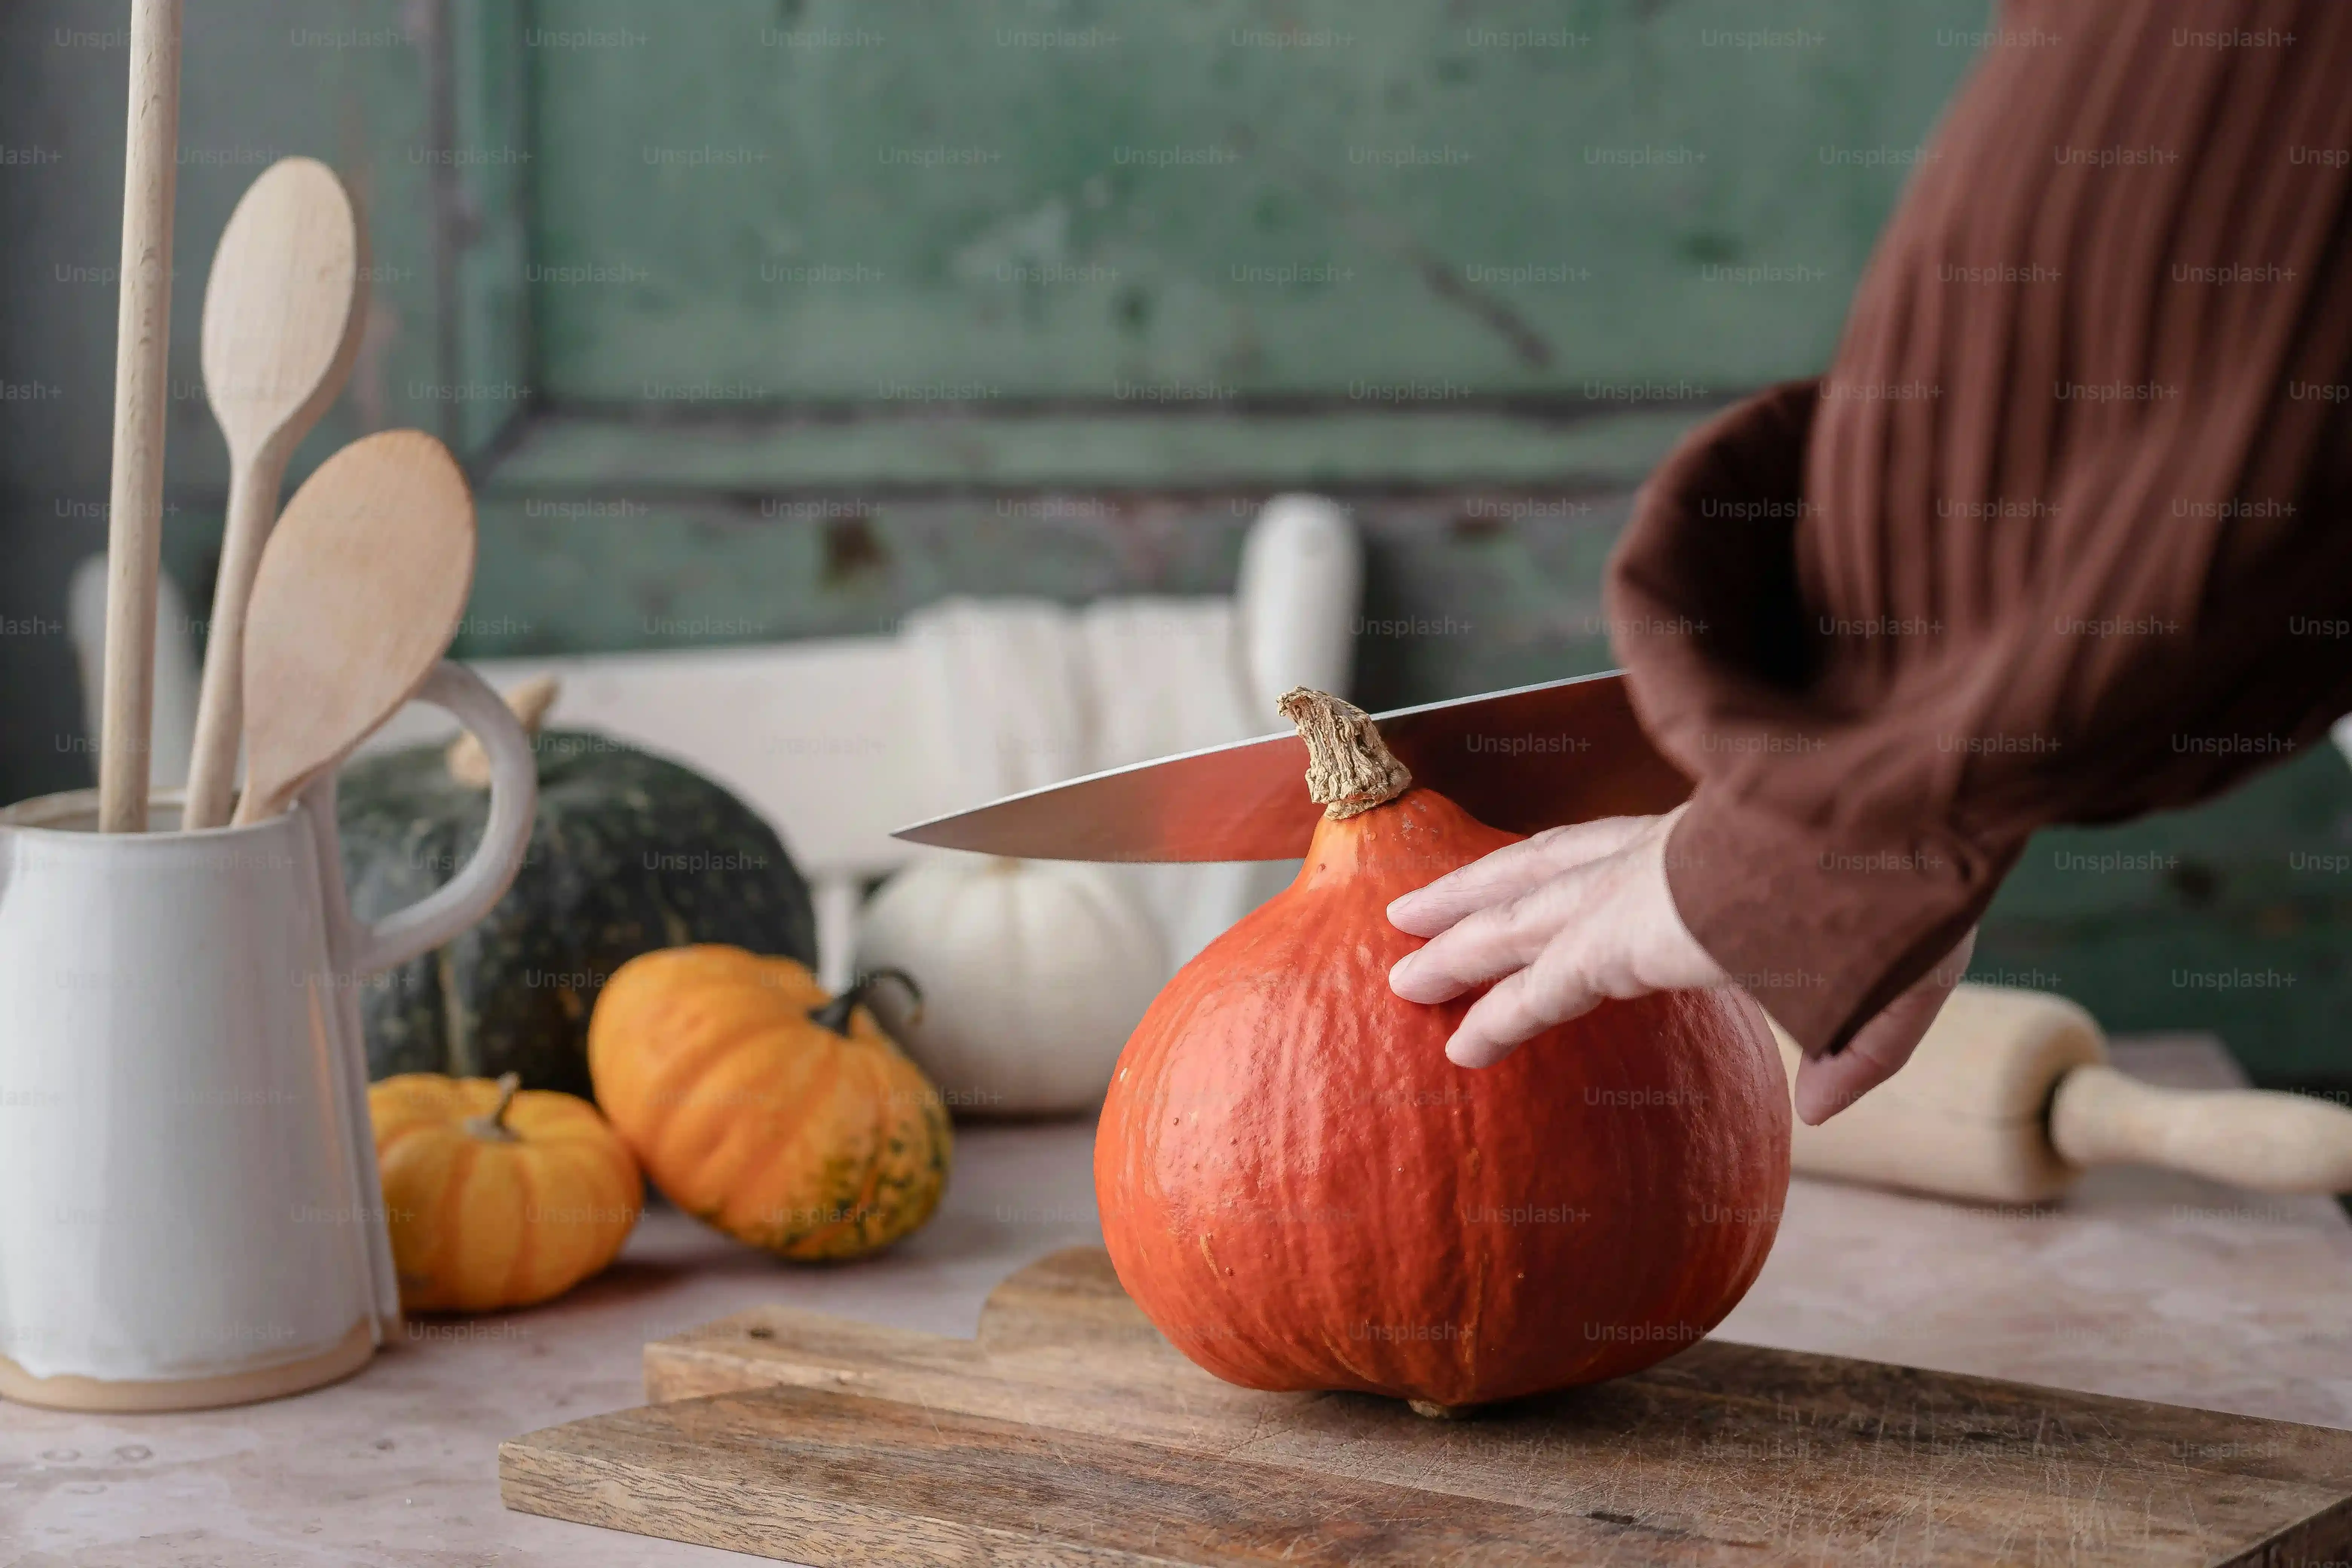
Alright, before any carving happens, you gotta deal with the inside. This is arguably the messiest part, but essential. Cut a hole around the stem, big enough to get your hand and a scoop inside. Don't make it too small, or you'll be fighting with pumpkin guts forever. Make it big enough to comfortably reach the bottom. Then, grab a sturdy scoop or even a large spoon and get everything out. Seeds, stringy bits, all of it. Scrape the inside walls relatively smooth. A thinner wall is actually easier to carve, especially when we're talking easy pumpkin carving ideas witch shapes.
Hat Tricks: Simple Triangle Cuts
The witch's hat is the most distinctive feature, and thankfully, it's one of the easiest shapes to carve. Think simple. A tall triangle on top of the pumpkin is your starting point. You can freehand this, but drawing it on first with a marker helps keep things straight. Don't worry about perfect lines; a slightly wobbly hat adds character. Cut along your lines using your pumpkin saw, taking it slow around any corners. Once the triangle is cut, push it out from the inside. Boom, you've got the basic witch hat silhouette. It's not complicated geometry, just straight lines and angles.
Basic Witch Hat Cutting Steps:
- Draw a tall triangle on the top-front of the pumpkin.
- Ensure the base of the triangle is wide enough.
- Carefully saw along the drawn lines.
- Push the cut-out piece inward.
- Clean up any hanging bits around the edges.
Face Time: Eyes and a Simple Grin
Now for the face, where your witch gets some personality. Again, keep it simple for easy pumpkin carving ideas witch designs. For eyes, two simple triangles or classic jagged slits work perfectly. Draw them on first to get placement right. A crooked smile or a few missing teeth can be represented by simple squares or rectangles cut out for the mouth. No need for intricate curves here. Think about what you can easily saw out – straight lines and sharp corners are your friends. Don't overthink it; sometimes, the simplest cuts are the most effective at looking spooky.
Stencils and Patterns: Your Shortcut to Easy Witch Pumpkin Ideas
Stencils and Patterns: Your Shortcut to Easy Witch Pumpkin Ideas
Why Stencils Aren't Cheating (They're Smart)
Look, if you're aiming for easy pumpkin carving ideas witch stencils are your best friend. Think of them as training wheels for your carving knife. You don't have to draw a perfect pointy hat or a spooky snaggled tooth freehand; someone else already did the hard part. You just tape the pattern onto your pumpkin, use a poking tool (or even a pen) to transfer the design dots, and then connect the dots with your saw. It takes the guesswork out of proportions and symmetry, which, let's be honest, is where most amateur carvings go south. It's not about being a master artist; it's about getting a recognizable witch on your porch without the frustration.
You can find these patterns everywhere – online, in craft stores, even on the back of cereal boxes sometimes around Halloween. Some are super detailed, but you want the ones labeled "easy" or "beginner." They usually have thicker lines and simpler shapes, perfect for avoiding those tiny, impossible-to-cut bits that snap off the second you look at them funny.
Where to Grab Easy Witch Stencils:
- Free printable websites (search "easy witch pumpkin stencils")
- Pumpkin carving kits
- Craft stores (seasonal section)
- Kids' activity books
Putting the Pattern to the Pumpkin
Once you've got your chosen witch stencil, it's time to apply it. Tape it firmly onto the smoothest part of your cleaned-out pumpkin. Try to get it as flat as possible; curves are the enemy here. Use a poking tool – the little wheel thing that comes in most kits, or even just a sharp pencil tip – to make small holes all along the lines of the design. You're essentially creating a connect-the-dots guide on the pumpkin skin. Space the dots close enough that you can easily see the line they form, but not so close you tear the paper.
After you've traced the entire design, pull the paper off. You should see your dotted outline. Now, grab your carving saw and carefully cut from dot to dot. Don't rush it. Let the saw do the work. For areas you just want to scrape the skin off (like eyes or warts), use a different tool or the edge of your scoop carefully. This method makes those easy pumpkin carving ideas witch patterns actually achievable, even if your hands shake a little.
Adding Flair: Simple Decorations Beyond Carving
Adding Flair: Simple Decorations Beyond Carving
Paint it On: Simple Details Without the Knife
so you've got your basic witch shape carved out – the hat, maybe some jagged eyes and a mouth. But maybe you want a bit more detail without risking slicing off a finger trying to carve tiny wrinkles or a wart. This is where paint comes in. Black paint is your best friend for outlining shapes, adding spiderwebs around the edges, or giving your witch a truly ominous look. Green paint can add a classic "wicked witch" complexion around the carved features. You don't need to be Picasso; simple brushstrokes or even dabbing with a sponge can add texture and depth. Think about adding bushy eyebrows above those carved eyes or painting on a crooked tooth that was too fiddly to carve. It's a low-stakes way to enhance your easy pumpkin carving ideas witch design and cover up any minor carving mishaps.
Accessorize Your Gourd: Wigs, Warts, and Webbing
Who says a pumpkin can't wear a hat on its hat? Or sport a fake wart? This is where you can really have some fun and take your easy pumpkin carving ideas witch to the next level with zero carving involved. Grab some cheap black yarn or even an old black garbage bag cut into strips and hot glue it to the top for messy witch hair. Stick on some googly eyes if you want a more cartoony look. Cotton balls stretched thin make for instant spiderwebs clinging to your witch's hat or face. You can even find plastic spiders or rubber warts at dollar stores to glue on for extra creep factor. A small toy broomstick tied or glued near the base completes the look. These little additions take minimal effort but have a huge impact on making your witch pumpkin feel finished and full of personality.
Easy Witch Accessories to Add:
- Black yarn or strips for hair
- Googly eyes
- Cotton balls for spiderwebs
- Plastic spiders or rubber warts
- Miniature broomstick
- Felt or paper shapes (stars, moons)
Wrapping Up Your Wicked Good Pumpkin
So there you have it. Tackling easy pumpkin carving ideas witch style doesn't require summoning dark arts or spending hours hunched over a wobbly squash. We've covered the straightforward path: embracing the witch as a forgiving subject, focusing on simple cuts, leaning on stencils when precision isn't your jam, and remembering that a little paint or extra detail can go a long way. Your pumpkin doesn't need to win an award; it just needs to look suitably spooky perched on your porch, maybe giving the trick-or-treaters a slight shiver. Now go forth, grab that pumpkin, and make some simple, witchy Halloween magic happen.