Table of Contents
Alright, let's be honest. Every fall, you see those amazing jack-o'-lanterns online or on your neighbor's porch, and you think, "Yeah, I can do that." Then you grab a pumpkin, a knife, and maybe a glass of something fortifying, and reality hits. Freehand carving often ends up looking less like a spooky masterpiece and more like a sad, lopsided mess with missing teeth. It's enough to make you want to just draw a face on the thing with a marker and call it a day.
Ditch the Knife Jitters: Why Use Easy Pumpkin Carving Ideas Templates?
Ditch the Knife Jitters: Why Use Easy Pumpkin Carving Ideas Templates?
Let's face it, staring at a blank pumpkin with a sharp knife in your hand can feel less like a fun fall activity and more like a high-stakes art project you didn't sign up for. You've got this image in your head of a perfectly spooky or cool design, but translating that onto a bumpy, round surface with a tool designed for cutting dinner? Yeah, that's where the knife jitters kick in. This is precisely whyeasy pumpkin carving ideas templatesare a game-changer. They take that initial fear and replace it with a clear roadmap. Instead of guessing where to cut or how to shape that eyebrow, you're simply following lines. It turns a potentially frustrating endeavor into something manageable, even for folks who consider drawing a straight line a major accomplishment. It's about getting a decent result without the stress of freehand failure, making the whole process way more enjoyable, especially if you've got little hands trying to help out.
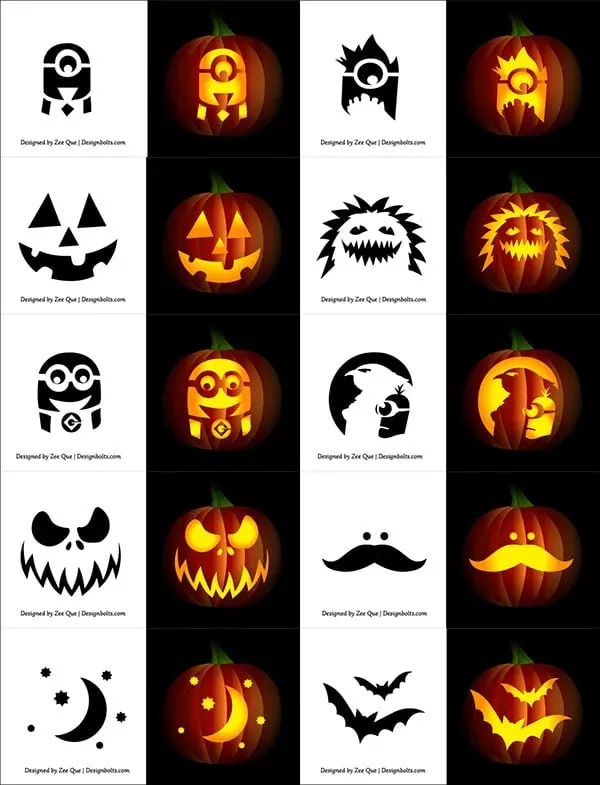
Hunting Down Your Perfect Easy Pumpkin Carving Ideas Templates

Hunting Down Your Perfect Easy Pumpkin Carving Ideas Templates
Starting Your Search for Great Templates
Alright, so you're sold on the idea of using templates to avoid carving a pumpkin that looks like it lost a fight with a badger. Now, where do you actually find these magicaleasy pumpkin carving ideas templates? The internet is your best friend here, obviously. A quick search will bring up a ton of options. Think big crafting websites, parenting blogs, and even dedicated Halloween or pumpkin carving sites. They often have sections specifically for printable stencils. Don't just click the first link though; dig around a bit. Look for sites that offer a variety of designs, from simple geometric shapes perfect for little kids to slightly more intricate but still manageable spooky faces or pop culture icons.
Picking the Right Template for Your Skill Level (and Patience)
Not all templates are created equal, even the ones labeled "easy." Some might have super fine lines or tiny details that are still a pain to cut out. When you're browsing througheasy pumpkin carving ideas templates, look for designs with thicker lines and larger areas to remove. If you're a complete beginner, maybe skip the intricate spiderweb for now and go for a classic ghost or a simple grinning jack-o'-lantern face. Think about the tools you have too. If all you've got is the flimsy little saw from those cheap carving kits, you'll struggle with tight corners and small holes. Match the template complexity to your tools and your tolerance for frustration.
- Look for clear, high-contrast lines on the template.
- Choose designs with larger cut-out areas for easier carving.
- Consider templates specifically labeled "beginner" or "kid-friendly."
- Check if the template includes instructions or tips.
- Browse different sources for variety – blogs, craft sites, dedicated carving sites.
Free vs. Paid and Community Gems
You'll find a mix of free and paideasy pumpkin carving ideas templatesout there. Plenty of sites offer a good selection of free ones, which are perfect for getting started or if you're carving a bunch of pumpkins and don't want to shell out cash for each one. Paid templates might offer more unique designs or higher quality prints, but honestly, you can find fantastic free options. Also, check out online communities or forums dedicated to Halloween or crafting. People often share templates they've made or found, and you might stumble upon some really creative and genuinely easy ones that way. Don't underestimate the power of a fellow pumpkin enthusiast's recommendation.
Putting Those Easy Pumpkin Carving Ideas Templates to Work: Transferring the Design
Putting Those Easy Pumpkin Carving Ideas Templates to Work: Transferring the Design
Getting Your Template Ready for Action
you've found your perfecteasy pumpkin carving ideas templates. Printed it out. Now what? You can't just slap a flat piece of paper onto a round pumpkin and expect it to stick perfectly. First, you might need to trim excess paper around the design, but leave enough margin to tape it down. If your pumpkin is particularly lumpy or oddly shaped (because nature, right?), you might need to make small cuts or notches around the edges of the paper template. These little snips allow the paper to bend and conform better to the curve of the pumpkin. Think of it like fitting wrapping paper around a ball – you need those relief cuts. Don't be afraid to make several small cuts rather than one big one that tears into your design.
Attaching the Template: Tape is Your Best Friend
Now comes the slightly fiddly part: getting that paper template to stay put while you work. Standard clear tape is usually your best bet. Start by positioning the template roughly where you want the design on the pumpkin. Then, using small pieces of tape, begin securing the edges. Work your way around, smoothing the paper down as you go and adding more tape as needed, especially over those relief cuts you made. The goal is to get the template as flat and wrinkle-free against the pumpkin surface as possible. Any bumps or wrinkles will distort your design when you transfer it, and nobody wants a crooked jack-o'-lantern grin unless it's intentional. Be generous with the tape; a template that shifts mid-transfer is a recipe for disaster.
- Trim excess paper around the template.
- Make small relief cuts on the template edges for curved surfaces.
- Position the template carefully on the pumpkin.
- Use clear tape to secure the template edges firmly.
- Smooth out wrinkles as you tape to ensure a flat surface.
Transferring the Design: The Poke Method Reigns Supreme
With youreasy pumpkin carving ideas templatestaped securely, it's time to actually get the design onto the pumpkin. The most common and effective method for templates is the "poke" method. You'll need a pointy tool for this. A pumpkin poking tool from a carving kit works, but a thumbtack, a push pin, or even the end of a sharp pencil can do the job. Simply follow the lines of the design on your template, poking holes through the paper and into the pumpkin skin. Keep your pokes relatively close together, maybe about 1/8 to 1/4 inch apart. The closer the holes, the clearer the outline will be when you remove the template. Think of it as creating a dotted line on the pumpkin surface. This dotted line is your guide for carving, much easier than trying to follow a marker line that might smudge or disappear.
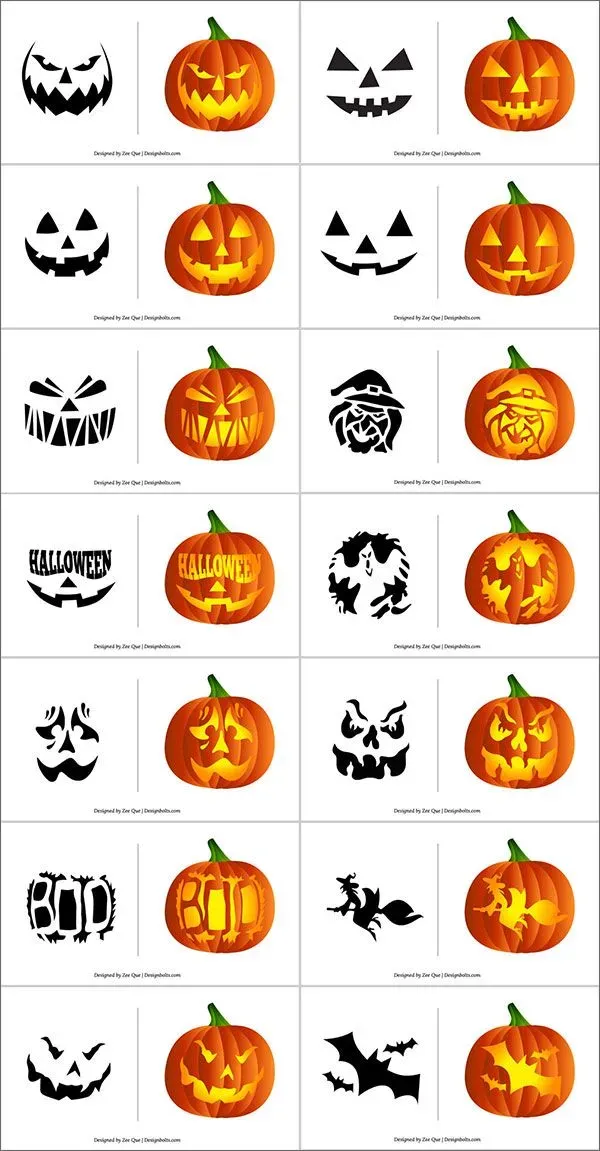
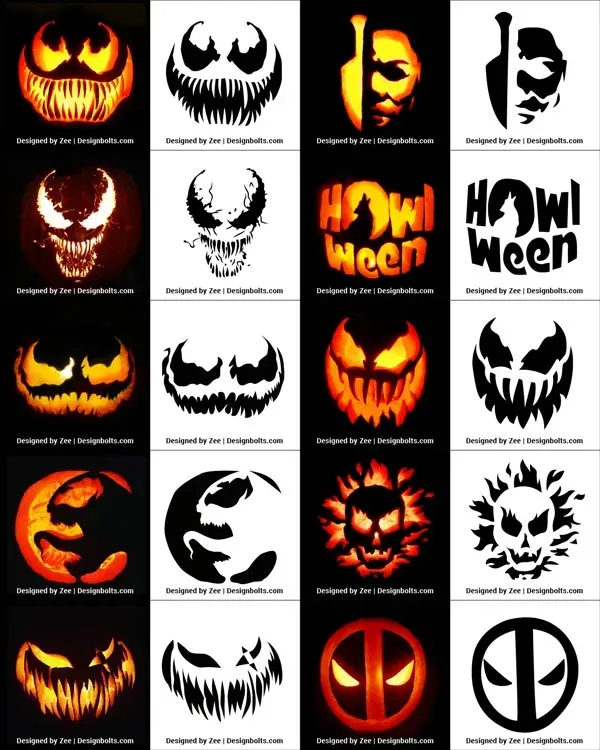
Beyond the Basics: Fun & Spooky Designs from Easy Pumpkin Carving Ideas Templates
Beyond the Basics: Fun & Spooky Designs from Easy Pumpkin Carving Ideas Templates
Stepping Up Your Spook Game with Templates
so you've mastered the basic jack-o'-lantern face usingeasy pumpkin carving ideas templates. Great. Now let's talk about moving beyond the simple triangle eyes and jagged mouth. Templates aren't just for beginners; they're also fantastic for tackling more complex or specific designs that would be a nightmare to freehand. Want a zombie face? A witch silhouetted against a spooky moon? Maybe a specific character from a horror movie? There are templates for all of that. Using a template ensures the proportions are right and the details are where they should be, which is crucial for recognizable or genuinely creepy designs. It allows you to aim for something more ambitious than just a generic spooky face, giving your pumpkin some real personality.
Finding Designs That Tell a Story
The beauty of having so manyeasy pumpkin carving ideas templatesavailable is that you can find designs that actually tell a little story on your porch. Instead of just a single face, you can find templates that show a bat flying across a moon, a ghost haunting a house, or even tiny little scenes. These layered designs, where you might carve some areas all the way through and just scrape others for a glowing effect, look incredibly impressive but are totally doable with a good template guiding your hand. It’s about creating a vignette, not just a face. This is where templates really shine – enabling complex visuals without requiring you to be an artistic savant. You just follow the dots, and suddenly, your pumpkin is a mini-storyboard for Halloween.
Pro Carving Hacks When Using Easy Pumpkin Carving Ideas Templates
Pro Carving Hacks When Using Easy Pumpkin Carving Ideas Templates
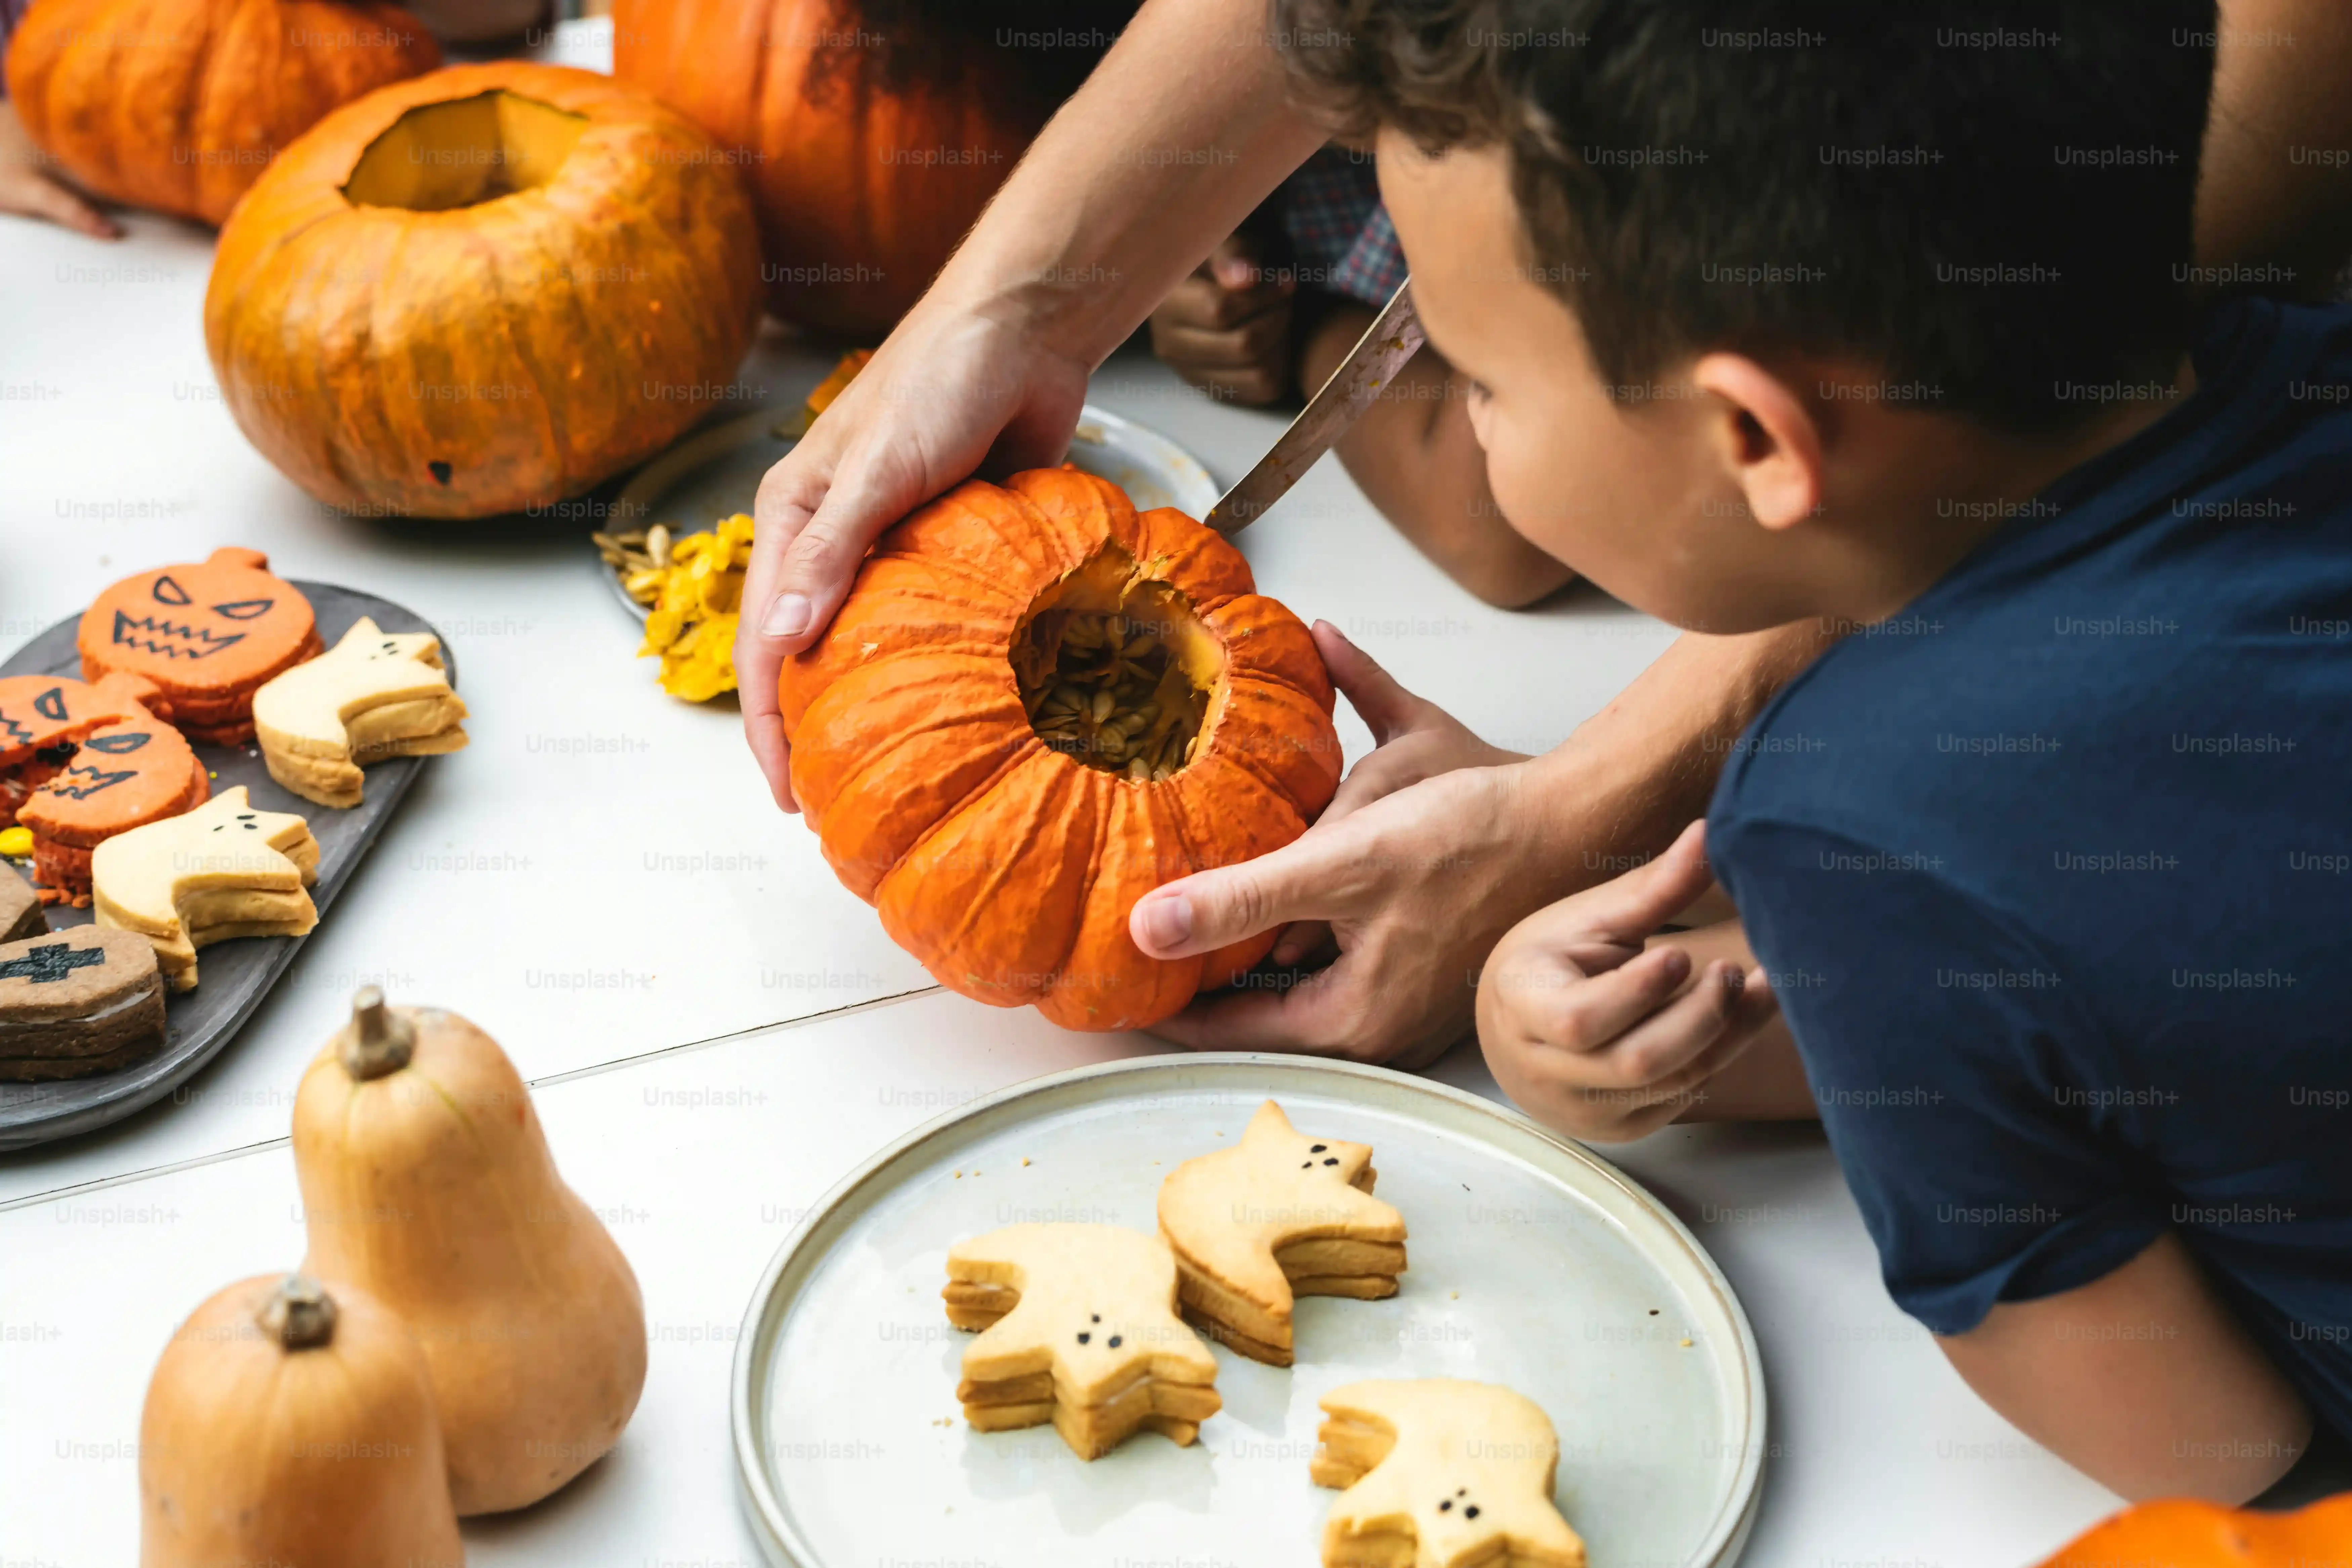
Pumpkin Prep That Actually Matters
Alright, you've got youreasy pumpkin carving ideas templatespicked out and transferred. Don't just dive in with the saw. Prepping the pumpkin correctly makes a huge difference in how easy the carving is and how long your masterpiece lasts. First, clean the outside. Get the dirt off. Simple, but overlooked. When you cut the lid, angle your knife inward, not straight down. This creates a little ledge for the lid to rest on, preventing it from falling *into* the pumpkin later. Nobody wants lid soup. Then, get the guts out. Scrape the walls thin, maybe about an inch thick. Thinner walls are easier to cut through and allow more light to shine, making your template design pop. Plus, less scraping now means less mess later.
Tools of the Trade (Beyond the Cheap Kit)
While those little carving kits with the flimsy saws are okay for super simple cuts witheasy pumpkin carving ideas templates, investing in a few better tools changes the game. Forget the serrated kitchen knife unless you like jagged edges and potential ER visits. Look for small, sharp detail knives or linoleum cutters for intricate bits your template might have. A loop tool, often used in pottery, is fantastic for scraping away the skin without cutting all the way through, creating cool layered effects if your template calls for it. A drill with different sized bits can make perfect circles for eyes or other design elements in seconds. Sharp tools require less force, meaning fewer slips and cleaner lines following your template's guide dots.
Tool | Why It Helps | Best For |
|---|---|---|
Small Detail Knife | Precise cuts, navigating tight corners | Intricate template details |
Loop Tool | Removes skin without piercing wall | Scraping/etching effects |
Drill with Bits | Quick, clean holes | Eyes, dots, circular patterns |
Pumpkin Saw (Sturdy) | Basic cutting along lines | Larger cut-out areas |
Keeping It Fresh and Looking Good
You spent all that time using youreasy pumpkin carving ideas templatesto create a cool design, now you want it to last longer than one night, right? Once carved, pumpkins start to dehydrate and collapse. To slow this down, give your carved pumpkin a bath in cold water for a few hours after carving. This rehydrates the flesh. You can also rub petroleum jelly on the cut edges to seal in moisture. For lighting, ditch the real candles if you want it to last and avoid potential fire hazards. Battery-operated LED lights are safer, don't generate heat that speeds up rot, and come in various colors to add extra flair to your template-guided design. Keep your finished pumpkin in a cool, dry spot if possible, and maybe bring it in overnight if temperatures drop drastically.
Carve On, You Magnificent Beast
So there you have it. You've gone from dreading the annual pumpkin surgery to actually having a plan, thanks to the magic ofeasy pumpkin carving ideas templates. No more sad, melty faces by day two. With a little prep and the right guide, you can produce a jack-o'-lantern that doesn't look like it lost a fight with a badger. Go forth, grab your pumpkin, pick a template, and make that porch or windowsill look properly festive. You might even impress yourself.