Table of Contents
October rolls around, and suddenly, every porch boasts a grinning, toothy gourd. You eye your own uncarved pumpkin, maybe feeling a pang of dread. The intricate designs you see online look like they require an engineering degree and surgeon's hands. Forget that mess. You don't need to spend hours wrestling with a giant squash just to get a decent decoration. We're cutting through the complexity and getting straight to the good stuff. This guide delivers genuinely easy pumpkin carving ideas step by step. We'll walk you through picking the right pumpkin, the tools that won't make you swear, and simple techniques that deliver spooky, fun, or just plain cool results without the headache. No need for fancy stencils or advanced degrees in gourd anatomy. We'll cover the basics, show you some straightforward designs, and even tell you how to make your creation glow and last a little longer than a day. Ready to ditch the frustration and actually enjoy making a jack-o'-lantern that doesn't look like it lost a fight? Let's grab a knife (a safe one!) and get started.
Getting Started: Picking Your Perfect Pumpkin and Essential Tools
Getting Started: Picking Your Perfect Pumpkin and Essential Tools
Alright, so you're standing in a patch or at the grocery store, staring at a sea of orange. How do you pick the one that won't collapse under the pressure of a dull knife? First off, look for a pumpkin with a smooth, firm surface. Bumps and bruises aren't just ugly, they're weak points waiting to ruin your design. Give it a good rap – you want a hollow sound, like knocking on a door that's seen better days. Check the bottom; a flat, stable base is your friend. A wobbly pumpkin is just asking for trouble. And the stem? A sturdy, firmly attached stem usually means the pumpkin is fresh and healthy, not some sad, dying gourd. Size-wise, don't go for the behemoth unless you're feeling particularly ambitious (and have forearms like a blacksmith). Medium-sized pumpkins are way easier to handle for us mere mortals trying these easy pumpkin carving ideas step by step. Now, tools. Ditch the flimsy plastic kit that came with a dollar-store stencil. You need something sharper. A small, serrated knife (like a paring knife) works wonders. An ice cream scoop is perfect for gutting the thing, and an apple corer can make quick, clean holes for eyes or polka dots. Safety first, obviously. Sharp tools are safer than dull ones because they require less force, which means less chance of slipping and embedding a knife in your hand. Trust me on that one.
Prepping Your Pumpkin: Cleaning and Safety First
Prepping Your Pumpkin: Cleaning and Safety First
Giving Your Gourd a Spa Treatment
you've hauled your chosen pumpkin home. It's probably covered in dirt, maybe a little mud from its former life in the field. You wouldn't carve a dirty block of wood, would you? Treat your pumpkin with a little respect. Give it a good wash. Just some warm water and maybe a gentle scrub brush or sponge will do the trick. Get all that field grime off. A clean surface isn't just for aesthetics; it gives you a better grip and prevents tracking dirt into your workspace. Once it's clean, dry it off thoroughly. A damp surface is slippery, and slippery surfaces and sharp knives are a terrible combination. Think of this as clearing the canvas before you start painting your masterpiece, or in this case, carving your grinning face.
Operation Gourd Gutting
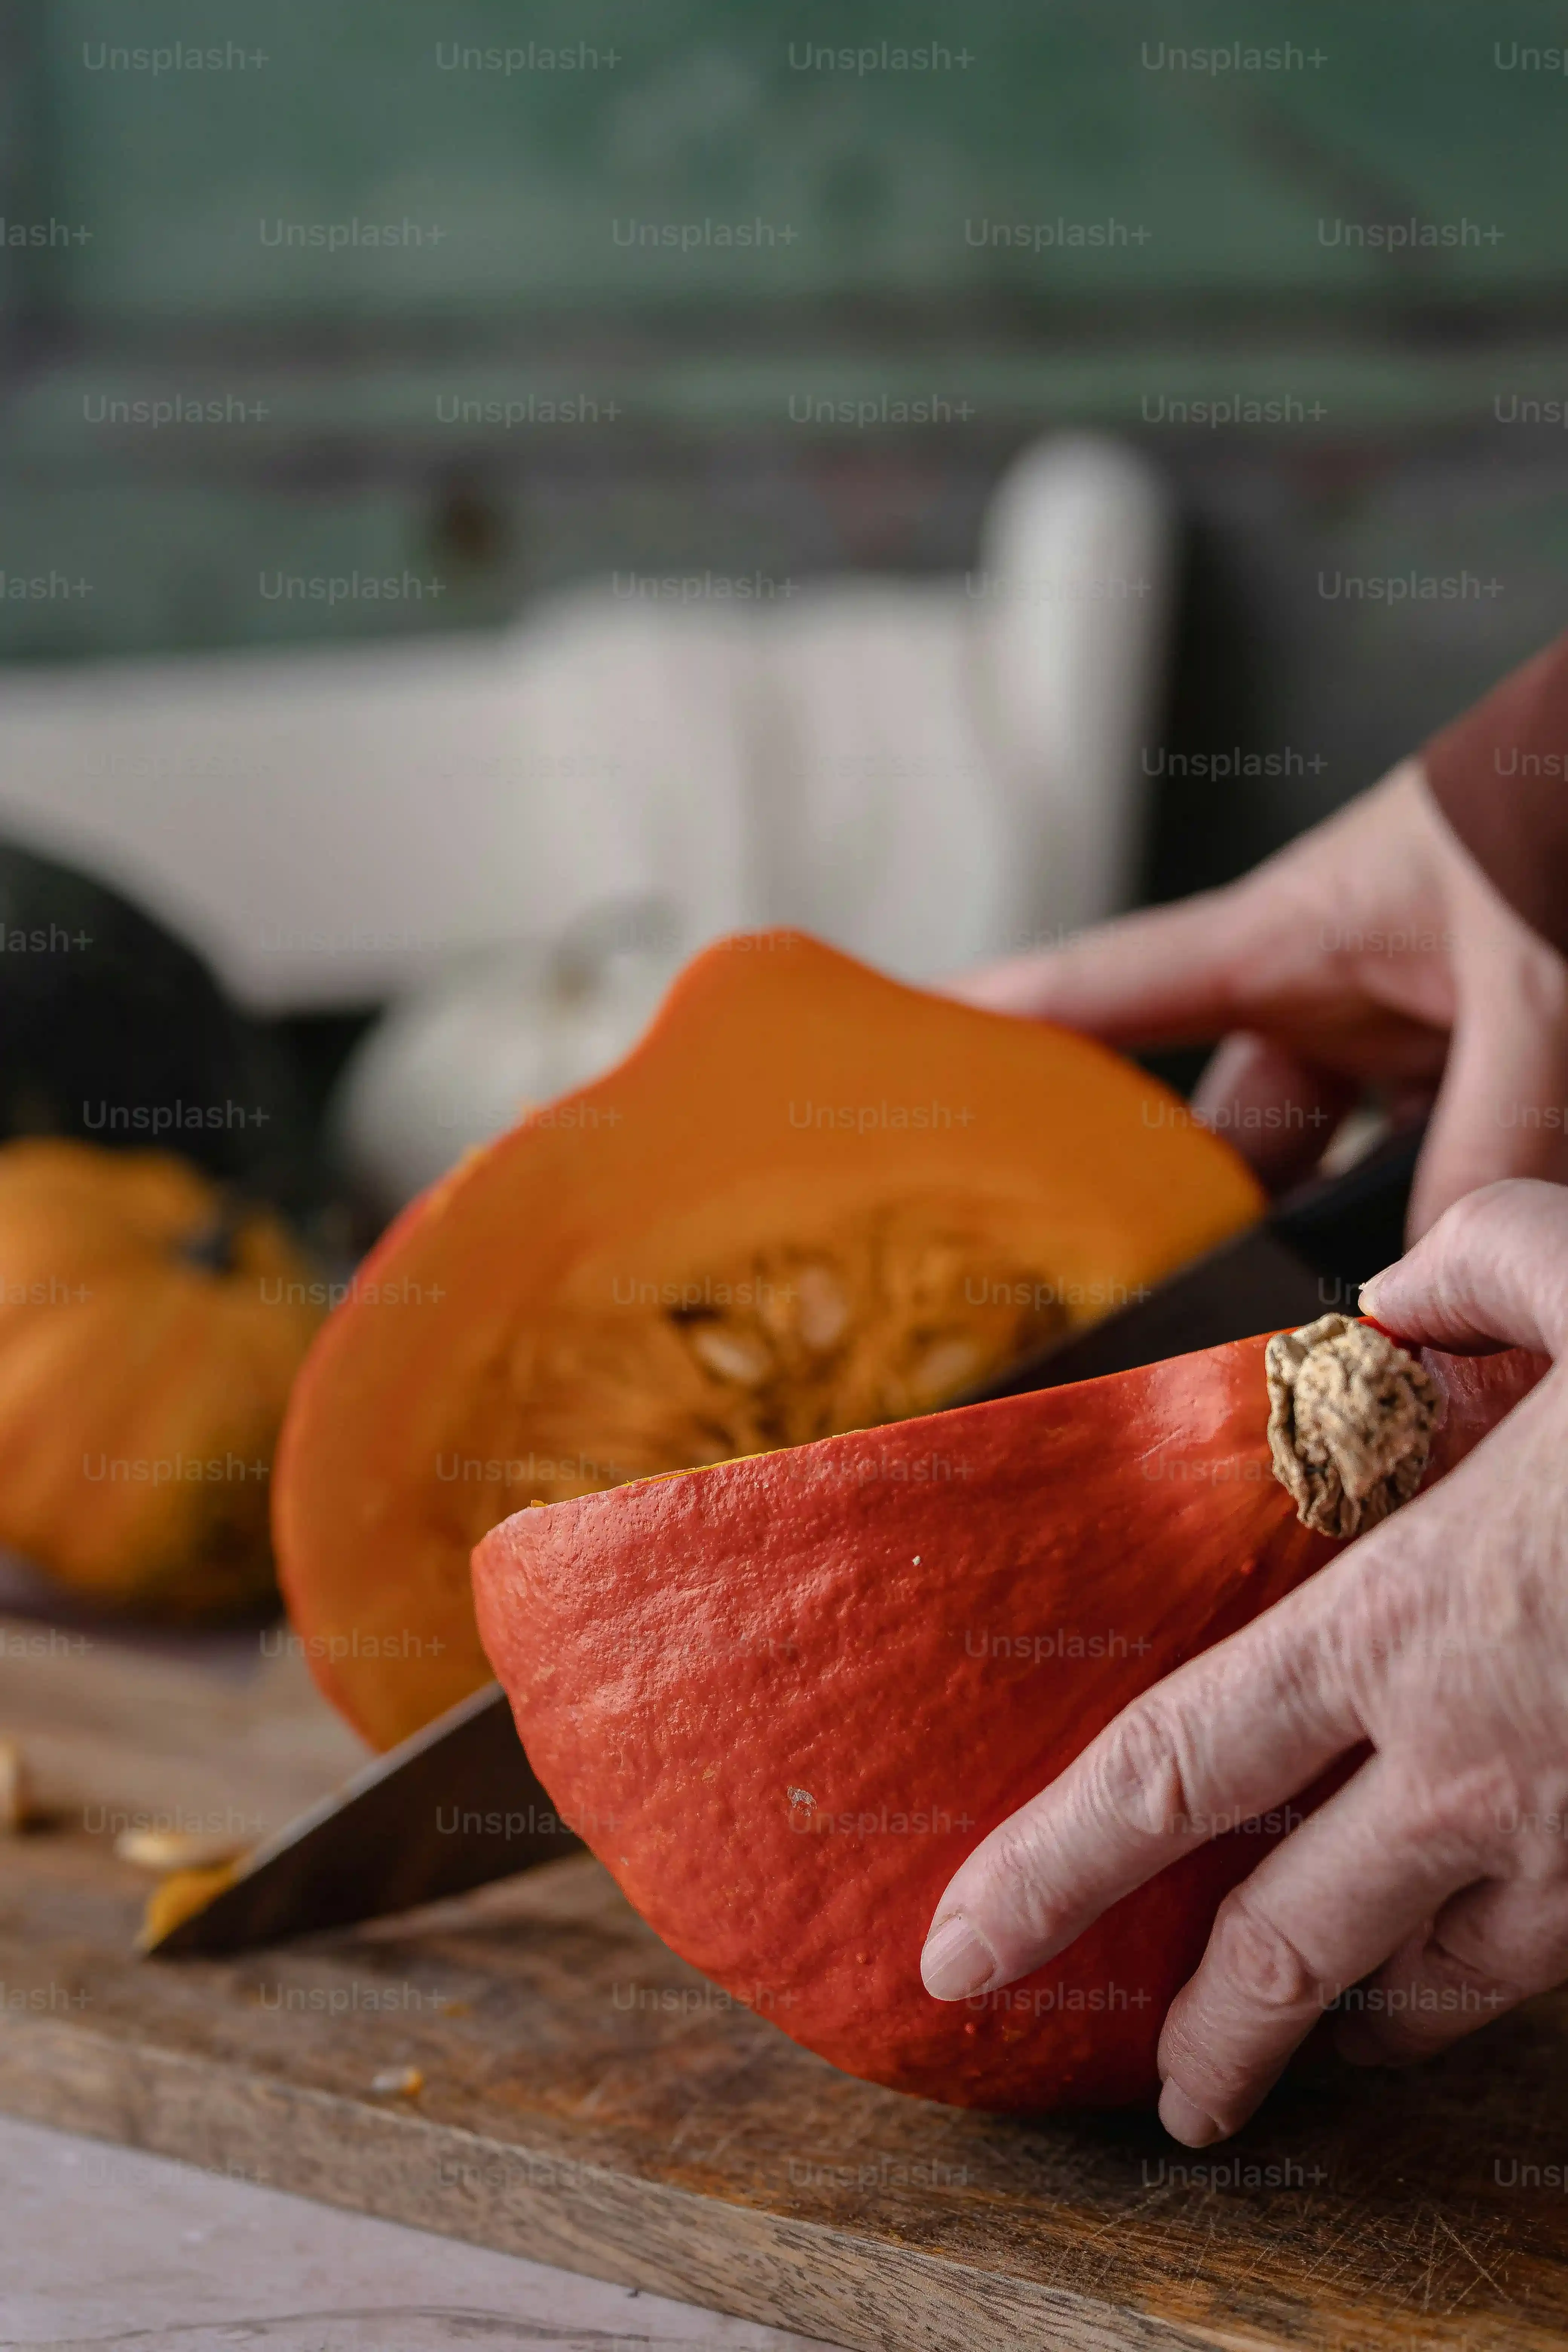
This is arguably the messiest part, but also kind of fun in a slightly gross way. First, you need to cut off the lid. Don't go straight down like you're slicing a loaf of bread. Cut at an angle, aiming the knife blade towards the center of the pumpkin. Why? Because when you put the lid back on, it'll sit nicely and won't fall through. Make your cut large enough to get your hand and a scoop inside. Once the lid is off, grab that ice cream scoop or a sturdy spoon. Dig in and scrape out all the seeds and stringy bits. Get it all out. The cleaner the inside, the less likely your pumpkin is to mold quickly, and the easier it is to place a light inside. Scrape the walls down until they're relatively smooth. Some people like to thin the walls a bit if they're planning intricate cuts, but for easy pumpkin carving ideas step by step, just getting the guts out is the main goal.
- Use an ice cream scoop for efficient scraping.
- Cut the lid at an angle, not straight down.
- Scrape the inside walls clean and smooth.
- Save the seeds for roasting (optional but recommended!).
Keeping All Your Fingers Attached
Now, let's talk safety because emergency room visits tend to dampen the Halloween spirit. You've got sharp objects and a potentially slippery surface. Always cut away from yourself. Seems obvious, right? You'd be surprised. Keep your free hand out of the path of the blade. If you're helping kids, they should be doing the scooping, not the cutting, unless you're supervising every single second with appropriate kid-safe tools. Don't rush. Take your time with each cut. If the knife gets stuck, don't twist or force it violently; gently wiggle it or pull it straight out. A stable surface is crucial; work on a clean, flat table or counter. And for goodness sake, if you've had a few too many "spooky" beverages, put the knife down. The pumpkin can wait until morning. Being careful now means you'll have a cool jack-o'-lantern and still be able to high-five people later.
First Cuts: Super Easy Pumpkin Carving Ideas Step by Step
First Cuts: Super Easy Pumpkin Carving Ideas Step by Step
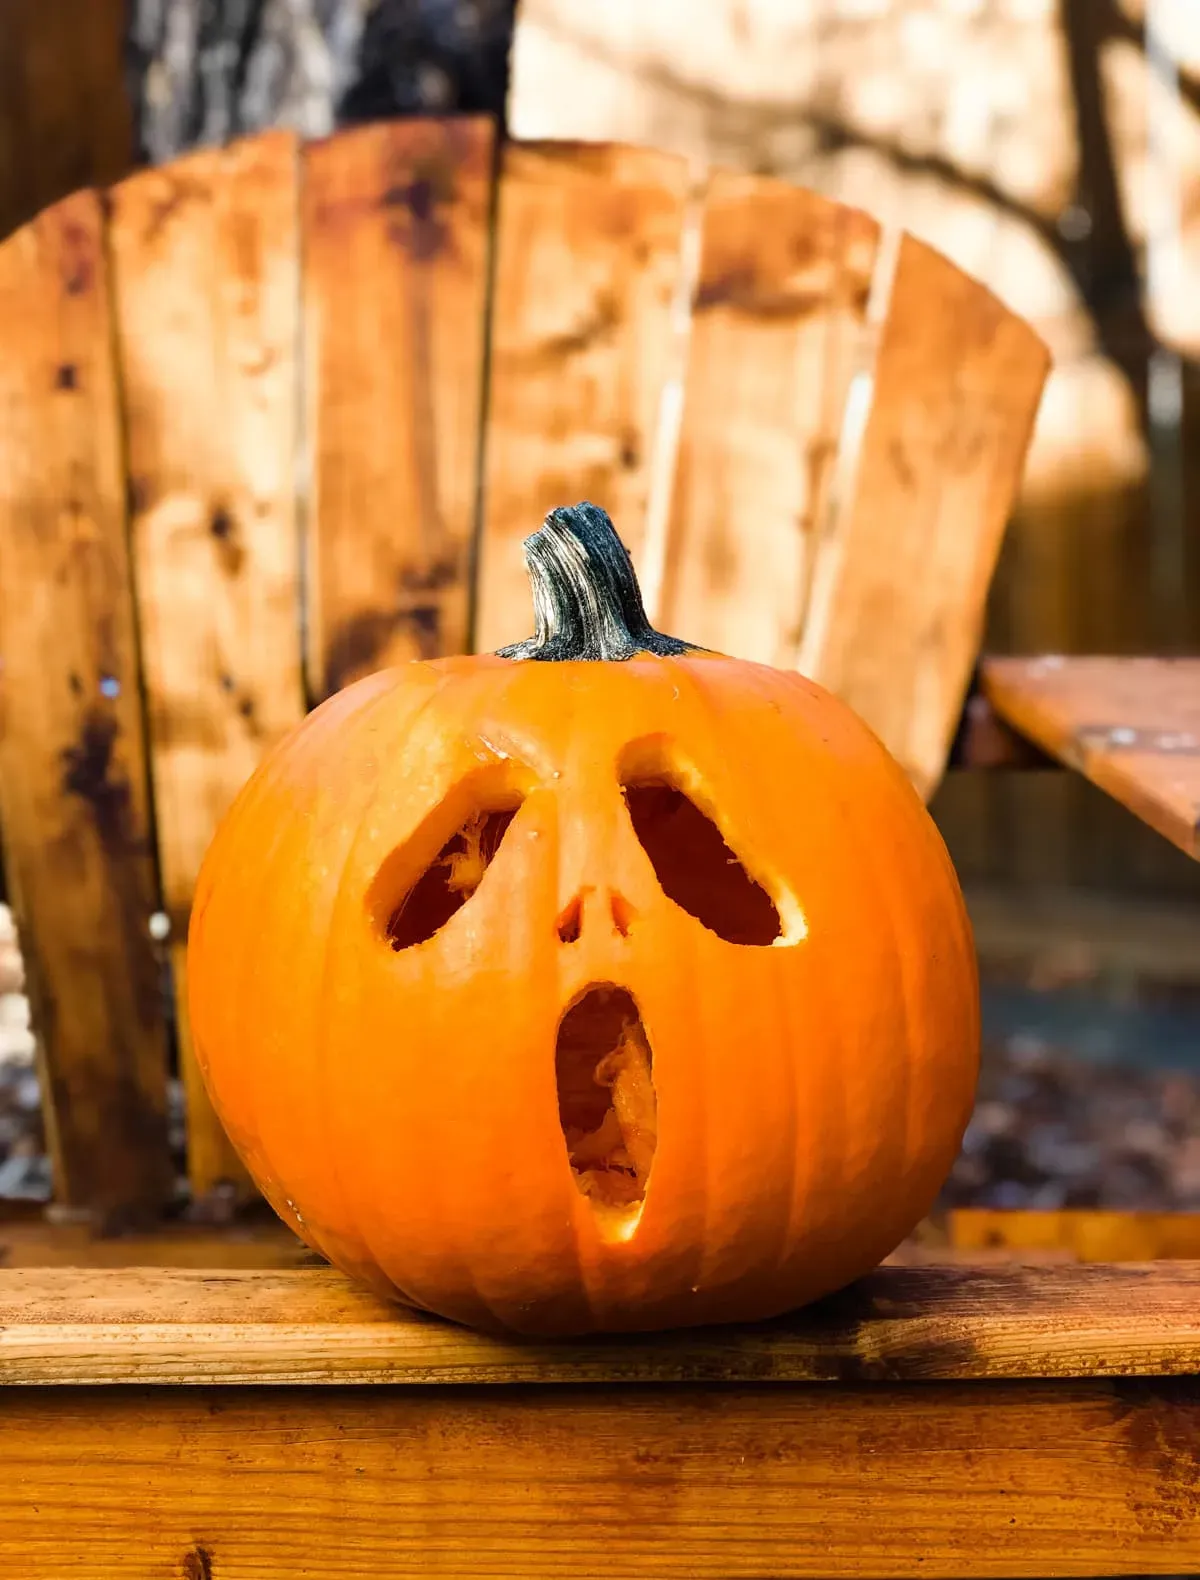
guts are out, pumpkin's clean. Now for the fun part, the actual carving. For your first attempt at easy pumpkin carving ideas step by step, don't try to recreate the Sistine Chapel. Start simple. Think basic shapes. Eyes are circles, triangles, or squares. A mouth can be a simple curve, a jagged line, or even just a few missing teeth represented by squares. Draw your design on the pumpkin first with a dry-erase marker – mistakes wipe right off. Then, using your small serrated knife, gently saw along the lines. Don't push hard; let the serrations do the work. Take it slow around corners. If a piece doesn't pop out easily, don't force it. Go over the cut again. Sometimes you need to push the piece out from the inside. It's not sculpting marble; it's cutting a vegetable. Keep it simple, keep it steady.
Beyond the Basics: More Easy Pumpkin Carving Ideas Step by Step

Beyond the Basics: More Easy Pumpkin Carving Ideas Step by Step
Going Beyond the Grin: Simple Shapes and Silhouettes
so you've mastered the basic triangle eyes and jagged mouth. Ready to elevate your game slightly without needing a degree in fine art? Think about using stencils, but not the super intricate kind that require a jeweler's saw. Simple shapes work wonders. A classic cat silhouette, maybe an owl on a branch, or even just stars and moon shapes cut out can look incredibly effective, especially when lit. You can find simple stencils online or even draw your own basic outlines. Trace them onto the pumpkin with that trusty dry-erase marker. When carving, remember to take your time, especially on curves. Small cuts are better than one big, misguided slice. If you're cutting out a larger shape, you might need to make relief cuts within the area first to make the larger piece easier to remove. It's not about perfection; it's about getting the shape out cleanly enough that it's recognizable from across the street.
Adding Detail Without Losing Your Mind: Simple Techniques
Want to add a little something extra to your easy pumpkin carving ideas step by step without committing to complex designs? Consider techniques that don't involve cutting all the way through. You can scrape away the outer layer of skin to create lighter areas. This works great for outlining shapes, adding texture, or creating simple patterns like dots or stripes. A linoleum cutter or even a sturdy spoon can be used for this. Just be careful not to go too deep, or you'll punch right through. Another simple trick is using cookie cutters. Press a metal cookie cutter firmly into the pumpkin skin, then use a knife to cut around the impression. Pop the shape out. It's a quick way to get consistent shapes like bats, stars, or even tiny ghosts. These methods add visual interest with minimal risk of catastrophic carving failure.
So, what's the easiest shape you've successfully carved that wasn't just a standard face?
Lighting Up Your Creation and Making it Last

Lighting Up Your Creation and Making it Last
Alright, your pumpkin has its glorious (or maybe slightly lopsided) grin. Now how do you make it glow in the dark without setting your porch on fire? Forget the old-school, drippy candles unless you enjoy scraping wax off concrete and monitoring for rogue flames. LED tea lights are your absolute best friend here. They're cheap, they don't get hot, and they won't blow out in the wind. Just pop a few inside, and you get a nice, even, spooky glow. If you want a bit more brightness, larger battery-operated LED lights designed for pumpkins exist. Real candles *do* give a classic flicker, but seriously, use them with caution and never leave them unattended. As for making your masterpiece last longer than a couple of nights before it turns into a sad, moldy mess? A few tricks can help. Once carved, spray the cut edges with a bleach solution (about one tablespoon of bleach per quart of water) or rub them with petroleum jelly. This helps prevent drying and slows down the inevitable rot. Keep it in a cool place when not on display. It's not going to last forever, but maybe you'll get a full week out of your hard work.
Here are a couple of quick tips to keep your pumpkin looking its best:
- Mist the inside and cut edges with water daily to keep it hydrated.
- Avoid direct sunlight, which speeds up decay.
- Bring it inside during freezing temperatures if you live in a cold climate.
Wrapping Up Your Jack-o'-Lantern Journey
So, there you have it. Turns out, you don't need to be a master sculptor to get a decent-looking pumpkin on your porch. We've covered picking a gourd that won't fight back, using tools that make sense, and tackling designs that are actually doable. Whether you went classic goofy grin or tried something a little different, you've got a carved pumpkin. It might not win any art contests, but it's yours, and you didn't lose a finger doing it. Light it up, put it out, and enjoy the slightly spooky, slightly lopsided glow. Halloween accomplished.