Table of Contents
Alright, let's be real. Halloween is great, but staring at an uncarved pumpkin can feel less like festive fun and more like a daunting art project you never signed up for. You want that spooky glow on your porch, but the thought of intricate patterns and potential finger injuries just isn't appealing. Maybe you've had past carving disasters that ended up looking less like a ghoul and more like a sad, lopsided alien. We've all been there. The good news? Pumpkin carving doesn't require a fine arts degree or surgical precision. It can actually be, dare I say, *easy*.
Ditching the Drama: Why Easy Pumpkin Carving Ideas Rule Halloween

Ditching the Drama: Why Easy Pumpkin Carving Ideas Rule Halloween
Let's cut to the chase. We've all seen those Pinterest-perfect pumpkins that look like they were carved by tiny, detail-obsessed elves. They're impressive, sure, but attempting one often leads to frustration, broken carving tools, and a distinct lack of holiday cheer. Choosing easy pumpkin carving ideas isn't about being lazy; it's about being smart. It transforms a potentially stressful chore into a genuinely enjoyable activity. You actually finish the job, the result looks decent (or even great!), and you don't end up muttering curses under your breath while scraping out gourd guts at 11 PM on October 30th. Simple designs look fantastic when lit up, often more striking than overly complicated ones where the details get lost in the dark. Plus, it's way more approachable if you're involving kids, unless you enjoy cleaning up tears along with pumpkin seeds.
Your Toolkit for StressFree Carving (It's Simpler Than You Think)
Your Toolkit for StressFree Carving (It's Simpler Than You Think)
The Absolute Basics: What You Actually Need
Forget those fancy carving kits with a dozen bizarre-looking tools. For most easy pumpkin carving ideas pictures, you honestly just need a few things you probably already have in your kitchen drawer. A sturdy, sharp knife is key – a chef's knife works fine for cutting the top off and tackling larger sections. A smaller, serrated knife is great for sawing through thicker walls or making more precise cuts. Don't overlook a simple spoon or ice cream scoop; they are champions at scraping out the goop and seeds. That's really it for getting started. Seriously, don't let the tool aisle at the store intimidate you into thinking you need specialized gear for a basic jack-o'-lantern.
Stepping Up Slightly: A Couple of Helpful Additions
while you *can* get by with just kitchen knives, a couple of specific pumpkin tools do make life easier, especially for slightly more detailed easy pumpkin carving ideas pictures. Those small, serrated pumpkin carving knives you see everywhere? They're actually decent for finer work and navigating curves. A linoleum cutter or loop tool (often found in printmaking or pottery sections of craft stores) is fantastic for scraping away just the surface layer of the pumpkin skin instead of cutting all the way through. This technique, called 'etching,' opens up a ton of easy design possibilities without needing to make full cuts. Think simple outlines, stars, or even just scraping away patches for different light effects.
What are the most essential tools for easy carving?
- Sturdy knife (chef's knife)
- Small serrated knife
- Spoon or scoop for guts
- Small pumpkin carving saw (optional, but handy)
- Linoleum cutter/loop tool (optional, for etching)
Safety and Clean-Up: Don't Skip This Part
Carving involves sharp objects, shockingly enough. Always carve away from yourself. If you're working with kids, do the cutting yourself and let them handle the scooping or drawing the design. A pair of sturdy gloves isn't a bad idea for grip, especially if the pumpkin is slippery. And for cleanup? Lay down newspaper or an old plastic tablecloth. Trust me on this. Pumpkin guts have a way of getting *everywhere*. Having a designated workspace you don't mind getting messy saves a lot of scrubbing later. A trash can liner pulled right up to your work area is also a lifesaver for immediate waste disposal.
Techniques That Make Pumpkin Carving Easy (No Art Degree Required)
Techniques That Make Pumpkin Carving Easy (No Art Degree Required)
Forget Freehand: Embrace the Template
Trying to draw a perfect spooky face or intricate design directly onto a curved, bumpy pumpkin surface is a recipe for disappointment unless you're secretly Michelangelo. For genuinely easy pumpkin carving ideas pictures, templates are your best friend. You can find thousands online for free – simple shapes, classic jack-o'-lantern faces, basic animals. Print one out, tape it securely to your pumpkin, and then use a pin, awl, or even the tip of a sharp pencil to poke small holes along the lines of the design. These dots create a connect-the-dots guide right on the pumpkin skin. Once you remove the paper, you just follow the dots with your carving tool. It takes the guesswork out of proportions and symmetry, making even slightly more complex designs manageable.
Beyond Cutting: Simple Etching and Cookie Cutter Tricks
Carving doesn't always mean cutting all the way through. Etching, where you just scrape away the top layer of skin, offers a whole different world of easy pumpkin carving ideas pictures. Grab that linoleum cutter or even a sturdy metal spoon and simply scrape away areas to create lighter patches that contrast with the dark skin. You can etch simple patterns, initials, or even just random textures. This technique is incredibly forgiving; a slip-up is much easier to blend in than a misplaced full cut. Another ridiculously simple trick? Metal cookie cutters. Press a sturdy metal cutter firmly into the pumpkin skin – hard enough to make a clear outline. Then, use a small serrated knife to cut along that pressed line. For shapes like stars or moons, you can often just tap the cutter with a mallet (gently!) to push it most of the way through, then clean up the edges. Instant, perfect shapes without the wobbly lines.
Ready to try an easy technique?
- Use a template and poke holes along the lines.
- Try etching by scraping away the top layer of skin.
- Press metal cookie cutters into the pumpkin for simple shapes.
Easy Pumpkin Carving Ideas Pictures: Simple Designs Anyone Can Do

Easy Pumpkin Carving Ideas Pictures: Simple Designs Anyone Can Do
The Classics Reinvented: Simple Faces That Actually Work
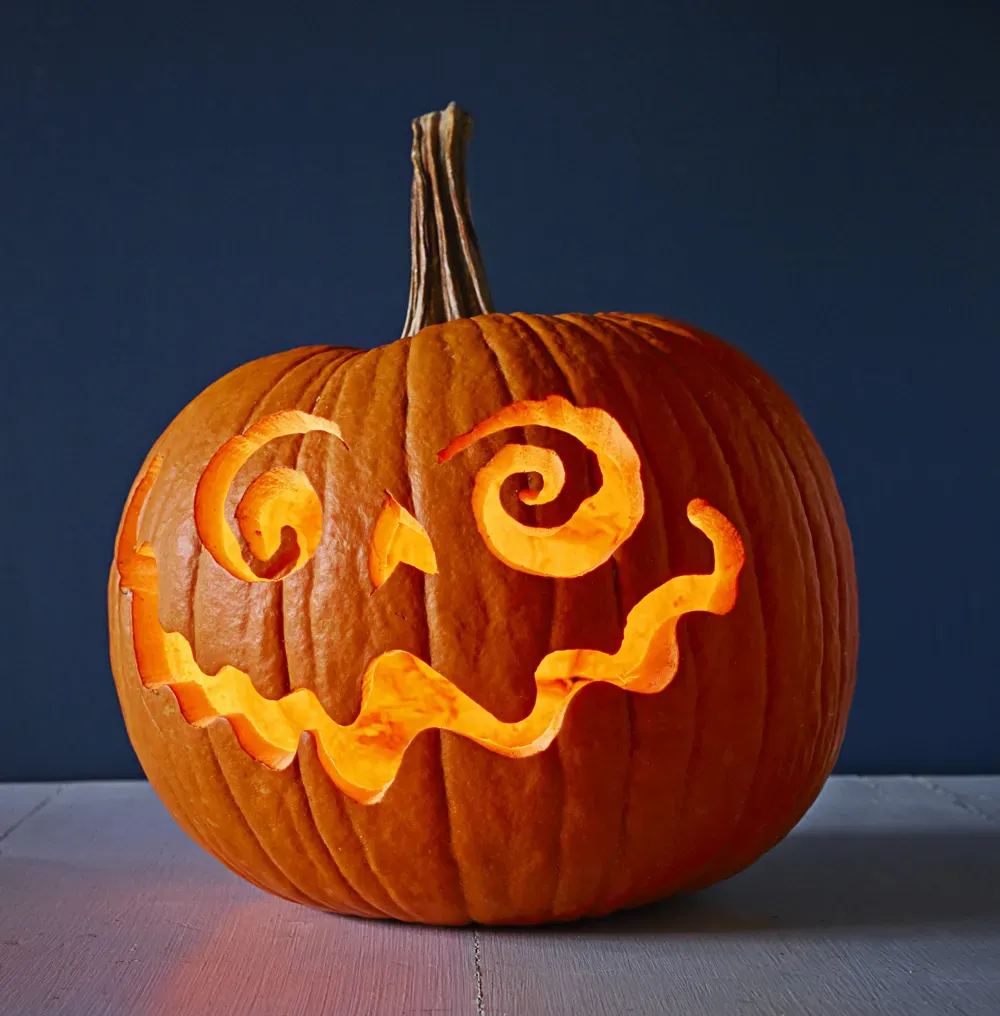
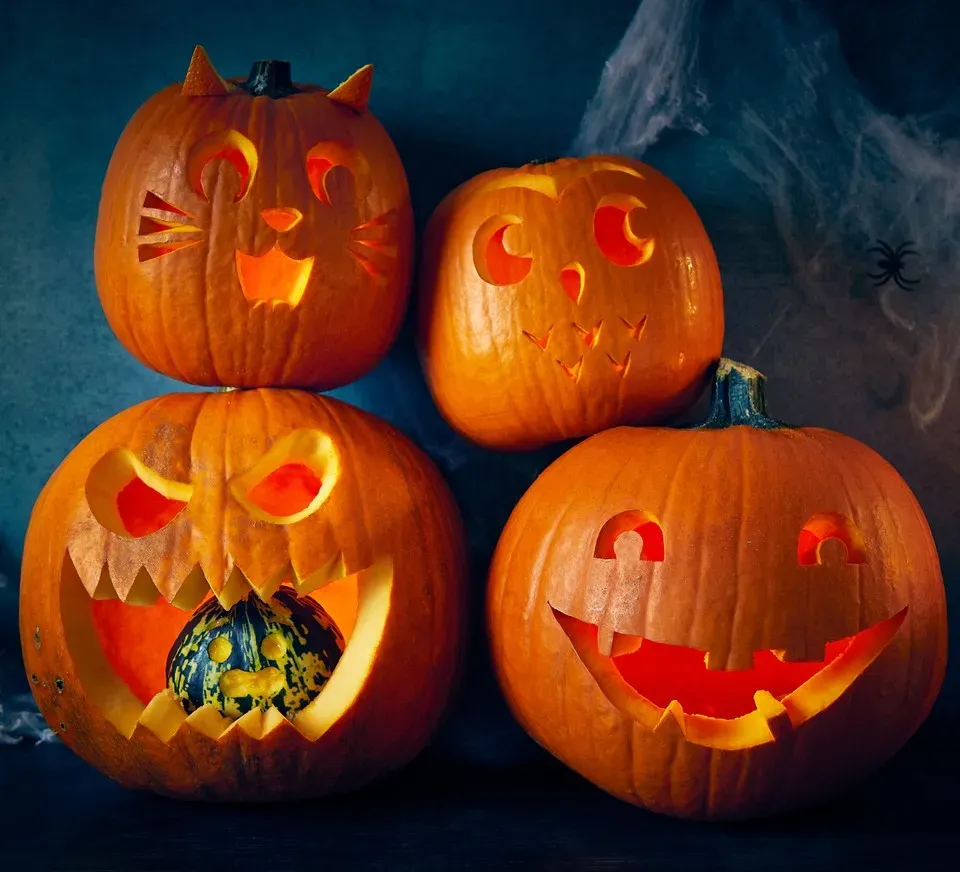
let's start with the absolute basics. The triangle eyes and jagged mouth? There's a reason they're classics. They are genuinely easy pumpkin carving ideas pictures. But you can tweak them slightly to give them personality without adding complexity. Instead of straight triangles, try slightly curved ones for a more whimsical look. Make one eye bigger than the other. Give the mouth a single, crooked tooth. Cut out simple circle eyes and a crescent moon mouth for a surprised or sleepy look. These variations take minimal extra effort but make your pumpkin stand out from the generic crowd. Think of it as giving your pumpkin a simple costume instead of building it a whole new identity. You can even use different sized circle cutters for eyes and mouths – instant, clean shapes.
Forget trying to replicate intricate movie monsters. Focus on bold, simple shapes that read well from a distance, especially in the dark. A few well-placed cuts are far more effective than a cluttered design nobody can decipher.
Beyond the Face: Easy Shapes and Silhouettes
Who says a pumpkin needs a face? Some of the best easy pumpkin carving ideas pictures involve simple shapes cut or etched into the surface. Think stars scattered across the pumpkin like a night sky (cookie cutters are great here). Or a single, large spider silhouette. How about a simple, spooky tree branch outline? These designs often look incredibly effective when lit, creating dramatic shadows without requiring precise detail work. Etching just the outline of a bat or a ghost adds a layer of texture and light variation that's visually interesting but requires just scraping, not cutting all the way through. It's the lazy person's way to look artistic, and I fully endorse it.
- Scattered stars (use cookie cutters!)
- Single large spider or bat silhouette
- Simple tree branch outline
- Ghost shape (etched or cut)
- Moon and scattered small stars
Minimalist Magic: Abstract Patterns and Textures
Sometimes, the most striking easy pumpkin carving ideas pictures are the ones that don't try to be anything specific. Simple patterns of holes drilled with different sized drill bits (adult supervision required, obviously) can create fantastic light effects. Rows of varying sized circles or random clusters look modern and cool. You can etch stripes or swirls all over the pumpkin for a textured look that catches the light unevenly. Cutting out simple geometric shapes – squares, circles, triangles – in a repeating pattern is straightforward but visually impactful. It’s abstract art, but you can't mess it up because there's no "right" way for it to look. Plus, explaining your abstract pumpkin art is way more interesting than just saying "it's a face."
Your Easy Pumpkin Carving Questions Answered (FAQ)
Your Easy Pumpkin Carving Questions Answered (FAQ)
How Do I Make My Easy Pumpkin Carving Last Longer?
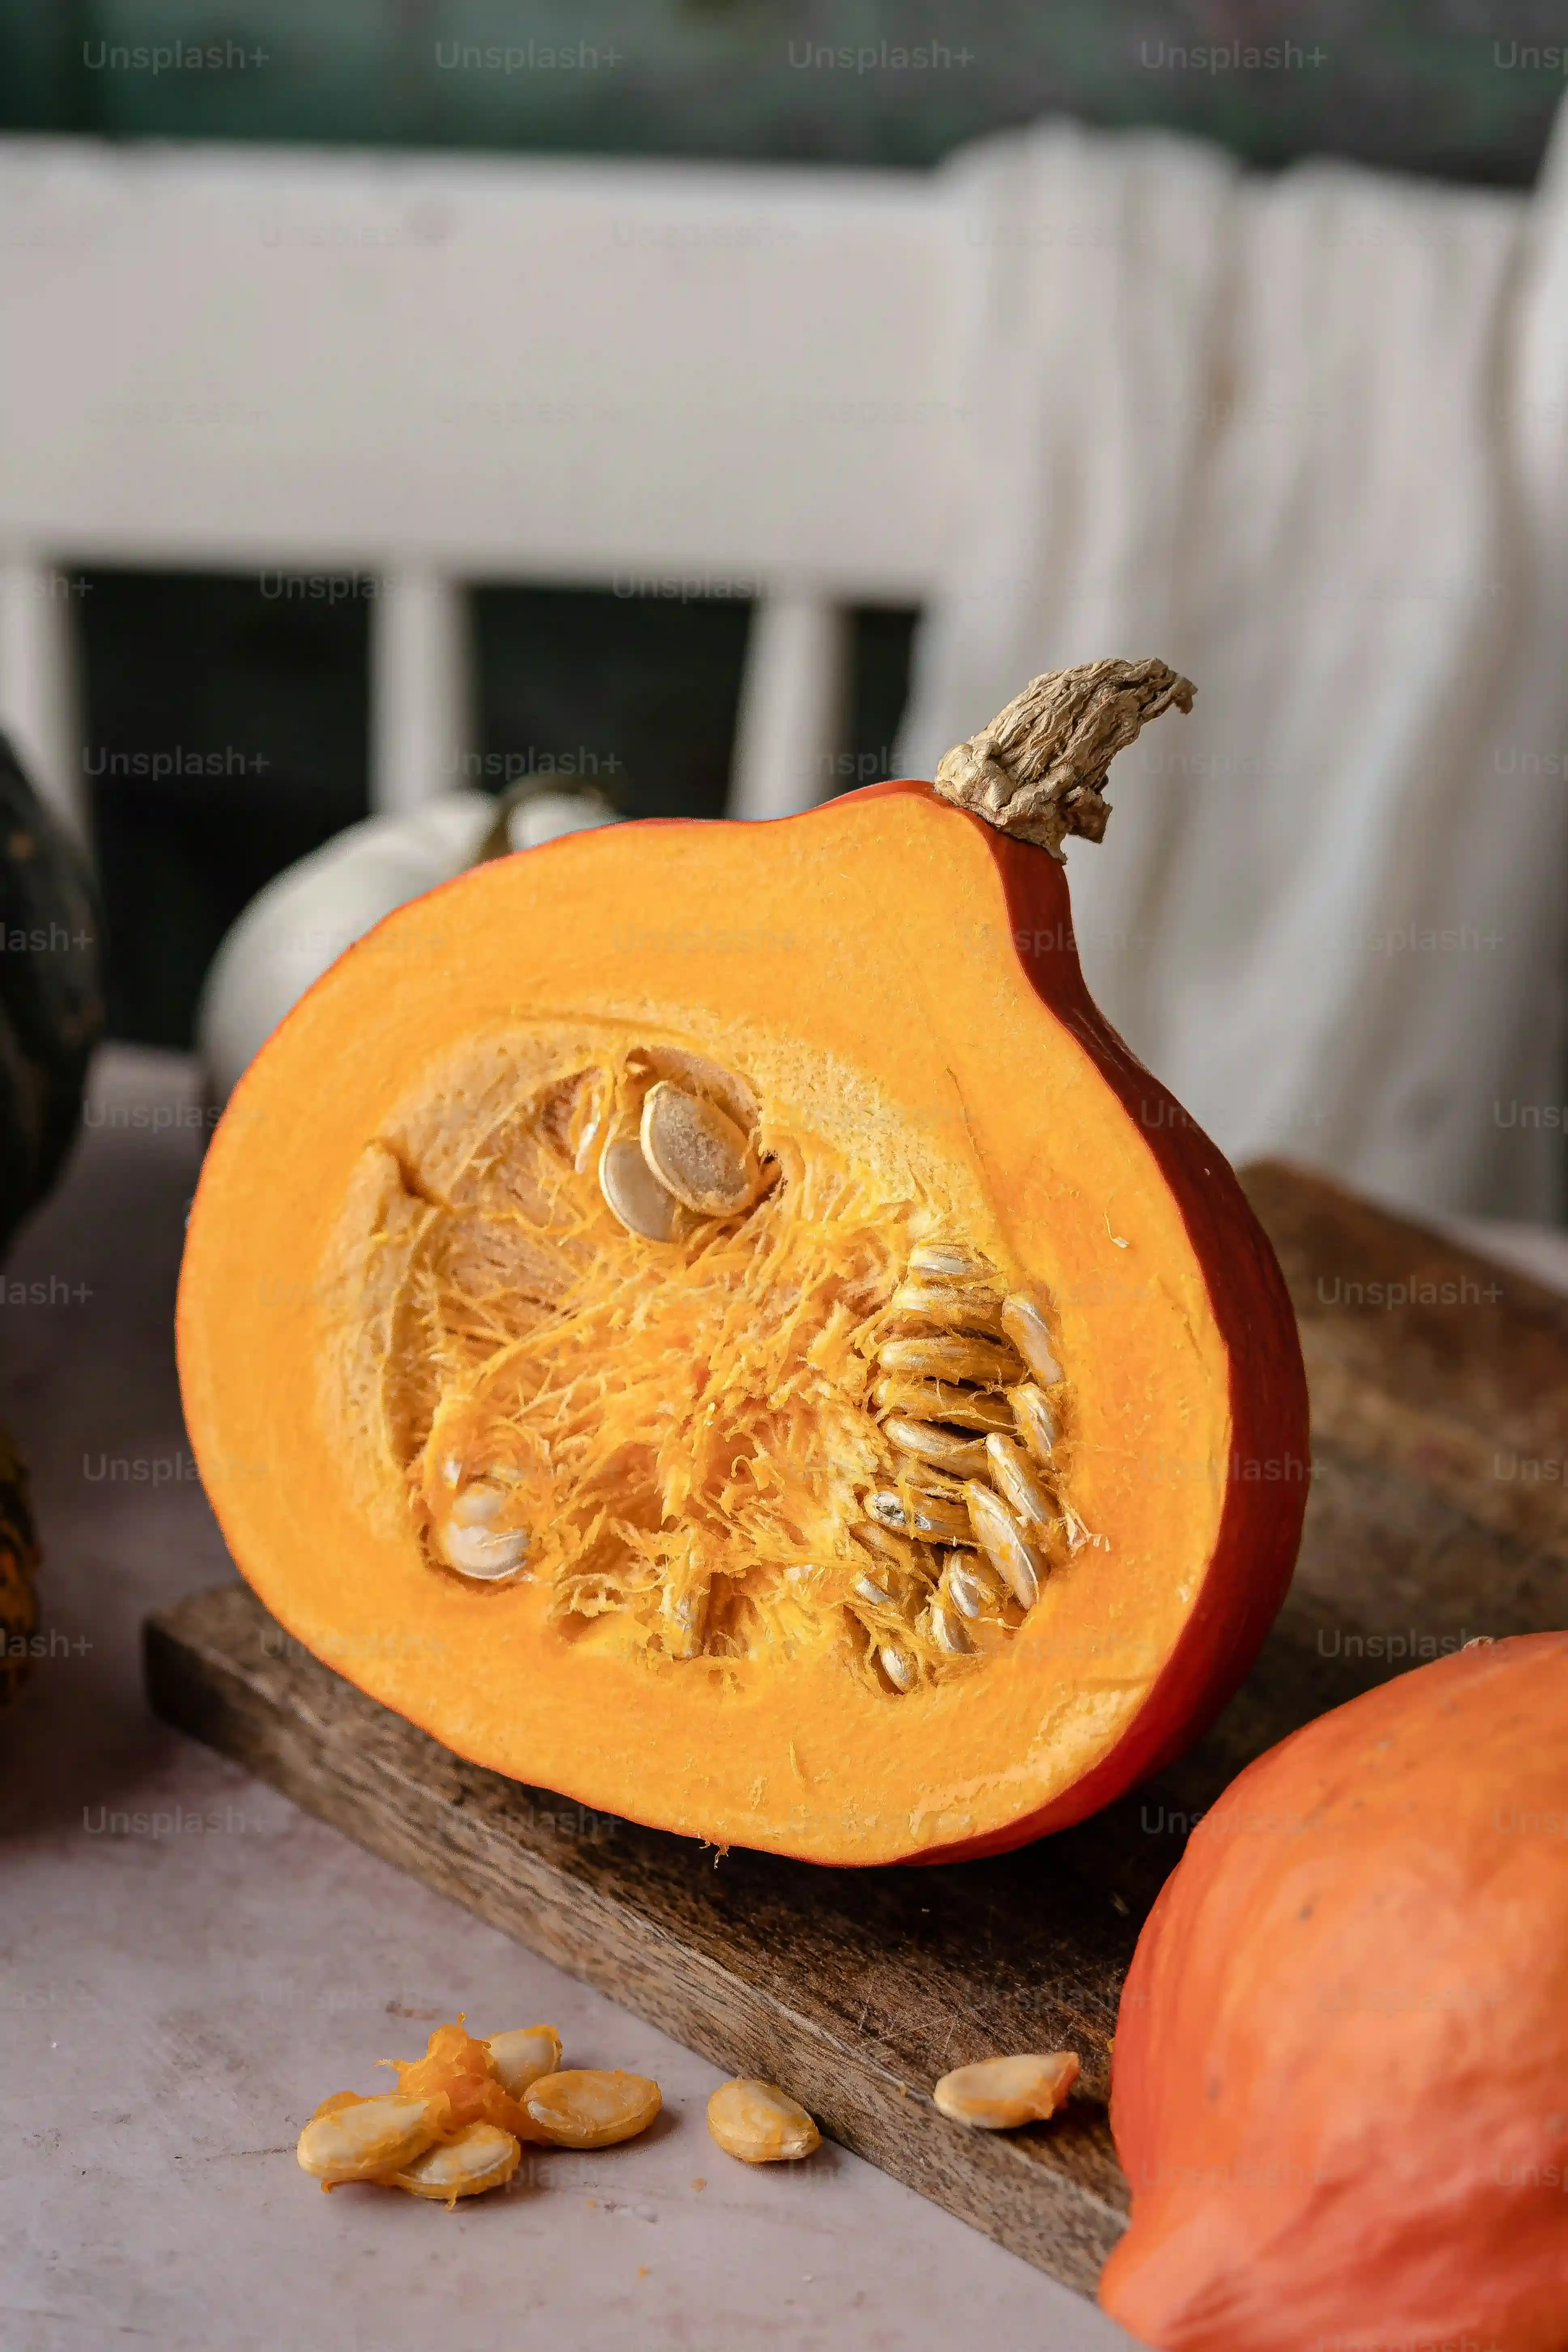
you've nailed your easy pumpkin carving ideas pictures, and your creation looks fantastic. Now, how do you keep it from turning into a sad, moldy mess before Halloween night? First, don't cut the top off the bottom if you can avoid it. Cutting from the bottom preserves the stem, which helps the pumpkin retain moisture. After carving, give the inside and cut edges a good spray with a solution of water and a splash of bleach or vinegar. This kills bacteria and mold spores. Some folks swear by rubbing petroleum jelly on the cut edges to seal in moisture, though it can look a bit greasy. Keep your carved pumpkin in a cool, dry place during the day if possible, especially if it's warm outside. A soak in cold water for a few hours can also rehydrate a wilting pumpkin.
What's the Best Way to Light Up My Easy Pumpkin Carving?
Lighting is key to making those easy pumpkin carving ideas pictures pop at night. Forget the old wax candles unless you enjoy fire hazards and melted pumpkin goo. LED lights are the way to go. You can get small, battery-operated tea lights that fit perfectly inside. They're safe, they don't produce heat that will cook your pumpkin, and the batteries last for ages. For a brighter glow, look for small LED puck lights or even strings of battery-powered fairy lights you can stuff inside. Multiple light sources can eliminate dark spots and ensure your simple design shines. Placing the light source closer to the front or back can also change the effect of the light coming through your cuts or etches.
Quick Lighting Tips:
- Use battery-operated LED tea lights.
- Try LED puck lights for more brightness.
- String fairy lights inside for a magical effect.
- Avoid traditional candles due to fire risk and heat.
- Experiment with light placement to enhance your design.
Wrapping Up Your Easy Pumpkin Carving Adventure
So there you have it. We've looked at tools that won't break the bank or require an instruction manual, touched on some straightforward carving moves, and hopefully, you've scrolled through enough easy pumpkin carving ideas pictures to find something that doesn't make you sweat. The goal here wasn't perfection; it was participation. It was about getting a carved pumpkin out there without the usual drama, the kind that maybe won't win awards but definitely says, "Yep, I did a Halloween thing." Don't overthink it. Grab a pumpkin, pick an idea that looks manageable, and just go for it. Worst case, you've got a slightly weird-looking squash on your porch. Happens to the best of us.