Table of Contents
Halloween's creeping up, and suddenly that blank pumpkin on your porch feels like a test. You want something cool, maybe a little spooky, but the thought of intricate patterns and potential knife slips is enough to make you grab a marker and call it a day. Let's be honest, not everyone has hours, or the steady hand of a surgeon, to create a masterpiece. If you're nodding along, wishing there was a straightforward way to get a classic, effective jack-o'-lantern without the fuss, you're in the right place.
Gather Your Tools for Easy Pumpkin Carving

Gather Your Tools for Easy Pumpkin Carving
Start Simple: The Bare Essentials
let's talk tools. You don't need a workshop full of gadgets to make a decent pumpkin face. Honestly, you probably have most of what you need hiding in your kitchen drawers right now. Think sturdy spoons for scooping out the guts – the bigger and tougher, the better. A sharp kitchen knife, not a tiny paring knife, is key for making the initial cut around the top. Just be careful, obviously. The goal here is carving, not a trip to the emergency room. These basic items are your foundation for tackling those easy pumpkin carving ideas faces without buying anything extra.
Pumpkin Kits: Friend or Foe for Easy Faces?
Those specialized pumpkin carving kits you see everywhere? They can be helpful, especially for beginners or kids, but don't feel obligated. For simple faces, you mostly need a way to cut and scrape. The little saws in the kits are decent for cutting shapes, often safer than a big kitchen knife for the detail work (like eyes and mouths). Some kits come with scoopers with serrated edges, which can speed up the messy part. They’re convenient, sure, but a reliable knife and spoon get the job done for straightforward designs just fine. It depends if you want to invest a few bucks for slightly more specialized gear for your easy pumpkin carving ideas faces.
- Sturdy Metal Spoon: For serious gut scooping.
- Sharp Kitchen Knife: For cutting the lid (adults only!).
- Small Serrated Knife or Pumpkin Saw (from a kit): Better control for cutting face shapes.
- Large Bowl: To hold the pumpkin guts and seeds.
- Marker or Pen: To draw your design first.
- Newspaper or Drop Cloth: Keeps the mess contained.
Safety First and Handy Extras
Seriously, safety isn't the most exciting part, but slicing your hand puts a real damper on the Halloween spirit. Always cut away from yourself. If you're using a kit saw, use a back-and-forth motion, don't force it. For the little detail work on your easy pumpkin carving ideas faces, sometimes a sturdy poker or drill bit (used carefully!) can help start holes or make small details without having to cut full shapes. A small, sharp paring knife *can* be useful for refining edges, but stick to the kit tools or a small serrated knife for the main cuts if you're nervous. Having a damp cloth handy for wiping off sticky pumpkin juice is also a small thing that makes a big difference.
Simple Shapes Make Easy Pumpkin Carving Ideas Faces
Simple Shapes Make Easy Pumpkin Carving Ideas Faces
Triangles, Circles, and Squares: Your Pumpkin Face Alphabet
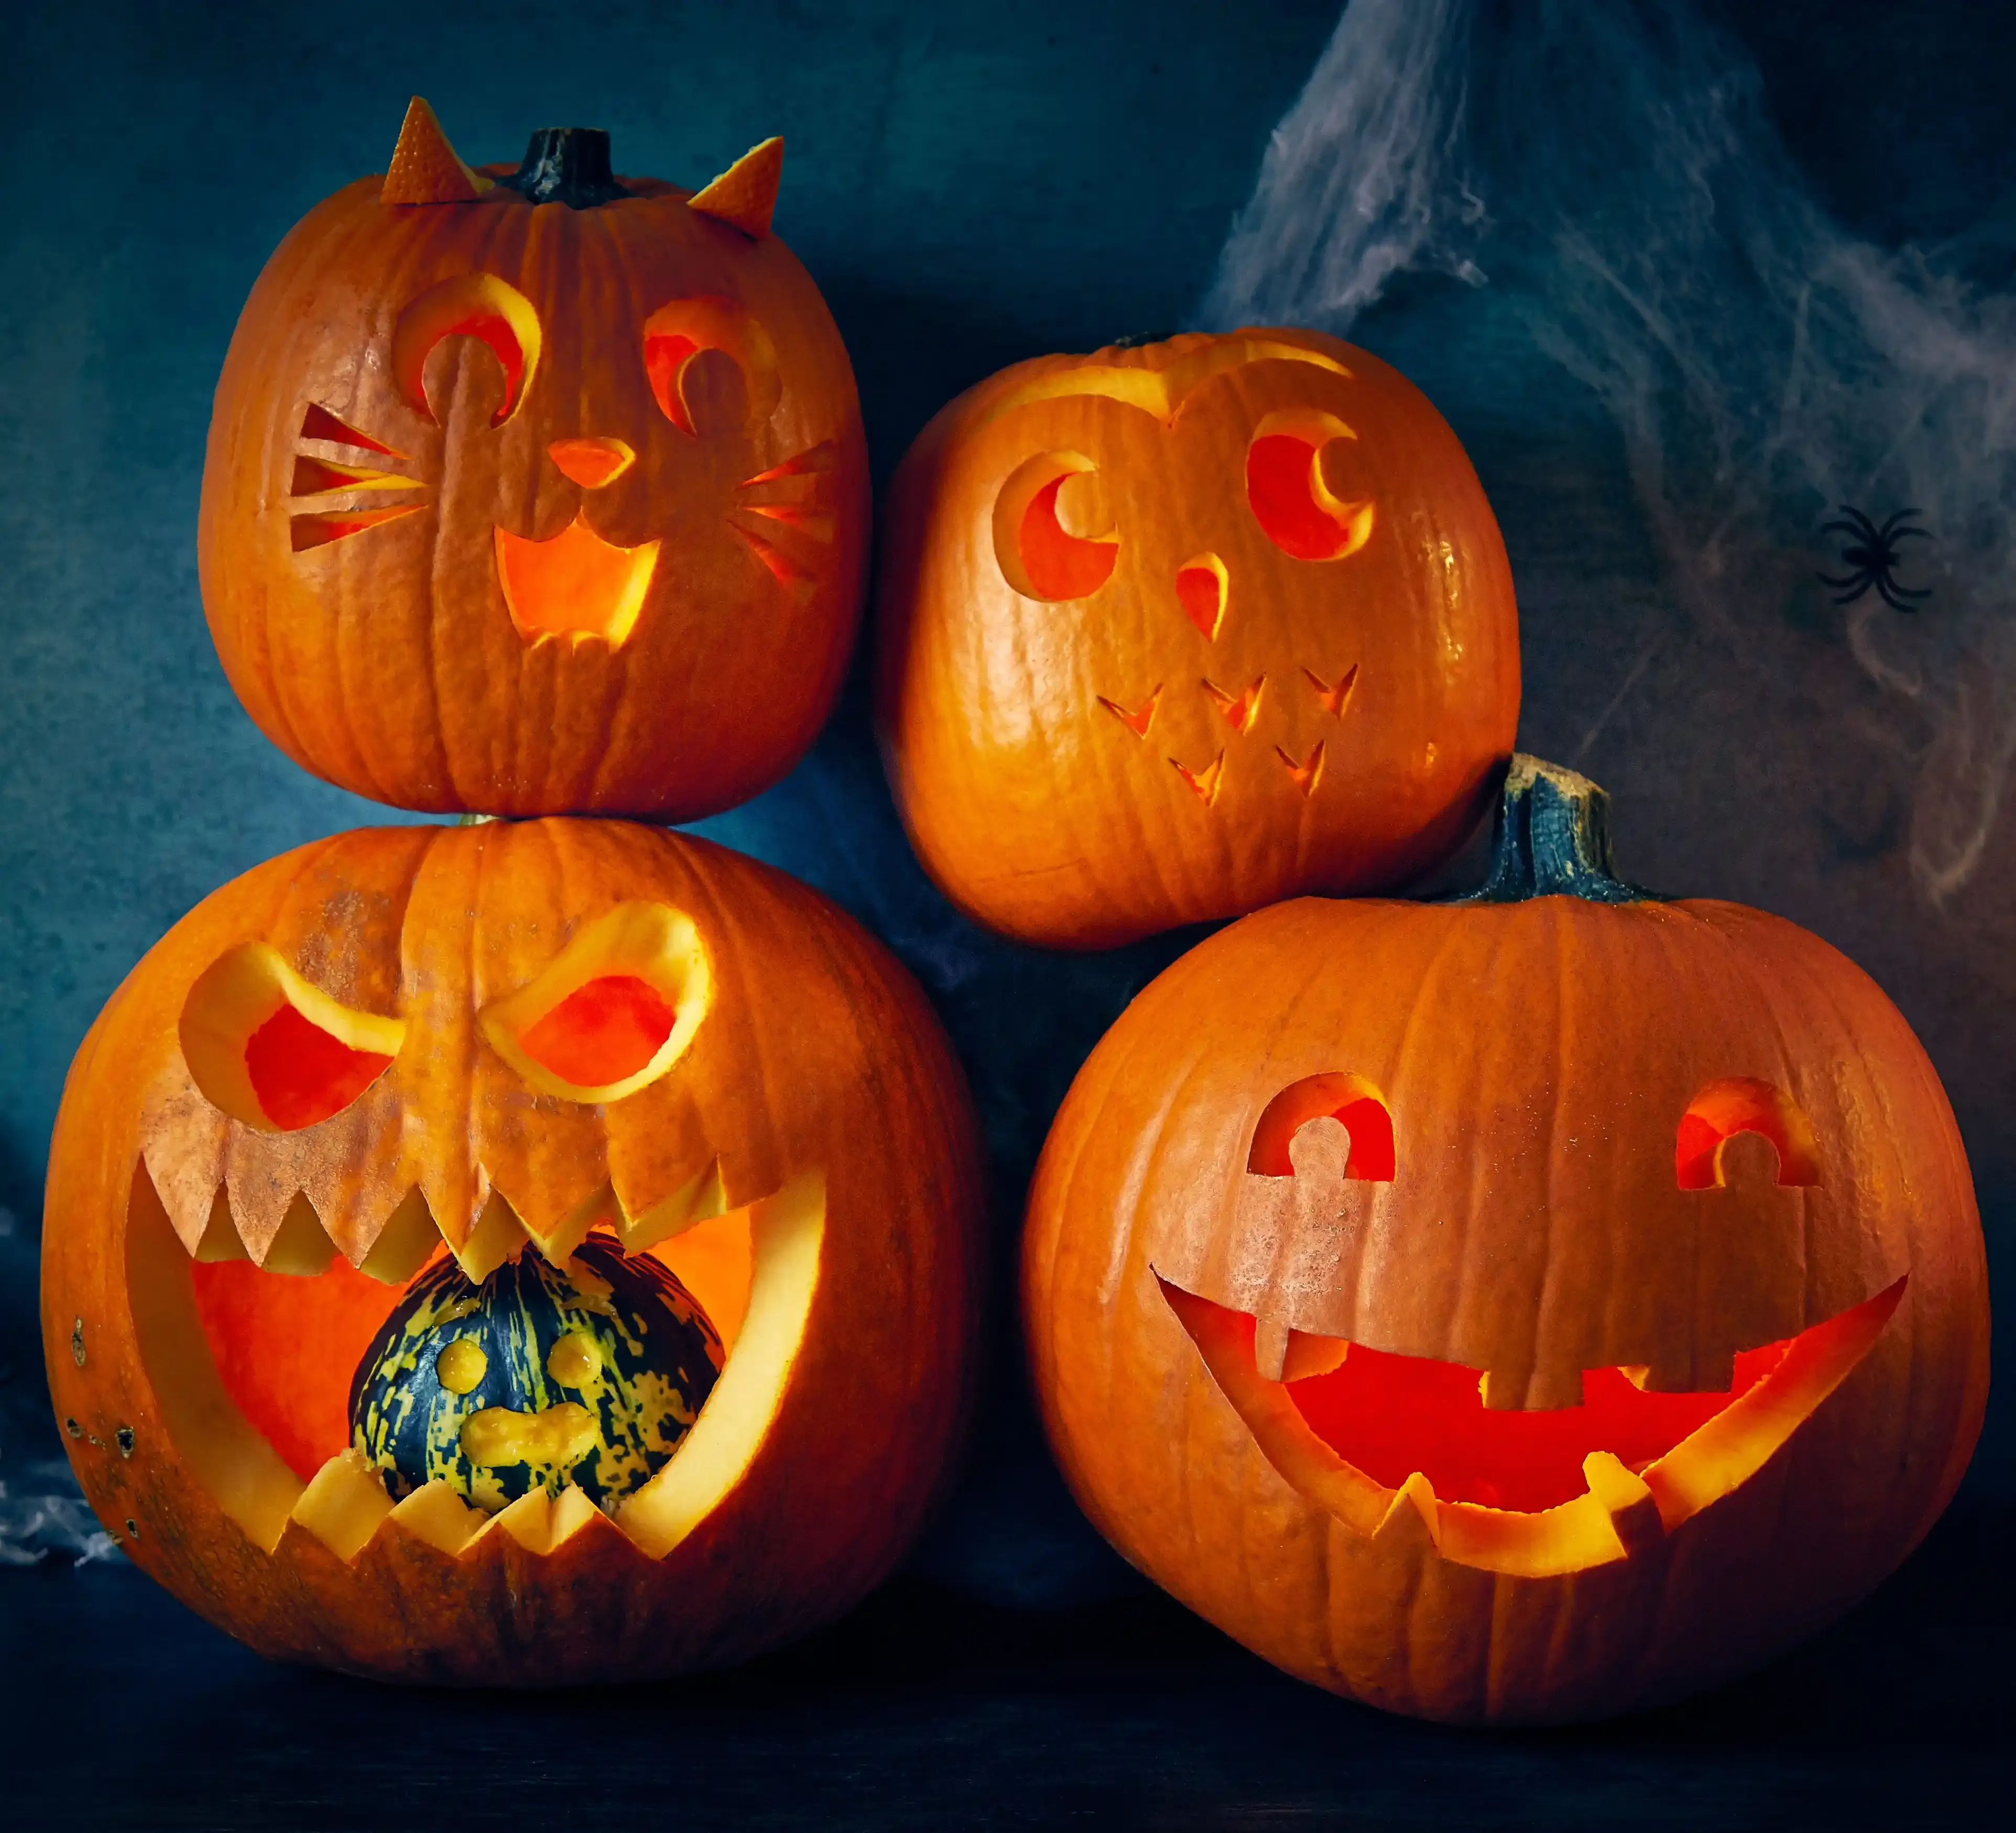
deep breaths. You don't need to sculpt a presidential likeness. The secret to really easy pumpkin carving ideas faces is sticking to basic geometry. Think triangles for eyes and noses. Circles work great for wide, surprised eyes or simple mouths. Squares or rectangles can make for blocky, maybe slightly goofy teeth. These shapes are straightforward to draw on the pumpkin, and more importantly, straightforward to cut out. No weird curves or tiny points to navigate. Just simple lines. Start with a classic jack-o'-lantern face – two triangles for eyes, one for a nose, and a jagged, toothy grin made of smaller triangles or rectangles. It’s iconic for a reason: it’s simple and effective.
Mix and Match for Different Expressions
Once you've got the hang of the basic shapes, you can mix and match them to create different moods without getting complicated. Want a scared face? Make the circle eyes big and round, maybe add a small, trembling line for a mouth. A spooky face? Long, thin triangles for eyes and a wide, toothless grin (just a big hole). A silly face? Wobbly circles for eyes, a triangle nose upside down, and a big, goofy smile made of rounded shapes. These easy pumpkin carving ideas faces come to life by simply changing the size, position, or combination of these fundamental forms. It’s like building with blocks, but messier and way more fun.
- Classic Eye Shapes: Triangles, Circles, Ovals
- Simple Nose Shapes: Triangle (point up or down), Small Circle, Slit
- Basic Mouth Shapes: Jagged Line, Big Circle, Row of Squares/Rectangles (teeth)
- Expression Tweaks: Big vs. Small shapes, Angle of shapes, Adding eyebrows (small lines/curves)
Quick & Easy Pumpkin Carving Ideas: Beyond Basic Faces
Quick & Easy Pumpkin Carving Ideas: Beyond Basic Faces
Adding Personality with Eyebrows and Details
you've mastered the basic shapes for your easy pumpkin carving ideas faces. Triangles, circles, done. But how do you make it look less like a robot and more like... something with feelings? Simple additions make a huge difference. Think eyebrows. Two small carved lines above triangle eyes can make your pumpkin look angry or mischievous. Curve them up for surprise, angle them down for menace. Little dots or small carved circles around the mouth can look like freckles or stubble on a spooky face. These small details aren't hard, they just require a bit more precision than hacking out a big triangle. It's about adding tiny touches that give the face a bit of life, or undeath, as the case may be.
Don't feel limited to just the standard features. What about adding carved lines radiating from the eyes for a shocked look? Or maybe a simple zigzag line across the forehead? These are still easy shapes to cut, but they break away from the absolute basics and give your easy pumpkin carving ideas faces a unique twist. You can even use the scraping tool (or a sturdy spoon) to thin the pumpkin wall in certain areas instead of cutting all the way through. This lets light shine through dimly, creating cool effects for scars or wrinkles without complex carving.
- Angry Brows: Short, angled lines above eyes.
- Surprised Brows: Curved lines above eyes.
- Scars/Wrinkles: Thinly scraped lines on the surface.
- Freckles/Stubble: Small carved dots.
- Cheekbones: Scrape larger areas below the eyes.
Using Negative Space and Simple Cutouts
Sometimes, what you *don't* carve is just as important as what you do. Instead of cutting out entire shapes for eyes, try just carving the outline or a crescent shape. This leaves part of the pumpkin intact, creating a different kind of eye. For a mouth, instead of a full smile, just carve a simple slit or a few vertical lines for teeth in a dark void. This use of negative space can often look more artistic or creepy than just punching out full shapes.
Consider using cookie cutters for really simple, uniform shapes. If you have metal cookie cutters, you can press them firmly into the pumpkin skin and then use a mallet or hammer to gently tap them through the wall. This works best on flatter parts of the pumpkin and with simple shapes like stars, circles, or even basic animal outlines for eyes or noses. It's almost cheating, but hey, we're going for easy pumpkin carving ideas faces here, not competing on a reality show. Just make sure the cutter is clean afterwards.
Finishing Touches and Alternative Face Techniques
Finishing Touches and Alternative Face Techniques
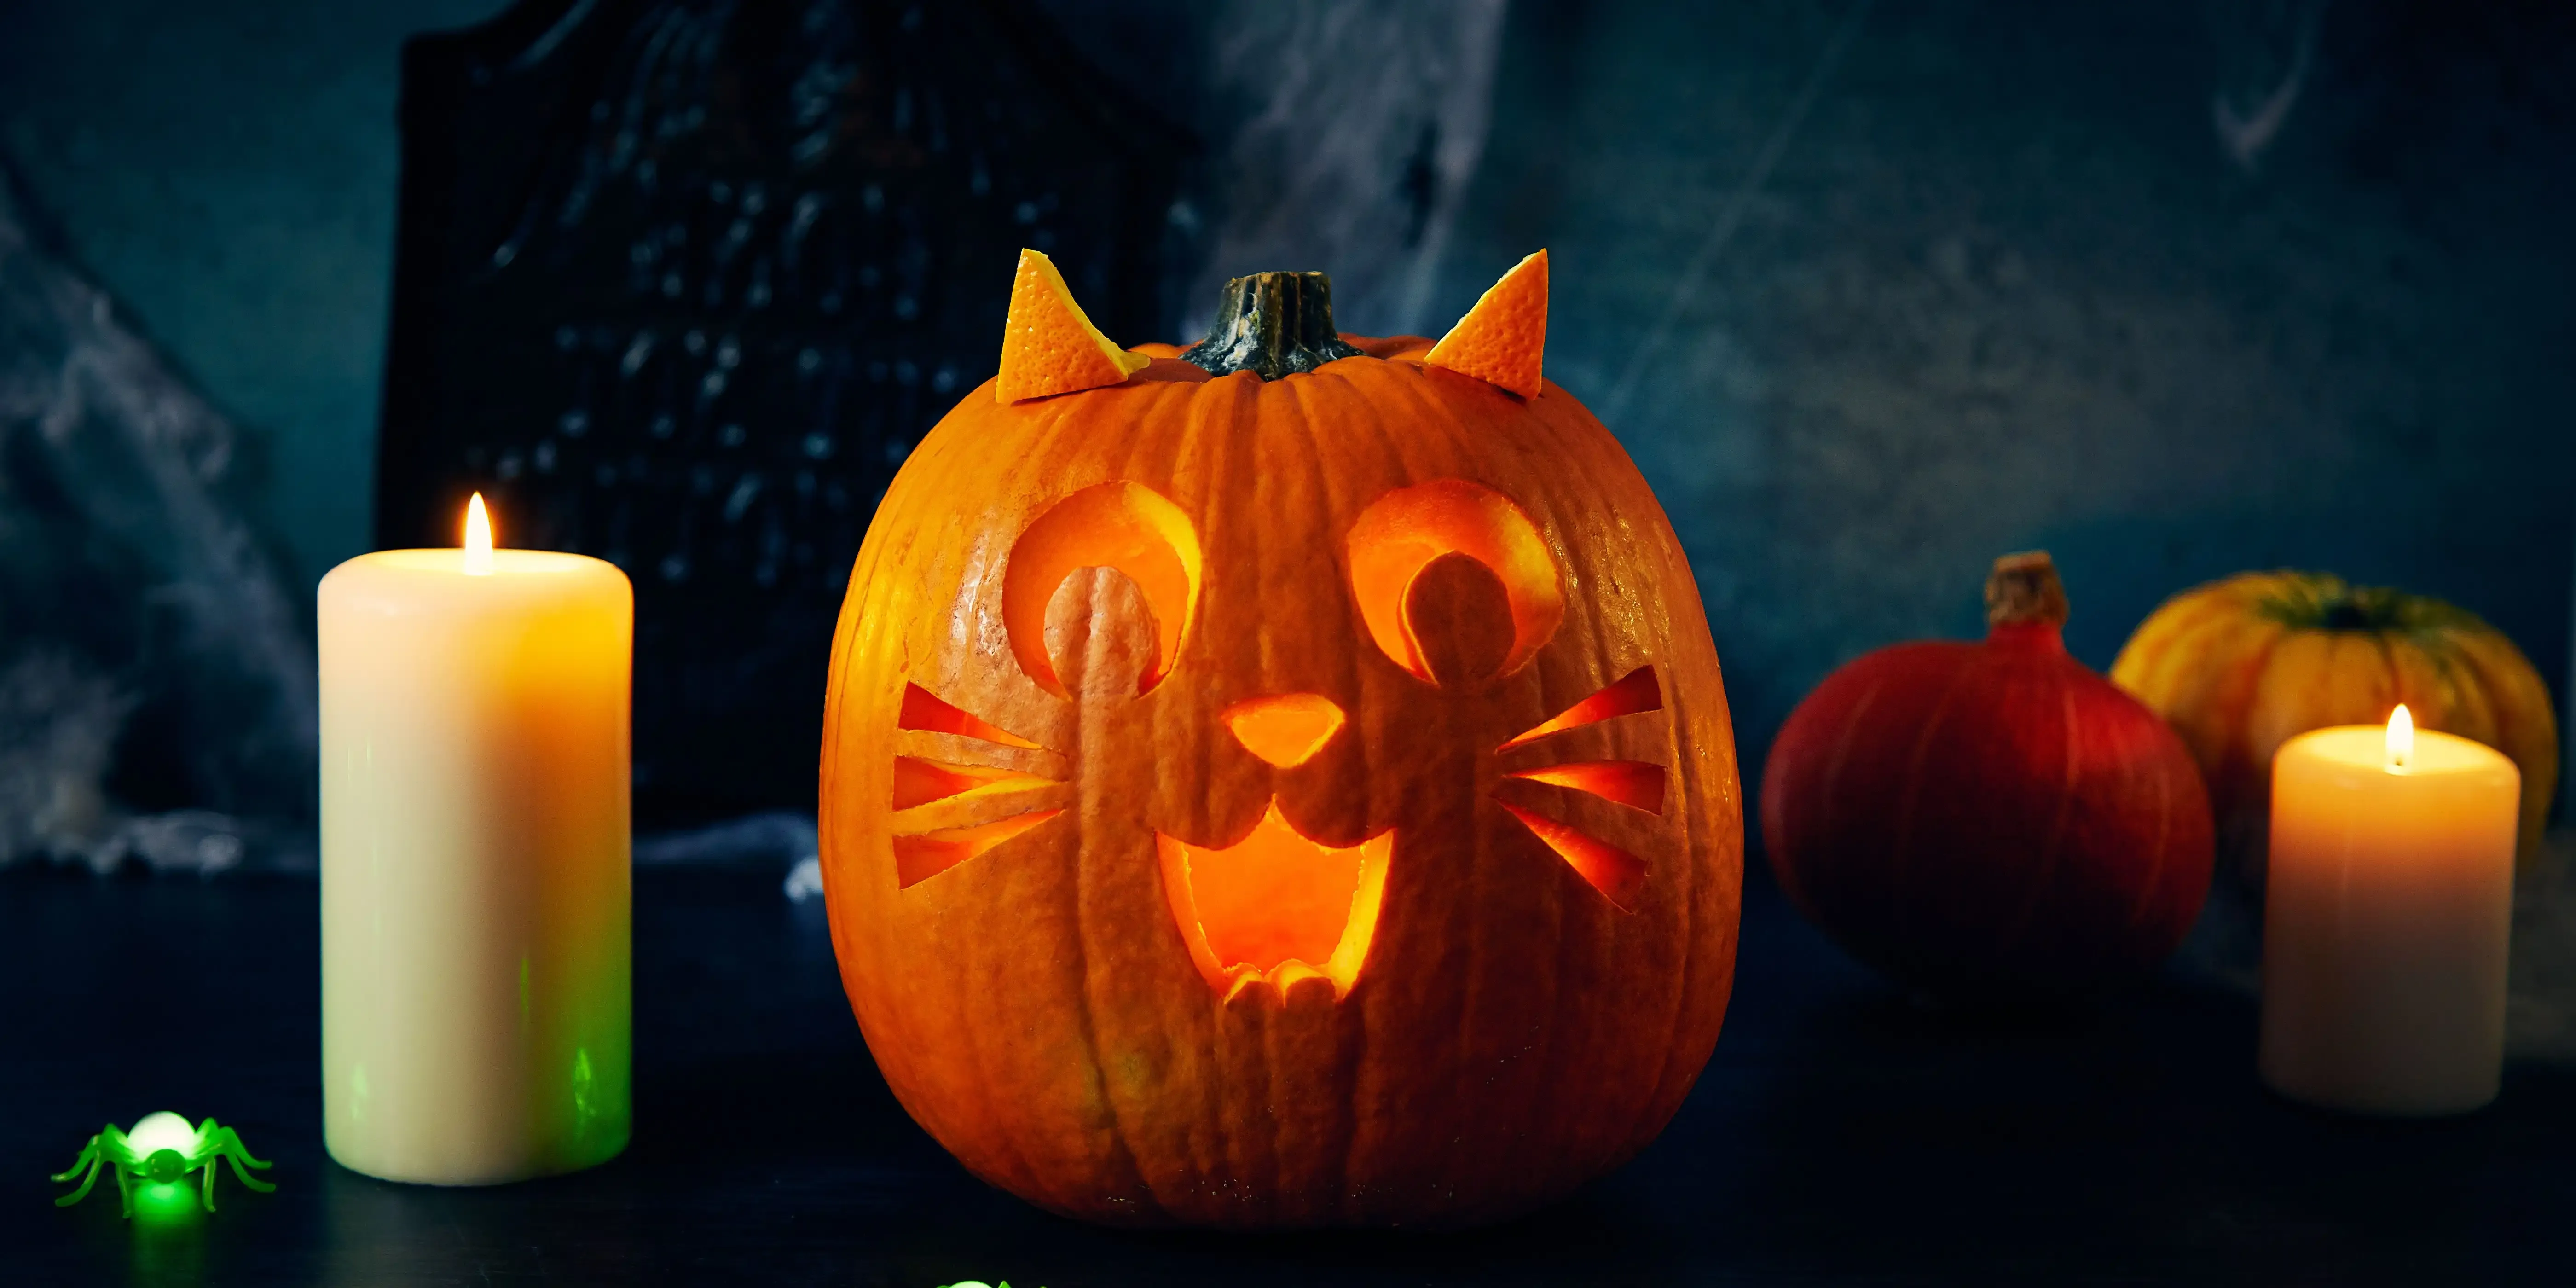
so you've got the basic shapes carved out for your easy pumpkin carving ideas faces. Now, how do you make it look finished instead of just... holes? It's the little things. Once you've cleaned out the inside and made your cuts, take a moment to scrape away any stringy bits or rough edges around the carved areas. A small knife or even a sturdy spoon edge can do this. This cleans up the look dramatically. Also, think about lighting. A simple tea light is fine, but an LED candle is safer and lasts longer, giving a steady glow. Position the light source to best illuminate the face you've created. Sometimes just angling the light differently can make a huge difference in how spooky or silly your face looks in the dark.
Wrapping Up Your Easy Pumpkin Face
So there you have it. You've got your basic shapes down, maybe added a few extra details, and hopefully, you haven't lost a finger in the process. The point of these easy pumpkin carving ideas for faces isn't to win some grand competition, but to get a decent-looking glowing head on your porch with minimal fuss and maximum Halloween spirit (or at least, minimum frustration). It's about getting it done, having it look reasonably spooky or silly, and moving on to the important stuff, like deciding which candy to steal from the trick-or-treaters' haul. Your pumpkin face is ready for duty. Good job.