Table of Contents
Alright, let's be real. Halloween is great, but wrestling with a slippery pumpkin and trying to carve a masterpiece that looks like something other than a melted mess? Not always the best time. We've all seen those impossibly intricate designs online and thought, "Yeah, that's not happening before the kids are sugar-crashing." But getting into the spooky spirit doesn't require an art degree or professional tools. Sometimes, the best jack-o'-lanterns are the ones that are simple, classic, and don't make you want to throw the gourd across the yard.
Why Choose Easy Pumpkin Carving Face Ideas This Year?

Why Choose Easy Pumpkin Carving Face Ideas This Year?
Look, we get it. Life is hectic. Maybe you waited until the last minute, or maybe you just don't fancy spending three hours hunched over a gourd, hoping your intricate design doesn't collapse. Choosing easy pumpkin carving face ideas this year isn't about being lazy; it's about being smart. It means less stress, less mess, and honestly, a much higher chance your finished product will actually look like a face and not some abstract horror show you didn't intend. Plus, it's way more achievable if you've got little hands "helping" or if your carving skills peaked somewhere around kindergarten.
Gathering Your Simple Tools for Easy Pumpkin Carving Face Ideas
Gathering Your Simple Tools for Easy Pumpkin Carving Face Ideas
so you're ready to tackle those easy pumpkin carving face ideas. The good news? You don't need to shell out for a fancy carving kit with 50 tiny, mysterious tools you'll use once. Most likely, you've got everything you need lurking in your kitchen drawers or junk bin right now. Think about it – what do you use to cut things, scoop things, and poke holes? That's your toolkit right there. A sturdy kitchen knife (adult supervision required, obviously) for cutting the top, a big spoon or ice cream scoop for gutting the inside, and maybe a smaller paring knife or even a strong, sharp-pointed object like a skewer or screwdriver for finer details like eyes or mouths. Seriously, keep it simple. The goal is a face, not a miniature Taj Mahal.
Here are some common items that work wonders for easy pumpkin carving face ideas:
- A sturdy kitchen knife (for the lid)
- Large spoon or ice cream scoop (for cleaning out the insides)
- Small paring knife or craft knife (for details)
- Metal skewers or sturdy screwdrivers (for poking holes and outlines)
- Dry-erase marker (for drawing your design first)
- A small saw tool (sometimes found in basic kits, useful but not essential)
Classic Shapes: The Foundation of Easy Pumpkin Carving Face Ideas
Classic Shapes: The Foundation of Easy Pumpkin Carving Face Ideas
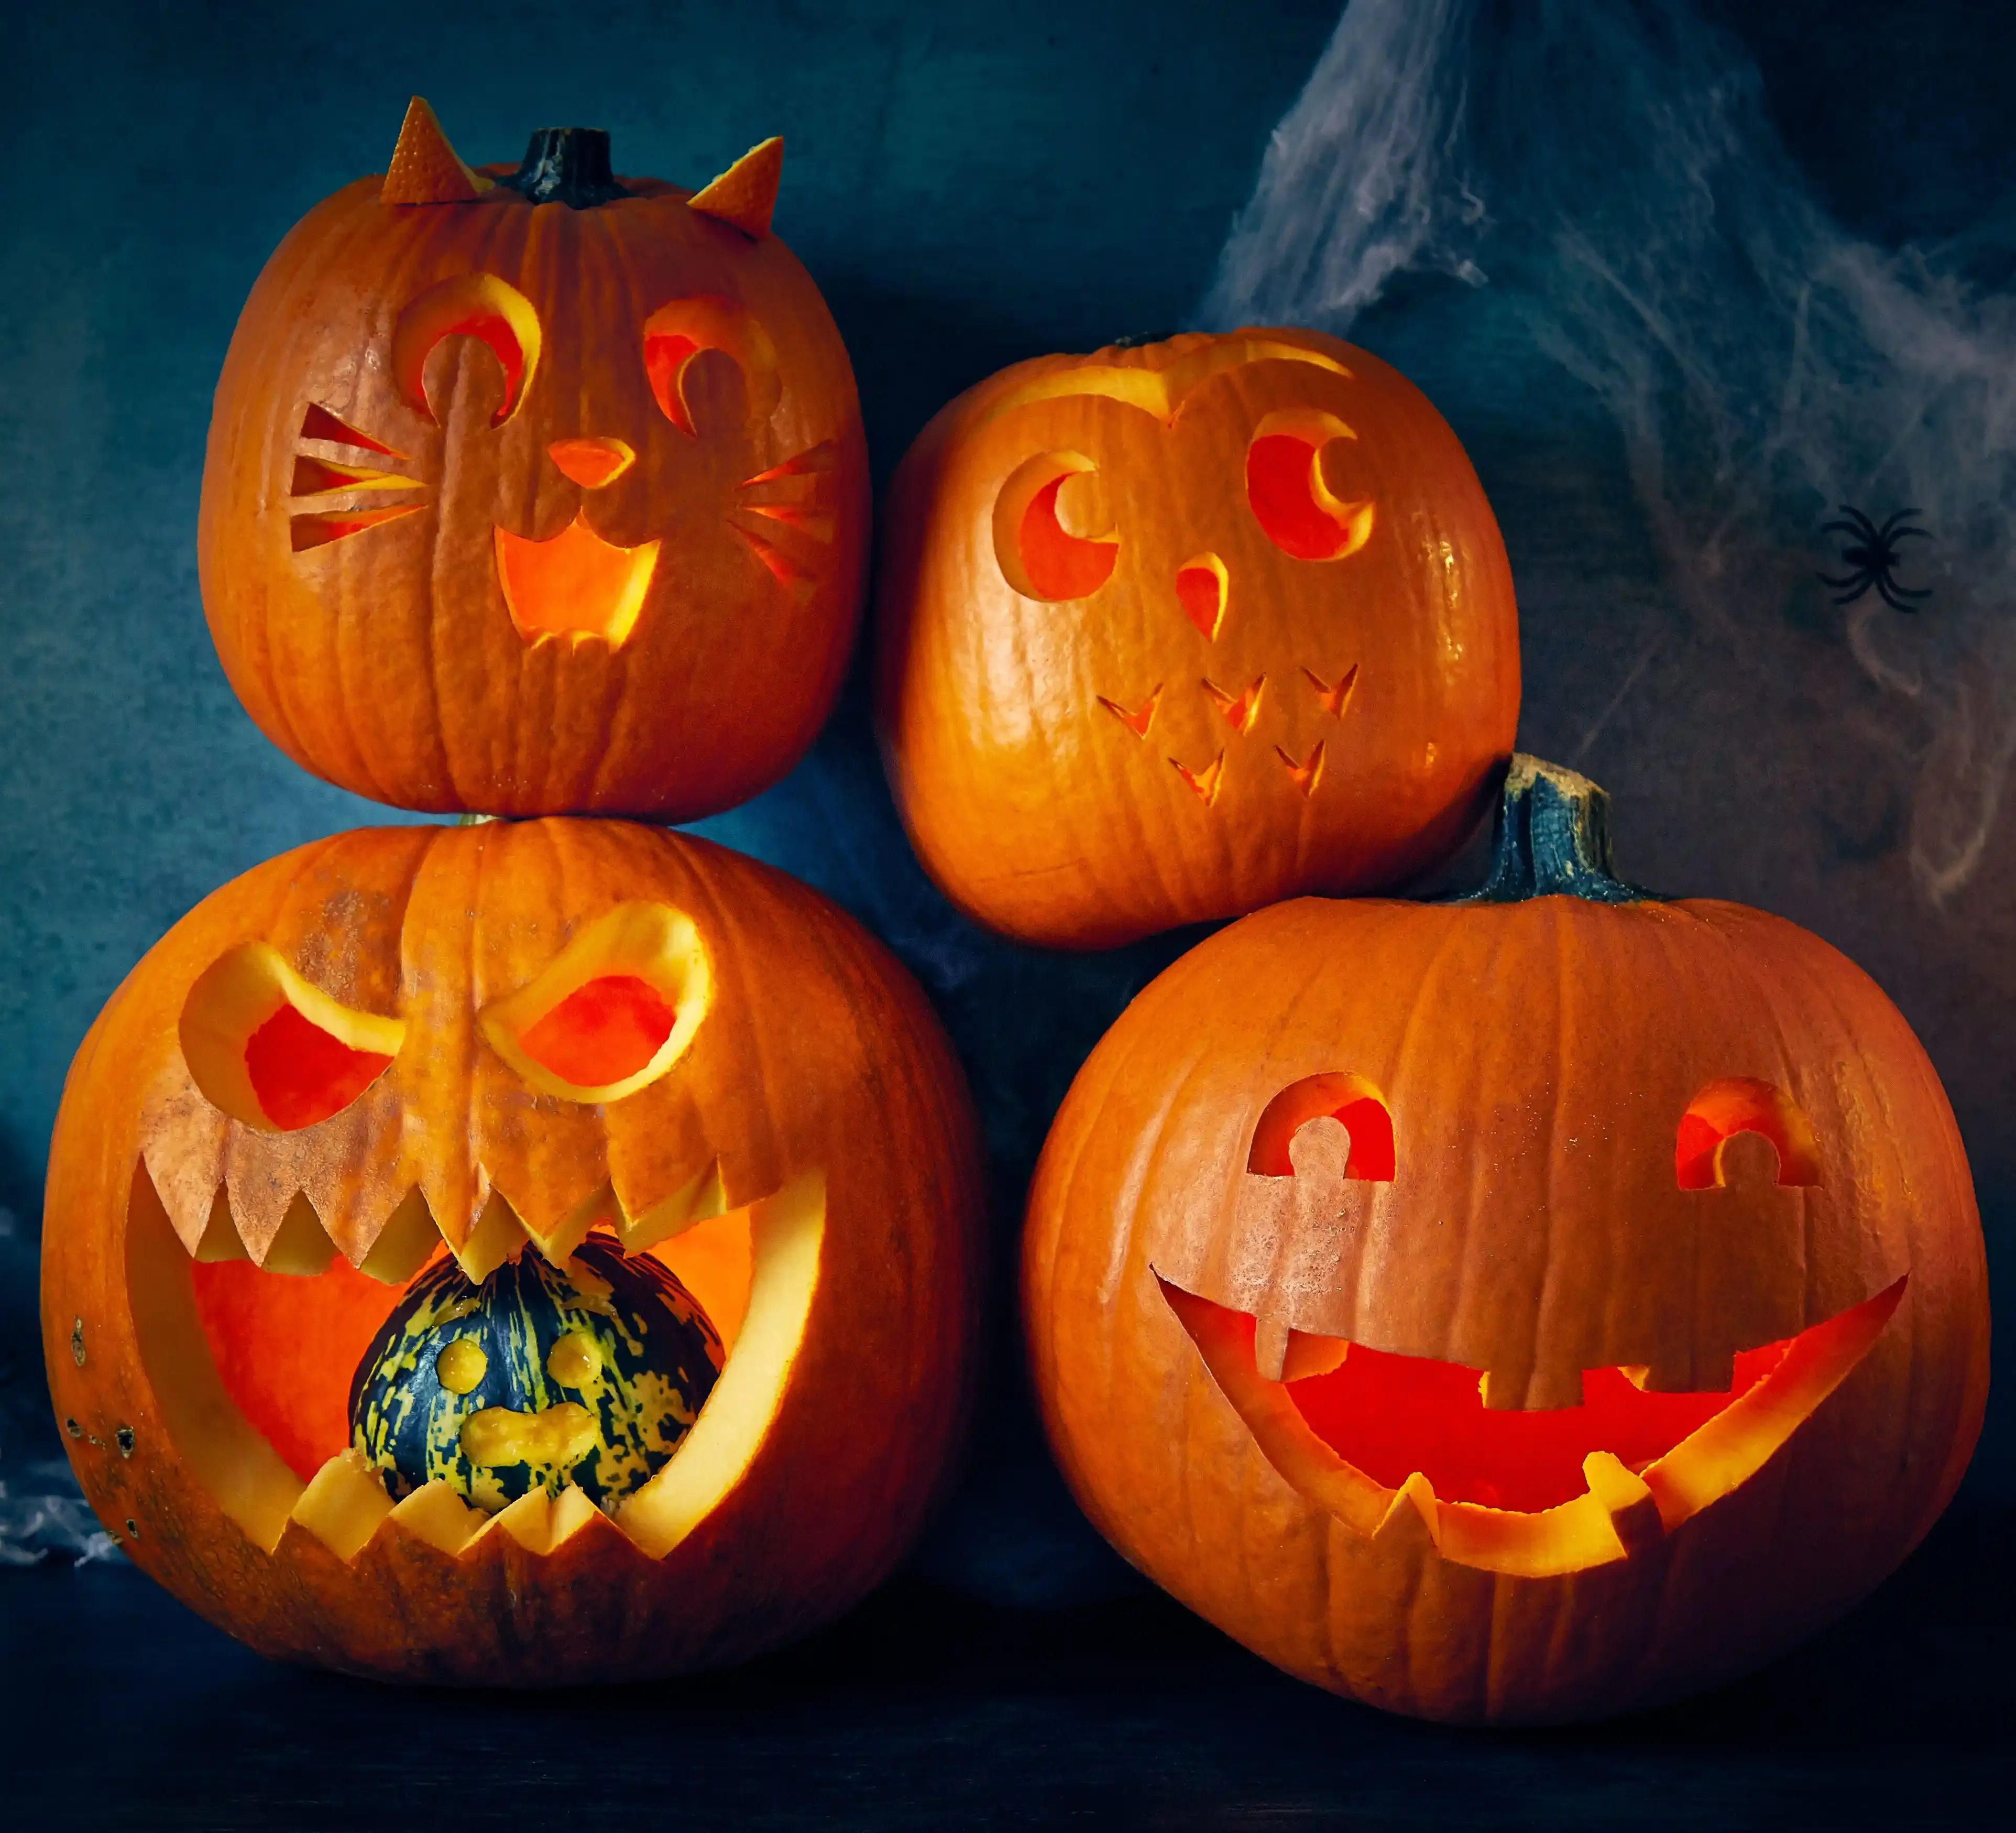
so you've got your pumpkin gutted and your basic tools lined up. Now for the fun part: giving this thing some personality. The secret sauce to easy pumpkin carving face ideas? It's all about basic geometry. Seriously. You don't need to freehand a photorealistic portrait. Most classic, easily recognizable pumpkin faces are just combinations of super simple shapes. Think back to kindergarten art class: triangles, circles, squares, maybe a wonky rectangle or two. These are your building blocks. Eyes are often triangles or circles. Noses can be triangles pointing down or maybe just a small circle. Mouths? Rectangles, curved lines, or a series of triangles for teeth. Sticking to these simple forms makes drawing your design straightforward and carving much less likely to result in a structural collapse.
Level Up (Slightly): More Easy Pumpkin Face Ideas with Simple Combos
Level Up (Slightly): More Easy Pumpkin Face Ideas with Simple Combos
Mixing and Matching Your Geometric Building Blocks
so you've mastered the basic triangle eyes and square mouth. Feeling adventurous? Good. We're not talking about carving the Mona Lisa here, just taking those simple shapes and combining them in slightly more interesting ways for your easy pumpkin carving face ideas. Think about it: two circles for eyes are fine, but what about a circle for one eye and a triangle for the other? Instant asymmetry, instant character. Or maybe two triangles pointing down for angry eyes, paired with a wavy rectangle for a grumpy mouth. It's like playing with LEGO bricks, but smellier and with the potential for minor injuries.
You can start sketching these combinations right onto your pumpkin with a dry-erase marker. Don't like it? Wipe it off. No harm, no foul. Try giving your pumpkin two different sized eyes, or maybe eyes that aren't level. A crooked smile made of a slightly curved rectangle can be way more expressive than a straight line. This is where your pumpkin starts to get a personality beyond "generic Halloween decoration."
Adding Simple Details for Expressive Faces
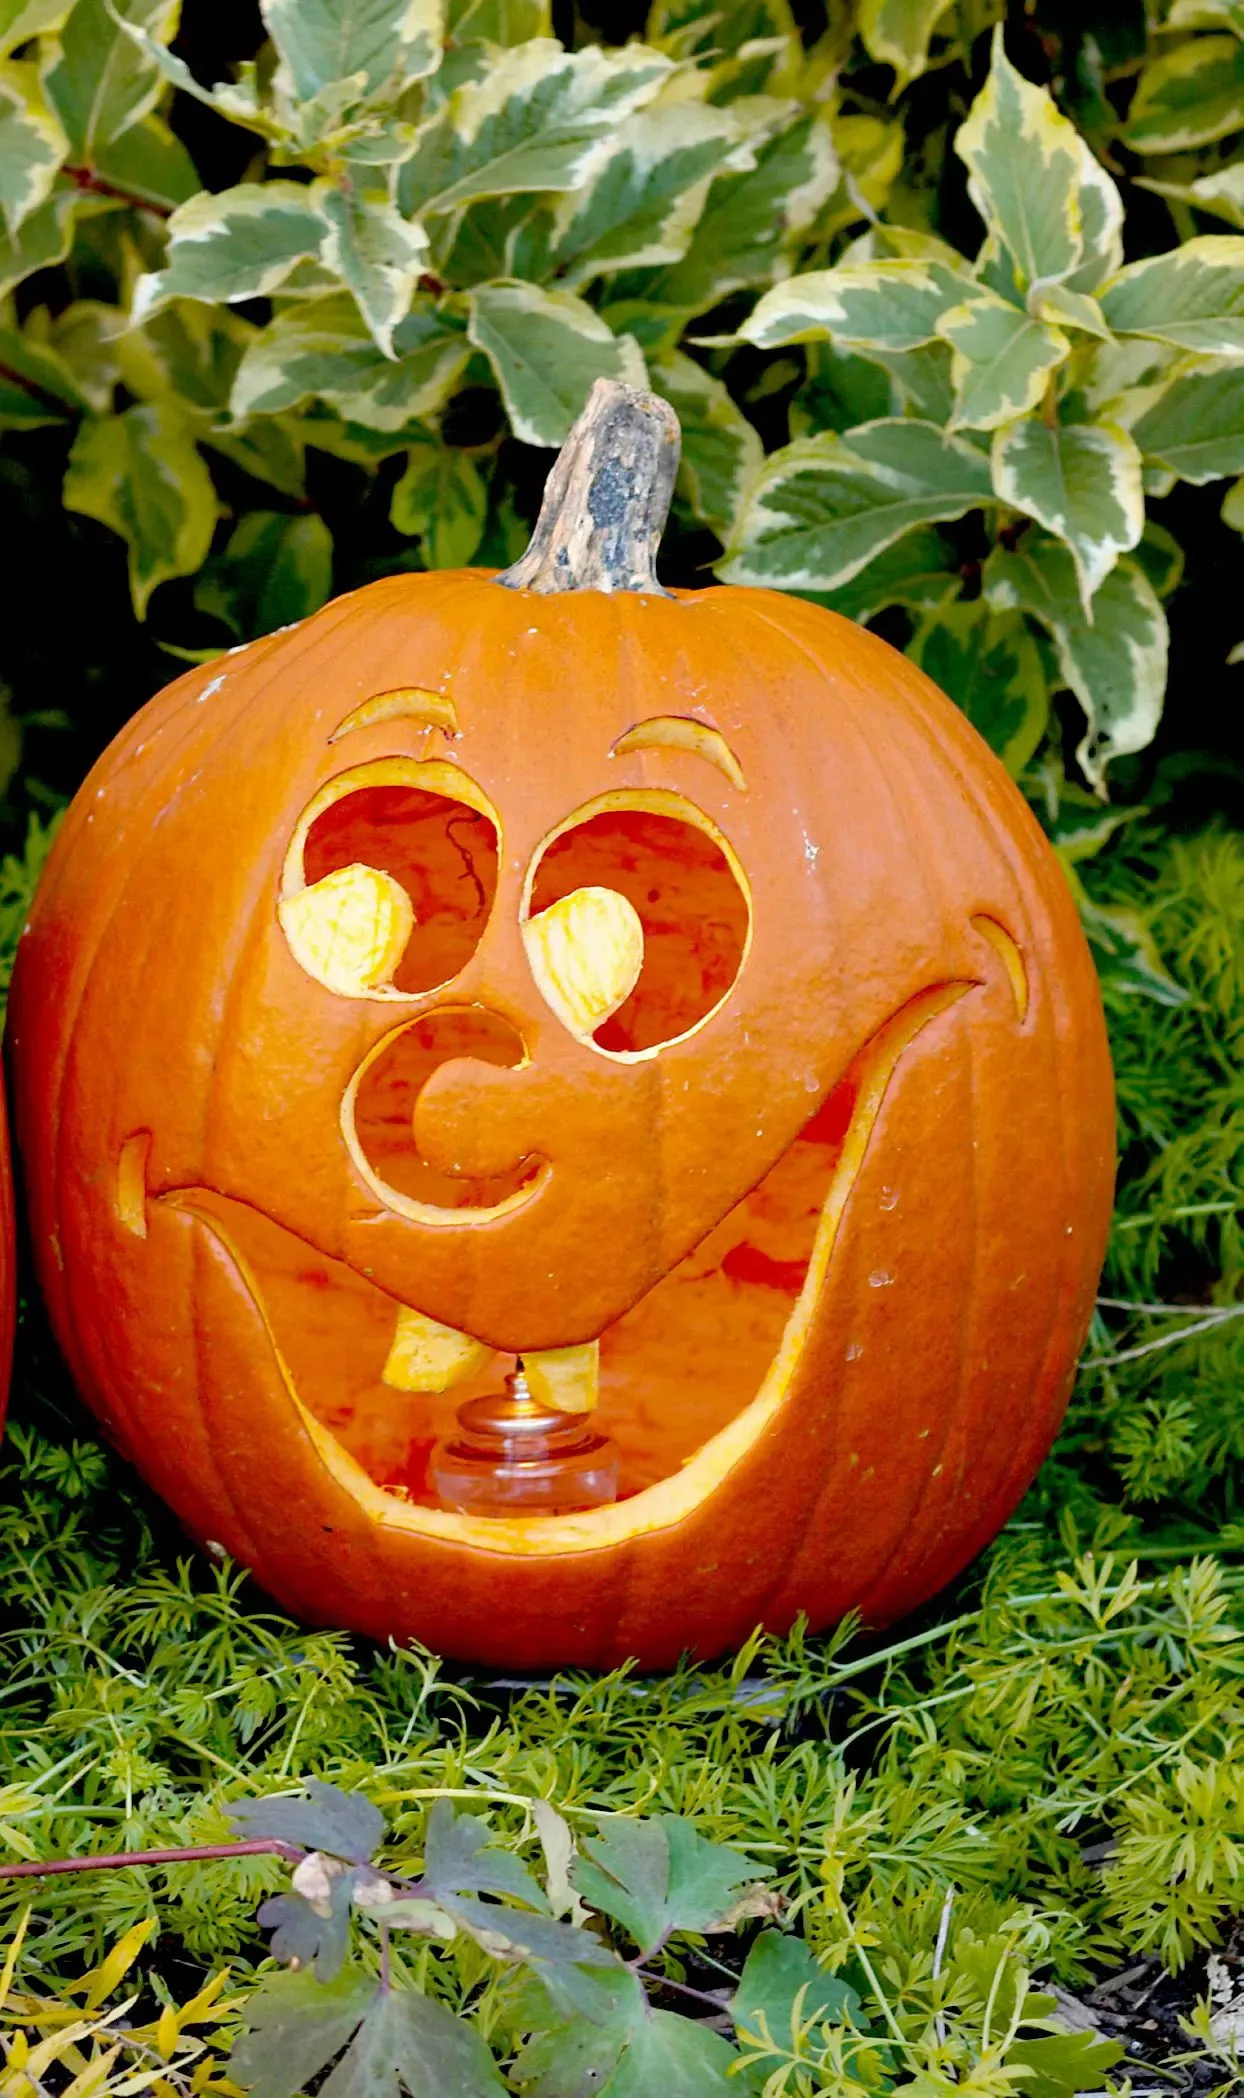
Want to push your easy pumpkin carving face ideas just a little further? We're not talking about intricate details, just adding one or two simple elements that change the whole vibe. Eyebrows are your best friend here. A couple of small, angled rectangles or triangles above the eyes can make your pumpkin look angry, surprised, or confused. A single line carved as a furrowed brow? Serious, contemplative pumpkin. Add a simple curved line or two near the mouth for laugh lines, or maybe just a couple of dots for freckles (though dots are better done with drilling, which we'll get to).
Consider the classic "toothy" grin. Instead of just a rectangle, carve a larger rectangle and then add smaller vertical lines inside it to represent teeth. Or, for a more menacing look, carve triangles inside the mouth shape pointing inwards like fangs. These aren't complex cuts, just variations on the basic shapes you already know. It's about layering simple elements.
- Combine a circle and a triangle for mismatched eyes.
- Use angled rectangles above the eyes for eyebrows.
- Add vertical lines inside a mouth shape for teeth.
- Carve simple curves near the mouth for expression lines.
- Try a zig-zag line for a quirky mouth instead of a straight one.
Playing with Placement and Proportion
Beyond just the shapes themselves, where you put them on the pumpkin matters. High eyes and a low mouth can look goofy. Eyes close together look nervous. Eyes far apart look... maybe less intelligent? Experiment with the placement. For truly easy pumpkin carving face ideas, keep the features relatively large and spaced apart. This makes carving easier and reduces the risk of breaking through thin sections between features. A wide grin that stretches across most of the pumpkin's face is often simpler to carve than a tiny, detailed mouth.
Think about the pumpkin's natural shape too. Does it have a bump? Maybe that's a good spot for a nose or a wart. A lopsided pumpkin can lend itself perfectly to a lopsided, goofy face. Don't fight the gourd's natural eccentricities; use them to your advantage. Sometimes the most memorable easy pumpkin carving face ideas come from embracing the pumpkin's imperfections and letting them guide your design.
Skip the Knife: NoCarve Easy Pumpkin Face Ideas

Skip the Knife: NoCarve Easy Pumpkin Face Ideas
Embracing the No-Carve Revolution for Easy Faces
maybe the idea of wielding a sharp object near a round, unstable surface isn't your jam. Or perhaps you're dealing with really young kids and sharp things are a hard no. Good news: you can achieve fantastic, easy pumpkin carving face ideas without ever touching a knife. This approach keeps the pumpkin intact longer, is safer for little helpers, and opens up a whole world of creative possibilities beyond just cutting holes. Think of it as decorating your pumpkin's face rather than excavating it. It's less messy, less stressful, and still gives you that classic Halloween look.
Materials That Make No-Carve Faces Shine
So, how do you create these magical, no-carve easy pumpkin face ideas? It's all about raiding your craft bin, junk drawer, or even the kitchen pantry. Paint is your best friend here – simple black and white can create classic spooky or friendly faces with just a few brushstrokes. Googly eyes are a low-effort, high-impact win every time. Yarn, buttons, bottle caps, felt scraps, pipe cleaners – anything you can glue or pin onto the pumpkin's surface can become features. Hot glue works wonders, but pushpins or thumbtacks are even easier for attaching lighter items and less permanent.
For a more textured look, consider things like dried beans, popcorn kernels, or even pasta glued on for teeth or eyebrows. Black electrical tape or duct tape can be cut into shapes for eyes, noses, and mouths, offering clean lines without any carving. Wigs from the dollar store, hats, or scarves can add personality above the face. The beauty of no-carve is that you're only limited by what you have lying around and a bit of imagination. It's arguably one of the easiest ways to get a fun, unique pumpkin face ready for display.
Some go-to materials for no-carve pumpkin faces:
- Acrylic paints (black, white, orange, etc.)
- Googly eyes (various sizes)
- Felt or construction paper scraps
- Buttons, beads, or bottle caps
- Yarn or string
- Pipe cleaners
- Electrical tape or duct tape
- Hot glue or strong craft glue
- Pushpins or thumbtacks
- Dried beans, seeds, or pasta
Your Effort, Illuminated
So there you have it. You've tackled the pumpkin, maybe made a bit of a mess (that's half the fun, or so we tell ourselves), and hopefully ended up with something resembling a face staring out into the night. It might not win any awards, it might be a little lopsided, but it's yours, and you didn't need a power tool or a therapy session to get it done. These easy pumpkin carving face ideas are about participation, not perfection. Slap a light inside, set it on the porch, and enjoy the fact that you added a little bit of simple, spooky cheer without losing your mind. Job done.