Table of Contents
let's be honest. Staring at a big, uncarved pumpkin can feel a bit daunting, right? Especially if you’ve seen those intricate, professional-level jack-o'-lanterns online. You might think, "There's no way I can do that." But Halloween isn't about winning a sculpting competition; it's about getting into the spooky spirit, lighting up your porch, and maybe sticky hands from pumpkin guts. That's where focusing on easy pumpkin carving designs for beginners comes in. Forget the pressure to create a masterpiece.
Why Try Easy Pumpkin Carving Designs?
Why Try Easy Pumpkin Carving Designs?
Ditch the Dread, Embrace the Gourd
let's be real. The internet is full of pumpkin carving tutorials that look like they require a degree in advanced gourd engineering and about five hours you probably don't have. It’s easy to look at those elaborate scenes and just decide carving isn't for you. Maybe you tried it once, it collapsed into a sad, mushy mess, and you swore off pumpkins forever. But focusing on easy pumpkin carving designs for beginners changes the game. It's about getting a cool, glowing pumpkin on your porch without the stress, the complex tools, or the existential dread of messing up a perfectly good squash. It's about remembering that carving a pumpkin should be fun, not a test of your artistic merit.
Simple Wins the Day (and Your Sanity)
Choosing easy designs means you can actually finish the project in a reasonable amount of time. You don't need a workshop full of specialized tools; a few basic items will do the trick. Think classic jack-o'-lantern faces, simple shapes cut out, or even just scraping away the skin instead of cutting all the way through. These simple approaches still create that iconic Halloween glow. Plus, when you aim for easy, the chances of your pumpkin masterpiece collapsing before Halloween night significantly decrease. It's a low-stakes way to get that festive vibe, perfect for solo carving sessions or keeping younger helpers engaged before they lose interest (which, let's be honest, happens fast).
- Less stress, more spooky vibes.
- Requires minimal tools you likely already own.
- Faster completion time means less mess sitting around.
- Higher chance of your pumpkin surviving until Halloween.
- Great for involving kids or carving with friends.
Gathering Your Gear: Tools & Prep for Beginner Pumpkin Carvers
Gathering Your Gear: Tools & Prep for Beginner Pumpkin Carvers
Forget the Fancy Kits, Grab Kitchen Stuff
first things first: you do not need that twenty-piece carving kit that looks like it belongs in a dental office. Seriously. Most of those tools just gather dust. For genuinely easy pumpkin carving designs for beginners, you probably have what you need sitting in your kitchen drawers right now. A sturdy, sharp knife – maybe a chef's knife or even a serrated bread knife – is essential for cutting the top off. Don't grab the flimsy steak knives; you need something with a bit of weight and a decent edge. An ice cream scoop is your best friend for getting those stubborn guts out. It's way more effective than a spoon and saves your hands. A small serrated knife, like a paring knife or even a small utility knife from a basic kit, works wonders for the actual carving. That's really it for the basics. Anything beyond that is usually overkill for simple designs.
Picking Your Perfect Pumpkin (and Where to Cut)
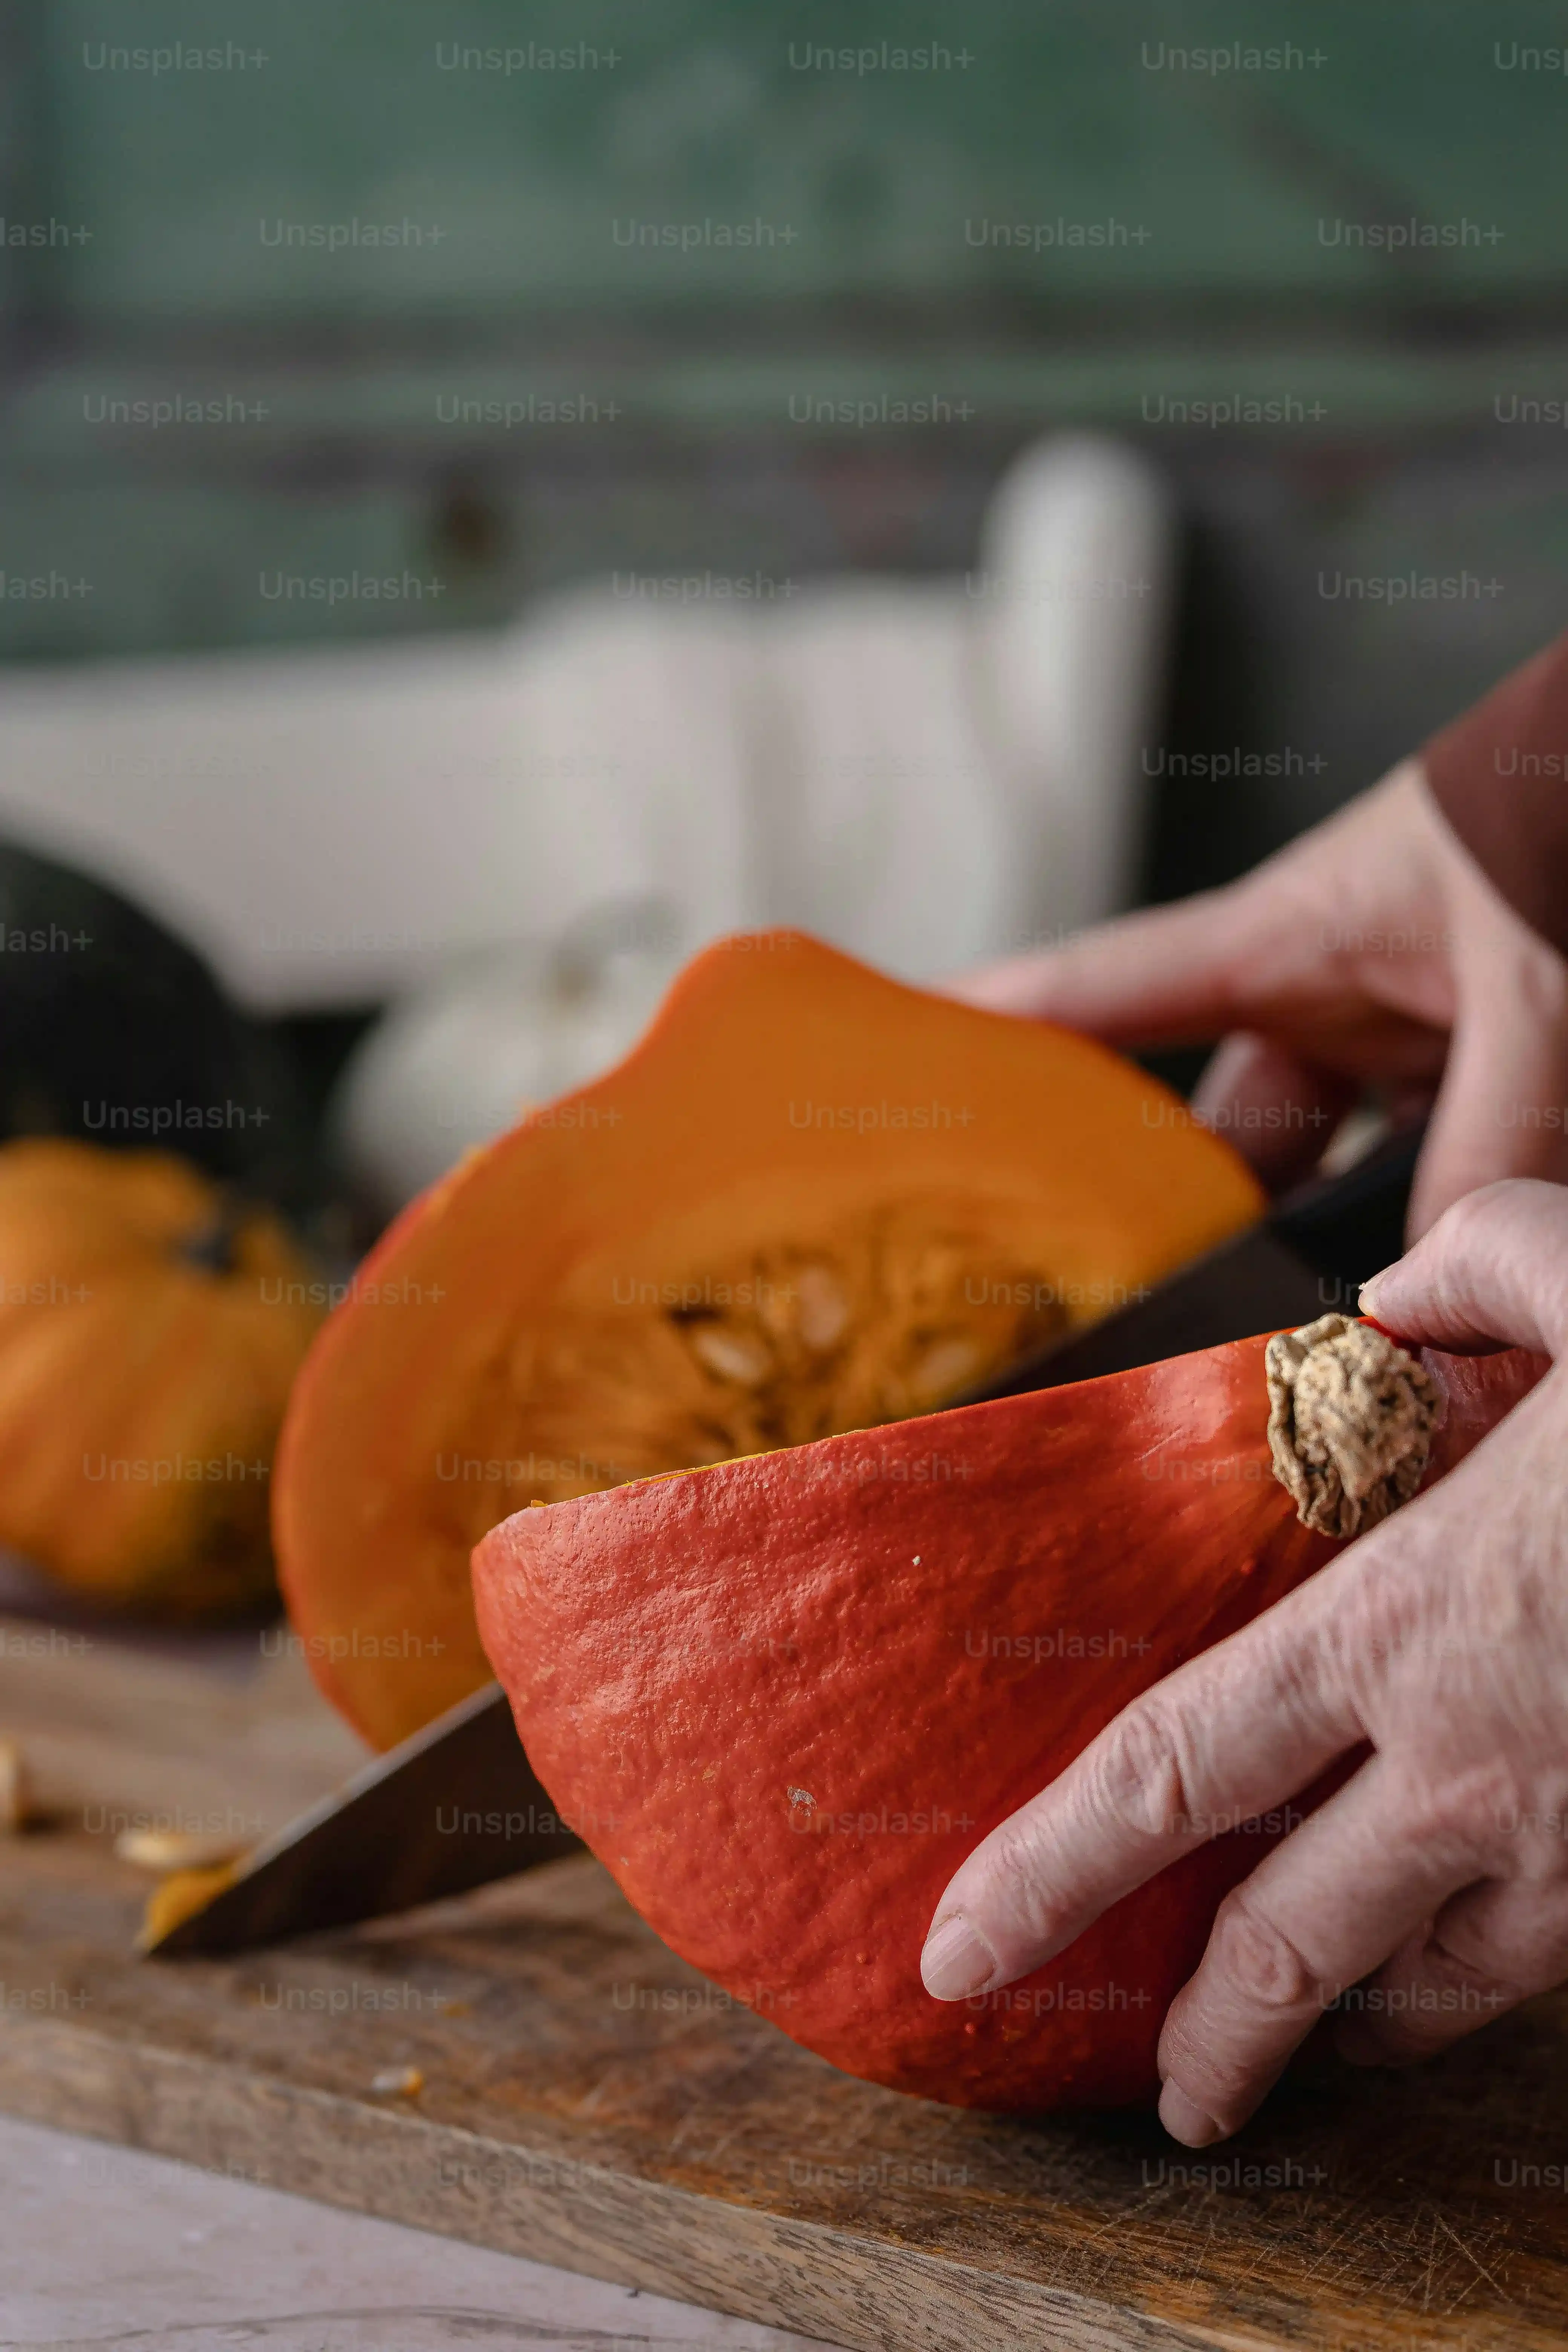
Choosing the right pumpkin matters more than you might think when you're aiming for easy pumpkin carving designs for beginners. Look for one that's firm all over – no soft spots or bruises. A flat bottom helps keep it stable while you work. Don't go for the absolute biggest one you can find; a medium-sized pumpkin is much easier to handle. Once you've got your gourd, decide where to cut the lid. Most people cut around the stem, but cutting a hole in the bottom can actually make inserting a light later much simpler and keeps the top looking clean. Use that sturdy knife to make a clean, angled cut. An angled cut means the lid won't just fall into the pumpkin later. Saw slowly and keep your fingers out of the way. That stem can be tricky.
- Choose a firm pumpkin with no soft spots.
- A flat bottom is your friend for stability.
- Medium size is often easier to manage than giant.
- Cut the lid at an angle (or cut the bottom!).
- Use a sturdy knife and take your time.
Operation Gourd Guts: Scooping Made Simple
Alright, time for the messy part: cleaning out the inside. This is where that ice cream scoop shines. Get in there and scrape down the sides and the bottom, removing all the seeds and stringy bits. You want the inside walls to be relatively smooth, about an inch thick if possible. Thinner walls are easier to carve through, which is key for easy pumpkin carving designs for beginners. Don't be afraid to really get in there and scrape. It’s a bit gross, sure, but a clean interior makes carving easier and helps your finished product last a little longer. Plus, you can save the seeds for roasting later – a tasty reward for your efforts. Just try not to get too much goo on your clothes; it's stickier than it looks.
Simple & Fun Easy Pumpkin Carving Designs for Beginners

Simple & Fun Easy Pumpkin Carving Designs for Beginners
Simple & Fun Easy Pumpkin Carving Designs for Beginners
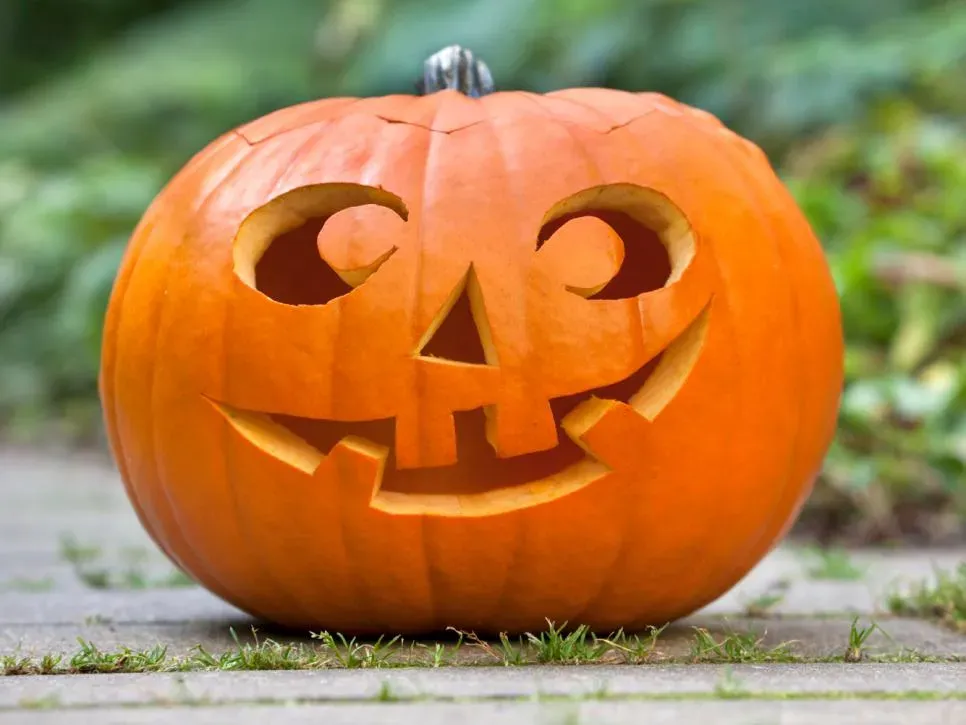
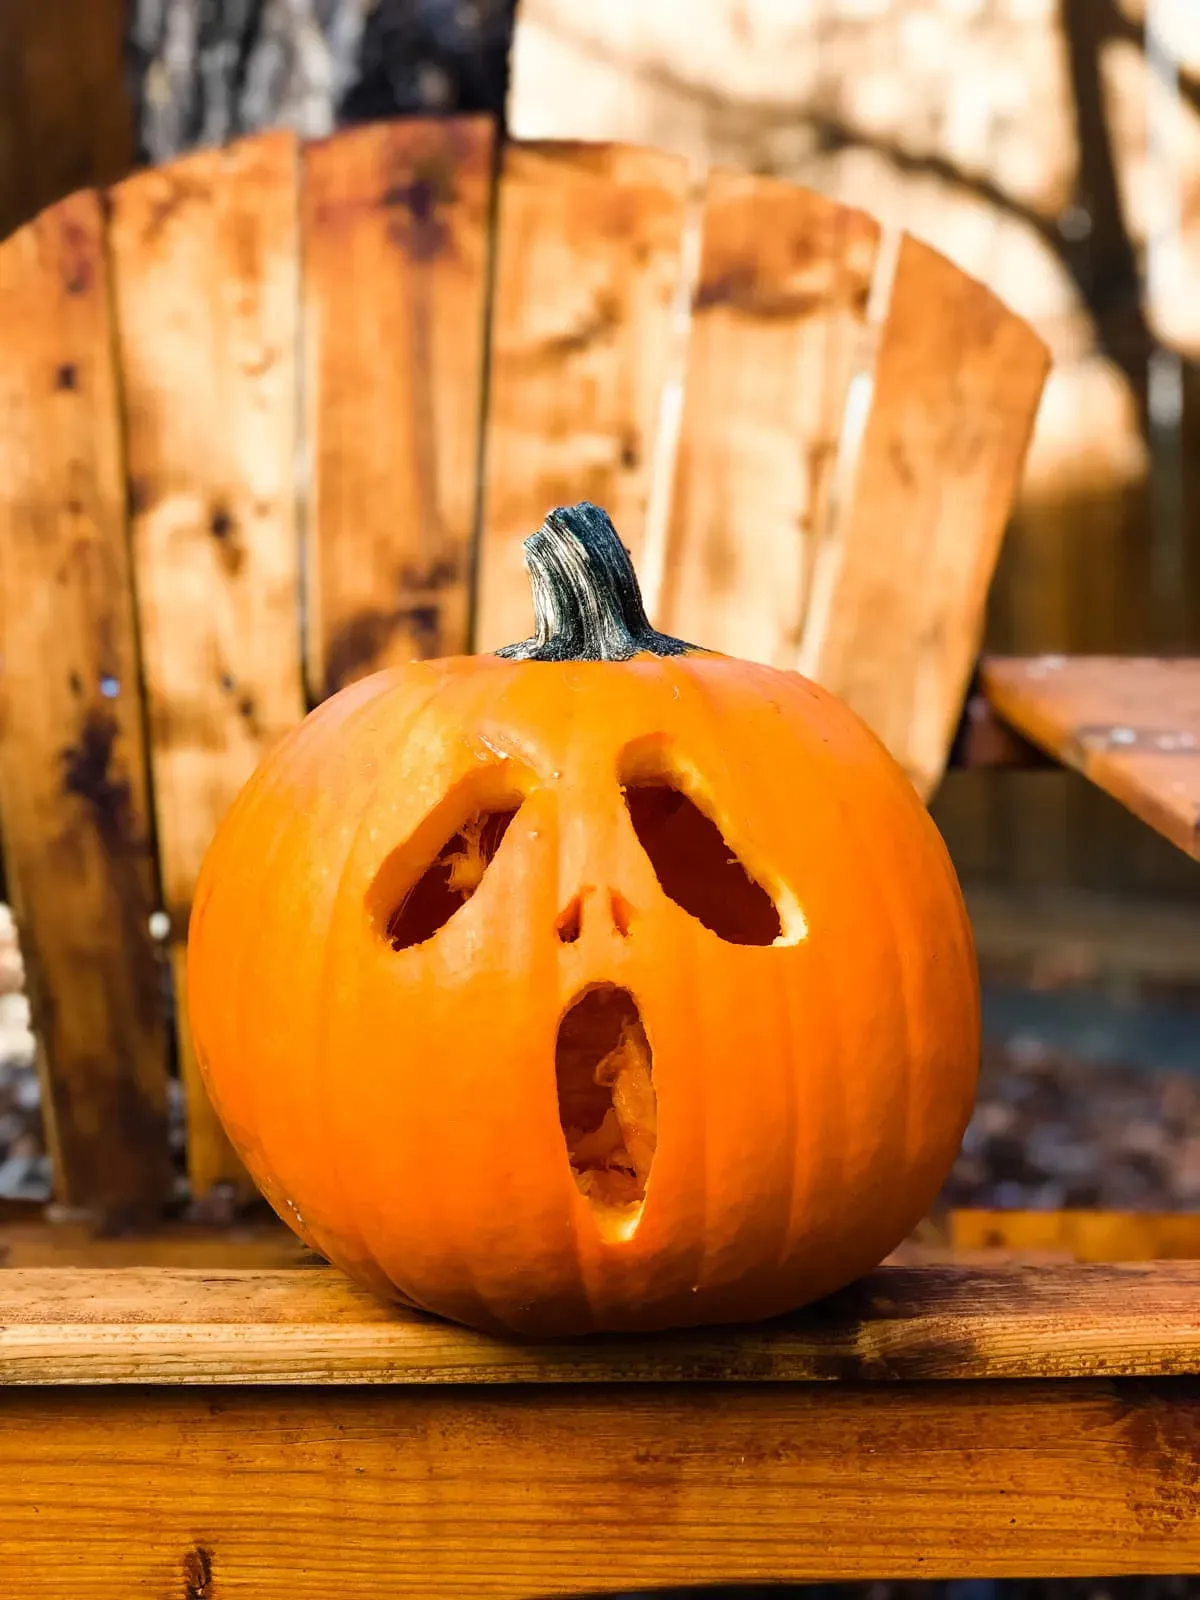
you've got your pumpkin cleaned out, your basic tools ready to go. Now for the fun part: picking a design that won't make you want to throw the knife across the room. When we talk about Simple & Fun Easy Pumpkin Carving Designs for Beginners, we're focusing on shapes and cuts that are straightforward. Think classic triangles for eyes and a jagged mouth – it's a timeless look because it's simple and effective. Circles work great too, maybe one big circular eye and a smaller one, or a simple curved smile. Don't feel pressured to create intricate teeth or complex scenes. Sometimes, less is truly more, and a few well-placed, easy cuts make a surprisingly spooky or cheerful face. You can even use cookie cutters for perfect shapes – just press them firmly into the pumpkin skin and then cut along the lines or tap them through carefully.
Lighting & Keeping Your Easy Pumpkin Carving Looking Good
Lighting & Keeping Your Easy Pumpkin Carving Looking Good
Lighting Up Your Creation Safely
you've scooped, you've cut your easy pumpkin carving designs for beginners, and you've got a cool face or shape staring back at you. Now, how do you make it glow? The classic move is a candle, right? Grab a tea light or a small votive. If you're using a candle, make sure you've cut a vent hole in the top or back of the pumpkin so heat and smoke can escape. Otherwise, you'll cook your creation from the inside out, and it will blacken the top. Use long matchsticks or a long lighter to get it lit once it's inside. Just be cautious; open flames and dry organic matter are a classic Halloween horror story waiting to happen.
Alternatively, and honestly, the smarter move for beginners (and everyone else), is ditching the flame entirely. Battery-operated LED lights or tea lights are cheap, they don't produce heat or smoke, and they last way longer than a candle. You can even get ones that flicker to mimic a real flame. Just pop one or two inside, replace the lid, and boom – instant, safe glow. No worries about it blowing out in the wind or becoming a fire hazard on your porch.
Making Your Masterpiece Last
The sad reality of pumpkin carving is that it’s temporary. Once you cut into that tough skin, you expose the moist, soft flesh inside to the air, and it starts to dry out and eventually, well, rot. For your easy pumpkin carving designs for beginners, you want them to at least make it to Halloween night without looking like they went ten rounds with a zombie horde. There are a few simple tricks that can help buy you a few extra days.
Keep it cool. If you're not displaying it, storing your carved pumpkin in a cool garage or even the fridge overnight can slow down the decay process. Also, try applying a thin layer of petroleum jelly (Vaseline) to all the cut edges. It seals in moisture and prevents the cuts from drying out and shrinking, which is what makes the details start to distort and collapse. Some people swear by misting the inside and cut edges with water from a spray bottle daily. It adds moisture back, but be careful not to make it too wet, which can encourage mold.
- Store in a cool place (garage, fridge) when not displayed.
- Apply petroleum jelly to cut edges to seal in moisture.
- Mist the inside and cut areas with water daily (don't soak it).
- Avoid direct sunlight or excessive heat.
- Accept that it won't last forever, but these steps help.
Displaying Your Spooky Work
So, you've carved your easy pumpkin carving designs, you've got your safe light source inside, and you've given it a little spa treatment to help it last. Now, put that bad boy out where people can see it! Place it on your porch steps, on a wall, or anywhere it can greet trick-or-treaters or just add some festive cheer to your home. Seeing your simple design glowing in the dark is surprisingly satisfying. It doesn't need to be complex to be effective. A few glowing shapes or a classic grinning face are often all it takes to capture that perfect Halloween atmosphere. Enjoy the spooky season you helped create.
Lighting Up Your Porch: Final Thoughts on Easy Pumpkin Carving
So there you have it. Tackling easy pumpkin carving designs for beginners doesn't require a workshop full of specialized tools or the steady hand of a surgeon. It's about simple shapes, smart techniques, and accepting that a little imperfection is part of the charm. You've got the basics – picking the right pumpkin, the actual useful tools, and some straightforward designs that won't make you throw a carving kit across the yard in frustration. Get that light inside, step back, and admire your handiwork. It might not win any awards, but it's yours, it's spooky (or silly), and it proves you don't need to be a pro to join the Halloween fun. Now go forth and make some glowing gourds happen.