Table of Contents
Halloween's just around the corner, and what better way to celebrate than by carving some spectacular pumpkins? But the thought of intricate designs might feel a bit daunting. Fear not, fellow pumpkin enthusiasts! This article is your ultimate guide to mastering the art of easy pumpkin carving designs. We'll take you from complete beginner to confident carver in no time, with simple step-by-step instructions and plenty of inspiration. Get ready to ditch the complicated stencils and embrace the fun of creating unique and memorable jack-o'-lanterns. We'll cover everything from the essential tools and techniques you'll need to a treasure trove of creative easy pumpkin carving designs, perfect for all skill levels. Plus, we'll share expert tips and tricks to ensure your spooky masterpiece lasts throughout the Halloween season. So grab your pumpkin, gather your supplies, and let's get carving! Prepare to be amazed by how many stunning easy pumpkin carving designs you can create. Let's make this Halloween truly unforgettable!
Simple Pumpkin Carving Designs for Beginners
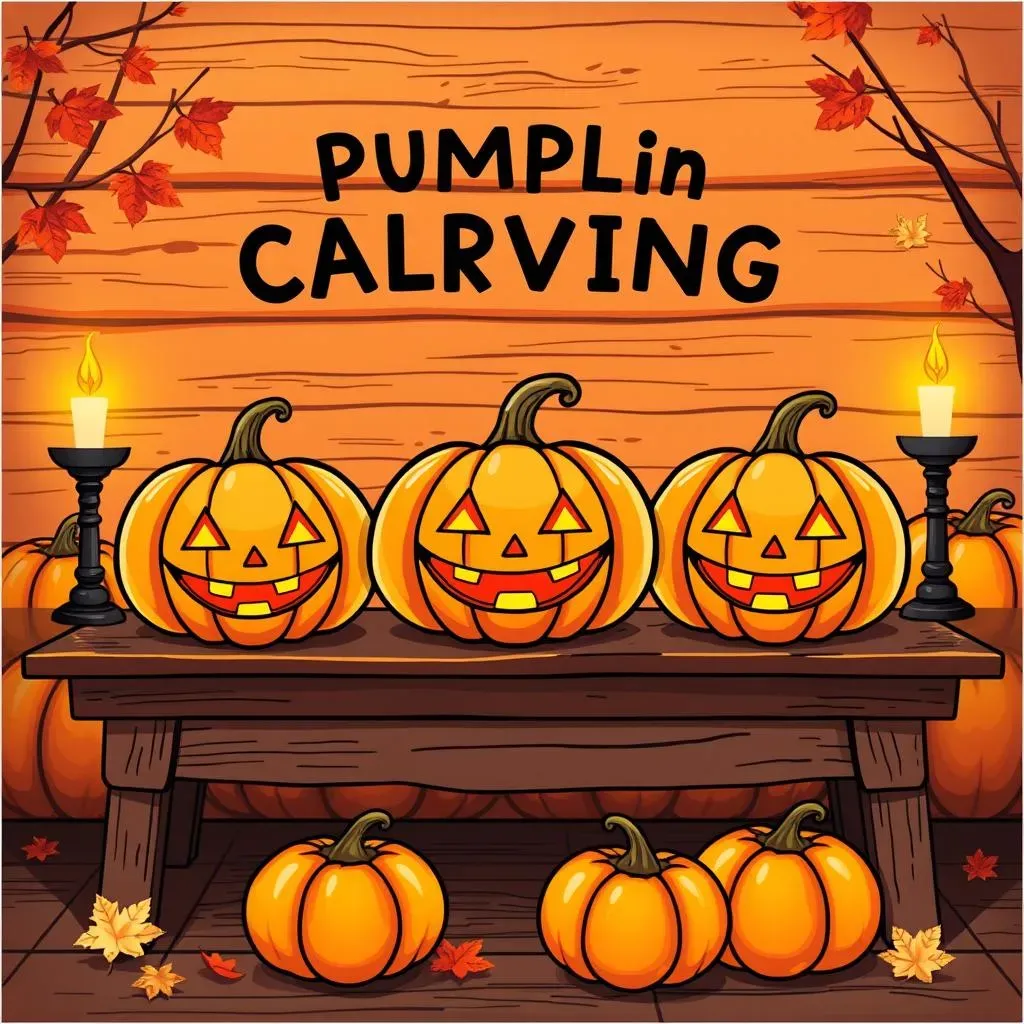
Simple Pumpkin Carving Designs for Beginners
Basic Shapes and Simple Faces
Let's start with the absolute easiest pumpkin carving designs: simple shapes and faces. Think triangles for spooky eyes, a simple curved line for a smiling mouth, or even just a few strategically placed dots to create a fun, friendly pumpkin. These designs require minimal carving skill and are perfect for little ones or anyone who wants a quick and easy project. You can even use a simple pumpkin face as a base and add your own creative flair. Don't be afraid to experiment!
For example, a classic triangle-eyed jack-o'-lantern is super easy. Just draw three triangles, two for the eyes and one for the nose, then carefully carve them out. Adding a simple curved line for a smile completes the look. You can find tons of easy pumpkin carving designs online for more inspiration. Remember, it's all about having fun!
Design | Difficulty | Time |
|---|---|---|
Simple Triangle Face | Beginner | 15-20 minutes |
Dotted Pumpkin | Beginner | 10-15 minutes |
Using Stencils for Easy Carving
Stencils are your secret weapon for creating more complex designs without the hassle. You can find countless free printable stencils online, ranging from cute cartoon characters to spooky Halloween themes. Simply print out your chosen stencil, tape it to your pumpkin, and use a toothpick or pen to trace the design onto the pumpkin's surface. Once you've got your design traced, carefully carve away the pumpkin flesh following the lines of your stencil. For little kids, consider using pumpkin carving for kids stencils that are extra large and simple. It makes the whole process much easier and safer.
Remember to choose stencils that match your skill level. Start with simpler designs and gradually work your way up to more intricate ones as you gain confidence. Don't forget to check out our guide on easy pumpkin stencils for some fantastic options. You'll be amazed at the variety available!
- Print your chosen stencil.
- Tape it securely to your pumpkin.
- Trace the design with a sharp tool.
- Carefully carve along the traced lines.
Easy Pumpkin Carving Designs: Tools and Techniques
Essential Tools for Easy Pumpkin Carving
First things first: you need the right tools! A basic pumpkin carving kit is a great starting point. These usually include a small saw for cutting the lid, a scoop for removing the insides (the guts!), and various sized carving tools for creating different shapes and details. Don't forget a sturdy spoon to scoop out all those seeds and stringy bits. You can find some great beginner kits in our guide to best pumpkin carving tools for beginners. Trust me, the right tools make all the difference!
Beyond the basic kit, a few extra tools can really elevate your carving game. A good quality paring knife is perfect for fine details. Small metal cookie cutters can create fun shapes quickly. Even a simple drill with various sized bits can add some really cool texture and patterns. Remember, safety first! Always supervise children when using sharp tools. Check out our simple pumpkin carving tools guide for more ideas.
- Pumpkin carving kit (saw, scoop, carving tools)
- Paring knife (for detail work)
- Cookie cutters (for fun shapes)
- Drill with various bits (for texture)
- Spoon (for cleaning out the pumpkin)
Preparing Your Pumpkin for Carving
Before you even think about carving, you need to prep your pumpkin. First, choose a pumpkin that’s the right size and shape for your design. A medium-sized pumpkin is generally easier to manage than a giant one, especially for beginners. Once you've selected your perfect pumpkin, carefully cut a circle around the top, creating a lid. This is where a saw comes in handy! Remove the lid and then scoop out all the seeds and pulp. A good tip is to use a spoon to scrape the inside walls clean, leaving a consistent thickness for easier carving.
Cleaning out the inside of your pumpkin thoroughly is super important. Leaving too much pulp will make your pumpkin rot faster. Plus, it makes carving much harder! Once your pumpkin is clean, you can start sketching your design. A washable marker is ideal because you can easily wipe away any mistakes before you start carving. Remember to think about the placement of your design, making sure it's balanced on the pumpkin's surface. Our first-time pumpkin carving tips can help you with this step.
Step | Action |
|---|---|
1 | Select a pumpkin |
2 | Cut a lid |
3 | Scoop out the insides |
4 | Sketch your design |
Carving Techniques for Easy Pumpkin Designs
Now for the fun part: the actual carving! Start by making shallow cuts to outline your design. This helps you to get a clean, precise carving. Then carefully remove the pumpkin flesh inside the lines. For intricate designs, small carving tools are your best friend. For simpler designs, you can use larger tools to carve out bigger sections more quickly. Remember, it's better to start with shallow cuts and gradually remove more pumpkin flesh as needed. You can always take more off, but you can't put it back!
If you're working with a stencil, make sure to keep it firmly attached to your pumpkin to avoid any accidental slips. Once you've finished carving, take a step back and admire your work. If you’ve made any mistakes, don’t worry! You can always use a small knife or a toothpick to clean up any rough edges. Don't forget to check out our guide on easy pumpkin carving for beginners for more detailed instructions. And remember, practice makes perfect!
Creative Easy Pumpkin Carving Designs: Inspiration Galore
Nature-Inspired Designs
Let's explore the beauty of nature with easy pumpkin carving designs! Think whimsical owls, friendly cats, or spooky bats. These designs are surprisingly simple to achieve, even for beginners. You can find plenty of free printable templates online to help you create these charming creatures. For example, a simple owl design might just require carving out two large circles for eyes, a small triangle for a beak, and some curved lines for feathers. Adding tiny feet carved from the pumpkin's skin adds a cute finishing touch. Check out our collection of simple Halloween pumpkin designs for more inspiration.
Consider using different sized pumpkins to create a whole family of woodland creatures! A small pumpkin could be a baby owl, while a larger one becomes its wise old parent. Use your imagination and have fun experimenting with different shapes and sizes. Remember, even a simple design can be incredibly effective when well-executed. For more ideas on fun designs, look at our easy pumpkin carving ideas for families guide.
- Owls
- Cats
- Bats
- Butterflies
- Flowers
Geometric and Abstract Designs
If you're feeling adventurous, geometric and abstract designs offer a fantastic way to showcase your creativity. These designs rely on clean lines and shapes rather than intricate details. Think stripes, polka dots, or even complex patterns created with various sized drills. This approach is surprisingly simple and produces stunning results. You can create a modern and minimalist look with just a few well-placed cuts. A simple grid pattern, for instance, can be achieved by using a ruler and a sharp knife to make evenly spaced lines. This is a great technique for beginners who want to create something unique and visually striking. For more tips on creating unique designs, check out our easy pumpkin carving templates page.
Experiment with different tools to add texture and depth to your geometric designs. A drill can create interesting holes and patterns. Cookie cutters can produce fun shapes that can be incorporated into your overall design. Remember, there are no rules when it comes to abstract art! Let your imagination run wild and create something truly unique. Don't be afraid to experiment with different colors of paint too, to give your design an extra pop. Our guide to easy pumpkin carving projects has more great ideas on this.
Design Type | Tools Needed | Skill Level |
|---|---|---|
Stripes | Knife, Ruler | Beginner |
Polka Dots | Drill, Small Cookie Cutter | Beginner |
Geometric Patterns | Knife, Ruler, Stencil (Optional) | Intermediate |
Easy Pumpkin Carving Designs: Tips for a LongLasting Jacko'Lantern
Keeping Your Pumpkin Fresh
So, you've carved your masterpiece. Now, how do you keep it looking its best for as long as possible? The key is to slow down the inevitable decay process. First, make sure you've thoroughly cleaned out the inside of your pumpkin, removing all the seeds and pulp. Leaving any excess moisture inside will speed up the rotting process. Think of it like leaving a soggy sandwich in a warm place – not pretty!
Next, consider using a bleach solution to help prevent mold and bacteria growth. A simple mix of one part bleach to ten parts water can do wonders. Gently wipe the inside of your pumpkin with this solution, but don't soak it, as this could damage the pumpkin's structure. For more in-depth information, you can check out our guide on simple pumpkin carving tips for longer lasting pumpkins. It's all about prevention!
- Thoroughly clean the inside of the pumpkin.
- Use a bleach solution (1:10 bleach to water) to disinfect.
- Avoid over-soaking the pumpkin.
Protecting Your Carved Pumpkin
Once your pumpkin is clean and dry, you can take additional steps to protect it from the elements. If you plan on displaying your pumpkin outdoors, consider using a sealant spray. These sprays create a protective barrier that helps prevent moisture loss and keeps your pumpkin looking vibrant for longer. Think of it as sunscreen for your jack-o'-lantern! This is especially important if you live in a damp climate or if your pumpkin is exposed to direct sunlight or rain.
If you're displaying your pumpkin indoors, try to keep it in a cool, dry place, away from direct heat sources. Heat and humidity are the enemies of a long-lasting pumpkin. Avoid placing it near a fireplace or radiator, and try to keep it away from drafts. A cool, dark spot is ideal. For even more ideas on how to keep your pumpkin looking great, you might want to check out some tips from our easy pumpkin carving ideas for Halloween article.
Location | Protection Method |
|---|---|
Outdoors | Sealant Spray |
Indoors | Cool, dry location, away from heat |
Lighting Your Pumpkin Safely
Finally, let's talk about lighting! While real candles create a beautiful, traditional glow, they also pose a fire hazard, especially if you're leaving your pumpkin unattended. Battery-operated tea lights or LED lights are a much safer alternative. They provide a lovely, warm glow without the risk of fire. Plus, they're easy to turn on and off, and you don't have to worry about them blowing out in windy conditions.
Consider the size and design of your pumpkin when choosing your lighting. For smaller pumpkins, a single tea light might be sufficient. For larger, more elaborate designs, you might need several lights to properly illuminate all the details. No matter what type of light you choose, make sure it's placed safely inside the pumpkin, away from any flammable materials. For additional advice on choosing the right lighting, you can look at our easy pumpkin carving ideas for families which includes tips on lighting.