Table of Contents
Halloween is just around the corner, and you've got that perfect pumpkin sitting on your porch, just waiting for its glow-up. Maybe you're thinking about witches, ghosts, or maybe something a little less traditional this year? If you're a fan of catching 'em all, why not combine your love for spooky season with the world of Pokémon? We're talking about creating some awesome, yet totally manageable, designs. Forget the complicated patterns that look like they need a degree in engineering; we're focusing on **easy pokemon pumpkin carving ideas**. You don't need to be a master sculptor to bring Pikachu, Charmander, or even a simple Pokeball to life on your gourd. This article is your guide to picking the right pumpkin, finding designs that won't make you pull your hair out, and using simple tools to get the job done. We'll walk you through some tried-and-true methods and even share a few favorite simple Pokémon designs that are perfect for beginners or anyone short on time. Ready to trade those spooky stencils for something a bit more... electrifying? Let's get started and carve up some fun.
Why Try Easy Pokemon Pumpkin Carving Ideas This Halloween?

Why Try Easy Pokemon Pumpkin Carving Ideas This Halloween?
so you're staring down that big orange squash, and maybe the thought of carving a hyper-realistic vampire makes your hands cramp just thinking about it. Or perhaps the kids are begging for something cool, but you know your artistic skills peaked with stick figures. This is where **easy pokemon pumpkin carving ideas** swoop in like a Pidgey. They're instantly recognizable, tapping into massive nostalgia for folks who grew up with the original games, and they're still wildly popular with the current generation. It's a shared language across ages, making it a perfect family activity that doesn't require professional-level precision. Plus, let's be honest, a glowing Charmander is way less likely to scare the little trick-or-treaters than some ghoul, keeping the vibe more fun than fright. It's about making the process enjoyable, not stressful, and ending up with something everyone can point at and say, "Hey, I know that guy!"
Picking Your Canvas: The Right Pumpkin for Simple Carving
Picking Your Canvas: The Right Pumpkin for Simple Carving
Size and Shape Matter for Your Pokemon Design
Alright, so you've committed to bringing a pixelated friend to life. Step one, before you even think about tracing a circle for a Pokeball or sketching ears for Pikachu, is picking the right pumpkin. Don't just grab the biggest one you see, thinking it'll give you more space. For **easy pokemon pumpkin carving ideas**, size and shape are your best friends. A medium-sized pumpkin, maybe 10-12 inches in diameter, is usually perfect. It's not so huge it's unwieldy, but big enough to handle simple shapes without feeling cramped. Look for one that's relatively smooth on the surface you plan to carve. Bumps and deep ridges are the enemy of clean lines, and believe me, trying to navigate a knife around a wart is no fun for anyone.
Look for a Smooth, Stable Surface
Beyond just general size, pay attention to the specific area where your design will live. You want that part of the pumpkin to be as flat and smooth as possible. Imagine trying to draw a perfect circle on a rocky beach – same problem here. A pumpkin with a stable, flat bottom is also a huge plus. Nobody wants their hard work rolling off the porch on Halloween night. Check the color too; a deep, even orange usually means a healthy pumpkin, which is easier to carve than one that's pale or has green patches. Give it a tap; it should sound hollow. That's the classic sign of a good carving pumpkin.
- Choose medium size (10-12 inches).
- Prioritize smooth surface areas for carving.
- Ensure the pumpkin has a stable, flat base.
- Tap it – listen for a hollow sound.
- Avoid pumpkins with soft spots or bruises.
Avoid the Soft Spots and Thin Walls
Before you commit, run your hands all over the pumpkin. Feel for any soft spots or bruises. These areas are already starting to break down, and trying to carve them is like trying to cut butter with a dull spoon – messy and frustrating. Also, try to get a sense of the wall thickness. You don't want a pumpkin with super thin walls, as it'll be flimsy and prone to cracking when you apply pressure. Conversely, walls that are too thick make it a real workout to push the carving tools through. A good, sturdy pumpkin feels solid, not flimsy or mushy. Picking a good canvas from the start makes those simple Pokémon designs so much easier to execute.
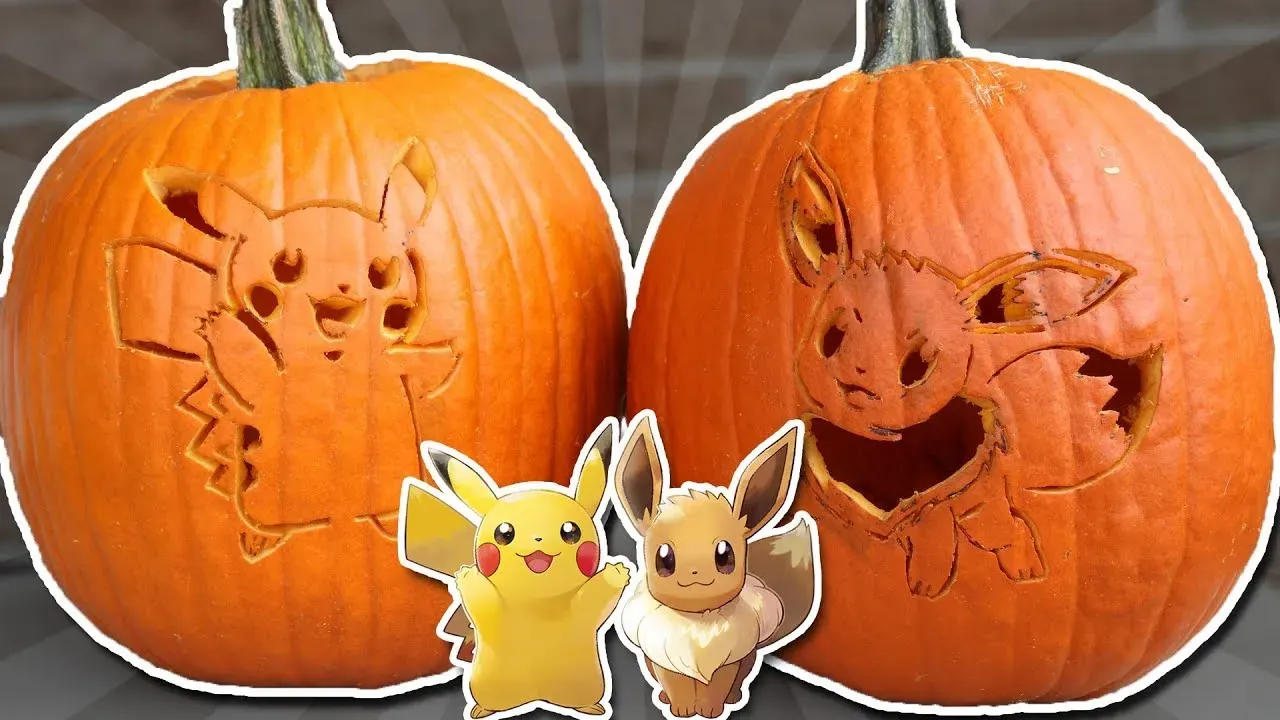
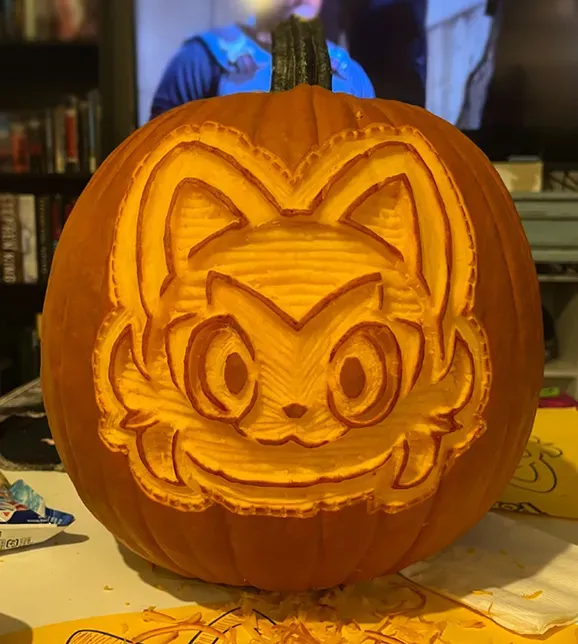
Our Favorite Easy Pokemon Pumpkin Carving Ideas to Get You Started
Our Favorite Easy Pokemon Pumpkin Carving Ideas to Get You Started
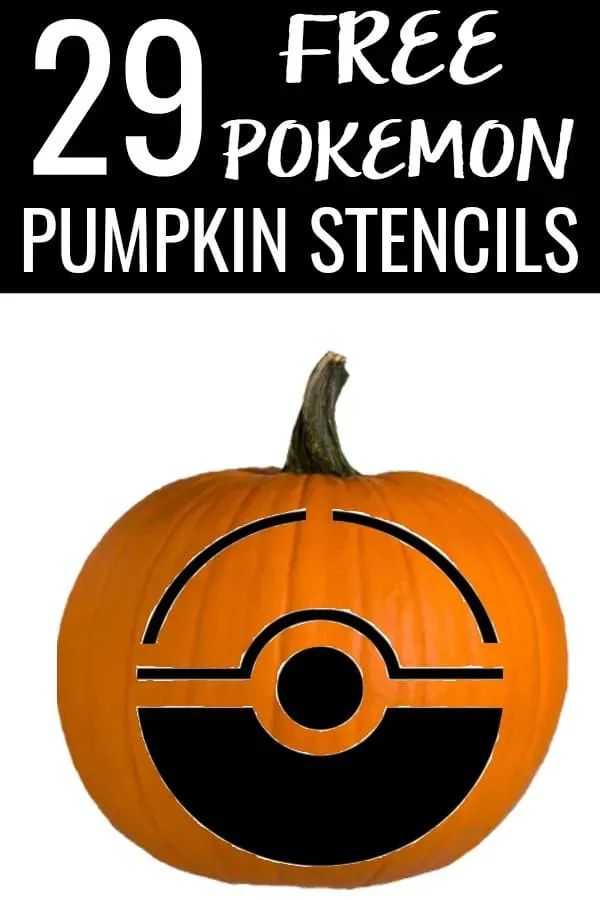
you've got your perfect pumpkin canvas ready to go. Now for the fun part: deciding *who* or *what* from the Pokémon universe is going to grace your Halloween display. The goal here is **easy pokemon pumpkin carving ideas**, so we’re not attempting Mewtwo in full psychic flight. Think simple shapes, clear outlines, and characters whose core design is pretty straightforward. A classic Pokeball is probably the absolute easiest – just a big circle, a line through the middle, and a smaller circle in the center. Can't get much simpler than that, right? If you want a creature, consider someone like Gastly; he's basically just a circle with some spooky eyes and a mouth. Or maybe a simple outline of Pikachu's head and ears? The key is to look for characters defined by bold, recognizable shapes rather than intricate details or complex shading.
Tools and Techniques for Bringing Your Easy Pokemon Pumpkin to Life
Tools and Techniques for Bringing Your Easy Pokemon Pumpkin to Life
Gathering Your Essential Carving Kit
so you've got the perfect pumpkin, smooth and ready for its close-up, and you've picked your **easy pokemon pumpkin carving ideas** – maybe a simple Pokeball or a grinning Gengar outline. Now, let's talk tools. You don't need a workshop full of specialized gear. Forget those flimsy little saws that come in the cheap kits; they snap faster than a Bidoof in battle. What you *do* need are a few sturdy basics. A good, sharp kitchen knife (carefully handled, obviously) is essential for cutting off the top (or bottom, which many prefer for easier gutting and lighting). For the actual carving, those small, serrated pumpkin saws you get in slightly better kits work okay, but a small, sharp paring knife often gives you more control for detail, even on simple shapes. Don't forget a large spoon or scoop for gutting – trust me, getting all that stringy goop out is half the battle.
Transferring Your Design and Making the First Cuts
With your tools ready, it's time to get that Pokémon design onto the pumpkin. For **easy pokemon pumpkin carving ideas**, tracing is your best bet. Print out your chosen design to fit the section of the pumpkin you want to use. Tape it securely onto the smooth surface. Now, grab something sharp and pointy – a thumbtack, a small nail, or even a specialized pumpkin poking tool if you have one – and poke small holes along the lines of your design. Keep the holes close together so you can easily see the pattern when you remove the paper. Once the outline is transferred as a series of dots, take your carving tool (small saw or paring knife) and start connecting the dots. Take it slow. Don't try to push the whole blade through at once. Use a gentle sawing motion, especially around curves. If a piece doesn't pop out easily, don't force it; just go over the cut again.
- Print your design to size.
- Tape the design onto the pumpkin's smoothest area.
- Use a poking tool (thumbtack, nail) to make close-together holes along the lines.
- Remove the paper template.
- Connect the dots with a small carving saw or paring knife using a gentle sawing motion.
- Don't force pieces out; recut if necessary.
Refining Details and Bringing it to Light
You've got the main shapes cut out, and your chosen Pokémon is starting to take form. Now, look closely at your work. Are the edges a bit rough? Use your paring knife or a smaller detail tool from a pumpkin kit to carefully trim and clean up the edges. This makes a surprising difference in how crisp your **easy pokemon pumpkin carving ideas** look when lit up. If your design has areas to scrape away the skin instead of cutting all the way through (like creating glowing eyes without making holes), use a scraping tool or even a sturdy metal spoon edge. Once you're happy with the carving, wipe down the pumpkin to remove any pumpkin guts or pencil marks. Finally, the moment of truth: lighting it up! Skip the old-school candles if you want something safer and longer-lasting, especially if kids or pets are around. Battery-operated LED lights or small flashlights work perfectly and give a steady, bright glow that really makes those simple Pokémon shapes pop in the dark.
Displaying Your Awesome Pokémon Creation (And What to Do Next)
Displaying Your Awesome Pokémon Creation (And What to Do Next)
Alright, you've done it. You've successfully navigated the world of **easy pokemon pumpkin carving ideas**, avoided losing a finger, and brought a pixelated friend to life on your gourd. Now for the payoff: showing it off! Find a good spot for your glowing creation. Elevated is usually better, like on a sturdy porch railing or a pedestal, so little trick-or-treaters can see it without having to crane their necks. Make sure it's away from any potential rain or overly curious squirrels, who, let's be real, don't respect artistic endeavors. Pop in that LED light – seriously, skip the fire hazard candles – and step back to admire your work. It looks pretty good, doesn't it? Especially considering you didn't need a degree in fine art or a master's in power tools. Enjoy the compliments, the nods of recognition from fellow fans, and the general spooky-cute vibe it adds to your Halloween setup. Just remember, like a wild Pokémon, this creation is temporary. Pumpkins, unfortunately, don't stay fresh forever. Once Halloween is over, the inevitable happens. It's a sad truth, but hey, you can always take pictures!
So, which easy Pokémon design are you tackling next year?
Wrapping Up Your Easy Pokemon Pumpkin Adventure
So there you have it. Tackling a Pokémon design on a pumpkin doesn't require you to be some kind of carving prodigy or have the patience of a Snorlax. With the right pumpkin, a simple plan, and a few basic tools, you can absolutely pull off some cool, recognizable characters. We've covered picking your gourd, highlighted some genuinely easy designs that won't leave you weeping over broken pumpkin flesh, and touched on the tools you'll actually use. Now the hard part is deciding which one to start with. Go ahead, grab that knife (carefully, obviously) and make your porch the envy of every trainer in the neighborhood. It's less daunting than facing the Elite Four, trust me.