Table of Contents
Halloween's right around the corner, and you've got that blank orange canvas sitting on your porch. The pressure's on to create something spooky, maybe a little funny, definitely not just another set of crooked eyes and a jagged grin. Trying to find genuinely easy original pumpkin carving ideas that don't require professional sculpting skills or a week of spare time? Yeah, we get it. The internet is full of intricate designs that look great in photos but feel impossible with a dull kitchen knife.
Picking the Perfect Pumpkin and Tools for Easy Original Carving
Picking the Perfect Pumpkin and Tools for Easy Original Carving
Selecting Your Canvas and Sculpting Gear
Alright, let's get down to business with picking the perfect pumpkin and tools for easy original pumpkin carving ideas.
You don't just grab the biggest gourd you see.
Look for one that feels sturdy, has smooth skin (bumps make carving infinitely harder, trust me), and sits flat without wobbling.
A good, strong stem is a bonus; it gives you something to hold onto.
Size-wise, medium to large pumpkins are generally easier to work with than tiny ones where you can barely fit your hand.
Now, tools.
Ditch the flimsy plastic kiddie kits if you want anything resembling precision.
A small, serrated carving saw is your best friend for cutting through thick rinds.
Loop tools, like those clay sculptors use, are excellent for scraping away layers without cutting all the way through, adding depth and texture.
A sturdy scoop or metal spoon is non-negotiable for gutting the thing.
Having a few different sizes of detail knives or even just a sharp paring knife can make a huge difference for finer lines.
Don't forget a dry-erase marker for sketching your design first; mistakes wipe right off.
Simple Steps to Carving Your Easy Original Pumpkin Design
Simple Steps to Carving Your Easy Original Pumpkin Design
Prepping Your Pumpkin for the Masterpiece
you've got your pumpkin and your tools ready. Now for the messy part – the prep work. Don't cut the lid off the top like everyone's grandma did. Cut a hole in the *bottom* instead. Why? Because then you can just plop the pumpkin over a light source, and you don't have to worry about the lid falling in or looking awkward. Make the hole large enough to fit your hand and scoop comfortably, maybe 4-6 inches across, using that serrated saw.
Once the bottom is off, it's gutting time. This is where that sturdy scoop or spoon comes in. Get in there and scrape out *all* the seeds and stringy bits. The cleaner the inside, the better your light will shine through, and the less likely it is to mold quickly. Scrape the walls down to about an inch thickness, especially where you plan to carve. Thinner walls are much easier to cut through.
Bringing Your Easy Original Pumpkin Carving Ideas to Life
With the pumpkin prepped, it's time to transfer your design. If you're using a template for your easy original pumpkin carving ideas, tape it firmly onto the smoothest part of your pumpkin. Use a pointy tool, like a push pin or a small nail, to poke holes along the lines of the design. Keep the holes close together so you can see the outline clearly when you remove the paper. If you're freehanding, use your dry-erase marker to sketch directly onto the pumpkin.
Now, the actual carving. Start with the smallest, most intricate areas first. This way, if you make a mistake, you haven't ruined a large section yet. Use your small detail knives for these parts. For larger sections, use that serrated carving saw. Always cut with a gentle sawing motion, not a harsh push. Keep the blade angled slightly inward so the cut piece pops out easily. Take your time, follow your poked lines or drawn sketch, and don't be afraid to gently push pieces out from the inside.
- Cut the bottom, not the top, for easier lighting.
- Scrape the inside clean and thin the walls.
- Transfer your design using poke holes or a marker.
- Start carving with the smallest details.
- Use a gentle sawing motion with carving tools.
- Push cut pieces out from the inside.
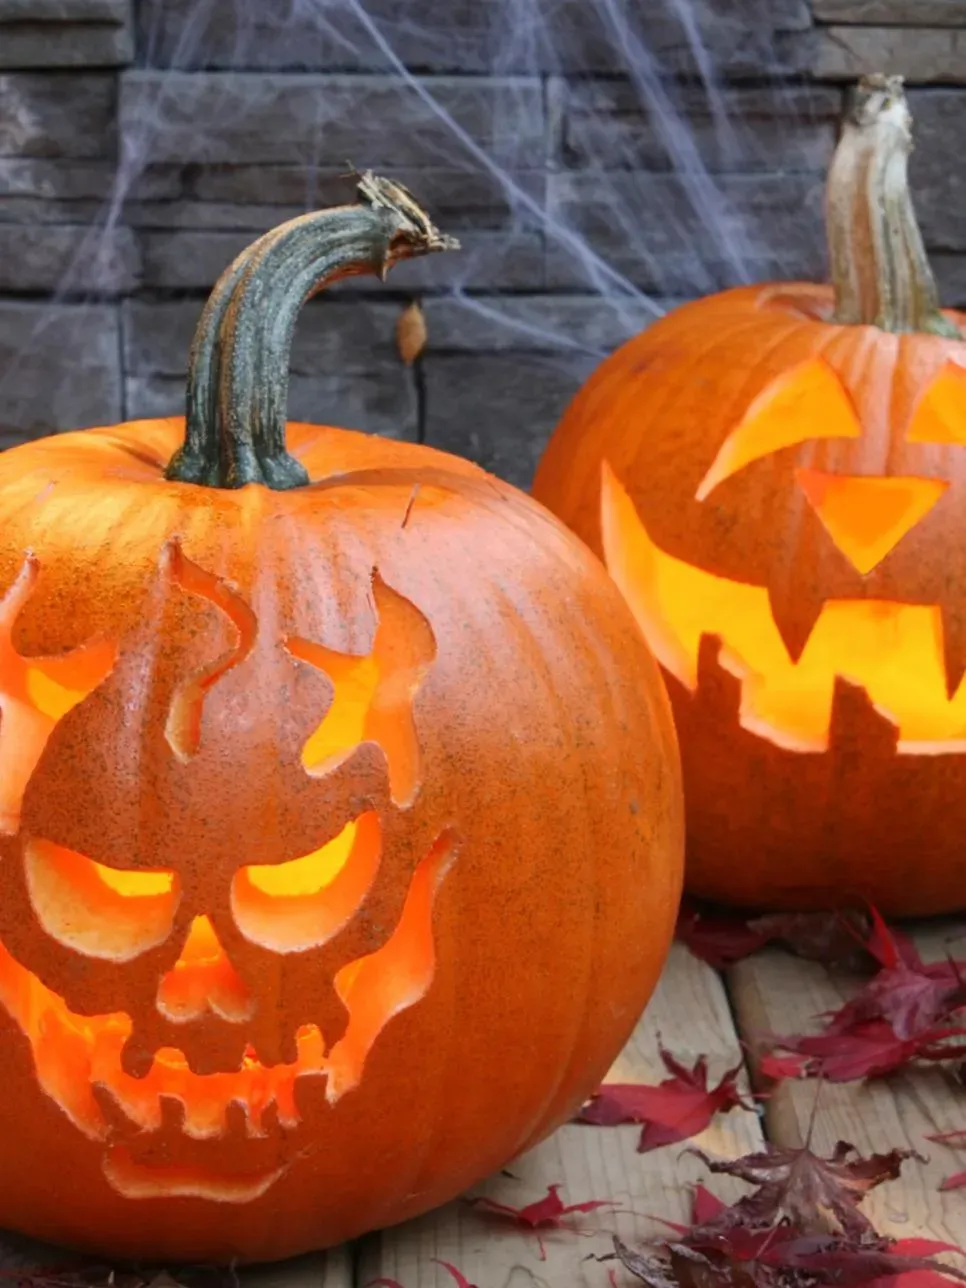
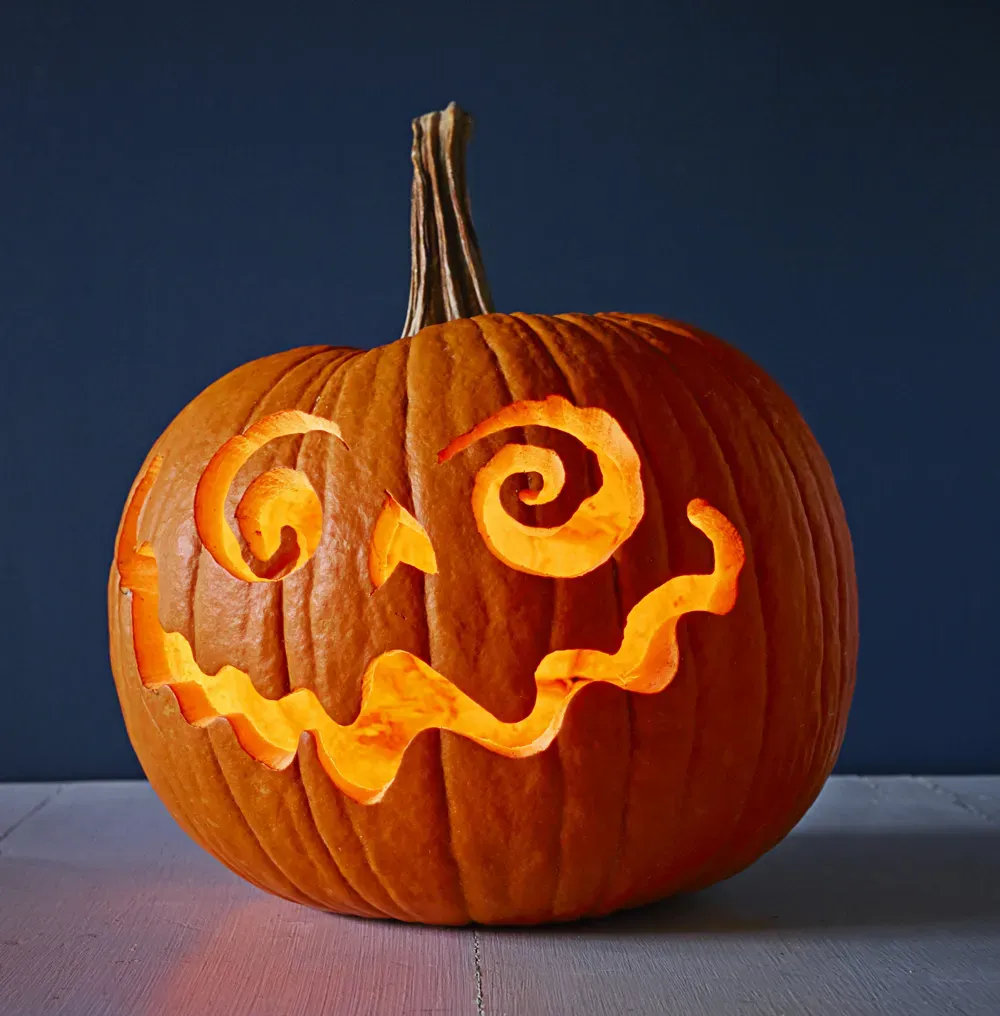
15 Easy Original Pumpkin Carving Ideas to Try This Year
15 Easy Original Pumpkin Carving Ideas to Try This Year
Simple Shapes and Silhouettes
Alright, let's dive into some actual easy original pumpkin carving ideas. You don't need to carve a haunted mansion with tiny windows. Start simple. Think silhouettes. A classic black cat arched on a fence is surprisingly easy. You just need to cut out the outline. Same goes for a spooky bat in flight or a cluster of stars and a crescent moon. These look sharp, especially when lit from inside.
Another straightforward approach is using geometric shapes. Instead of triangle eyes, try cutting out squares, circles, or even abstract patterns. Repeat the shape around the pumpkin for a modern look. It's forgiving because precision isn't the main goal; consistency is. You can even mix shapes. A few different sized circles can look like bubbles or strange eyes staring out.
Using Negative Space and Simple Cutouts
Playing with negative space offers a lot of easy original pumpkin carving ideas without complex cuts. Instead of carving the image itself, carve *around* it. For example, carve away the background to make a spiderweb stand out, leaving the web lines intact. Or carve out the space around letter stencils to spell a spooky word like "BOO" or "FRIGHT NIGHT." This often looks more striking than trying to carve the letters themselves.
Consider simple cutouts that aren't full images. Think patterns. Rows of dots, dashes, or small X's can create texture and visual interest across the pumpkin's surface. It’s repetitive, sure, but it’s also hard to mess up badly. Plus, the light shining through a pattern looks really cool at night.
Need a quick visual?
- Silhouette of a black cat
- Geometric shapes (circles, squares, triangles)
- Abstract patterns
- Spiderweb (carve the background)
- Spelling words with cutout letters
- Rows of simple dots or dashes
Adding Flair with Non-Carving Elements
Who says easy original pumpkin carving ideas have to be *only* carving? You can enhance simple carved designs or even create unique looks with other elements. After carving a basic face, try adding googly eyes with glue. Or use yarn to create hair or a beard. Buttons can make great noses or warts.
Think about using skewers or toothpicks to attach things. Mini pumpkins can become eyeballs or strange growths. You could even use dried leaves or twigs to create a creepy, natural look around carved openings. It's about combining simple carving with found objects to make something truly original without needing advanced knife skills.
Ever seen a pumpkin with vampire fangs made from white craft foam or plastic cutlery? It's simple, effective, and definitely not the same old thing everyone else is doing.
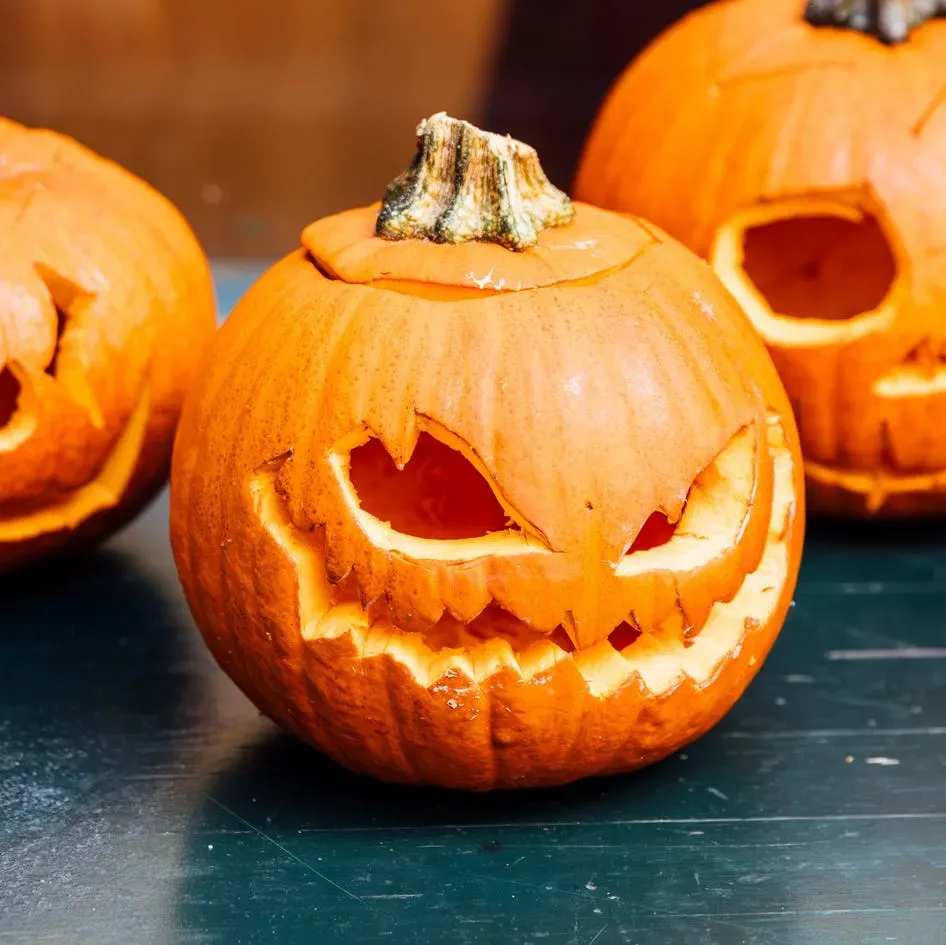
Lighting and Preserving Your Easy Original Pumpkin Masterpiece
Lighting and Preserving Your Easy Original Pumpkin Masterpiece
Lighting and Preserving Your Easy Original Pumpkin Masterpiece
so you've nailed your easy original pumpkin carving ideas and brought one to life. Now you want it to look good at night and, you know, not turn into a fuzzy, sad mess by October 20th. Lighting is key. Ditch the old-school wax candles if you want less fire hazard and more consistent light; LED tea lights are cheap, safe, and come in various colors, some even flicker like the real thing. Battery-powered strands of fairy lights stuffed inside can also create a cool, diffused glow, highlighting those simple shapes or silhouettes you carved. For preservation, because pumpkins are basically just giant, thick-skinned fruits, they will start to break down. A common trick is to rub Vaseline or petroleum jelly onto all the cut edges. This helps seal in moisture and slows down drying and shrinking. Some folks swear by a quick dunk in a bleach solution (about a teaspoon of bleach per gallon of water) to kill surface bacteria, letting it dry completely before lighting. Keeping it in a cool spot, maybe even the fridge overnight if it's small enough, when it's not on display outside can also buy you a few extra days.
- Use LED lights for safety and consistent glow.
- Rub Vaseline on cut edges to prevent drying.
- Consider a bleach dip to deter mold.
- Store in a cool place when not displayed.
Beyond Carving: Other Easy Pumpkin Decorating Ideas
Beyond Carving: Other Easy Pumpkin Decorating Ideas
Decorating Without the Knife
Look, sometimes you just don't want to deal with pumpkin guts and sharp objects. Or maybe you've already carved one masterpiece and want something simpler for the rest of the porch display. That's where decorating comes in. You can create some truly unique looks without ever touching a carving tool. Painting is an obvious one; white pumpkins are a blank canvas for spooky scenes or elegant designs, and black paint turns any pumpkin instantly gothic. Glitter, yarn, buttons, felt shapes – the craft store is your oyster. You can glue on artificial leaves to make a leafy monster, wrap the whole thing in gauze like a mummy, or use puff paint to create raised spiderwebs. It’s less mess, generally faster, and opens up a whole different set of easy original pumpkin ideas that skip the carving completely.
- Paint pumpkins solid colors (black, white, gold).
- Glue on craft supplies like glitter, yarn, or felt.
- Wrap pumpkins in gauze for a mummy effect.
- Use puff paint for raised designs like spiderwebs.
- Attach artificial leaves or twigs for texture.
Carve On, Without the Hassle
So there you have it. Ditching the overly complicated stencils and aiming for something genuinely doable doesn't mean settling for boring. We've laid out the groundwork, offered up some genuinely easy original pumpkin carving ideas, and even covered how to keep your creation looking decent for a few nights. The reality is, some pumpkins will be masterpieces, others might look like a toddler took a swing at them, and that's perfectly fine. The goal here wasn't to turn everyone into a professional sculptor, but to make the annual pumpkin ritual a bit less stressful and a bit more fun. Grab a pumpkin, pick an idea that doesn't make you sweat, and see what happens. At the very least, you'll have something carved for Halloween night, and that's the main point, isn't it?