Table of Contents
Alright, let's talk pumpkins. Every fall, they pop up on porches and grocery store displays, signaling that spooky season is upon us. And with pumpkins comes the annual ritual: carving. Now, the Pinterest-perfect, intricate designs are nice to look at, sure. But when you’ve got little hands eager to join the fun, the reality often involves more mess, frustration, and questionable use of sharp objects than festive cheer.
Getting Started: Prepping for Easy Kids Pumpkin Carving Ideas
Getting Started: Prepping for Easy Kids Pumpkin Carving Ideas
Setting the Stage for Less Mess
before any carving happens, you need to contain the inevitable chaos. Think of it as setting up a controlled demolition zone. Covering your workspace is non-negotiable. Old newspapers work, but they tear easily and pumpkin guts soak right through. A plastic tablecloth is better. Even a large trash bag cut open and spread out does the trick. Do this outside if weather permits. Trust me, scraping dried pumpkin slime off your kitchen floor is not anyone's idea of a good time. Get all your tools ready beforehand too – don't be scrambling for a spoon while a kid is covered in pulp.
Picking Your Pumpkin and Getting Inside
Choosing the right pumpkin is key for easy kids pumpkin carving ideas. Look for one that isn't too big or too hard. A medium-sized pumpkin with relatively smooth, thinner walls is much easier for little hands (and your hands, let's be honest) to work with. Once you've got your chosen squash, the first step is always cutting off the top. Resist the urge to make a tiny hole; a wider opening makes scooping much less of a battle. Use a sturdy adult knife for this part, cutting at an angle inward so the lid doesn't fall in later. Then comes the fun/gross part: scooping. Give each kid a big spoon or a dedicated pumpkin scooper tool (they make them with serrated edges, which helps). Get out all the seeds and stringy bits. The smoother the inside, the easier the carving will be.
Essential Pumpkin Carving Tools (The Realistic Version):
- Large spoon or pumpkin scoopers
- Sturdy adult knife (for the top cut only!)
- Small, sharp carving knives designed for pumpkins (adult use)
- Cookie cutters (metal ones work best)
- Mallet or rubber hammer (for tapping cookie cutters)
- Dry erase markers (for drawing designs)
- Paper towels or old rags
- A large bowl for guts and seeds
Beyond the Knife: Simple Techniques for Easy Kids Pumpkin Carving Ideas

Beyond the Knife: Simple Techniques for Easy Kids Pumpkin Carving Ideas
Punching and Pressing Your Way to Spooky Designs
Let's be honest, putting a sharp knife in the hands of a hyper kid hopped up on cider and candy corn isn't always the best plan. This is where you get creative with tools that aren't blades. Cookie cutters are your best friend here, especially the metal ones. Simply place the cutter on the pumpkin's surface, pointy side down, and have the kid (or you, if they're really little) tap it firmly with a mallet or a rubber hammer. It’s surprisingly effective for creating shapes like stars, moons, or even simple animal outlines. You might need to help push the shape through from the inside, but it's miles safer than sawing with a knife. This method works particularly well on thinner-walled pumpkins, which is another reason picking the right one matters for easy kids pumpkin carving ideas.
Scraping, Drilling, and Decorating
Carving doesn't just mean cutting all the way through. Sometimes, just removing the outer layer of skin creates a cool effect. Use a linoleum cutter or even just a sturdy spoon to scrape designs into the pumpkin's surface. Think swirls, zigzags, or drawing pictures and scraping along the lines. This is great for younger kids who might not have the dexterity for precise cuts. For slightly older kids, or with adult supervision, a drill with different sized bits can make interesting patterns of holes – think constellations or abstract art. And don't forget paint! Painting pumpkins isn't carving, obviously, but it's an easy, mess-contained way for kids to decorate. You can even combine techniques: carve a simple shape, then paint the rest.
Simple Pumpkin Decoration Ideas Beyond the Knife:
- Use permanent markers to draw faces or patterns.
- Glue on googly eyes, yarn hair, or felt shapes.
- Wrap the pumpkin in bandages for a mummy look.
- Cover it in glitter (accept the glitter-ocalypse).
- Push in golf tees or pushpins to create textures or outlines.
- Use puffy paint for raised designs.
Character Creations: Bringing Pumpkins to Life with Easy Designs
Character Creations: Bringing Pumpkins to Life with Easy Designs
Faces That Won't Cause Nightmares (For You)
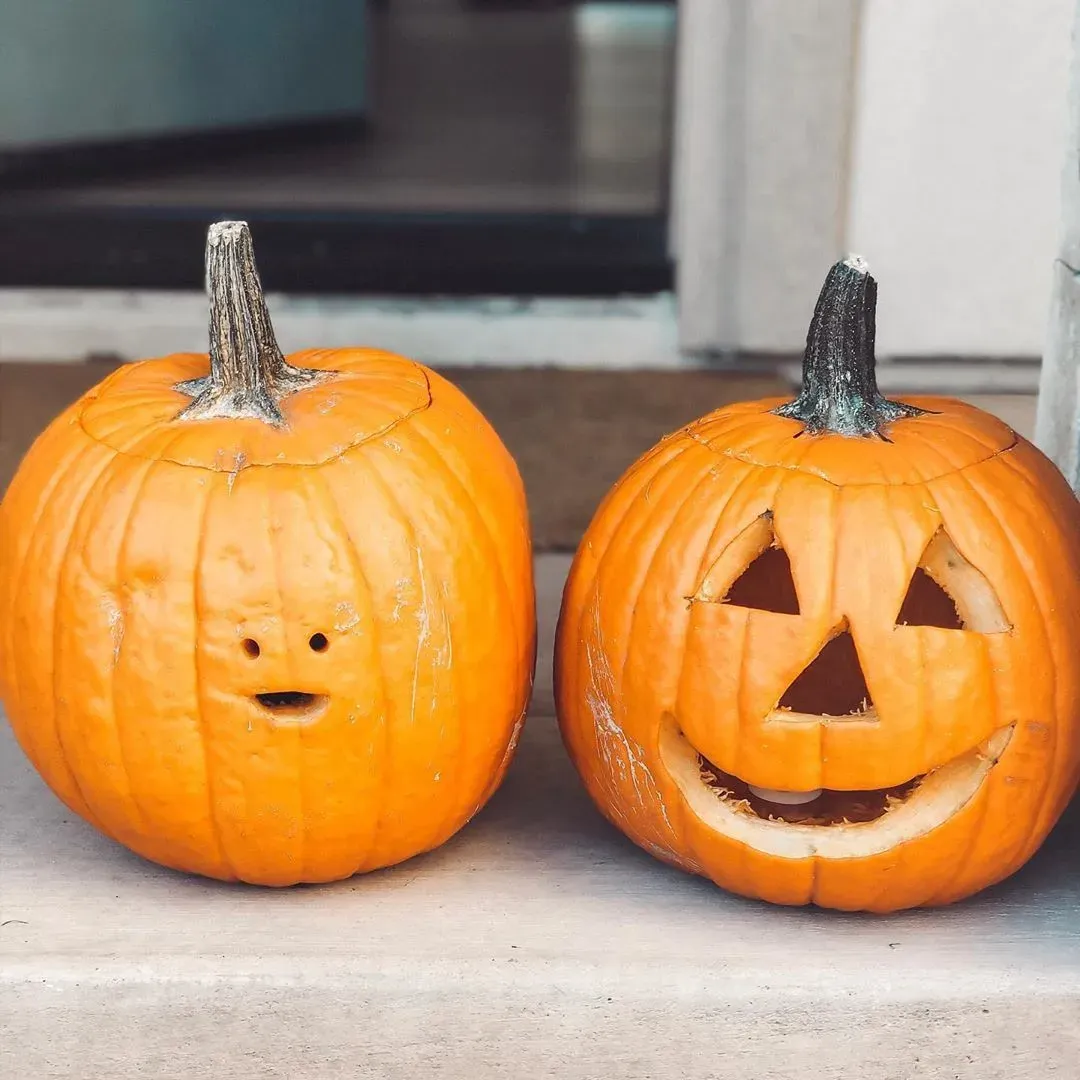
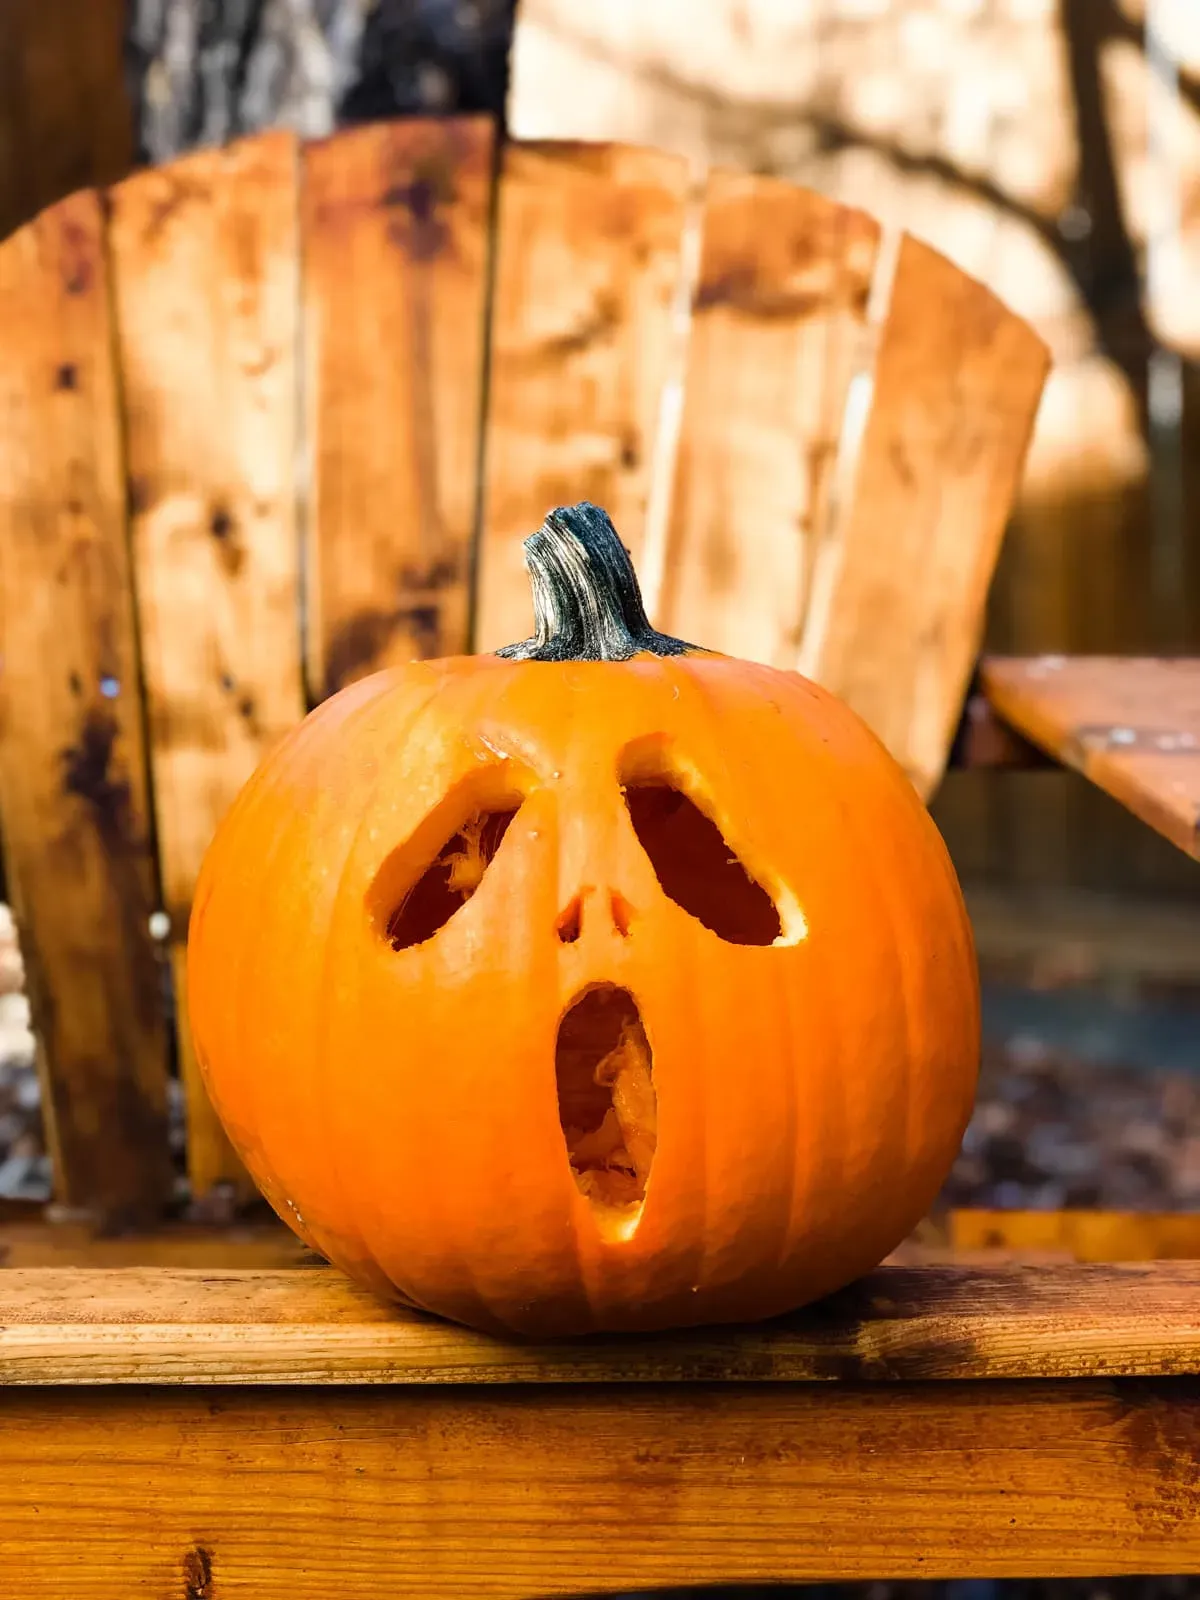
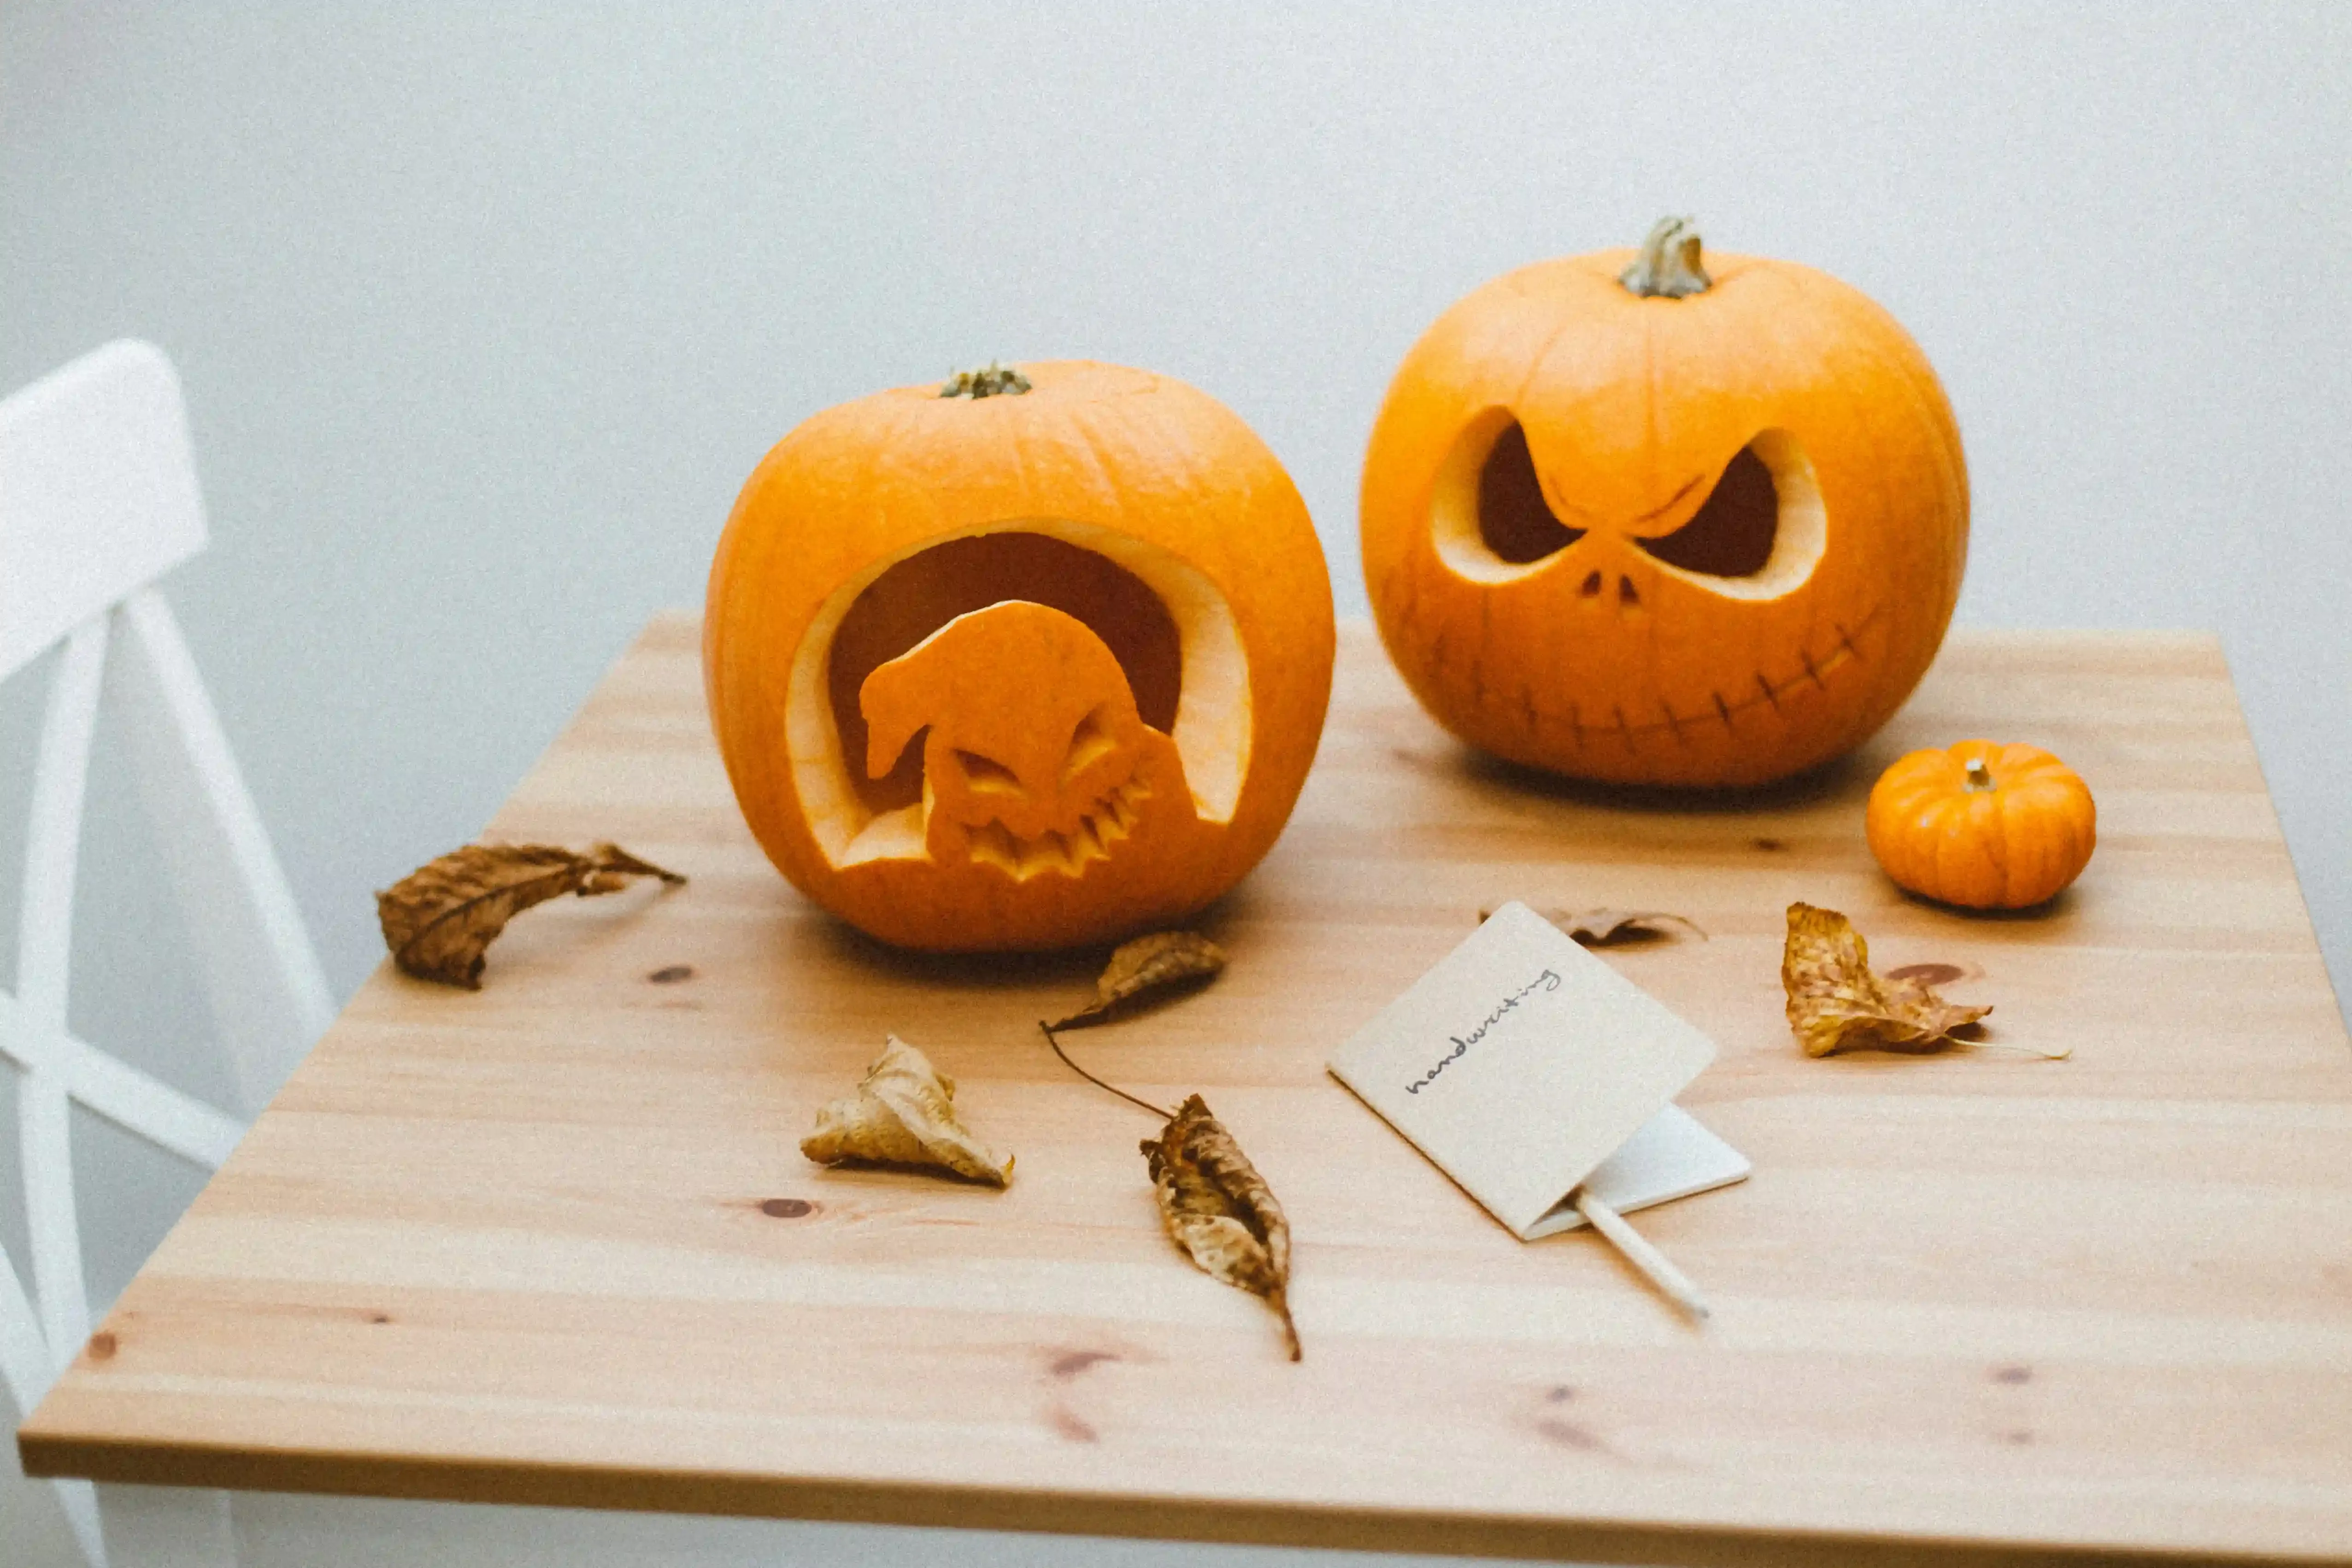
Alright, let's get to the fun part: making faces! Forget those elaborate, toothy grins that require a degree in oral surgery. We're talking simple, effective character creations here. For truly easy kids pumpkin carving ideas, stick to basic shapes. Triangles for eyes are classic for a reason – they're easy to cut and instantly recognizable. A simple jagged line or a wide, round hole works for a mouth. You don't need intricate teeth; a single large square or rectangle can look pretty funny or spooky depending on the eye shape. Think emoji faces: happy, sad, surprised. Kids can draw the shapes first with a dry-erase marker, which is crucial because mistakes can be wiped away. Then, an adult can do the cutting along the lines. It takes the pressure off precise drawing and lets them focus on the character idea.
Adding Flair Without the Blade
Sometimes the best way to create a character isn't just about cutting holes. This is where you lean into the "easy kids pumpkin carving ideas" by adding stuff *onto* the pumpkin. Give your pumpkin a personality with accessories. Googly eyes are a no-brainer – glue them on for instant silliness or spookiness. Yarn makes great hair or spiderwebs. Pipe cleaners can become arms, legs, or antennae. Felt or craft foam cutouts can be eyebrows, noses, or even hats. Think about simple animals: ears made from cardboard or felt glued to the top turn a pumpkin into a cat or a mouse. A simple carved face plus some well-placed pipe cleaner whiskers is often more charming (and easier) than trying to carve intricate details. Get a hot glue gun out (adults only!) and let the accessory party begin.
Quick Character Ideas Using Simple Shapes & Add-ons:
- Classic Jack-o'-Lantern (Triangle eyes, jagged mouth)
- Friendly Ghost (Round eyes, "O" mouth, maybe some white fabric draped)
- Silly Monster (Uneven eyes, crooked mouth, pipe cleaner arms)
- Pumpkin Cat (Triangle eyes, small circle nose, felt ears glued on top, pipe cleaner whiskers)
- Robot Pumpkin (Square or circle cutouts, bottle cap or nut/bolt accents glued on)
Making It Last: Displaying Your KidFriendly Masterpieces
Making It Last: Displaying Your KidFriendly Masterpieces
Keeping Their Masterpiece from Melting
so you've successfully navigated the chaos of easy kids pumpkin carving ideas and now you have a few proud, slightly lopsided creations sitting on your counter. The sad truth is, carved pumpkins are on borrowed time. They're organic matter, and they start to break down the moment you expose the inside to air. There's no magic spell to make them last forever, despite what some online "hacks" might claim. Keeping them cool is probably the single biggest factor. If the weather is still warm where you live, leaving them outside in direct sun is a recipe for a speedy decomposition. Bring them in at night or on warm days if you can, or at least move them to a shady spot.
Some folks swear by coating the cut edges. A thin layer of petroleum jelly or even vegetable oil can help seal in moisture and slow down drying, which is one of the first steps to shriveling. Spraying the inside and cut surfaces with a bleach solution (about one tablespoon of bleach per quart of water) is also a common tip to kill mold and bacteria. Just make sure it dries thoroughly before putting a light inside. Does it work miracles? Probably not, but it might buy you a few extra days before the inevitable sag and fuzz appear.
Lighting Up Their Hard Work (Safely)
Displaying those easy kids pumpkin carving ideas usually means putting a light inside. The classic choice is a tea light candle. They give that perfect flickering glow that screams Halloween. However, open flames inside dry organic matter with excited kids nearby might not be everyone's idea of a relaxing evening. Plus, the heat from the candle can actually speed up the pumpkin's demise. A safer, and often brighter, alternative is using battery-operated LED lights or glow sticks. You can find small, inexpensive LED tea lights that flicker just like real candles, or get larger puck lights to really illuminate the carving. They last longer, are reusable, and significantly reduce the fire hazard. Stick to these, especially for pumpkins carved by younger children. It's just less stress.
When the End is Near (And What to Do)
Despite your best efforts, there comes a time when the pumpkin starts to look less like a festive decoration and more like a science experiment gone wrong. The edges might curl, mold might appear, and the whole thing can start to sag and smell... well, like rotting pumpkin. This is normal. Don't feel bad; you got some enjoyment out of it. When your kid-friendly masterpiece from your easy kids pumpkin carving ideas starts looking sad, it's time to let it go. Trying to prop it up or ignore the funk won't help. The best thing to do is dispose of it properly. Composting is ideal if that's an option for you. Otherwise, into the trash it goes. It served its purpose – providing a fun activity and a brief moment of spooky decor. Now, onward to the next holiday!
Wrapping Up Your Easy Pumpkin Adventures
So there you have it. Pumpkin carving with kids doesn't need to be an exercise in frustration or result in something that looks like it lost a fight with a blender. By focusing on simple techniques and managing expectations (yours, mostly), you can actually have a decent time. These easy kids pumpkin carving ideas are designed to get everyone involved without needing a degree in gourd sculpture. The point is the shared mess, the questionable shapes, and the memory of doing it together. Go forth, carve (or just decorate), and try not to get too many seeds in your hair. It's just a pumpkin, after all.