Table of Contents
Let's be honest, staring at a big, round pumpkin with a sharp knife can feel less like a fun fall activity and more like a challenge you'd rather skip. Maybe your past attempts ended in a lopsided mess or you just don't have hours to dedicate to intricate designs. You're probably wondering if there are genuinely easy ideas to carve pumpkins that don't require an art degree or specialized tools.
Why Try Easy Ideas to Carve Pumpkins This Year?
Why Try Easy Ideas to Carve Pumpkins This Year?
Look, not everyone is aiming for a museum-worthy sculpture when October rolls around. Maybe you're juggling work, kids, or just the general chaos of life. Maybe you tried a super-complicated design last year and ended up with a collapsed gourd and a bruised ego. That's precisely why diving into easy ideas to carve pumpkins makes so much sense. It cuts down on frustration, saves you precious time, and honestly, often looks just as charming (or spooky) as something that took hours. Think less stress, more fun, and a finished product you're actually proud to display by the front door, even if it's just a goofy grin or a couple of simple shapes. It's about the process and the festive vibe, not winning a carving competition you didn't enter.
Classic and Cute Easy Ideas to Carve Pumpkins
Classic and Cute Easy Ideas to Carve Pumpkins
The Timeless Goofy Grin and Other Simple Shapes
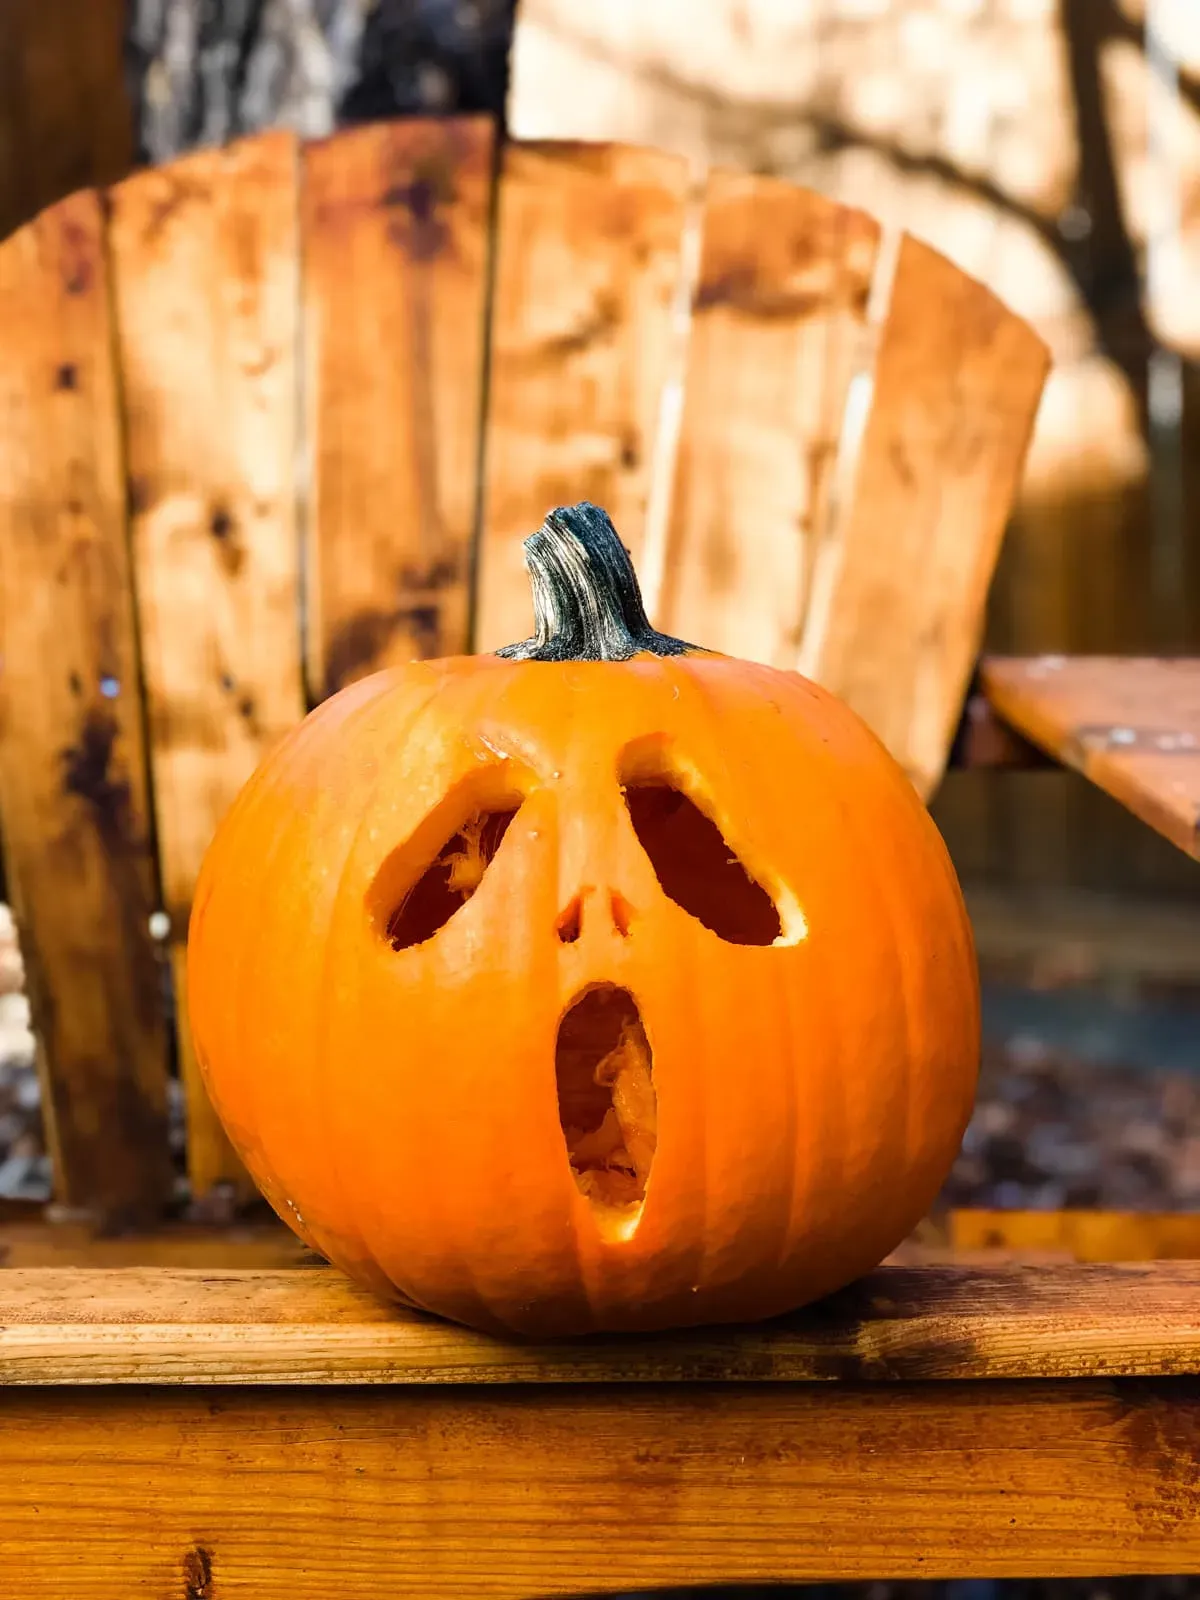
Alright, let's start with the undisputed champ of easy pumpkin carving: the classic jack-o'-lantern face. We're talking triangles for eyes and nose, maybe a simple crescent or jagged line for a mouth. This isn't rocket science; it's about making shapes that light up. You don't need perfect symmetry. A slightly lopsided triangle eye adds character, frankly. Beyond faces, think simple geometric cutouts. Circles, squares, stars – they look clean, they're easy to execute with basic tools, and they let the light shine through effectively. My first carved pumpkin was basically just three circles and a wonky line, and you know what? It worked. It sat on the porch, it glowed, and zero neighbors pointed and laughed (at least not to my face). These simple forms are the bedrock of easy pumpkin carving, requiring minimal skill but still delivering that essential spooky or festive vibe.
Cute and Approachable Designs
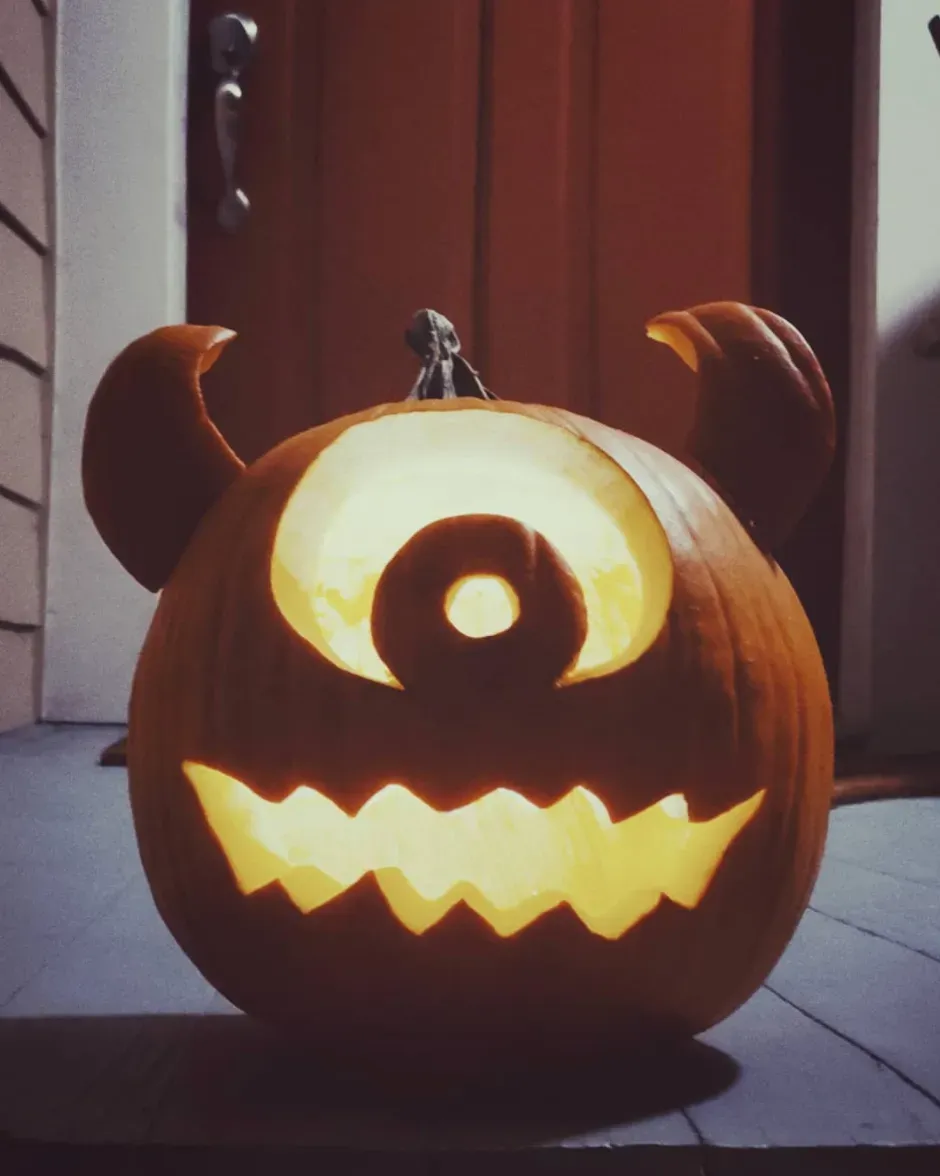
Maybe spooky isn't your jam, or you've got little hands helping out. That's where the cute easy ideas to carve pumpkins come in. Think friendly monsters, simple animal silhouettes like a cat or a friendly ghost, or even just patterns of dots or small holes. You can use cookie cutters (metal ones work best) and a mallet to punch out shapes – seriously, it's that easy for things like stars or moons. A simple outline of a smiling face, carved just around the eyes and mouth, gives a warm, inviting look. The key here is minimal detail. Focus on large, clear shapes that read well from a distance. A basic outline of a bat or an owl is far easier and often more effective than trying to render individual feathers or fur.
Here are a few straightforward ideas to get you started:
- Classic Triangle Eyes & Jagged Mouth
- Simple Circle Eyes & Crescent Mouth
- Star or Moon Cutouts (use cookie cutters!)
- Ghost Silhouette
- Simple Cat Outline (ears and tail)
- Polka Dot Pattern (drill holes of different sizes)
- Initials or Simple Numbers
Beyond the Face: Other Simple Pumpkin Carving Techniques
Beyond the Face: Other Simple Pumpkin Carving Techniques
so maybe faces, even simple ones, feel a bit too... face-y for your liking, or you want something a little different. There are plenty of other easy ideas to carve pumpkins that skip the traditional eyes-nose-mouth routine entirely. Think patterns! You can use stencils you print online or even household objects like bottle caps or cookie cutters to trace designs. Instead of cutting all the way through, consider scraping away just the top layer of skin. This technique, called 'etching' or 'relief carving,' is surprisingly forgiving. It creates a cool, two-tone effect and is great for more detailed (but still simple!) images like spiderwebs, stars, or even text. Plus, it's less prone to cracking the pumpkin than cutting large holes. It's a fantastic way to achieve a sophisticated look with minimal risk.
Essential Tools and Expert Tips for Easy Pumpkin Carving
Essential Tools and Expert Tips for Easy Pumpkin Carving
The Basic Gear You Actually Need
Forget those massive, intimidating kits with 50 tiny tools you'll never use. For genuinely easy ideas to carve pumpkins, you only need a few essentials. First up, a sturdy scoop or a large spoon for gutting the pumpkin. Get all those strings and seeds out; a clean inside makes carving much easier. Next, a small serrated knife is key. Think a paring knife or one of those cheap, plastic-handled pumpkin saws. They give you more control than a big kitchen knife and are less likely to slip. A poker tool, even just a nail or a skewer, is super helpful for transferring patterns. That's really it for getting started. You don't need fancy chisels or power tools unless you're trying to get featured in a gourd gallery.
Planning Your Attack and Transferring Designs
Even with easy ideas to carve pumpkins, a little planning goes a long way. Don't just freehand it unless you're aiming for abstract horror. Use a washable marker (like a dry-erase marker) to draw your design directly onto the pumpkin. Made a mistake? Just wipe it off. If you're using a stencil or a printed template (tons of free ones online!), tape it onto the pumpkin. Then, use your poker tool to make small holes along the lines of the design. These little dots create a connect-the-dots guide for your knife. This simple step prevents you from having to constantly look at your paper template and helps keep your lines relatively straight, even if your hand isn't the steadiest.
- Use a washable marker for drawing.
- Tape your template firmly to the pumpkin.
- Poke small, close-together holes along design lines.
- Connect the dots with your carving tool.
Carving Techniques That Keep It Simple
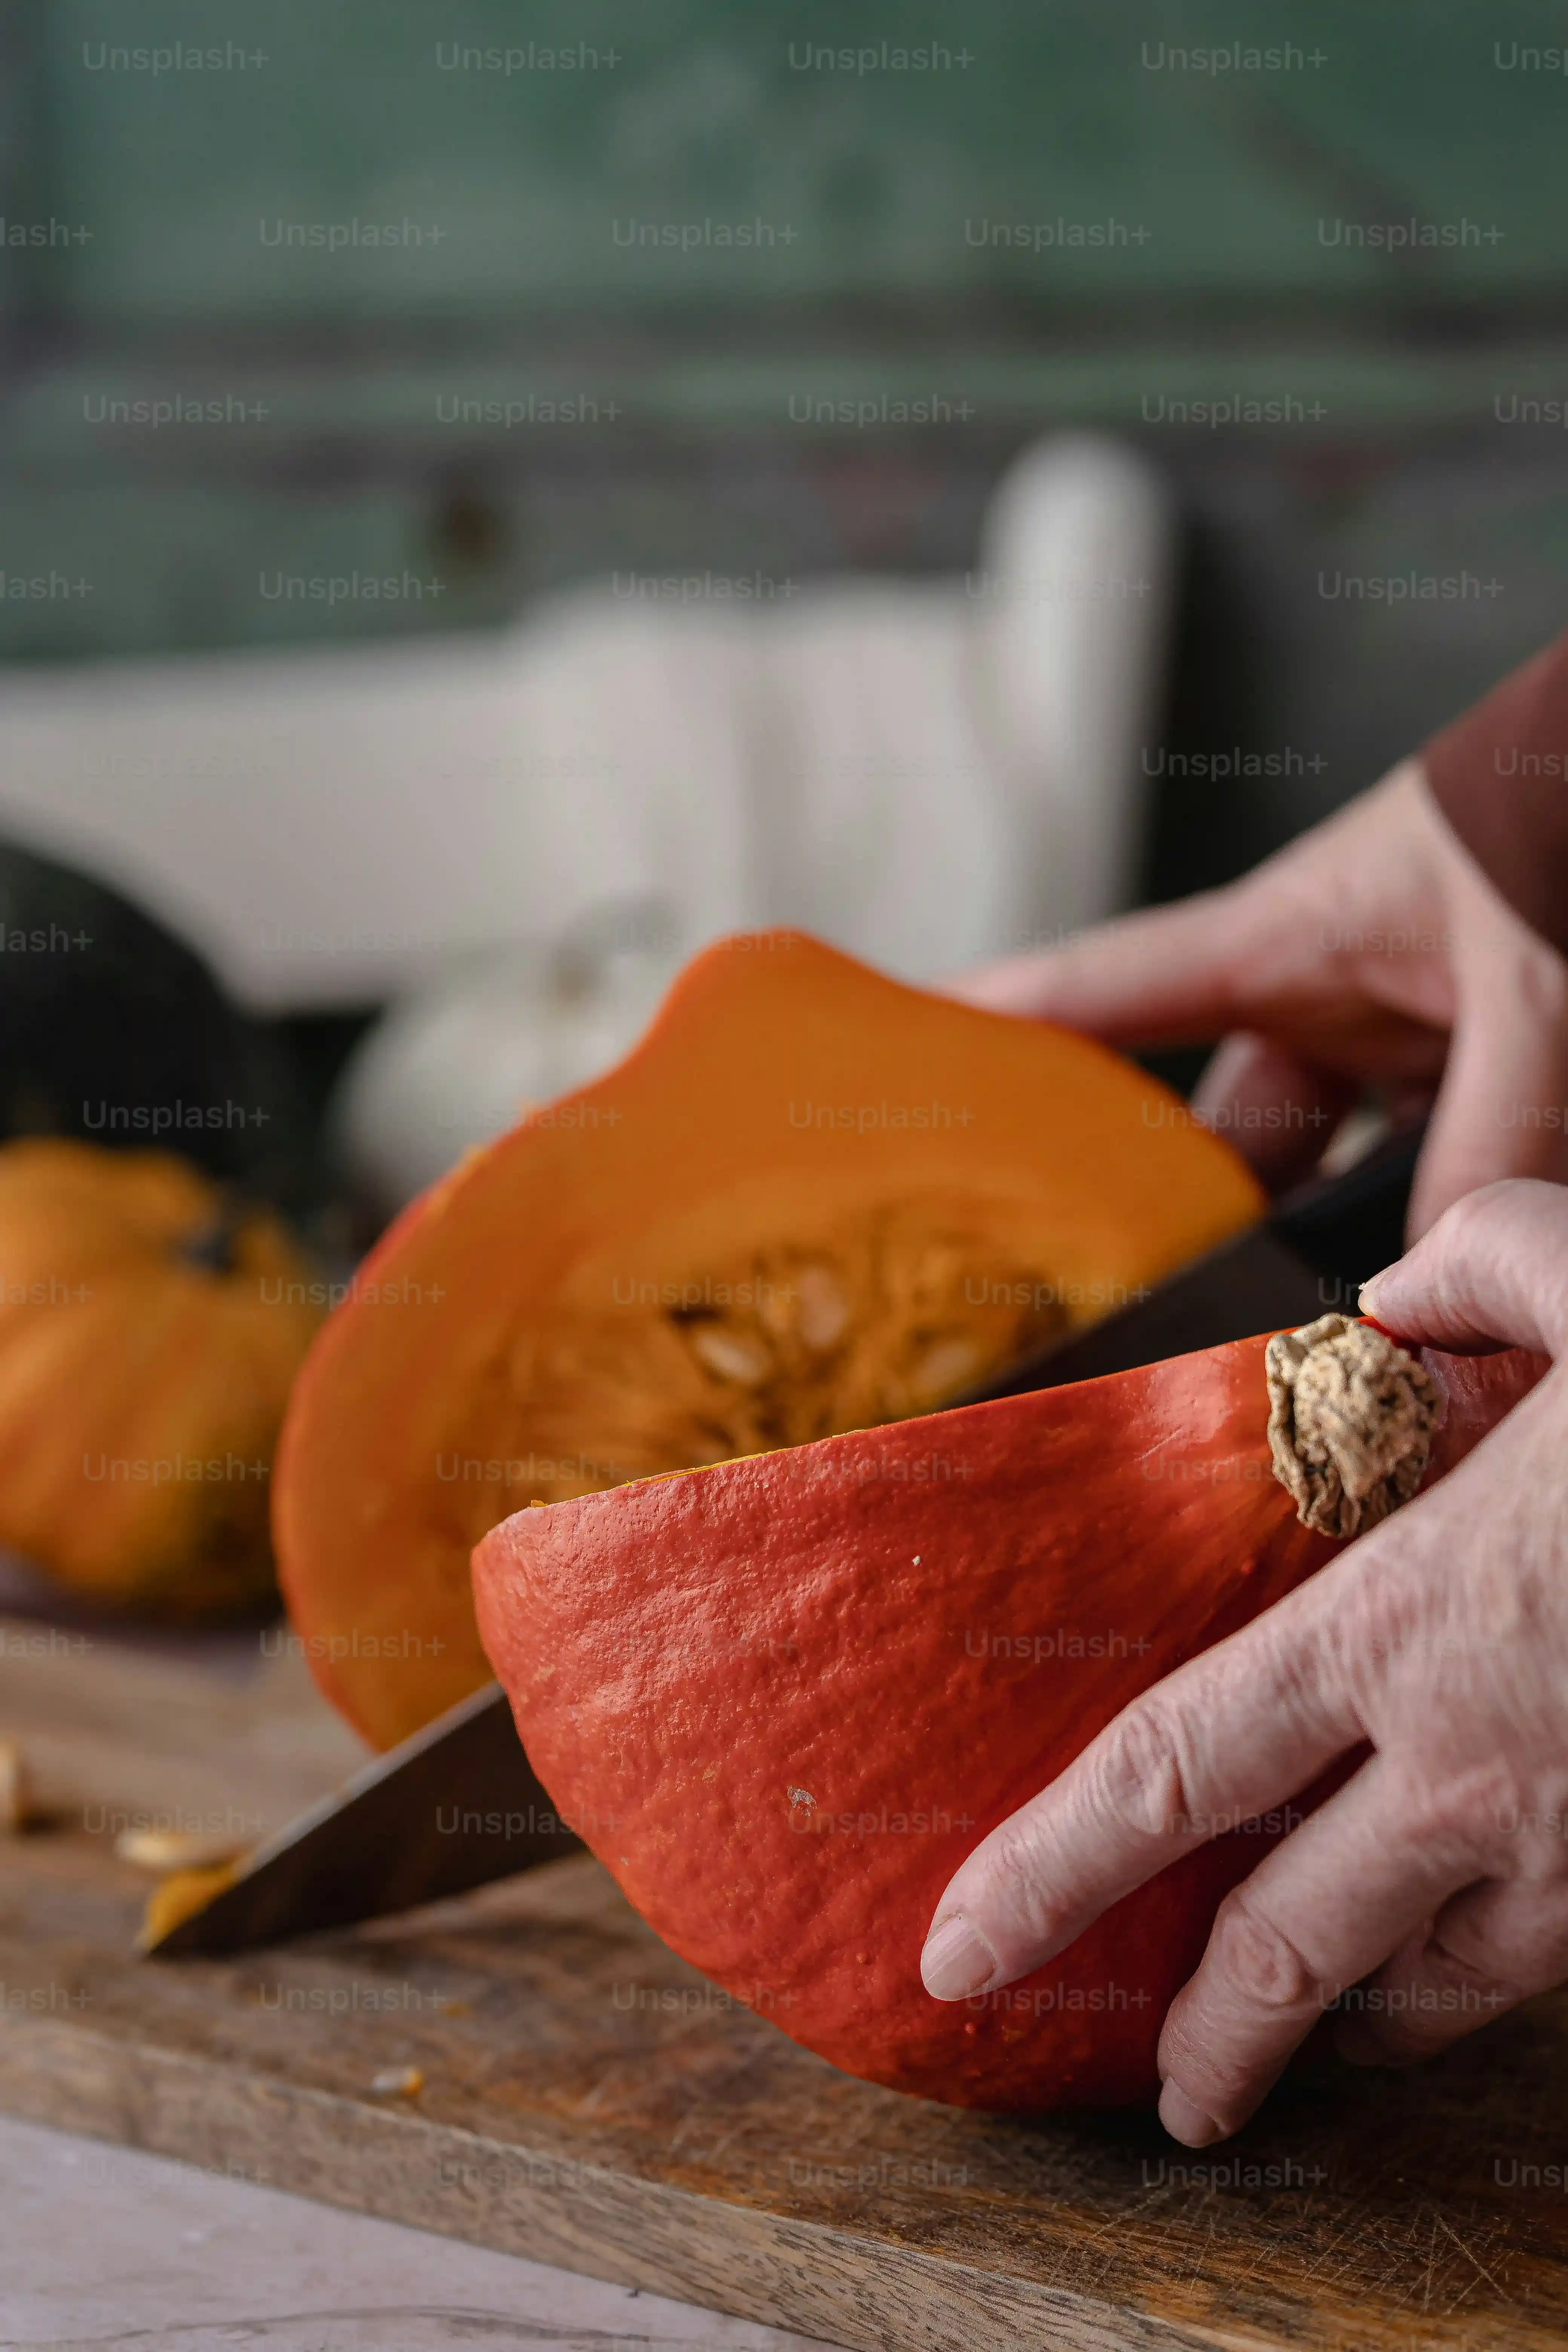
When you're ready to cut, remember this: slow and steady wins the race. Don't try to push the knife straight through in one go, especially on thicker parts of the pumpkin. Use a gentle sawing motion, following the lines of your poked dots or marker drawing. Keep the blade perpendicular to the pumpkin surface as much as possible to avoid angled cuts that make pieces hard to remove. When carving areas like eyes or mouths, work from the center outwards. If a piece gets stuck, don't force it; wiggle it gently or use the back of your knife to push it through from the inside. And please, carve away from yourself. Emergency room visits are decidedly *not* easy ideas to carve pumpkins.
Keeping Your Easy Carved Pumpkin Looking Fresh
Keeping Your Easy Carved Pumpkin Looking Fresh
So you've put your easy ideas to carve pumpkins into action, you've got a cool design glowing on your porch, and now you want it to last longer than 48 hours before collapsing into a sad, moldy mess. Nobody wants a saggy gourd haunting their steps before Halloween even arrives. The enemy here is dehydration and decay. Once you cut into that pumpkin, you expose the moist flesh to the air, which is basically an open invitation for rot and shriveling. There are a few simple tricks to buy yourself some extra time and keep your creation looking sharp. Think of it as basic pumpkin first aid.
Getting the inside truly clean is step one. Scrape out *all* the strings and seeds. The fewer organic bits left clinging to the walls, the less food for bacteria. After carving, give the whole pumpkin, inside and out, a good spray or dip in a diluted bleach solution (about one tablespoon of bleach per quart of water). This kills surface mold spores and bacteria. Let it dry completely. Then, and this is a classic trick, rub petroleum jelly (like Vaseline) onto all the cut edges. This creates a barrier that seals in moisture and slows down the drying process. Reapply every couple of days, especially if it's warm or windy. Some people swear by spraying the pumpkin daily with water, but the petroleum jelly method seems more effective for keeping the edges from shriveling.
Here's a quick rundown of the freshness steps:
- Scoop out *all* the guts.
- Disinfect with a diluted bleach solution.
- Let the pumpkin dry.
- Apply petroleum jelly to all cut surfaces.
- Reapply jelly as needed.
Wrapping Up Your Easy Pumpkin Carving Project
So there you have it. Carving a pumpkin doesn't have to be a battle of wits or a test of your artistic prowess. Sticking to easy ideas to carve pumpkins means you can actually enjoy the process and end up with something recognizable standing on your porch. Forget the elaborate scenes that take hours and just focus on clean cuts and simple shapes. Your neighbors will still get the Halloween memo, and you won't have carpal tunnel by the end of the night.