Table of Contents
Let's be honest, the thought of pumpkin carving can feel a bit... daunting. You picture jagged edges, snapped tools, and enough pumpkin guts to fill a small swimming pool. Maybe last year's attempt looked less like a spooky ghoul and more like something the dog chewed on. You're probably wondering if there are genuinely easy halloween pumpkin carving ideas out there that won't end in frustration (and possibly a trip to the ER). Good news, there are. Forget those elaborate, multi-hour projects that require the precision of a brain surgeon. We're talking about simple, effective ways to get that classic Halloween glow without wanting to throw the gourd across the yard. This guide is your shortcut. We'll walk you through picking the right pumpkin, the tools you actually need (spoiler: not 50 of them), some simple techniques that make a big difference, and of course, 15 easy Halloween pumpkin carving ideas that deliver spooky vibes with minimal effort. Stick around; your porch is about to get a whole lot more festive, the easy way.
Why Choose Easy Halloween Pumpkin Carving Ideas This Year?
Why Choose Easy Halloween Pumpkin Carving Ideas This Year?
Skip the Stress, Embrace the Spook
Let's face it, nobody needs more stress around the holidays, and Halloween is no exception. You've seen those intricate, gallery-worthy pumpkin carvings online, the ones that look like they took a week and a degree in sculpture. Trying to replicate that after a long day can feel less like festive fun and more like a second job. That's where easy halloween pumpkin carving ideas come in. They cut through the complexity. You don't need specialized tools or the steady hand of a surgeon. The goal here is getting a spooky, glowing pumpkin on your porch without the accompanying existential dread or carpal tunnel. It's about enjoying the process, not battling a gourd.
More Fun, Less Frustration for Everyone
Think about it: spending hours hunched over a pumpkin, wrestling with tiny knives, and accidentally carving off a crucial piece isn't exactly a recipe for family bonding. Easy halloween pumpkin carving ideas level the playing field. Kids can get involved without needing constant supervision to prevent missing fingers. Beginners won't feel completely lost. You can actually chat, laugh, and enjoy the activity instead of muttering curses under your breath while trying to achieve the perfect vampire fang. It makes the whole experience accessible and, dare I say, enjoyable for people who aren't professional artists.
- Saves time you'd rather spend on costumes or candy.
- Reduces the risk of accidental self-mutilation.
- Makes it a genuinely inclusive activity for all skill levels.
- You still get a cool, spooky decoration.
Quick Results for Maximum Halloween Vibes
Halloween night creeps up fast. You don't want to be finishing your pumpkin at 5 PM on October 31st, covered in pulp and regret, while trick-or-treaters are already ringing your doorbell. Easy halloween pumpkin carving ideas mean you can knock out a few pumpkins relatively quickly. Get them done a day or two before, place them out, and enjoy the festive atmosphere you've created. It's about getting that classic Halloween look on your doorstep efficiently, leaving you free to focus on the important things, like strategically placing the candy bowl to avoid the dreaded "take one" sign being ignored.
Gather Your Gear: Picking the Right Pumpkin and Tools for Easy Carving
Gather Your Gear: Picking the Right Pumpkin and Tools for Easy Carving
Picking Your Perfect Gourd Partner
Alright, before you even think about making a single cut, you need the right canvas. Don't just grab the first pumpkin you see at the grocery store that vaguely resembles a sphere. For easy halloween pumpkin carving ideas, you want a pumpkin that's firm all around – give it a good tap; it should sound hollow. Look for one with smooth skin; bumps and ridges are just obstacles waiting to happen when you're trying to make a clean cut. A flat bottom is also your friend, preventing it from rolling away while you're working or wobbling on your porch. And check the stem – a sturdy stem means it's fresh and hasn't been manhandled too much. Think of it as picking a dance partner; you want one that's stable and won't trip you up.
Simple Techniques for Easy Halloween Pumpkin Carving That Look Great
Simple Techniques for Easy Halloween Pumpkin Carving That Look Great
Scoop Smart, Not Hard
you've got your ideal pumpkin. Now comes the part everyone dreads: gutting the thing. Forget trying to use a regular spoon; it's a workout and a half. The secret weapon for easy halloween pumpkin carving ideas starts here. Cut a lid off the bottom of the pumpkin, not the top. Why the bottom? It makes the opening less visible, and you don't have to try and balance the lid precariously later. Plus, it's easier to place the pumpkin over a light. Once the bottom is off, grab a sturdy scoop. An ice cream scoop works surprisingly well, or you can get a dedicated pumpkin scoop with a serrated edge. Dig in and scrape the walls clean. The thinner the walls, the easier the carving, but don't go crazy and make them paper-thin, or your design will collapse. Just aim for about an inch thick.
Transferring Your Terrifying (or Friendly) Design
Unless you're a freehand carving prodigy, using a template or design is key for easy halloween pumpkin carving ideas. Don't try to sketch directly onto the bumpy surface with a pencil; it rarely works. Instead, print out your chosen design. Tape it securely onto the pumpkin where you want it. Now, here's a simple trick: use a poking tool (like a skewer, awl, or even a pushpin) to poke small holes along the lines of your design. Space the holes closely together, maybe a quarter-inch apart. Once you remove the paper, you'll have a dotted outline on the pumpkin surface. Connect the dots with a marker if you need a clearer line before you start cutting. This method takes the guesswork out and keeps your lines clean, even if your hands are a little shaky.
- Use a bottom opening for easier lighting and a cleaner look.
- Invest in a good scoop (ice cream scoop or pumpkin scoop) for gutting.
- Scrape the walls to about an inch thick.
- Tape your design template firmly onto the pumpkin.
- Use a poking tool to transfer the design outlines.
- Connect the poke marks with a marker if needed before cutting.
Our Top 15 Easy Halloween Pumpkin Carving Ideas to Bring Spookiness Home
Our Top 15 Easy Halloween Pumpkin Carving Ideas to Bring Spookiness Home
Beyond the Basic Jack-o'-Lantern Smile
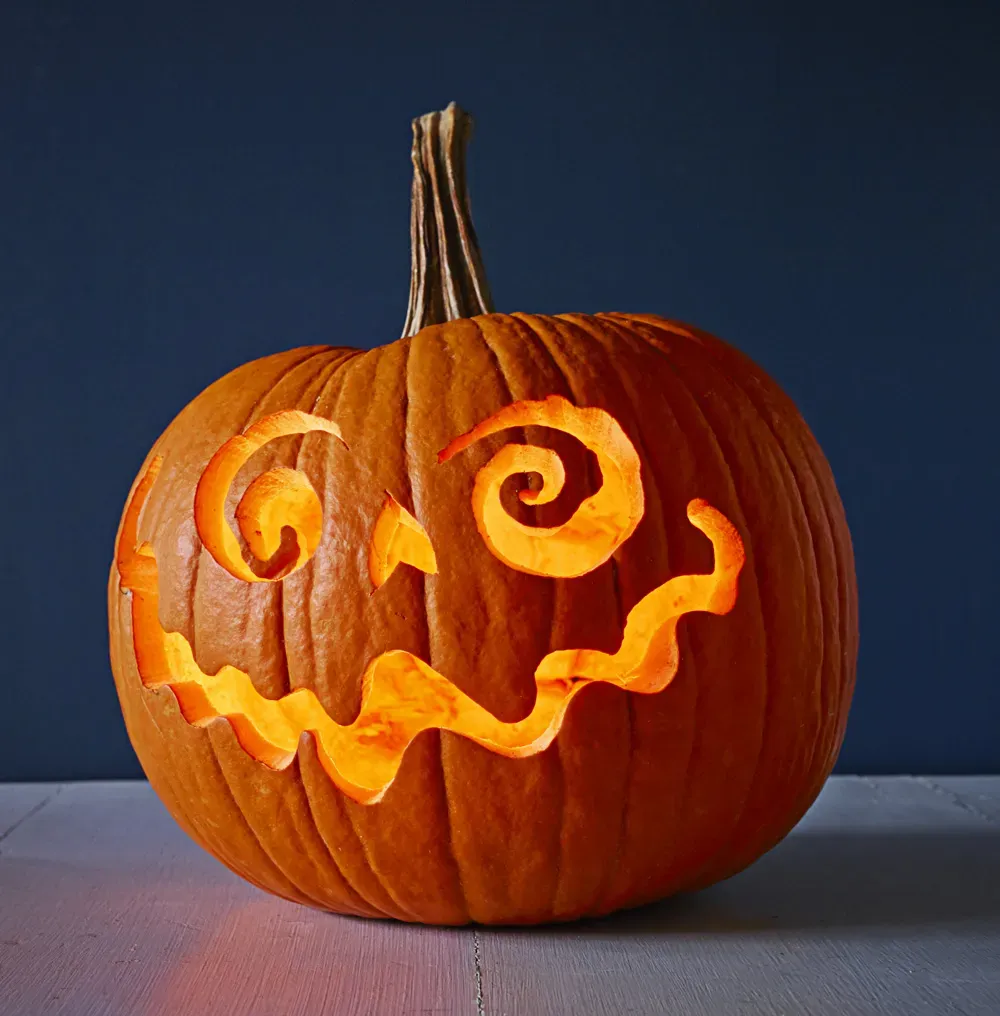
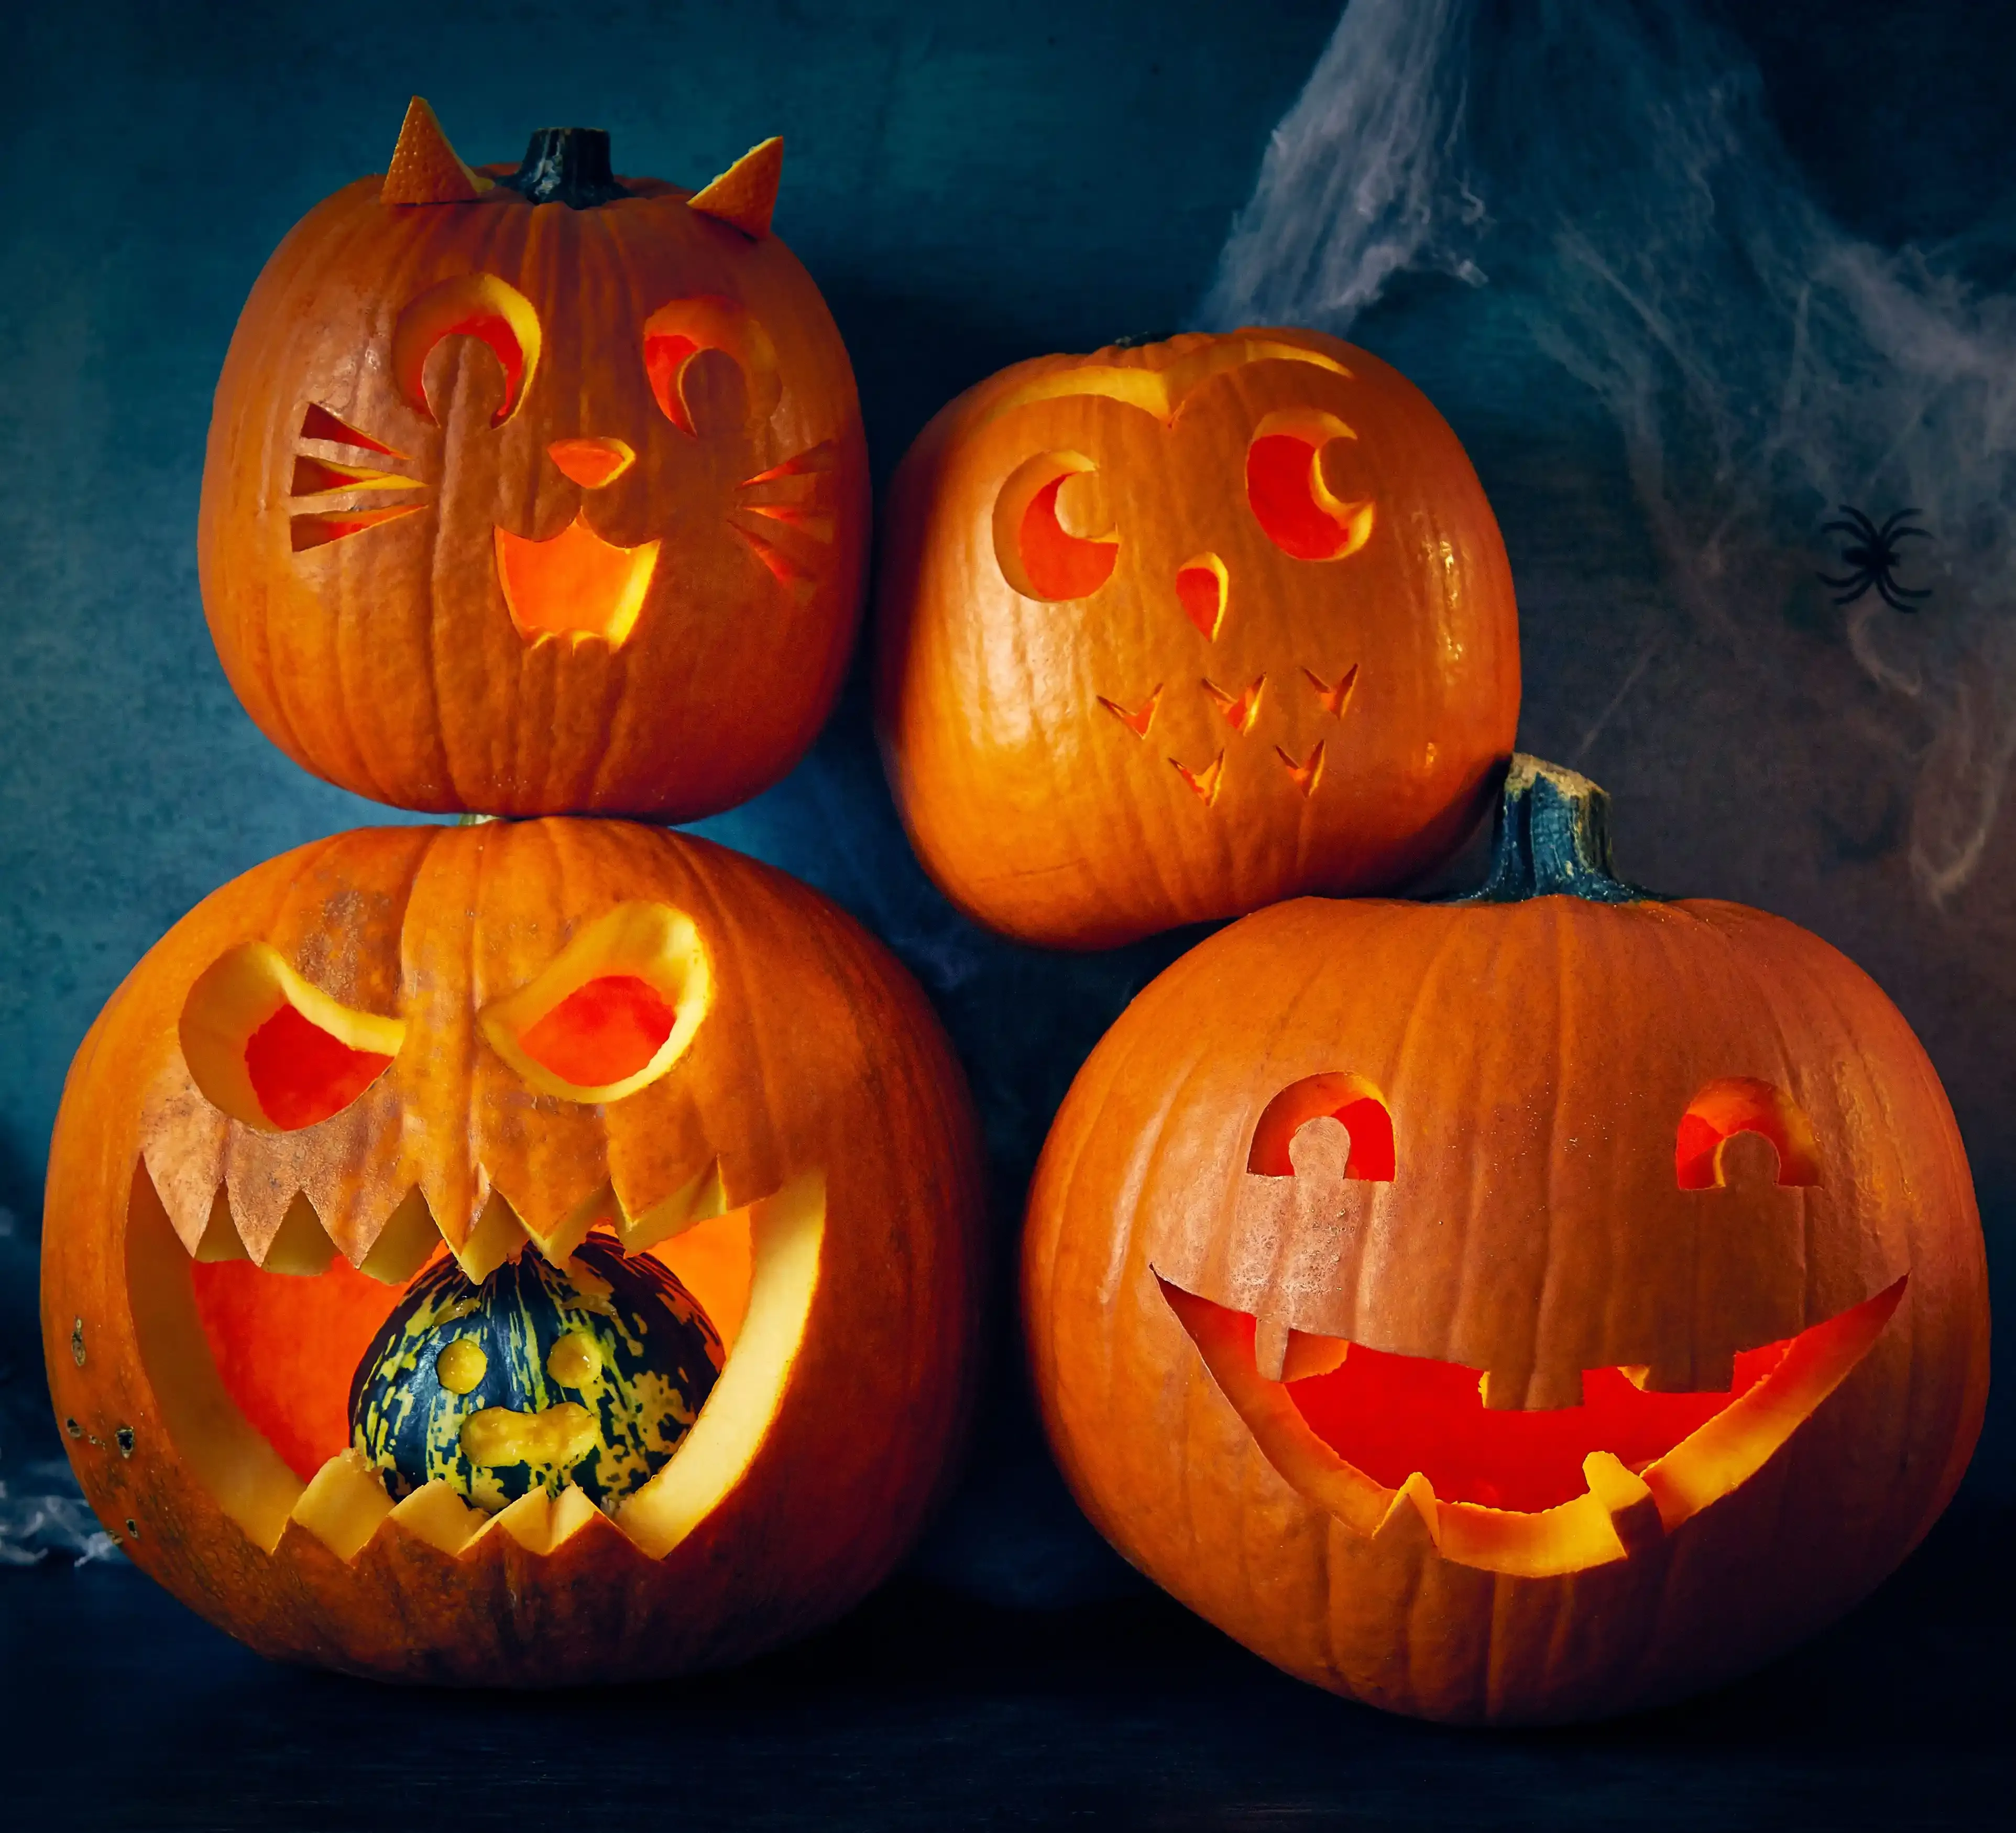
Alright, let's get to the fun part: the actual designs. You've prepped your pumpkin, you've got your simple tools, and you're ready to make some Halloween magic happen without needing an art degree. Forget trying to recreate the Mona Lisa on an uneven surface. We're focusing on easy halloween pumpkin carving ideas that give you maximum impact for minimal effort. Think bold shapes, simple outlines, and designs that look great even if your lines aren't perfectly straight. A classic ghost shape, a simple cat silhouette, or even just varying sizes of circles for eyes and mouths can be incredibly effective. The trick is to choose designs with clear, defined areas to cut away, avoiding intricate details that will just frustrate you.
Spooky Silhouettes and Simple Shapes
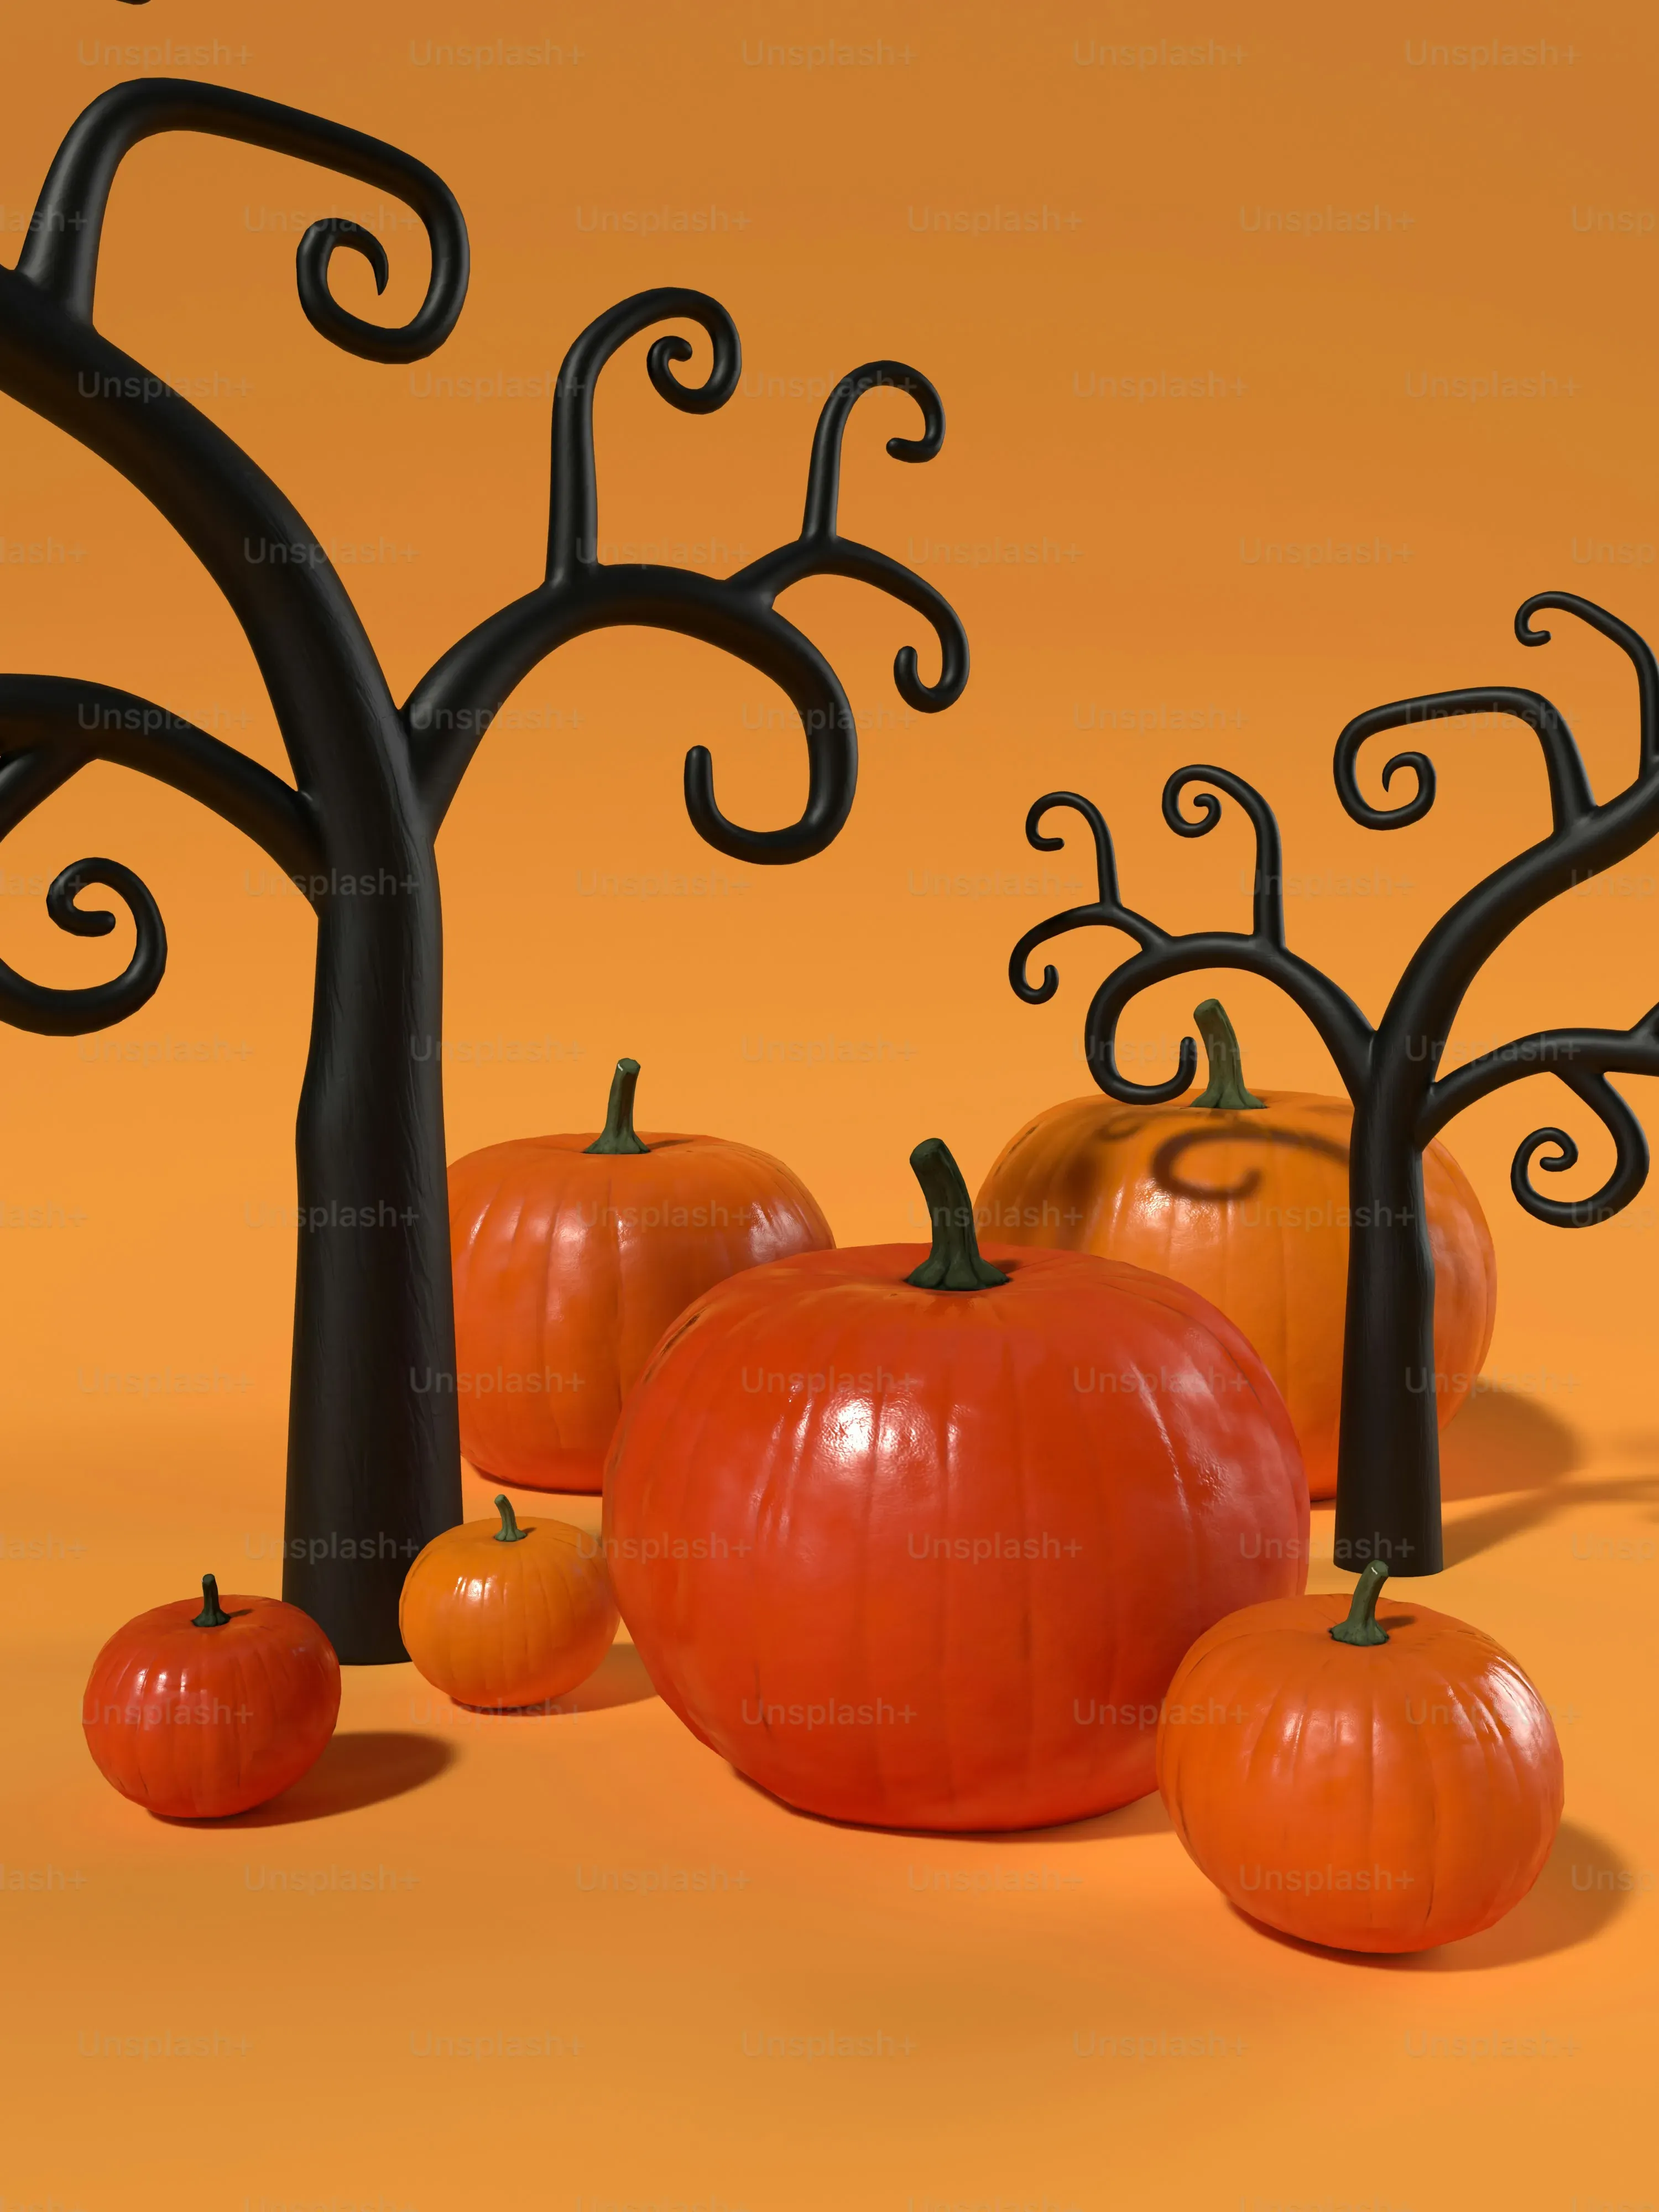
One of the easiest ways to get a cool look is by focusing on negative space and simple silhouettes. Instead of carving out features, you carve out the *area around* a shape. Think bats flying across the moon (carve the bats), or a spooky tree branch against the night sky (carve the branch). These designs are forgiving because minor wobbles in your cuts often just add to the spooky, organic feel. Another go-to for easy halloween pumpkin carving ideas? Geometric shapes. Triangles for eyes and jagged lines for a mouth create a classic scary face in minutes. Circles of different sizes can make surprised or goofy expressions. Don't overthink it; sometimes the simplest shapes are the most striking when they're glowing in the dark.
- Classic ghost outline
- Simple cat silhouette
- Varying sizes of circular eyes and mouths
- Bat shapes carved out
- Spooky tree branch design
- Geometric triangle face
Making Your Easy Carved Pumpkin Last Through Halloween Night

Making Your Easy Carved Pumpkin Last Through Halloween Night
The Sad Reality: Your Masterpiece is Perishable
You put in the (minimal, because you used easy halloween pumpkin carving ideas) effort, you got your glowing gourd looking just right, and now you want it to last more than a single soggy evening. Here's the bad news: once you slice into a pumpkin, you've basically given it an expiration date. The air hits the flesh, bacteria get interested, and gravity starts doing its thing, pulling everything downwards into a sad, shriveled mess. A carved pumpkin, left to its own devices on a porch in varying weather, is usually only good for maybe three to five days before it looks... well, like something that belongs in a compost bin, not on display. If you carved it early in the week, you might be looking at a deflated disaster by Halloween night. So, how do you fight the inevitable decay?
Simple Tricks to Slow the Sag
Think of your carved pumpkin like a cut fruit or vegetable – it needs a little help to stay fresh. One of the easiest things you can do is keep it cool when it's not on display. If you have space in your fridge or a cool garage, tucking it away during the day can significantly slow down the decomposition process. Another common trick is to apply a thin layer of petroleum jelly (like Vaseline) to all the cut edges. This creates a barrier that locks in moisture and keeps the pumpkin from drying out and shrinking, which is a major cause of sad, collapsing faces. Some people swear by spraying the inside and outside with a bleach solution (about one tablespoon of bleach per quart of water) to kill mold and bacteria, letting it dry completely before lighting. Just be careful with the bleach.
- Store in a cool place (fridge, garage) when not displayed.
- Apply petroleum jelly to all cut surfaces.
- Consider a diluted bleach spray to inhibit mold growth.
- Mist daily with water to keep it hydrated.
Placement Matters for Longevity
Where you put your easy halloween pumpkin carving ideas on display makes a difference too. Direct sunlight is the enemy. It heats the pumpkin, encouraging it to rot faster and dry out. Rain and excessive moisture can also speed up decay and mold growth. Try to place your pumpkin in a sheltered spot, perhaps under a porch overhang or in a covered area. If it's going to be a particularly warm or wet couple of days leading up to Halloween, bringing it inside when you're not expecting trick-or-treaters is a smart move. You want your spooky creation to look its best when it counts, not be a moldy, collapsed mess before the first kid shows up.
Putting a Lid on Your Easy Carving Success
So there you have it. Proof that getting a decent-looking jack-o'-lantern on your porch doesn't require an art degree or industrial power tools. You grabbed the right pumpkin, didn't get lost in a sea of specialty gadgets you'd never use again, tried a few straightforward cuts, and hopefully found an idea or two that didn't make you want to give up before you started. Your porch is now slightly more festive, the neighbors might even nod approvingly, and you managed it all without significant stress or carving-related injuries. The pumpkin will eventually collapse into a sad, moldy mess, because that's what organic matter does, but for a few nights, you nailed it. Easy enough, right?