Table of Contents
Halloween is creeping up, and suddenly you're staring down a big, orange gourd, carving knife in hand, feeling less like a creative genius and more like you're about to make a mess. Maybe you've tried before and ended up with something that looked less like a spooky face and more like a sad, lopsided potato. Don't sweat it. Finding genuinely easy good pumpkin carving ideas can feel like searching for candy corn that actually tastes good – nearly impossible. But trust me, it doesn't have to be a frustrating ordeal.
Picking the Perfect Pumpkin and Your Carving Kit

Picking the Perfect Pumpkin and Your Carving Kit
Alright, let's talk pumpkins. You're standing in the patch, surrounded by orange spheres, and they all look... well, orange. But picking the right one is actually step one to not wanting to throw your carving tools across the yard later. Look for a pumpkin that feels firm all around – no soft spots, those are just asking for trouble (and rot). A smooth surface is your friend, especially if you're planning any kind of detailed design; those gnarly, bumpy ones are cool for decoration, but a nightmare to carve. And don't just grab the biggest one because it seems impressive; medium to large pumpkins are often easier to handle and give you more surface area without being cumbersome. Check the stem too – a solid, attached stem usually means a healthier pumpkin that might last a bit longer.
So, you've got your perfect gourd. Now, about the tools. You can try hacking at it with a dull kitchen knife, but unless you enjoy a struggle and potential trips to the emergency room, invest in a basic pumpkin carving kit. These kits usually come with small serrated saws that are surprisingly effective for cutting through thick pumpkin walls, scoopers for getting rid of the guts (the worst part, honestly), and sometimes little detail tools. Don't underestimate the power of an ice cream scoop for cleaning out the inside – it's way faster than those flimsy plastic ones in the kits. An apple corer can be surprisingly handy for making perfect circles for eyes or polka dots if that's your jam.
Think about your tool kit like this:
- A sturdy scooper (ice cream scoop recommended)
- A small serrated saw (from a kit or dedicated pumpkin tool)
- A poker or drill for starting holes
- Detail tools for scraping or fine lines
- Maybe an apple corer for circles
Mastering Basic Techniques for Easy Good Pumpkin Carving Ideas
Mastering Basic Techniques for Easy Good Pumpkin Carving Ideas
you've got your pumpkin and your tools. Now for the actual carving part. This is where mastering basic techniques for easy good pumpkin carving ideas comes in. First rule: cut from the bottom, not the top. Seriously. Cutting a hole in the bottom makes it way easier to scoop out the guts and slide the pumpkin over a light source later. Plus, the stem stays intact, which looks better. When you're cutting, use a gentle sawing motion with your small serrated tool, don't try to push hard. Let the tool do the work. And always, always carve away from yourself. Seems obvious, right? You'd be surprised. Think of it like steering a tiny boat through thick fog – slow, steady, and with purpose.
Simple & Spooky: More Easy Good Pumpkin Carving Ideas

Simple & Spooky: More Easy Good Pumpkin Carving Ideas
Classic Faces and Simple Shapes
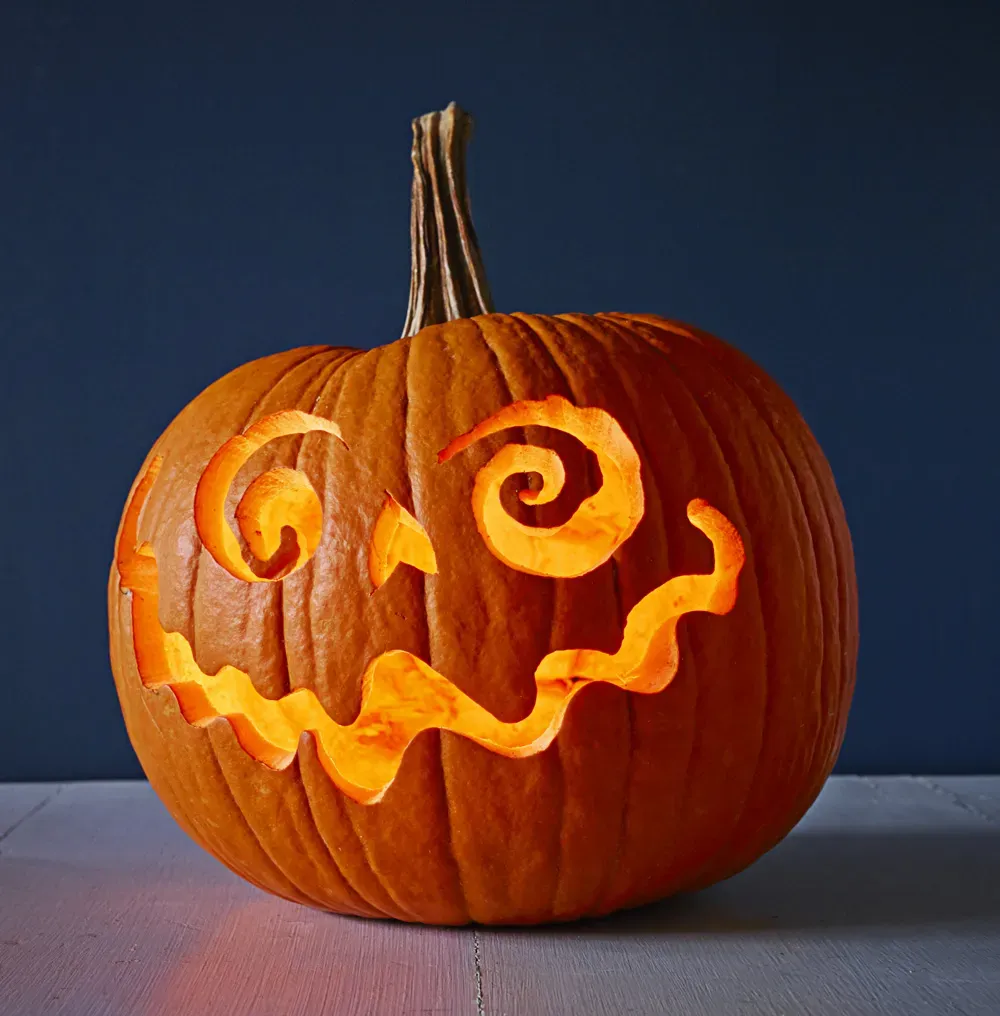
so you've got the basics down. Now, let's actually carve something that looks like it belongs on a porch and not in a horror movie blooper reel. When it comes to easy good pumpkin carving ideas, you can't go wrong with the classics. Think simple triangles for eyes and a jagged smile. It's iconic for a reason – it's easy and instantly recognizable as a jack-o'-lantern. Don't feel pressured to make them perfectly symmetrical. A slightly lopsided grin can actually be creepier and has more character anyway.
Beyond the traditional face, consider simple shapes. You can carve stars, moons, or even just different sized circles scattered across the pumpkin. Using cookie cutters can help with this – just press them firmly into the pumpkin skin to make an outline, then carve along the lines. It takes the guesswork out of drawing the design freehand. A simple silhouette of a cat or a ghost is also surprisingly effective and doesn't require intricate detail work. These simple designs are the bread and butter of easy good pumpkin carving ideas.
Getting a Little More Creative, Simply
Ready to step it up just a notch, but still keep it firmly in the "easy" category? Let's look at some easy good pumpkin carving ideas that add a little flair without adding a lot of frustration. Instead of carving all the way through, try scraping off just the top layer of skin. This technique, called relief carving, creates a cool effect where the light shines through the thinned-out areas. You can scrape designs like spiderwebs, spooky trees, or even just patterns. It's much less prone to breaking than cutting all the way through.
Another simple trick is using negative space. Instead of carving out the shape itself, carve out the area around it. For example, if you want a spider, carve away the background around a drawn spider shape. This makes the spider stand out and often looks more impressive than carving the shape directly. Combine simple shapes with scraping or negative space, and you've got a range of easy good pumpkin carving ideas that look way more complicated than they are.
Here are a few straightforward ideas to get you started:
- Classic Triangle Eyes and Jagged Mouth
- Multiple Sized Circles (use an apple corer!)
- Simple Star or Moon Cutouts
- Spiderweb Scraped Design
- Silhouette of a Bat or Ghost
- "Spooky" spelled out with simple block letters
Lighting Up Your Creation & Keeping it Fresh

Lighting Up Your Creation & Keeping it Fresh
you've done the hard part – you've carved your masterpiece, one of those genuinely easy good pumpkin carving ideas you actually pulled off. Now, how do you make it glow and, perhaps more importantly, how do you keep it from turning into a moldy, sad mess on your porch before Halloween night? Forget traditional candles unless you enjoy fire hazards and melted pumpkin wax everywhere. Battery-operated LED tea lights are the unsung heroes here. They're safe, they last a long time, and they give off a surprisingly decent glow that highlights your hard work. Pop a few in for a brighter effect. As for keeping it fresh, carved pumpkins are basically ticking time bombs of decay. They typically last maybe three to five days outside before things get questionable. To buy yourself a little extra time, try rubbing a thin layer of petroleum jelly or vegetable oil on all the cut edges. This helps seal in moisture and slows down the drying and shriveling process. When you're not showing it off, sticking it in the fridge (if you have room, good luck) or a cool garage can also extend its life.
Wrapping Up Your Pumpkin Project
So there you have it. Turning a plain pumpkin into something halfway decent doesn't require advanced tools or artistic talent you don't possess. The goal here wasn't to create a museum piece, but to give you some genuinely easy good pumpkin carving ideas that look the part without making you want to throw the whole thing in the trash. You've got a few simple designs, some basic tool advice, and tips to keep the thing from collapsing into a moldy heap immediately. Now go forth, make some controlled cuts, and perhaps avoid losing a digit. If it doesn't turn out exactly like the picture in your head, join the club. It's a pumpkin. It's temporary. And hey, at least you tried, right?