Table of Contents
Let's be honest, staring at a big, round pumpkin with a sharp knife can feel less like festive fun and more like a potential trip to the emergency room. You see all those elaborate carvings online, the ones that look like miniature sculptures, and think, "Yeah, right. Not happening." The dream of a cool jack-o'-lantern often crashes headfirst into the reality of slippery rinds and awkward angles. But what if you could skip the frustration and still end up with something impressive? That's where easy creative pumpkin carving ideas come in. Forget the intricate, hours-long projects that require the steady hand of a surgeon. This article is your guide to achieving genuinely cool results without needing advanced tools or years of practice. We'll walk through simple techniques, smart shortcuts, and clever designs that prove you don't have to be an artist to make a statement with your Halloween decor. Get ready to transform that plain squash into something that will make your neighbors pause – and maybe even ask how you did it.
Ditching the Guts: Why Easy Creative Pumpkin Carving Ideas Rule
Ditching the Guts: Why Easy Creative Pumpkin Carving Ideas Rule
The Sticky, Seedy Struggle is Real
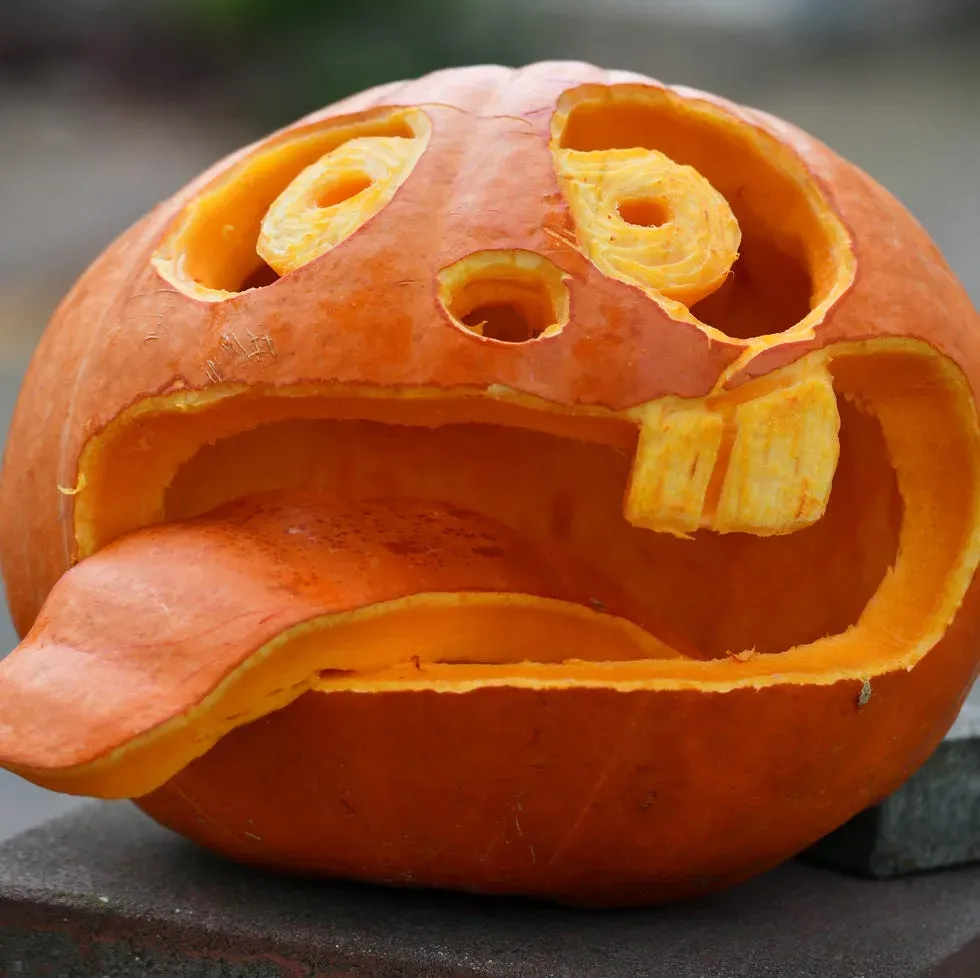
let's talk carving. You buy the pumpkin, you get the cheap little saw tool, and then you dive in. First, the lid. That takes more muscle than it should. Then, the scooping. Pumpkin guts. Everywhere. Strings, seeds, that weird slimy film. It gets under your fingernails, on your clothes, somehow even on the ceiling. It's messy, it's cold, and frankly, it's kind of gross. For what? Often, after all that internal excavation, you're left with a design that looks… well, less impressive than you hoped. The fine details you envisioned turn into blobby approximations because the pumpkin wall is thicker than you thought, or the cheap tool snapped. This is the reality check that makes focusing on easy creative pumpkin carving ideas so appealing.
More Fun, Less Foul Play
Choosing easy creative pumpkin carving ideas isn't about being lazy; it's about being smart. It's about maximizing the fun part – the decorating and the glowing finished product – and minimizing the soul-crushing mess and potential for failure. Think about it. Less time wrestling with stubborn rinds means more time actually creating something cool. Easier techniques mean less risk of carving your finger instead of the pumpkin. You can involve more people, especially kids, without the process devolving into a sticky, frustrating ordeal. Plus, honestly, some of the most effective and visually striking pumpkin designs are surprisingly simple. You don't need to recreate the Sistine Chapel on a gourd to get gasps of admiration.
So, why bother with the elaborate, gut-filled nightmares of traditional carving?
- You skip the worst of the mess.
- It takes way less time.
- It's less frustrating, especially for beginners.
- You can still create awesome, eye-catching designs.
- It's safer for younger helpers.
Seriously Simple: Etching and Basic Shapes for Easy Creative Pumpkin Carving
Seriously Simple: Etching and Basic Shapes for Easy Creative Pumpkin Carving
Just Scratch the Surface: The Magic of Etching
You don't have to cut all the way through the pumpkin wall to make a cool design. Etching is your secret weapon for easy creative pumpkin carving ideas. Think of it like scratching away the top layer of skin to reveal the lighter flesh underneath. It creates a cool, two-tone effect, and when lit from the inside, the etched areas glow softly. This is fantastic for intricate patterns, text, or detailed images that would be a nightmare to cut out completely. All you need is a simple linoleum cutter, a wood carving tool, or even just a sturdy metal spoon or screwdriver. You control the depth – a light scrape for a subtle glow, or a deeper gouge for more defined lines. It's way less messy than full cut-outs, and the pumpkin stays structurally sound.
Basic Shapes Are Your Best Friends
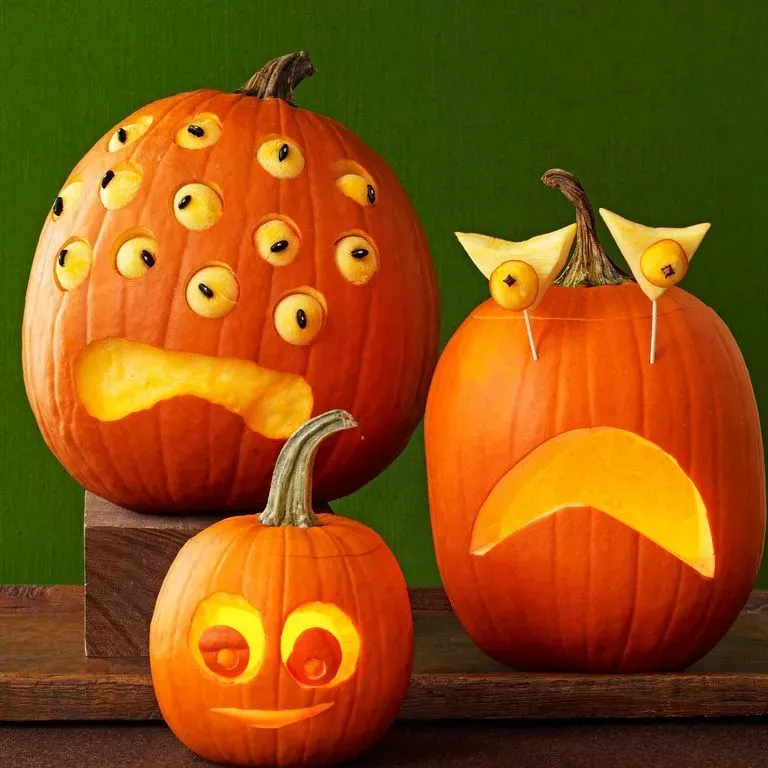
Forget trying to freehand a perfect spooky face. Basic shapes are the building blocks for surprisingly effective easy creative pumpkin carving ideas. Circles, triangles, squares – you name it. You can use cookie cutters (with a little mallet persuasion), drill bits of various sizes, or even just simple carving tools to make clean, consistent shapes. A series of different-sized circles can become polka dots, bubbles, or abstract patterns. Triangles make sharp, angular eyes or teeth. Combine a few basic shapes, maybe add some etching for details, and you've got a design that looks deliberate and clean, not like you wrestled a wild animal. This approach is particularly good for beginners or carving with kids.
- Cookie cutters (metal ones work best)
- Drill bits (various sizes)
- Linoleum cutters
- Metal spoons or scrapers
- Simple carving tools (like the ones in cheap kits, but used for etching/basic cuts)
- Templates or stencils (even just drawing with a marker)
Combining Techniques for Simple Impact
The real trick to easy creative pumpkin carving ideas is often combining these simple techniques. Etch a background pattern, then cut out a few basic shapes on top. Use a drill bit to make a series of glowing dots around an etched design. You don't need to go overboard. A simple etched spiderweb with a couple of cut-out circles for eyes is way more effective than a lopsided, fully-carved monster face that looks like it's melting. Think about contrast: etched areas glow softly, cut-out areas shine brightly. Play with that. It adds depth and visual interest without adding complication. Plus, it's faster. You can knock out a cool-looking pumpkin in maybe 30-45 minutes, start to finish, etching and simple cuts included.
Level Up (Without the Headache): Stencils and Combos for More Creative Carving
Level Up (Without the Headache): Stencils and Combos for More Creative Carving
Stencils: Your Shortcut to Awesome Designs
so you've mastered the basic etching and simple shapes. Ready to make something that looks a little more complex without actually *doing* complex work? Stencils are your best friend for easy creative pumpkin carving ideas. Think of a stencil as a cheat sheet. You tape it onto your pumpkin, and it gives you the exact lines to follow, whether you're etching or cutting. This takes all the guesswork out of getting proportions right or drawing symmetrical designs. Suddenly, that intricate spiderweb or that detailed bat silhouette becomes totally manageable. You simply trace the lines with your tool, and boom – instant design precision without needing an art degree. It’s like paint-by-numbers, but for pumpkins.
Finding or Making Your Perfect Stencil
Finding stencils is easy. The internet is overflowing with free printable pumpkin carving patterns, from classic spooky faces to pop culture icons and intricate seasonal scenes. A quick search for "free pumpkin stencils" will give you more options than you know what to do with. You can also buy stencil kits, often found near the pumpkins in grocery stores or craft shops around Halloween. Don't like what's out there? Make your own! Just draw a design on a piece of paper or thin cardboard, cut it out, and you have a custom stencil. Remember to keep the lines simple if you're planning to cut; more complex shapes are better suited for etching.
- Online printable stencils (tons of free sites)
- Pumpkin carving stencil kits (seasonal aisle)
- Craft stores (look for general stencils or seasonal ones)
- Making your own from paper or thin cardboard
- Using cookie cutters as impromptu stencils
Mixing and Matching for Unique Results
The real magic happens when you start combining stencil work with the simple techniques we talked about earlier. Use a stencil for a central image, then add etched patterns around it freehand. Stencil a spooky word like "BOO," then use drill bits to create glowing dots or stars around the letters. Maybe you stencil a ghost outline and then etch wavy lines inside it for texture. Combining a precise stenciled element with a more organic, etched background or scattered simple shapes gives your easy creative pumpkin carving ideas a layered, professional look without adding significant difficulty. It’s about smart design choices, not just complicated cuts.
Quick Wins: Tips and Tricks for Your Easy Carving Projects
Quick Wins: Tips and Tricks for Your Easy Carving Projects
Cleanliness is Next to Carving Success
Alright, you've got your pumpkin, maybe a stencil, and your trusty etching tool or drill bit. Before you even think about making a mark, give that pumpkin a good wipe down. They come from fields, you know? They're dirty. A clean surface means your stencil will stick better, your lines will be clearer, and you won't be grinding dirt into your design. Also, if you are doing any cut-throughs, even simple ones, consider scraping the inside wall just in that specific area. You don't need to scoop the whole thing out, remember? Just thin the wall where you plan to make cuts. It makes pushing the tool through way easier and less likely to result in a jagged mess. A little bit of targeted prep goes a long way toward making easy creative pumpkin carving ideas actually *easy*.
Location, Location, Illumination
You can have the coolest etched or simply carved design, but if you light it poorly, it's going to look... sad. For easy creative pumpkin carving ideas that rely on etching, you want a light source that provides even, soft light inside. Traditional candles are classic, but they can create hot spots and uneven glow, plus they're a fire hazard. Small LED candles or battery-operated fairy lights are fantastic. They distribute light more evenly, making etched areas pop with a consistent glow and are much safer. Think about where the pumpkin will sit too. Will it be seen from the front only? Then focus your best work there. If it's sitting on a porch step, ensure the light source is strong enough to be seen from a distance. The light is what brings these creations to life.
- Clean the pumpkin surface thoroughly.
- Thin the wall *only* where you plan to cut through.
- Use LED lights or fairy lights for a safer, more even glow.
- Consider where the pumpkin will be displayed when choosing your design and light source.
- Test your light source inside the pumpkin before you finish to see how the design looks.
Keep it Fresh (or at Least Less Gross)
Nobody wants a floppy, moldy pumpkin collapsing on their porch before Halloween even arrives. Since you're likely not gutting the whole thing with easy creative pumpkin carving ideas, your pumpkin might last a bit longer anyway. However, carved or etched areas dry out and shrivel. A simple trick is to rub a thin layer of petroleum jelly (like Vaseline) on all the cut or etched surfaces. This helps seal in moisture. You can also spritz the pumpkin daily with a water bottle, especially on warm days. If you see a little mold starting, wipe it down with a cloth dampened with a little bleach water (just a capful in a cup of water). These steps won't make your pumpkin live forever, but they'll definitely extend its spooky lifespan past the critical date.
Wrapping Up Your Easy Carving Adventures
So there you have it. Proof that you don't need to be Michelangelo with a paring knife to create a pumpkin that stands out. We've covered how ditching the traditional hack-and-slash method for simpler etching and basic shapes can save you time and frustration. We've looked at how stencils aren't cheating, they're smart. And we've armed you with a few quick tricks to make the whole process less messy and more effective. The goal here wasn't to turn you into a professional pumpkin sculptor overnight, but to show you that genuinely cool, easy creative pumpkin carving ideas are well within reach. Now go forth, grab a pumpkin, and maybe skip the hospital visit this year.