Table of Contents
Tired of the same old jack-o'-lantern grin? Halloween's knocking, and it's time to ditch the basic triangle eyes and level up your pumpkin game! This year, we're diving headfirst into the world of easy cool pumpkin carving designs that'll make your porch the envy of the neighborhood. Whether you're a carving newbie or a seasoned pro looking for fresh inspiration, we've got you covered.
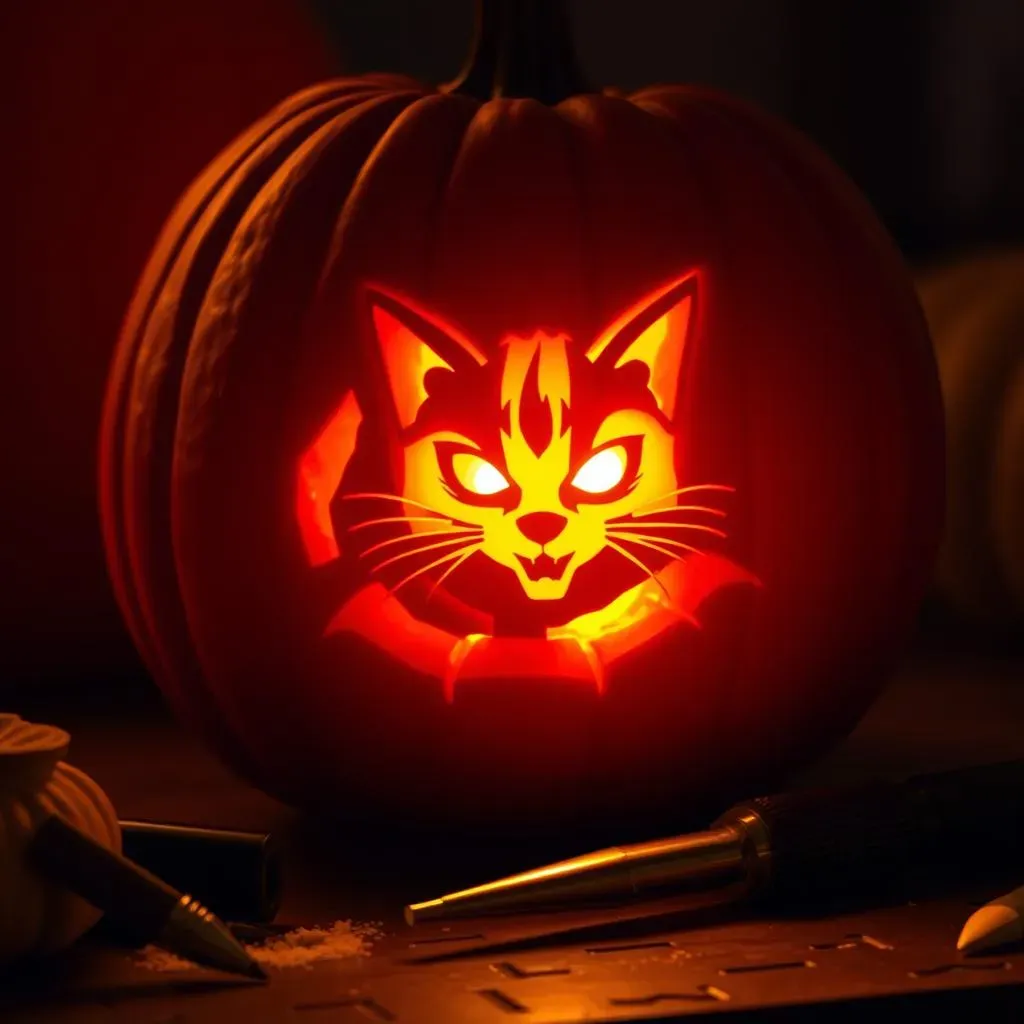
Simple Stencils for Stunning Pumpkin Carvings
Simple Stencils for Stunning Pumpkin Carvings
let's kick things off with simple stencils for stunning pumpkin carvings. This is where the magic begins for anyone, regardless of their artistic skills. Stencils are your secret weapon to achieve intricate designs without the stress of freehand carving. You can find tons of free stencil templates online – think classic Halloween themes like ghosts, bats, and spooky cats, or even branch out into pop culture icons or geometric patterns. Print them out, tape them to your pumpkin, and trace away! It's like grown-up coloring, but with a way cooler (and spookier) result.
Once you've traced your stencil, it's time to grab your carving tools. A basic pumpkin carving kit from any grocery store will do, but I personally prefer using a serrated knife for cleaner cuts. Start by gently scoring along the stencil lines with a poking tool. This will help guide your knife and prevent jagged edges. Remember to take your time and work in small sections. Think of it like sculpting – you can always remove more, but you can't put it back! And don't be afraid to get creative with your stencil. You can modify it, add details, or even combine multiple stencils to create your own unique design. The possibilities are endless!
Pro-tip: Before you start carving, make sure your pumpkin is clean and dry. This will make it easier to trace and carve. Also, consider using a battery-operated tea light or LED candle instead of a real flame. It's safer, and your pumpkin will last longer!
Cool Pumpkin Carving Designs with Power Tools

Cool Pumpkin Carving Designs with Power Tools
Unleashing the Power: Which Tool to Choose?
Alright, let's talk power tools! This is where things get seriously fun. Forget those flimsy little saws – we're bringing out the big guns (well, not *too* big). A rotary tool like a Dremel is your best friend here. It gives you incredible control for intricate details and smooth lines. Think of it as a tiny, high-speed router for pumpkins. You can also use a jigsaw for larger cutouts, but be careful – it can be a bit unwieldy. And for the truly adventurous, a drill with various bits can create cool textures and patterns.
Before you go all chainsaw-massacre on your pumpkin, safety first! Always wear safety glasses to protect your eyes from flying pumpkin debris. Work in a well-lit area and take frequent breaks to avoid fatigue. And most importantly, practice on a scrap pumpkin before tackling your masterpiece. Get a feel for how the tool handles and how much pressure to apply. Trust me, a little practice goes a long way in preventing pumpkin-carving disasters.
Tool | Best For | Skill Level |
|---|---|---|
Rotary Tool (Dremel) | Intricate details, smooth lines, carving small areas | Intermediate to Advanced |
Jigsaw | Large cutouts, removing large sections of pumpkin | Intermediate |
Drill | Creating textures, patterns, and unique lighting effects | Beginner to Intermediate |
From Basic to Bold: Power Tool Design Ideas
Now for the fun part: design ideas! With power tools, you're not limited to basic shapes. You can create incredibly detailed portraits, landscapes, or even 3D sculptures. Imagine carving a realistic skull with intricate bone structure, or a spooky forest scene with gnarled trees and creepy creatures. The possibilities are truly endless.
One cool technique is to use different bits on your rotary tool to create varying depths and textures. This adds dimension and realism to your carvings. For example, you could use a small, pointed bit to create fine lines and wrinkles, and a larger, rounded bit to carve out larger areas. Another fun idea is to drill holes of different sizes to create a starry night effect. When you light up your pumpkin, the light will shine through the holes, creating a mesmerizing display.
NoCarve Pumpkin Decorating Ideas: Get Creative!

NoCarve Pumpkin Decorating Ideas: Get Creative!
Alright, carving isn't your thing? No problem! Let's unleash your inner artist with no-carve pumpkin decorating ideas. This is where you can really let your imagination run wild, without the mess and fuss of carving. Think paint, glitter, googly eyes, fabric scraps, and anything else you can get your hands on. The possibilities are truly endless, and it's a great way to get the whole family involved in the Halloween fun. Plus, no-carve pumpkins last way longer, so you can enjoy your creations for weeks!
One super simple idea is to paint your pumpkin with acrylic paints. You can go for a classic Halloween look with black and orange, or get creative with more modern color palettes. Try painting geometric patterns, floral designs, or even abstract art. Another fun option is to use stencils (yes, stencils again!) to create intricate designs with paint. For a touch of sparkle, add glitter while the paint is still wet. You can also use adhesive gems, sequins, or even buttons to create dazzling embellishments. And don't forget the googly eyes! They're a classic for a reason – they instantly add a touch of whimsy and personality to your pumpkin.
Feeling crafty? Wrap your pumpkin in fabric scraps, lace, or ribbon. You can use hot glue to secure the fabric in place, or simply tie it around the pumpkin for a more rustic look. Another fun idea is to create a pumpkin "mummy" by wrapping it in gauze and adding googly eyes. For a more sophisticated look, try decoupaging your pumpkin with patterned paper or vintage book pages. You can also use Mod Podge to glue on dried flowers, leaves, or other natural elements. With no-carve decorating, the only limit is your imagination!
- Paint: Acrylics, spray paint, chalkboard paint
- Embellishments: Glitter, googly eyes, sequins, gems, buttons
- Fabric: Lace, ribbon, gauze, burlap
- Natural Elements: Dried flowers, leaves, twigs
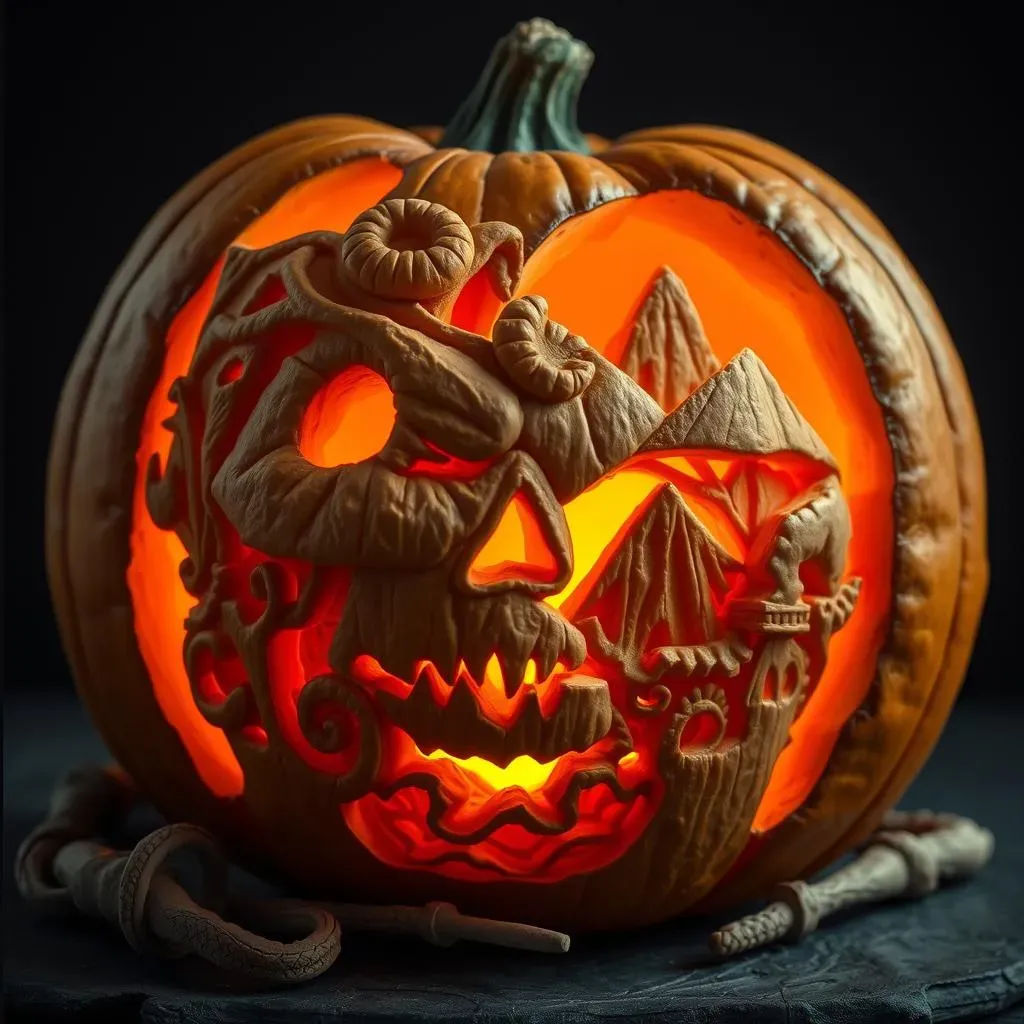
Elevate Your Halloween: Advanced Pumpkin Carving Techniques & Designs
Elevate Your Halloween: Advanced Pumpkin Carving Techniques & Designs
Ready to take your pumpkin carving to the next level? It's time to elevate your Halloween game with advanced pumpkin carving techniques & designs that will truly wow your neighbors. We're talking about moving beyond basic shapes and diving into the world of 3D carving, sculpting, and intricate detailing. This isn't your grandma's pumpkin carving – this is pumpkin artistry! Now, this does require some patience, a steady hand, and maybe a few practice pumpkins, but the results are absolutely worth it.
One of the most impressive advanced techniques is 3D carving, where you create the illusion of depth and dimension by carving different layers of the pumpkin. This involves carefully planning your design and using various carving tools to remove specific sections of the pumpkin's surface. You can create stunning effects like protruding faces, layered landscapes, or even intricate geometric patterns. Another cool technique is sculpting, where you use tools like clay sculpting loops and rasps to shape the pumpkin into a three-dimensional form. This allows you to create incredibly realistic and expressive pumpkins, like a lifelike portrait or a spooky creature emerging from the pumpkin's surface. Remember, practice makes perfect, so don't be afraid to experiment and push your creative boundaries.
To truly master advanced pumpkin carving, you'll need to invest in some specialized tools. A good set of clay sculpting loops is essential for shaping and refining your designs. Rasps and files are great for smoothing out rough edges and creating subtle textures. And don't forget about lighting! Experiment with different types of lights, like LED spotlights, colored bulbs, or even strobe lights, to create dramatic effects. You can also use internal projectors to project images or patterns onto the inside of your pumpkin. With the right tools and techniques, you can transform your pumpkin into a true work of art that will leave everyone in awe.
- Clay Sculpting Loops: For shaping and refining designs.
- Rasps and Files: For smoothing edges and creating textures.
- LED Spotlights: To highlight specific areas of your carving.
- Internal Projectors: To project images or patterns.
Happy Haunting with Your Cool Pumpkin Creation!
So, there you have it – a treasure trove of easy cool pumpkin carving designs to ignite your Halloween spirit. Whether you opted for a classic stencil, embraced the power tool revolution, or unleashed your inner artist with no-carve techniques, the most important thing is to have fun and let your creativity shine. Remember, a perfectly imperfect pumpkin is still a pumpkin masterpiece. Happy haunting, and may your porch be the spookiest and most stylish on the block!