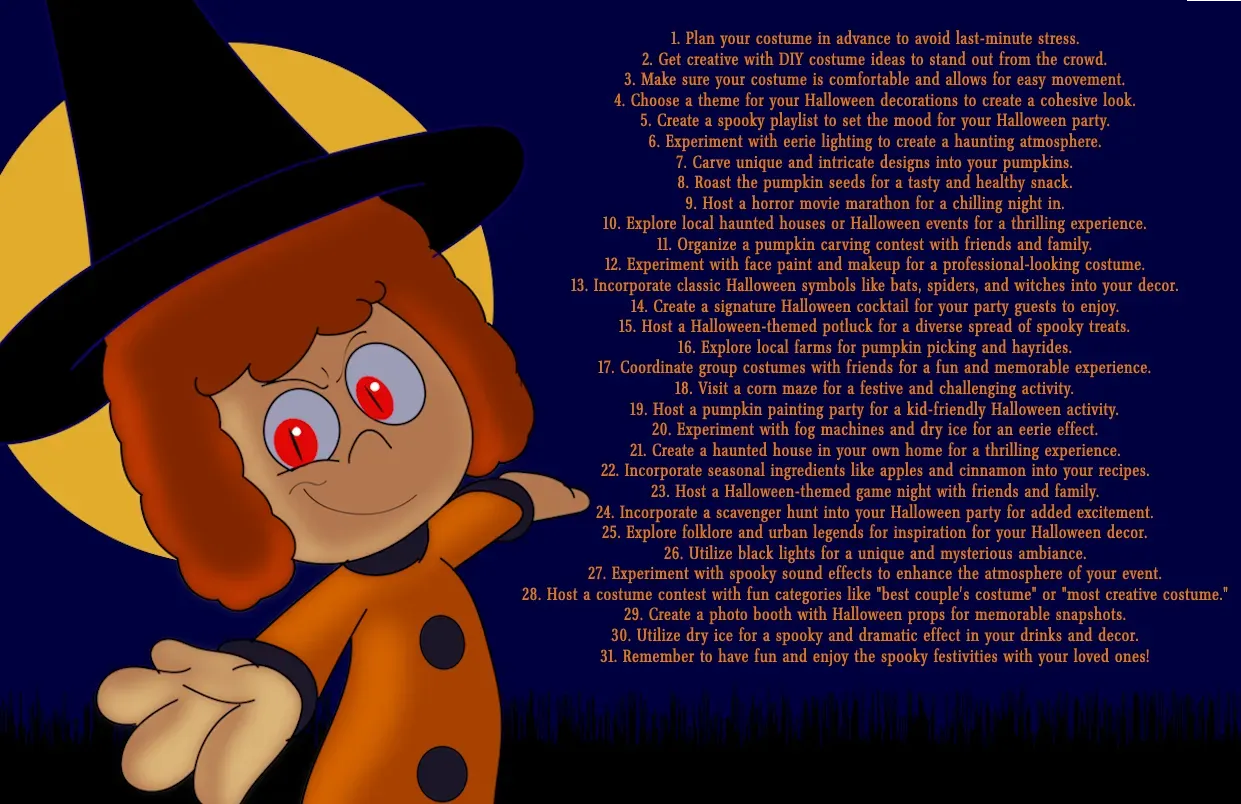
Table of Contents
Alright, let's be honest. The annual Halloween pumpkin carving tradition can sometimes feel less like festive fun and more like a messy, frustrating battle ending with a lopsided jack-o'-lantern that looks vaguely disappointed. You eye those intricate designs online and think, "Nope. Not happening." But what if you could actually create something cool without needing an art degree or specialized tools? What if there were genuinely easy carving pumpkin ideas that didn't involve hours scraping out slimy innards or attempting delicate cuts that immediately crumble? We're talking about achievable designs here. This guide cuts through the intimidation factor. We'll help you pick the right pumpkin that won't fight back, grab the few tools you actually need, and then dive into a collection of easy carving pumpkin ideas that look good but require minimal effort. We'll even toss in some pointers on keeping your creation from collapsing into a sad heap by November 1st. Stick with us, and maybe, just maybe, this year's pumpkin won't look like it lost a fight with a badger.
Picking the Perfect Pumpkin and Tools

Picking the Perfect Pumpkin and Tools
Choosing Your Canvas: The Right Pumpkin
Alright, first things first. You need a pumpkin that's going to cooperate. Forget the ones with soft spots, bruises, or weird gashes. You want a firm pumpkin, one that feels solid when you tap it. Think of it like knocking on a door – you want a nice, resonant thud, not a dull squish. Look for a smooth surface; bumps and ridges might look interesting, but they make those easy carving pumpkin ideas a lot harder to execute cleanly. A flat bottom is also your friend; it helps the finished product sit steady on your porch or table without wobbling precariously.
The stem should be firmly attached and healthy-looking, not shriveled. That stem is basically the pumpkin's handle while you're working. Size matters, but maybe not how you think. A giant pumpkin is impressive, sure, but it's also a lot more work to hollow out. For easy carving, a medium-sized pumpkin, maybe 10-14 inches tall, is usually perfect. It's big enough for a decent design but not so huge it feels like a workout just to lift.
Arming Up: Essential Carving Gear
You don't need a professional sculpting kit to create awesome easy carving pumpkin ideas. Seriously, half the stuff in those elaborate packs is overkill for simple designs. A basic set of tools is all you require. A sturdy, serrated knife is crucial for cutting the top (or bottom, more on that later). A large spoon or scoop with a sharp edge is a lifesaver for scraping out the guts and seeds. Trust me, a dull spoon makes this step feel like digging through concrete.
For the actual carving, a few different-sized small serrated knives are helpful, especially if they come with little handles designed for control. Sometimes, even a simple paring knife from your kitchen drawer works just fine for basic shapes. The key is having something sharp enough to cut through the pumpkin wall without forcing it too hard, which is how accidents happen.
- Sturdy serrated knife (for the lid)
- Large, strong spoon or scoop (for guts)
- Small serrated carving knives (for details)
- A bowl for seeds and pulp
- Newspaper or drop cloth (for the mess)
Beyond the Basics: Where to Find Your Gourd
So, where do you acquire this perfect specimen? Grocery stores are convenient, but sometimes their pumpkins have been bounced around a bit. Pumpkin patches often have a wider selection and fresher gourds. You can usually find a better shape and firmer skin there. Farmer's markets are another good bet.
When you're there, don't just grab the first one you see. Spend a few minutes looking, lifting, and tapping. Check for those soft spots again. Think about the design you have in mind – does the pumpkin's shape lend itself to it? A taller, narrower pumpkin might be great for a spooky face, while a rounder one is classic for a grin. Getting the right pumpkin from the start honestly makes the whole process of tackling those easy carving pumpkin ideas significantly smoother.
Easy Carving Pumpkin Ideas You Can Actually Do

Easy Carving Pumpkin Ideas You Can Actually Do
Beyond the Basic Triangle Face
let's move past the kindergarten-level triangle eyes and jagged mouth unless that's genuinely the look you're going for. There are plenty of easy carving pumpkin ideas that look way cooler but don't require surgical precision. Think simple shapes cut out cleanly. Stars, moons, or even just scattered dots of different sizes can create a really effective, modern look, especially when lit from inside. You can use cookie cutters and a rubber mallet for perfect shapes – just place the cutter, tap it with the mallet, and it should punch right through the pumpkin wall. It’s surprisingly satisfying and bypasses fiddly knife work.
Another simple yet effective idea is using negative space. Instead of carving out shapes, you can scrape away the top layer of skin to create translucent areas. This works great for outlines or simple text. Think spooky silhouettes of bats or cats scraped onto the surface. It gives a glowy effect without cutting all the way through, which is less likely to lead to structural collapse later.
Animals, Silhouettes, and Simple Scenes
Want something a bit more illustrative? Simple animal silhouettes are classic easy carving pumpkin ideas. A black cat with an arched back, a hooting owl on a branch, or even just a single flying bat cut out can be really striking. You can find simple templates online for these. Just tape the template on and use a sharp tool to poke along the lines before you start cutting. It provides a clear guide and helps keep your lines smooth.
Consider a simple scene too. A few staggered rectangles can turn into a spooky, empty house. A single circle with smaller circles around it makes a decent spider web. Don't feel pressured to create a whole narrative on your pumpkin. Sometimes, one well-executed simple element is far more impactful than a complex, poorly carved mess. Remember, the light is doing half the work, casting spooky shadows and highlighting the cut areas.
- Simple geometric shapes (stars, moons, dots)
- Cookie cutter designs (requires mallet)
- Scraping away skin for translucent effects (silhouettes, text)
- Basic animal outlines (cats, bats, owls)
- Minimalist scene elements (house shapes, simple webs)
StepbyStep Guide for Easy Pumpkin Carving
StepbyStep Guide for Easy Pumpkin Carving
Prep Your Space and Pop the Top
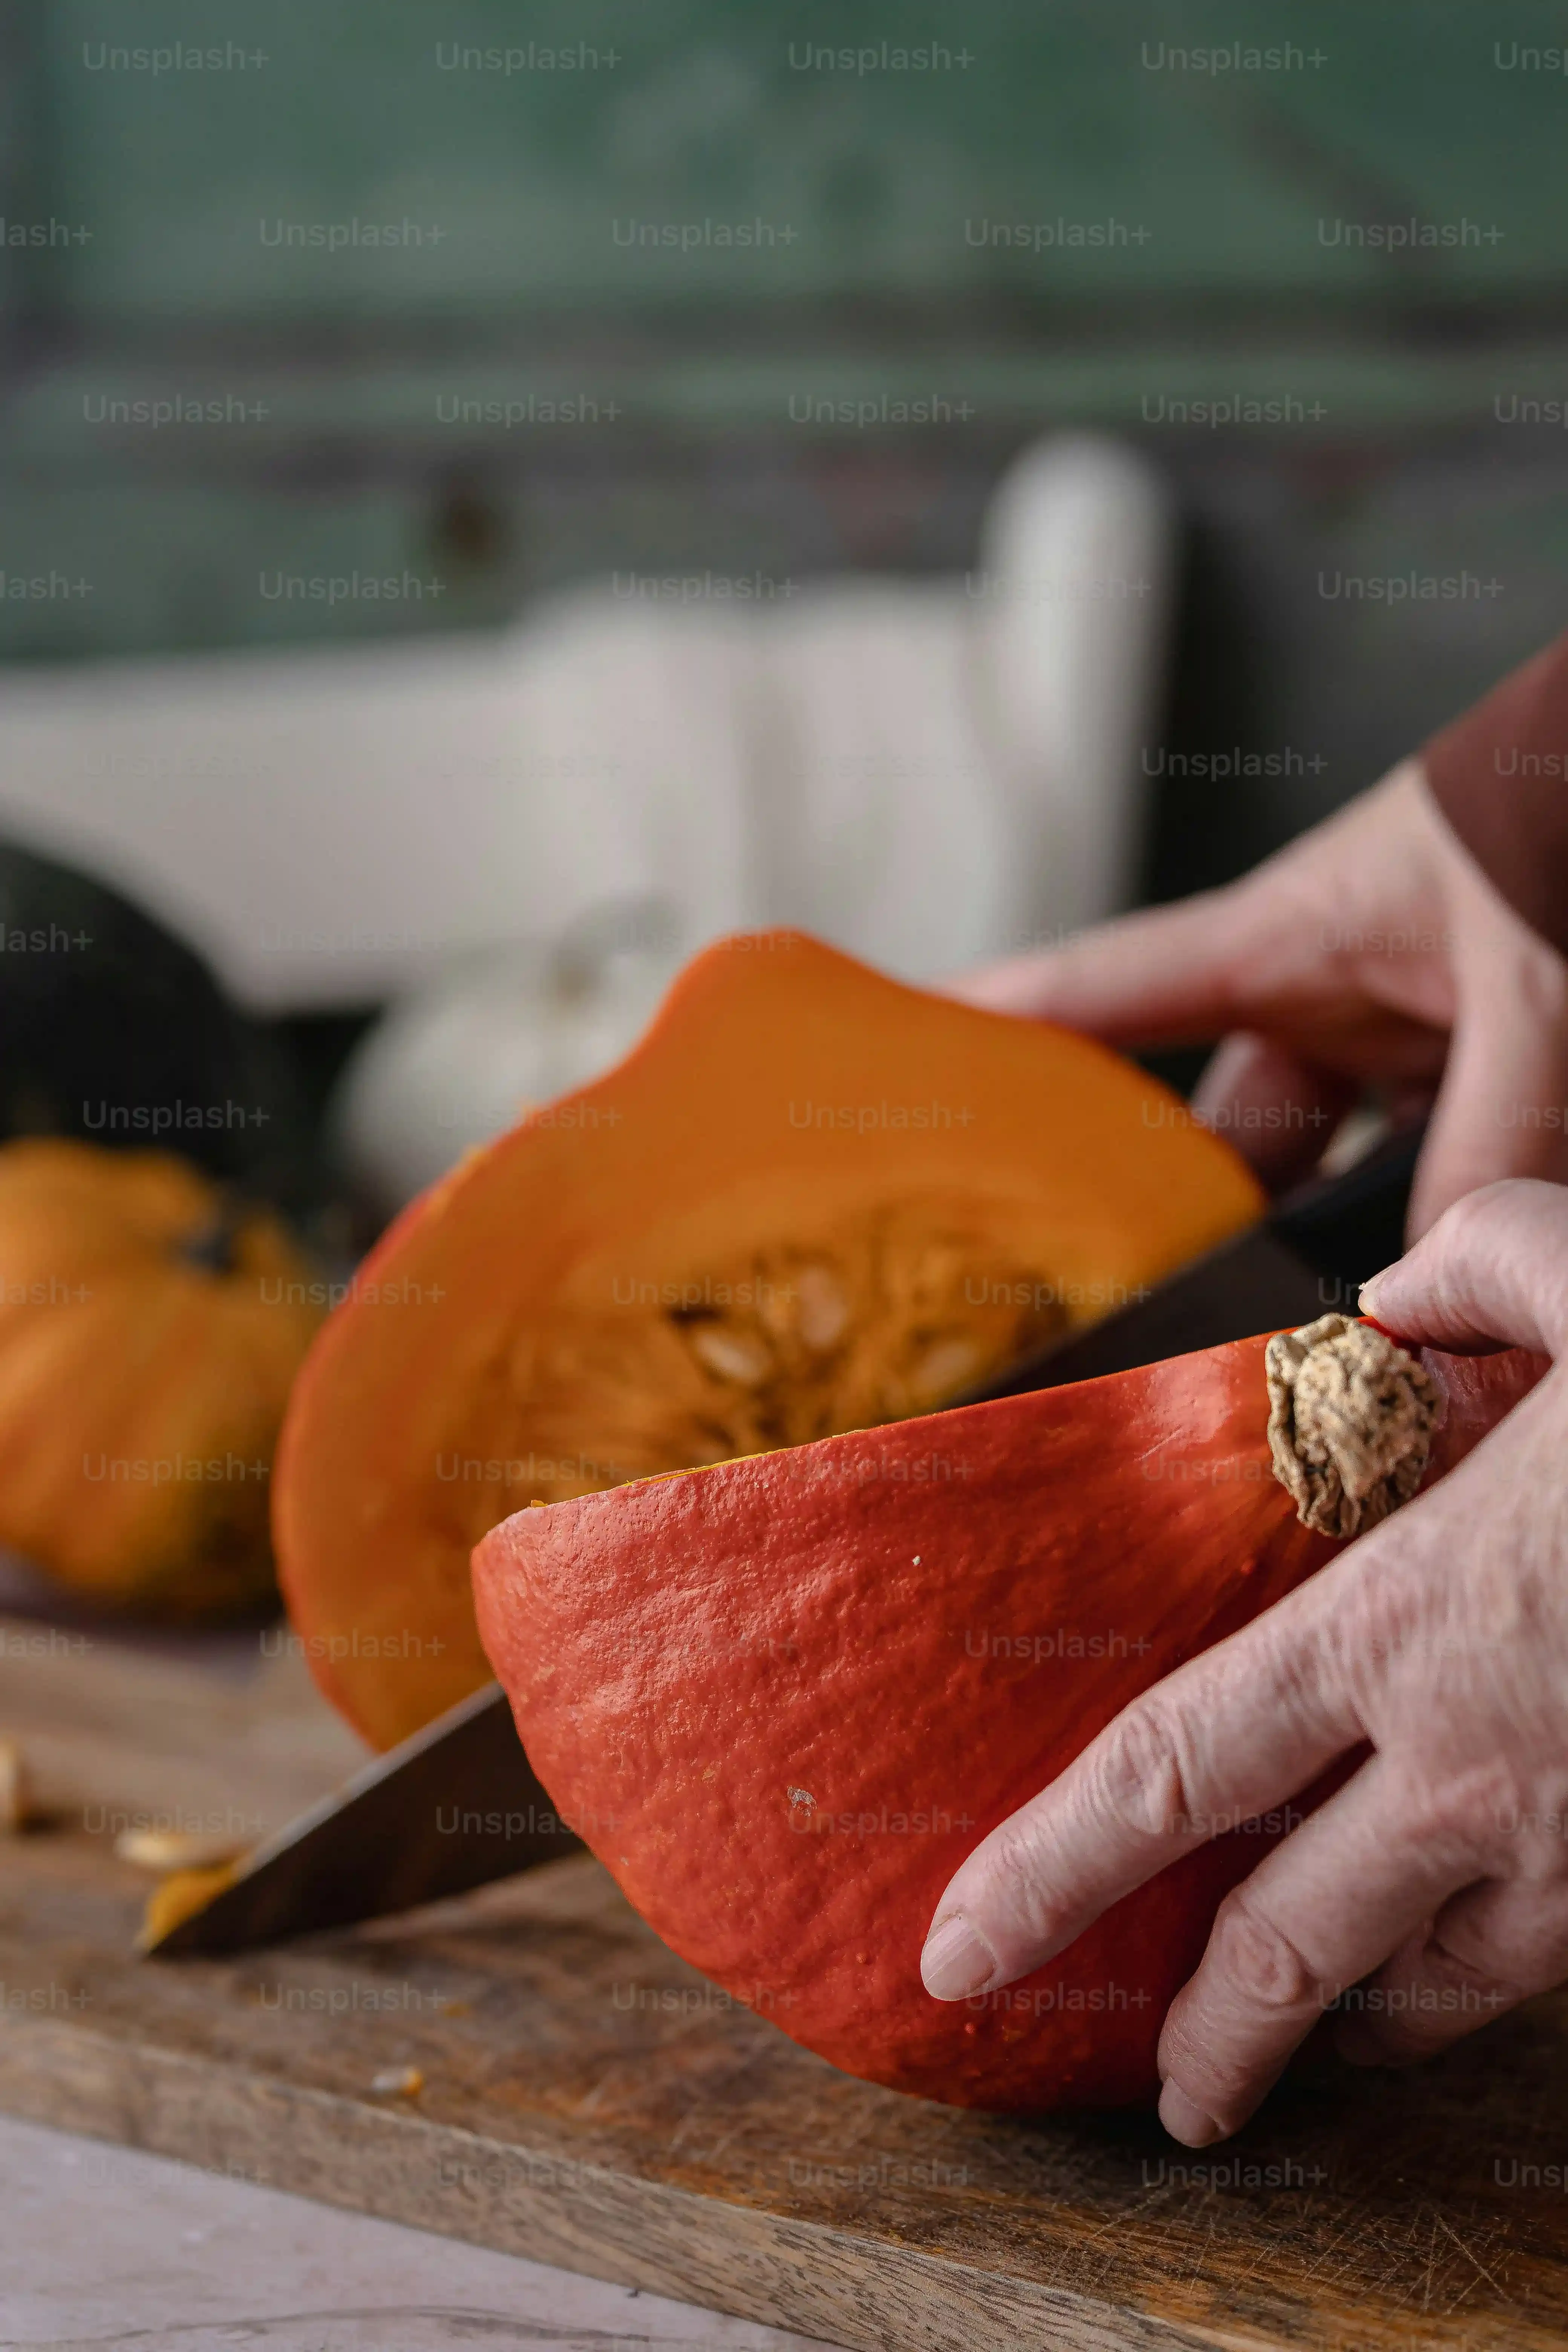
you've got your perfect pumpkin and your basic tools. Time to get messy. First, lay down a generous amount of newspaper or a drop cloth. Pumpkin guts are surprisingly sticky and get everywhere. Seriously, everywhere. Next, decide if you're cutting the top or the bottom. Cutting the bottom is a pro move for easy carving pumpkin ideas because you can just lift the pumpkin off the light source later, and the stem stays intact for looks. If you cut the top, angle your knife inward as you cut around the stem. This creates a ledge so the lid doesn't fall in. Make the hole large enough to get your hand and scoop inside comfortably. Once the lid or bottom is cut, carefully lift it off.
Scoop the Guts and Transfer Your Design
Now for the least glamorous part: scooping. Grab that sturdy spoon or scoop. Dig in and scrape down the sides and bottom. You want the walls to be about one inch thick – thick enough to hold their shape but thin enough to carve easily. Get out all the seeds and stringy bits; save the seeds if you want to roast them later (highly recommended). With the pumpkin hollowed, it's time for your design. If you're using a template for your easy carving pumpkin ideas, tape it firmly onto the pumpkin surface. Use a poking tool or even a sharp pencil to make small holes along the lines of your design. These holes act as a dotted guide for your knife. If you're freehanding, sketch your design directly onto the pumpkin with a dry-erase marker – mistakes wipe right off.
- Lay down protective covering (newspaper, drop cloth).
- Cut the lid or bottom (angle inward for the top).
- Hollow out the pumpkin, aiming for 1-inch thick walls.
- Tape on templates and poke holes along lines.
- Or, draw your design with a dry-erase marker.
Start Cutting and Clean Up
With your guide in place, grab your smaller carving knives. Start cutting along the dotted lines or drawn marks. Use a gentle sawing motion rather than trying to push straight through. For intricate corners or small details, use the tip of a smaller knife. Don't worry about perfection; slightly wobbly lines are part of the charm of homemade easy carving pumpkin ideas. As you cut out pieces, push them inward gently to pop them out. Keep a small bowl or bag nearby to collect the cut pieces. Once all your design elements are cut out, clean up any stray marks with a damp cloth. You can also trim any ragged edges around your cutouts for a cleaner look. Wipe down the outside of the pumpkin, and you're ready to light it up.
What's the most common mistake people make at this stage? Trying to force the knife or making the pumpkin walls too thin. Take your time, and let the tool do the work.
Make Your Easy Carved Pumpkin Last Longer
Make Your Easy Carved Pumpkin Last Longer
you've put in the work, you've got some fantastic easy carving pumpkin ideas glowing on your porch. Now, how do you stop it from turning into a sad, moldy mess in three days? Nobody wants that. The key to making your easy carved pumpkin last longer is fighting dehydration and decay. Think of it like skincare for gourds. A simple trick is to apply a thin layer of petroleum jelly or even vegetable oil to all the cut edges. This seals in moisture and slows down the drying and shriveling process. You can also give the whole pumpkin a spritz with a water-bleach solution (about one tablespoon of bleach per quart of water) to kill surface bacteria and mold spores. Let it dry completely before bringing it inside or lighting it. If it starts looking a bit sad, you can sometimes revive it slightly by giving it a cool bath for a few hours – it helps it rehydrate, though it's not a permanent fix.
Wrapping Up Your Easy Pumpkin Carving Adventure
So there you have it. Carving a pumpkin doesn't have to be an all-day, frustrating ordeal that leaves you covered in pulp and questioning your life choices. With the right squash, a few decent tools, and a grasp of genuinely easy carving pumpkin ideas, you can create something that looks festive and doesn't require the precision of a brain surgeon. These simple designs prove you don't need to be an artist to participate in the tradition. Get your hands a little dirty, embrace the slightly spooky (or silly) spirit, and enjoy the fact that this year, your jack-o'-lantern might actually look intentional. Now go forth and carve something decent for a change.