Table of Contents
let's be honest. October rolls around, and suddenly everyone's an expert pumpkin sculptor on Instagram. Meanwhile, you're staring down a big orange gourd, a dull kitchen knife, and the distinct possibility of losing a finger or ending up with something that looks less like a spooky face and more like a melted alien. The pressure to create something impressive can feel overwhelming. But here’s the secret: you don't need to be a professional artist to create fantastic, spooky, or silly jack-o'-lanterns. This guide is all about taking the intimidation out of the process and focusing on genuinely easy carving pumpkin faces. We're skipping the overly complicated stencils and intricate details that require specialized tools and hours of frustration. Instead, we'll walk you through picking the right pumpkin, using simple, accessible tools, mastering basic cuts, and getting some fresh ideas for easy carving pumpkin faces that actually look good without making you want to give up. Forget the carving fails of years past. Let's make this year's pumpkin carving fun, achievable, and maybe even a little bit impressive, all while keeping it simple.
Picking the Perfect Pumpkin & Simple Tools for Easy Carving
Picking the Perfect Pumpkin & Simple Tools for Easy Carving
Finding Your Ideal Gourd
so you're standing in the pumpkin patch or at the grocery store, faced with a sea of orange. How do you pick "the one" for easy carving pumpkin faces? Don't just grab the biggest one you see. Look for a pumpkin with smooth, firm skin. Bumps and bruises make carving harder than it needs to be. Tap it gently; it should sound hollow. Check the bottom to make sure it sits flat and won't roll away while you're working on it. A sturdy stem is a good sign of a healthy pumpkin, but you won't be carving near it anyway.
Gathering Your Simple Carving Gear
Forget those fancy, overpriced carving kits with 50 different tiny saws you'll never use. For easy carving pumpkin faces, you really only need a few basic things. A sturdy, serrated knife (like a bread knife) works well for cutting off the top. A large spoon or scoop is essential for gutting the pumpkin – get one with a sharp edge if you can, it makes scraping the insides much faster. Then, for the actual face carving, a smaller serrated knife or a purpose-made pumpkin carving saw from a cheap kit is perfect. Safety first, obviously, so adult supervision is key, especially if kids are helping.
- Serrated knife (for the lid)
- Large, sturdy spoon or scoop (for cleaning)
- Small serrated knife or carving saw (for the face)
- Bowl for seeds and guts
- Newspaper or drop cloth (for mess)
Prepping for the Fun Part
Alright, pumpkin picked, tools ready. Now, the messy bit: getting it ready to carve. Lay down plenty of newspaper – this part is surprisingly gooey. Use your big serrated knife to carefully cut a lid around the stem. Cut at an angle towards the center; this bevel helps the lid sit back on without falling in. Once the lid is off, grab your spoon and start scraping! Get all the seeds and stringy stuff out. Scrape the inside walls until they're relatively smooth, especially the side where you plan to carve the face. A clean, smooth surface makes the carving go much more easily.
Mastering Easy Carving Pumpkin Faces: Basic Cuts and Techniques
Mastering Easy Carving Pumpkin Faces: Basic Cuts and Techniques
Getting Started with Simple Shapes
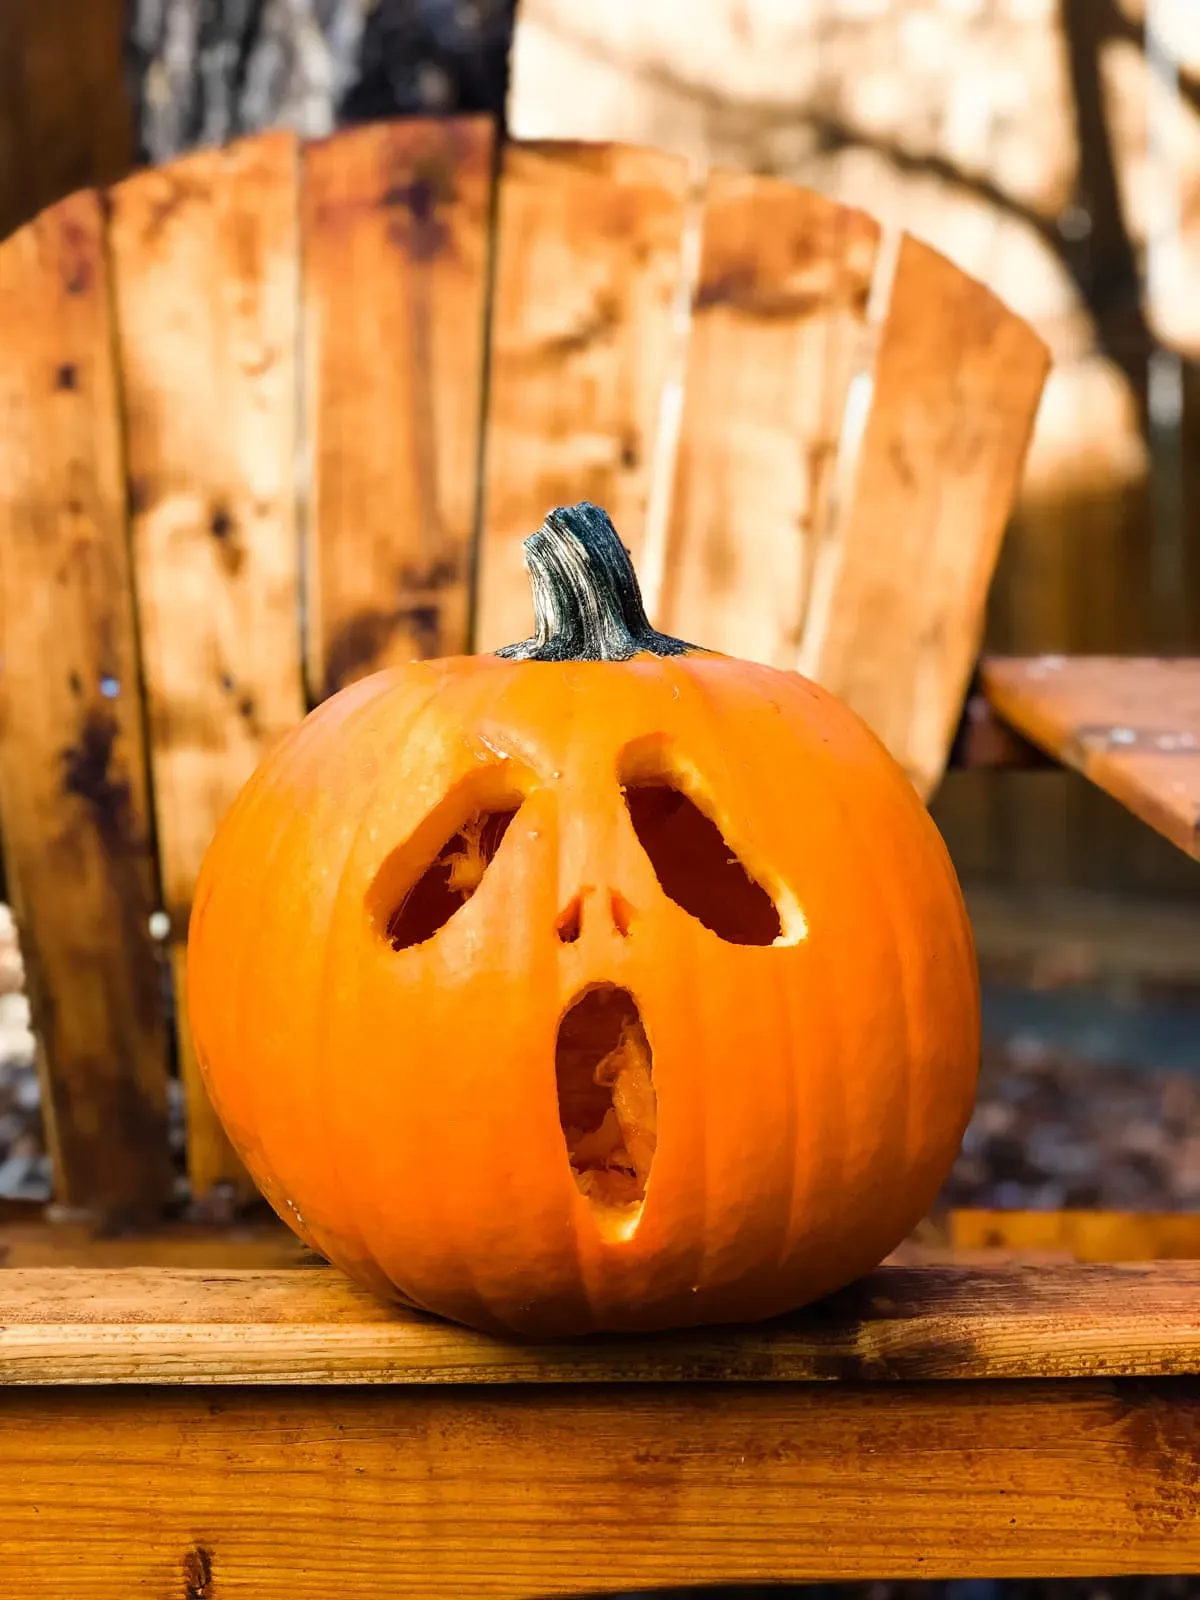
you've got the clean, gutted pumpkin staring back at you. Time for the fun part – making it look like something other than, well, a gutted pumpkin. For truly easy carving pumpkin faces, think simple shapes. Forget the intricate teeth or swirling eyebrows for now. Triangles are your best friend for eyes and noses. A simple curve makes a classic smile or a spooky frown. Use your small carving saw or knife with a gentle back-and-forth motion, like sawing wood, not trying to slice bread. Don't force it. If the knife gets stuck, pull it out and start again from a slightly different angle. It's about patience, not brute strength, which, let's be real, is usually in short supply when you're covered in pumpkin goo.
Transferring Designs (or Just Winging It)
If you're not feeling confident freehanding it, grab a marker and draw your design directly onto the pumpkin first. Sharpies work fine. Keep the design basic – remember, we're going for easy carving pumpkin faces here. Draw those simple triangles, circles, or curves. If you want a bit more guidance but still easy, you can find tons of free, simple templates online. Print one out, tape it to the pumpkin, and use a pin or a poker tool to poke holes along the lines. Remove the template, and you'll have a dotted outline to follow with your carving tool. Or, you know, just wing it. Sometimes the wonkiest, most imperfect faces are the best.
- Draw design directly with a marker.
- Use simple, free templates and a poker tool.
- Start with basic shapes: triangles, circles, curves.
- Use a gentle sawing motion with your carving tool.
- Don't force the knife; restart if it gets stuck.
Beyond the Standard Grin: More Easy Pumpkin Face Ideas
Beyond the Standard Grin: More Easy Pumpkin Face Ideas
Getting Creative with Simple Shapes
so you've mastered the basic triangle eyes and jagged mouth. That's a solid start for easy carving pumpkin faces, but let's push it just a little bit without making things complicated. Think about changing the shape of the eyes. Instead of straight triangles, try curved ones for a slightly surprised look. Or maybe use simple circles for wide, startled eyes. You can also play with eyebrows. Just two simple angled cuts above the eyes can change the expression from neutral to grumpy or mischievous instantly. Don't feel like you have to cut out everything. Sometimes, just scraping off the top layer of skin in certain areas can create a neat effect, like scars or wrinkles, without the risk of breaking through the pumpkin wall.
Consider using different simple shapes for the mouth. A wavy line for a spooky grin, a simple rectangle for a blocky, surprised look, or just a single curved line for a minimalist vibe. You can also use negative space creatively. Instead of cutting out the whole shape, cut around it, leaving the shape itself as the part that lights up. Imagine cutting a circle and then carving small triangles *around* it to make a sun-like eye, or carving jagged lines *around* a central shape to give it a fuzzy or wild look. These small tweaks still fall under easy carving pumpkin faces but offer a bit more visual interest than the standard jack-o'-lantern.
Non-Traditional "Faces" with Minimal Effort
Who says a pumpkin face has to have two eyes, a nose, and a mouth? For truly easy carving pumpkin faces, you can break the mold entirely. Think about carving abstract patterns instead – simple geometric shapes repeated across the surface. You could carve out stars and moons of different sizes. Or maybe just a series of dots and dashes to create a Morse code message (if you're feeling particularly quirky). Consider carving just one giant, expressive eye, or a single, long, winding crack that looks like a scar. These non-traditional approaches are often much simpler to execute than trying to nail perfect symmetry on a traditional face.
Another low-effort idea is to use cookie cutters. Press a metal cookie cutter firmly into the pumpkin skin and tap it with a mallet or a block of wood until it goes through. This works best for simple shapes like stars, circles, or ghosts. It's almost cheating, but hey, the goal is easy carving pumpkin faces, right? You can also combine carving with other simple decorations. Carve simple eye holes and then use paint or markers to draw on the rest of the face. Or carve out a simple mouth and then stick candy corn in for teeth. Get weird with it. The less pressure you put on creating a perfect, traditional face, the more fun and easy the process becomes.
Easy Eye Shapes | Easy Mouth Shapes | Non-Face Ideas |
|---|---|---|
Triangles (straight or curved) | Simple Curves | Stars and Moons |
Circles | Wavy Lines | Geometric Patterns |
Scraped Patches | Rectangles | Single Eye/Scar |
Lighting and Preserving Your Easy Carving Pumpkin Faces
Lighting and Preserving Your Easy Carving Pumpkin Faces
Illuminating Your Creation Safely
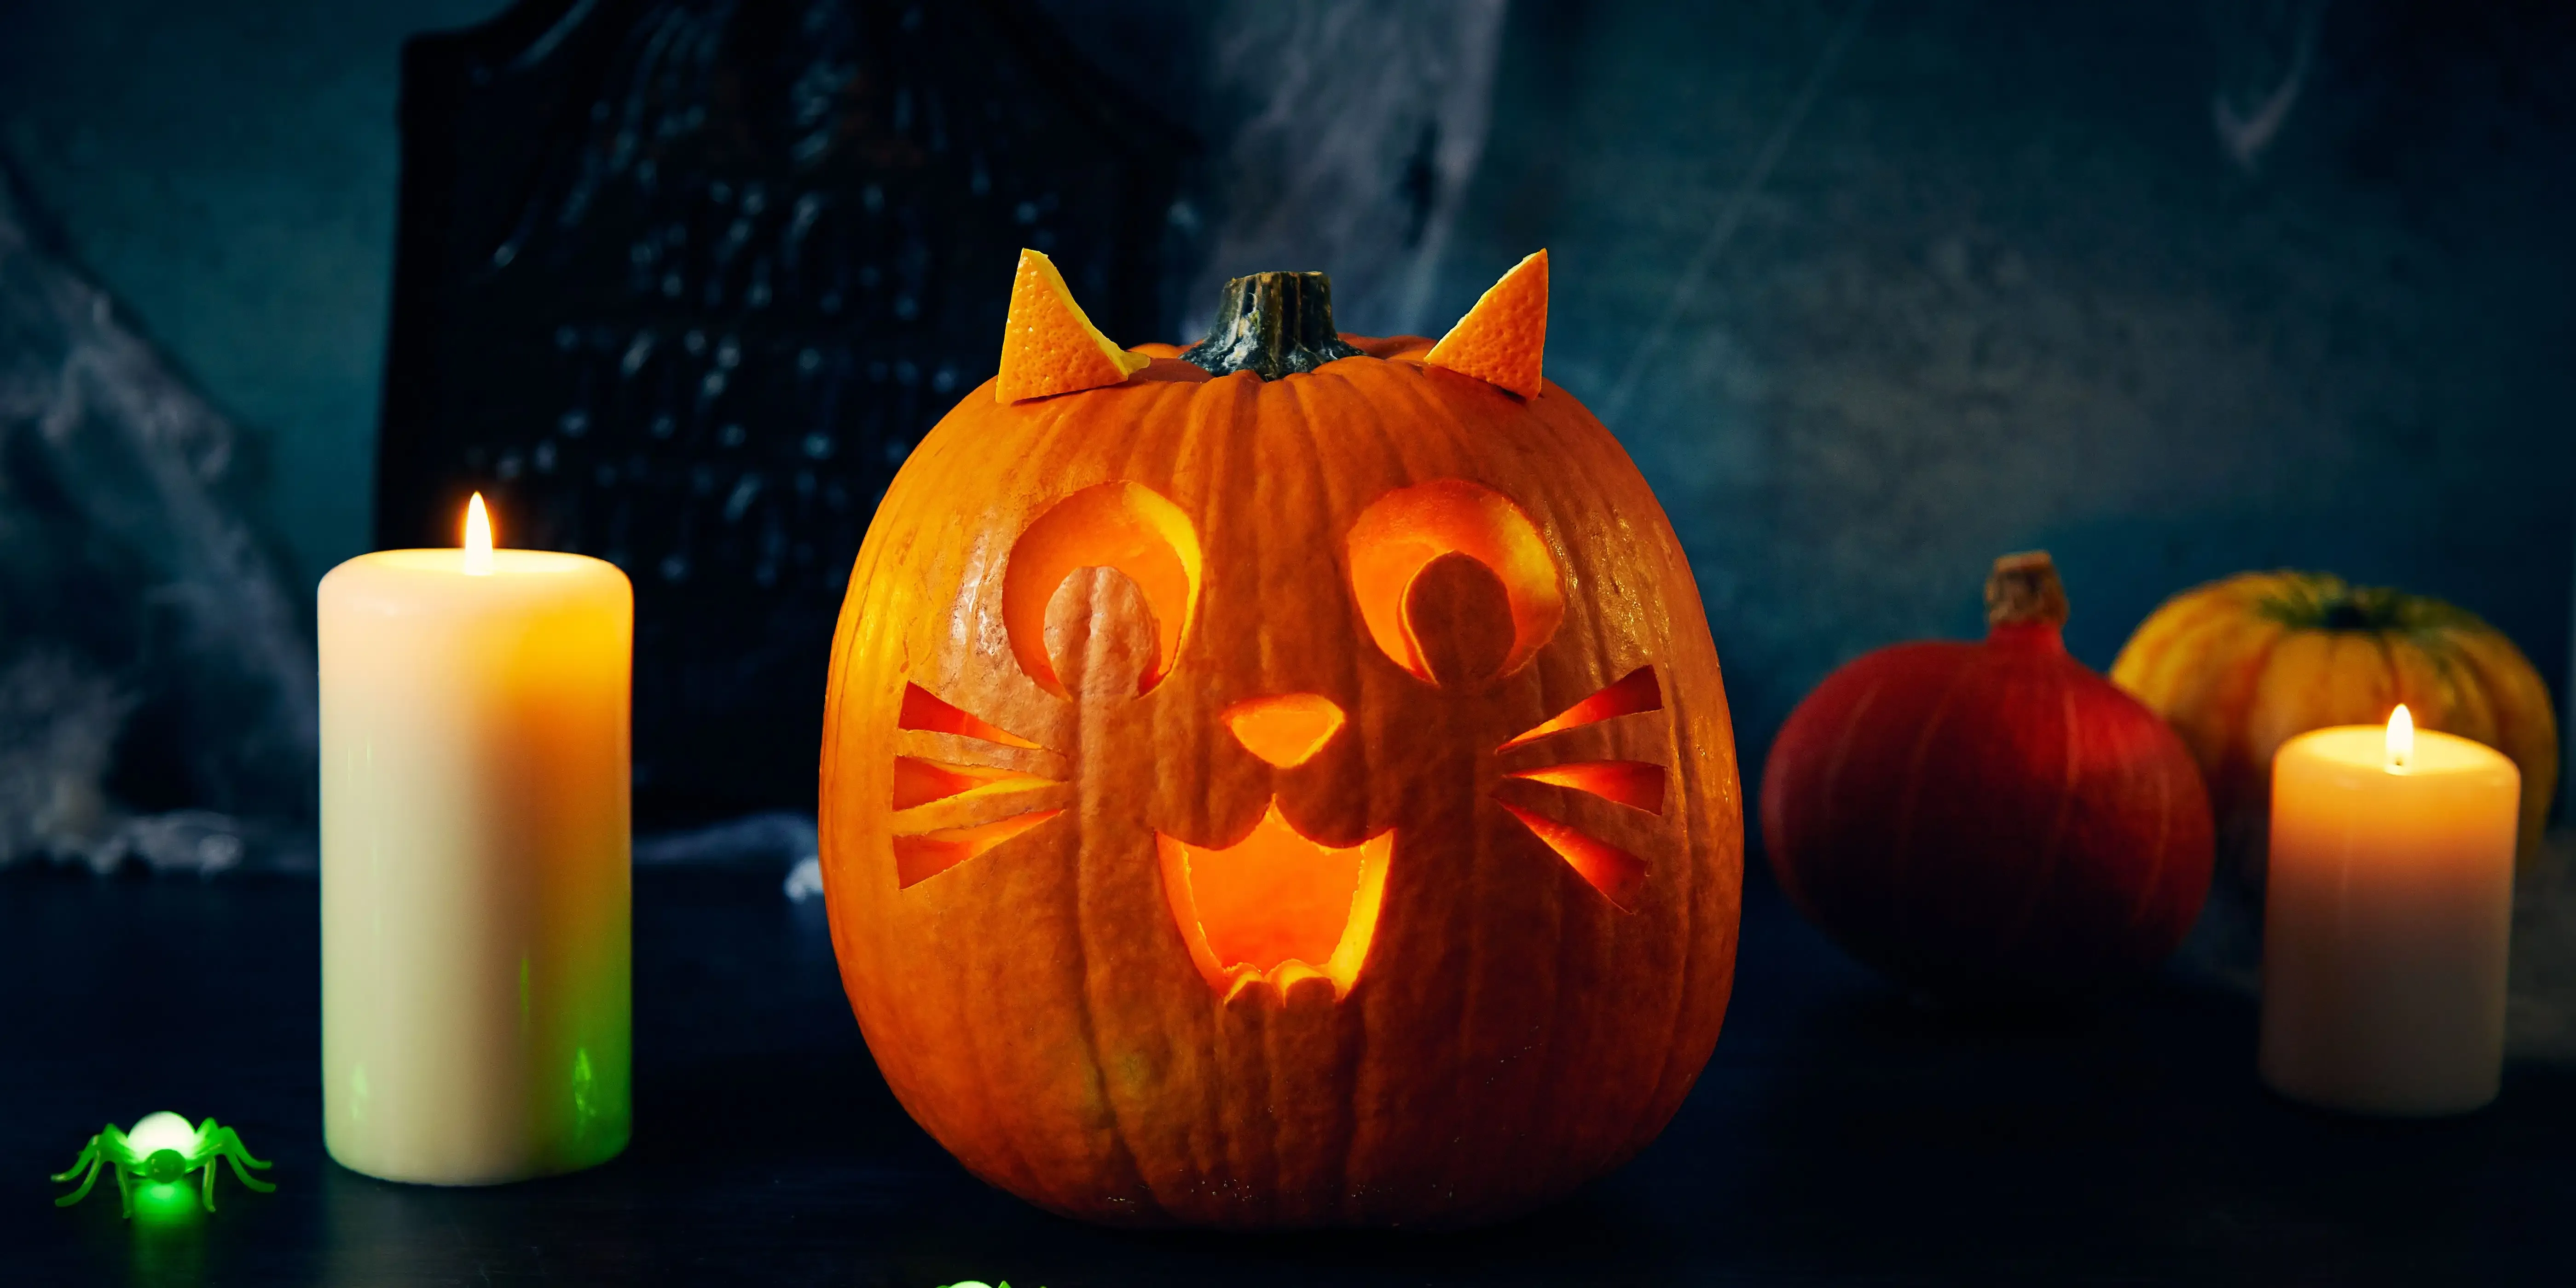
Alright, the carving is done, your easy carving pumpkin faces are looking suitably spooky or silly. Now, how do you make them glow? While the classic image is a flickering candle, real flames inside a pumpkin are a fire hazard waiting to happen, especially if the pumpkin starts to dry out and get a little... crispy. Plus, they can make the pumpkin rot faster from the heat. The simplest, safest option, especially with kids around, is battery-operated LED tea lights or puck lights. They come in various colors, don't get hot, and last for days on a single set of batteries. Just pop one or two inside, put the lid back on, and you've got that classic jack-o'-lantern glow without the worry. Some even flicker like real candles, which is a nice touch without the actual fire.
Keeping Your Masterpiece Fresh
You put in the effort to create those easy carving pumpkin faces, and you want them to last longer than a couple of days, right? Carving exposes the pumpkin's flesh to air and bacteria, basically kickstarting the decomposition process. It's like leaving a cut apple out – it's going to turn brown and sad pretty fast. To slow down the inevitable rot, you need to keep it hydrated and fight off the tiny invaders. A simple trick is to spray the cut edges daily with a mist of water mixed with a little bleach (about a teaspoon per quart of water). The water keeps it from drying out and shrinking, while the bleach kills some of the funk-causing microbes. You can also rub petroleum jelly or vegetable oil on the cut surfaces to seal in moisture, though this won't stop bacteria from the inside. Keeping the pumpkin in a cooler spot, especially overnight, also helps extend its lifespan.
- Mist cut edges daily with water/bleach solution.
- Apply petroleum jelly or vegetable oil to cut surfaces.
- Keep pumpkin in a cool location.
- Avoid real candles, which speed up rotting.
- Accept that it won't last forever – enjoy it while it lasts!
Wrapping Up Your Easy Pumpkin Face Project
So there you have it. You’ve navigated the sometimes-treacherous world of pumpkin guts and sharp objects. We covered picking a gourd that isn't a lopsided nightmare, finding tools that won't immediately break, and tackling some straightforward cuts to create genuinely easy carving pumpkin faces. No need for elaborate patterns that look great online but are impossible in reality. Whether you went for a classic jagged smile, some simple geometric shapes, or perhaps something slightly askew, you’ve got a carved pumpkin. It might not win any art contests, but it's yours, it's ready for a light source, and it hopefully didn't require a trip to the emergency room. Light it up, put it out, and enjoy the fact that you accomplished the task without excessive fuss. That's a win in our book.