Table of Contents
Halloween is creeping closer, and that means one thing: it's time to unleash your inner pumpkin Picasso. But let's be honest, not all of us are master sculptors with gourds. Some of us just want a jack-o'-lantern that looks like it could scare away the neighborhood kids without requiring hours of intricate carving. That's where easy but scary pumpkin carving ideas come in. Forget the complicated patterns and professional-grade tools. We're talking about designs that are achievable, even if your artistic skills peak at stick figures. This guide is your shortcut to the spookiest porch on the block. We'll start with the classic scary faces, the tried-and-true designs that are simple yet effective. Then, we'll explore ways to elevate those basics, adding a touch of originality without sacrificing ease. Worried about tools? We've got you covered with a rundown of essential gear. And for those who prefer a little guidance, we'll delve into the world of stencils and templates. Finally, prepare to get inspired by creative twists that will make your pumpkin stand out from the crowd. Get ready to transform your pumpkin into a masterpiece of fright with these easy but scary pumpkin carving ideas!
Classic Scary Faces: The Foundation of Easy Pumpkin Carving Ideas
Classic Scary Faces: The Foundation of Easy Pumpkin Carving Ideas
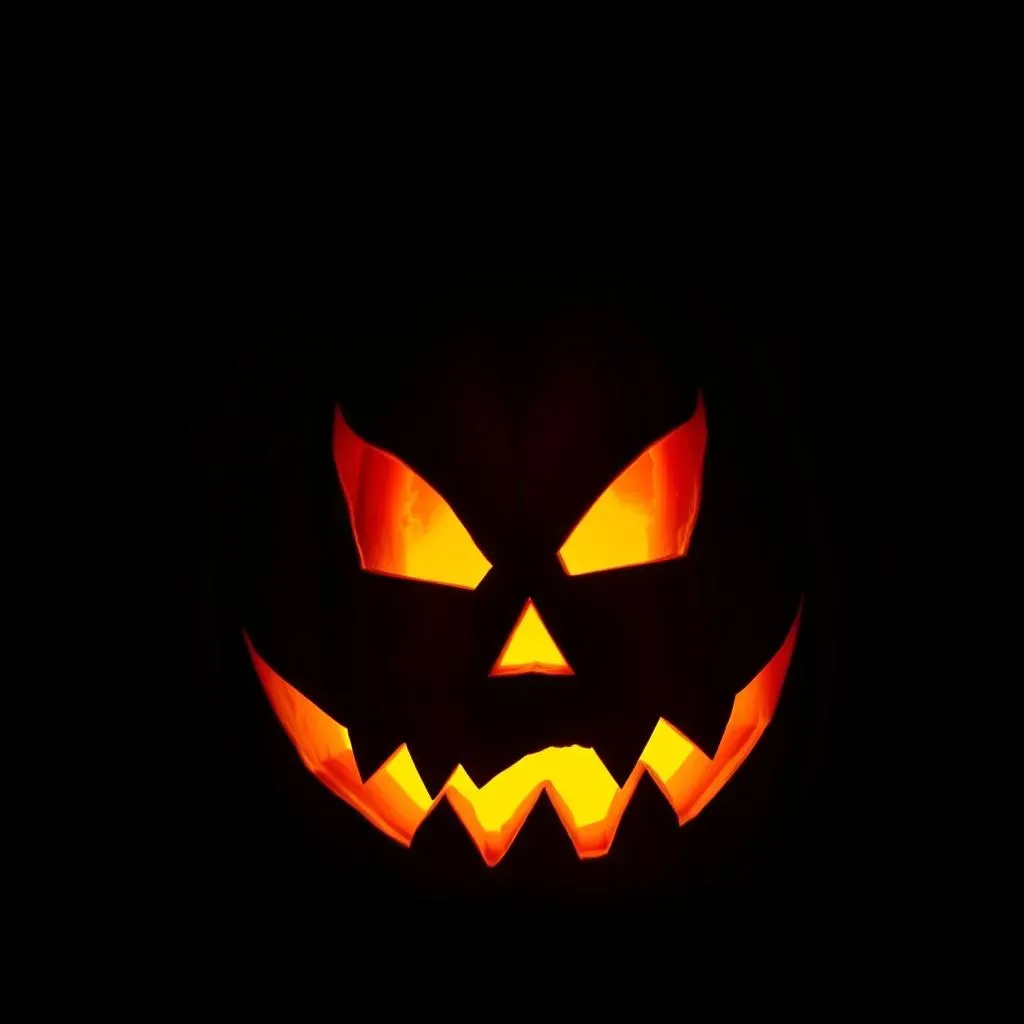
Let's face it, when you think "Halloween pumpkin," the first image that pops into your head is probably a variation of the classic scary face. The triangle eyes, the jagged mouth, the menacing grin – it's the quintessential jack-o'-lantern look. But don't let its simplicity fool you; the classic scary face is a foundation for a reason. It's instantly recognizable, easily customizable, and, most importantly, requires minimal artistic skill. It’s like the little black dress of pumpkin carving – always in style and endlessly adaptable. Plus, there's a certain charm to the slightly lopsided, endearingly imperfect nature of a traditionally carved scary face. It screams "homemade" in the best possible way.
Feature | Description | Difficulty |
|---|---|---|
Triangle Eyes | Simple triangles, can be symmetrical or slightly askew. | Easy |
Jagged Mouth | A series of uneven, tooth-like cuts. | Easy |
Nose | Triangle, square, or even a simple notch. | Easy |
Beyond the Basics: Elevating Simple Scary Pumpkin Carvings
Beyond the Basics: Elevating Simple Scary Pumpkin Carvings
Adding Dimension with Shading
so you've mastered the classic scary face. What's next? It's time to add some dimension. Shading can take your pumpkin from flat and cartoonish to genuinely spooky. Instead of cutting all the way through the pumpkin's flesh, try varying the depth of your cuts. Scrape away the surface layer in some areas to create a translucent effect. This allows the candlelight to shine through more subtly, creating shadows and highlights that add depth and realism. Think about where light would naturally fall on a face – the brow bone, cheekbones, and around the nose. Emphasize these areas with shallower cuts to make them appear to pop out. It's like contouring, but for pumpkins!
You can use specialized tools for this, like wood carving gouges, but even a simple linoleum cutter can work wonders. The key is to take your time and work in layers. Start with light pressure and gradually increase it until you achieve the desired effect. Remember, you can always remove more, but you can't put it back! A little shading can make a HUGE difference in the overall impact of your pumpkin. Trust me, your neighbors will be impressed.
Incorporating Scary Story Elements
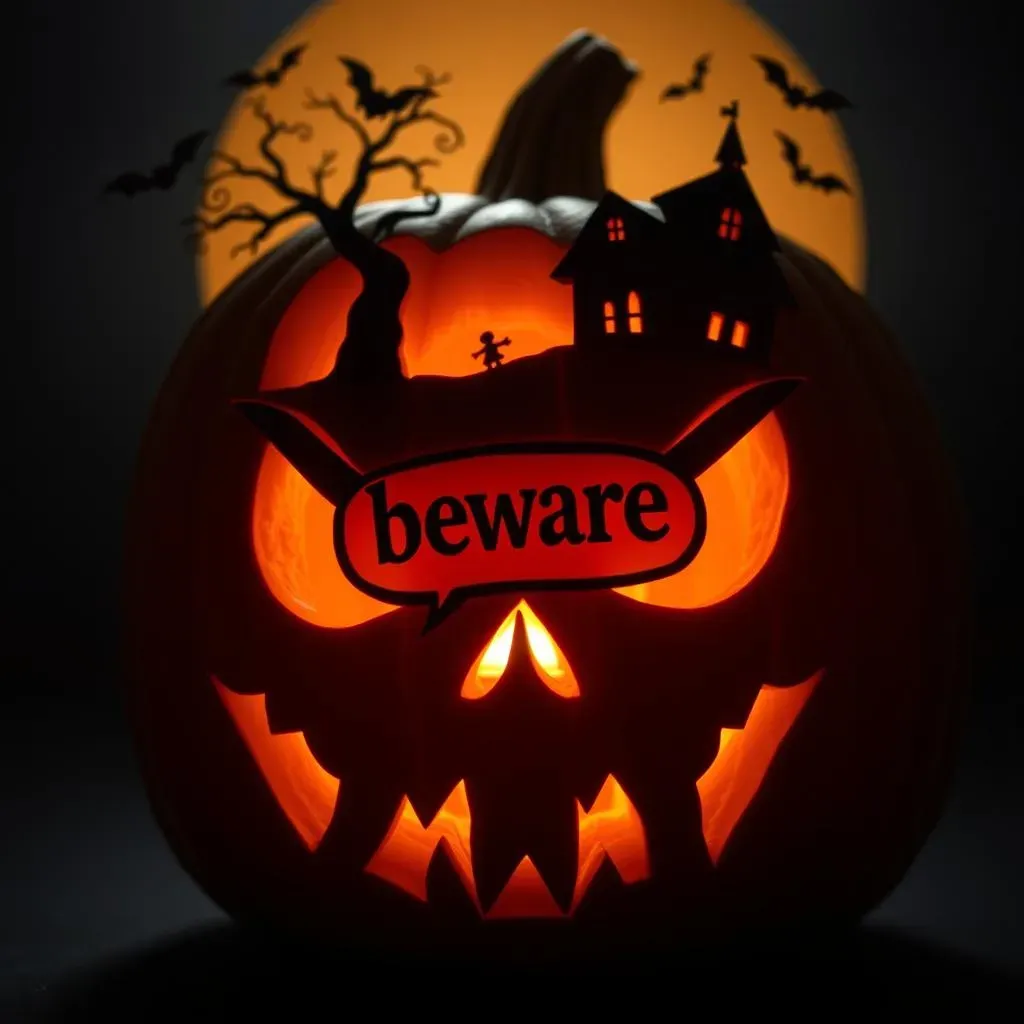
Want to take your scary pumpkin to the next level? Think beyond just a face and incorporate elements from your favorite scary stories or movies. A silhouette of a creepy house on a hill, a gnarled tree with menacing branches, or even a swarm of bats taking flight can add a narrative element to your carving. These designs might seem intimidating, but they can be surprisingly easy to execute with the help of stencils or templates. The key is to focus on strong, simple shapes that will be easily recognizable when illuminated. Think about iconic imagery from horror films – the Bates house from "Psycho," the Overlook Hotel from "The Shining," or even just a classic graveyard scene.
Another cool idea is to carve out a speech bubble and add a spooky message like "Get Out" or "Beware." You could even create a scene with multiple pumpkins, each telling a different part of a story. Imagine a whole pumpkin family acting out a scene from "Frankenstein!" The possibilities are endless. Get creative and let your imagination run wild. Your pumpkin is your canvas – tell a story!
Element | Description | Difficulty |
|---|---|---|
Silhouette | A dark outline against the light. | Medium |
Gnarled Tree | A tree with twisted branches. | Medium |
Bats | Flying mammals | Easy |
Tool Time: Essential Gear for Easy (and Safe) Pumpkin Carving
Tool Time: Essential Gear for Easy (and Safe) Pumpkin Carving
The Basic Toolkit: What You Absolutely Need
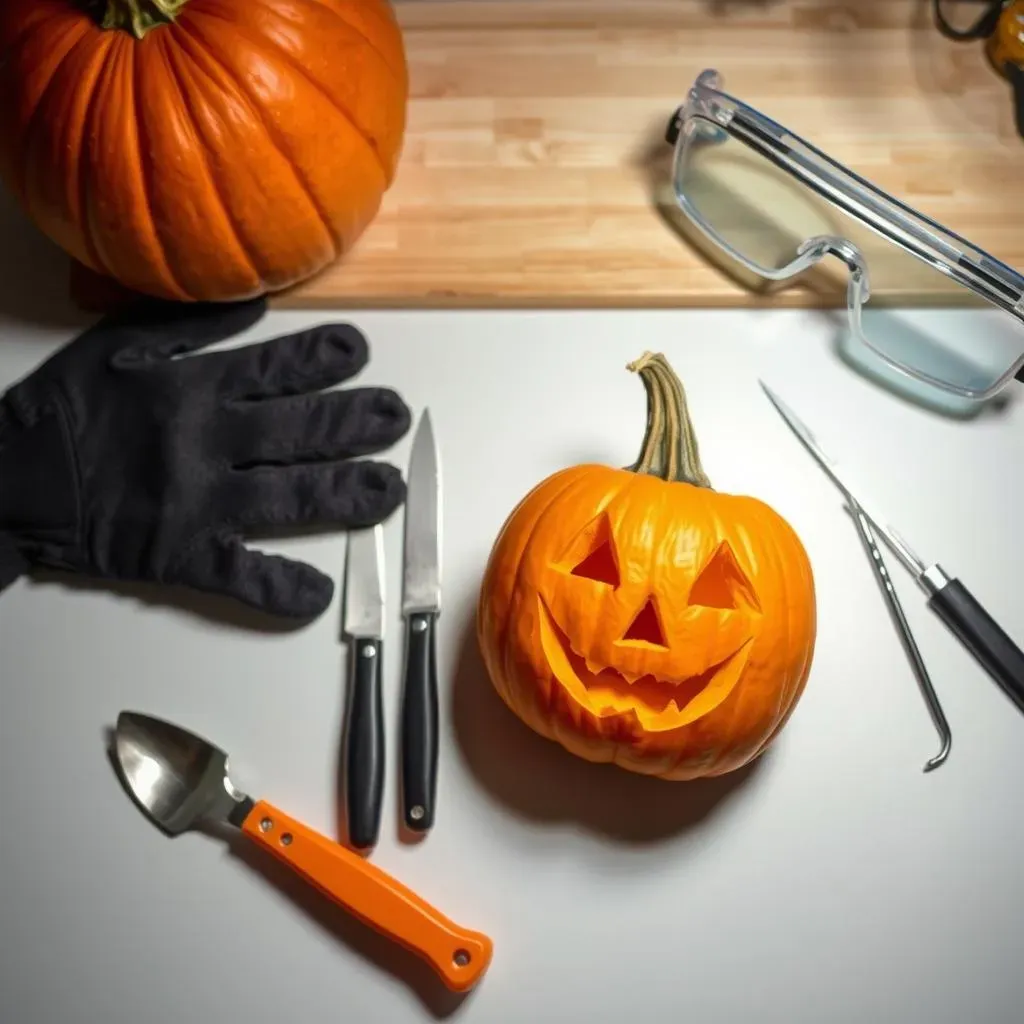
Alright, let's talk tools. You don't need to break the bank or have a garage full of specialized equipment to create awesome easy but scary pumpkin carving. But there are a few essentials that will make the process smoother, safer, and more enjoyable. First and foremost, you'll need a good carving knife. Forget those flimsy plastic things that come in pumpkin carving kits. Invest in a small, serrated knife with a comfortable handle. A paring knife or even a thin steak knife will work in a pinch. You'll also need a scoop to remove the pumpkin guts. A sturdy metal spoon or an ice cream scoop will do the trick. And finally, a poking tool. This could be an awl, a skewer, or even just a large nail. This is for poking holes for your design, especially if you're using a stencil. These are your basic, must-have tools. With these, you can tackle most easy but scary pumpkin carving ideas.
Safety first, folks! Always carve on a stable surface, and make sure your hands are dry. And for the love of all that is spooky, carve AWAY from yourself, not towards! Remember, we're aiming for scary pumpkins, not scary injuries.
Stepping Up Your Game: Tools for Precision and Detail
Ready to take your easy but scary pumpkin carving to the next level? A few extra tools can make a big difference in the precision and detail of your designs. Consider investing in a set of wood carving gouges. These come in various shapes and sizes and are perfect for creating smooth, curved lines and adding depth to your carvings. A linoleum cutter is another great option for creating fine details and shading effects. And if you're serious about stencils, a tracing wheel can help you transfer your design onto the pumpkin with ease. These tools aren't essential, but they can definitely elevate your carving game.
Don't forget about lighting! A flickering LED candle or a string of fairy lights can add an extra touch of spookiness to your finished pumpkin. Avoid using real candles, as they can be a fire hazard. Safety is always a top priority, even when you're trying to scare the neighbors. A well-lit pumpkin is a safe pumpkin!
Safety First: Gloves, Goggles, and Other Protective Gear
let's get real about safety. While easy but scary pumpkin carving is generally a safe activity, it's always a good idea to take a few precautions to protect yourself from injury. Consider wearing carving gloves, especially if you're using sharp tools. These will protect your hands from cuts and scrapes. Safety goggles are also a good idea, especially if you're working with power tools or carving in a dusty environment. And if you're carving with kids, make sure they're supervised at all times and that they're using age-appropriate tools.
Also, think about your workspace. Make sure you have plenty of light and that your carving surface is stable and non-slip. And finally, don't be afraid to take breaks. Carving can be tiring, and it's easy to make mistakes when you're fatigued. So take a breather, stretch your hands, and come back to it refreshed. A little bit of planning and preparation can go a long way in ensuring a safe and enjoyable easy but scary pumpkin carving experience.
Gear | Description | Why You Need It |
|---|---|---|
Carving Gloves | Protective gloves made from cut-resistant material. | Protects hands from cuts and scrapes. |
Safety Goggles | Eye protection. | Prevents debris from entering the eyes. |
Stable Work Surface | A non-slip table or countertop. | Prevents accidents and ensures stability. |
Stencils and Templates: Your Shortcut to Scary Pumpkin Success
Stencils and Templates: Your Shortcut to Scary Pumpkin Success
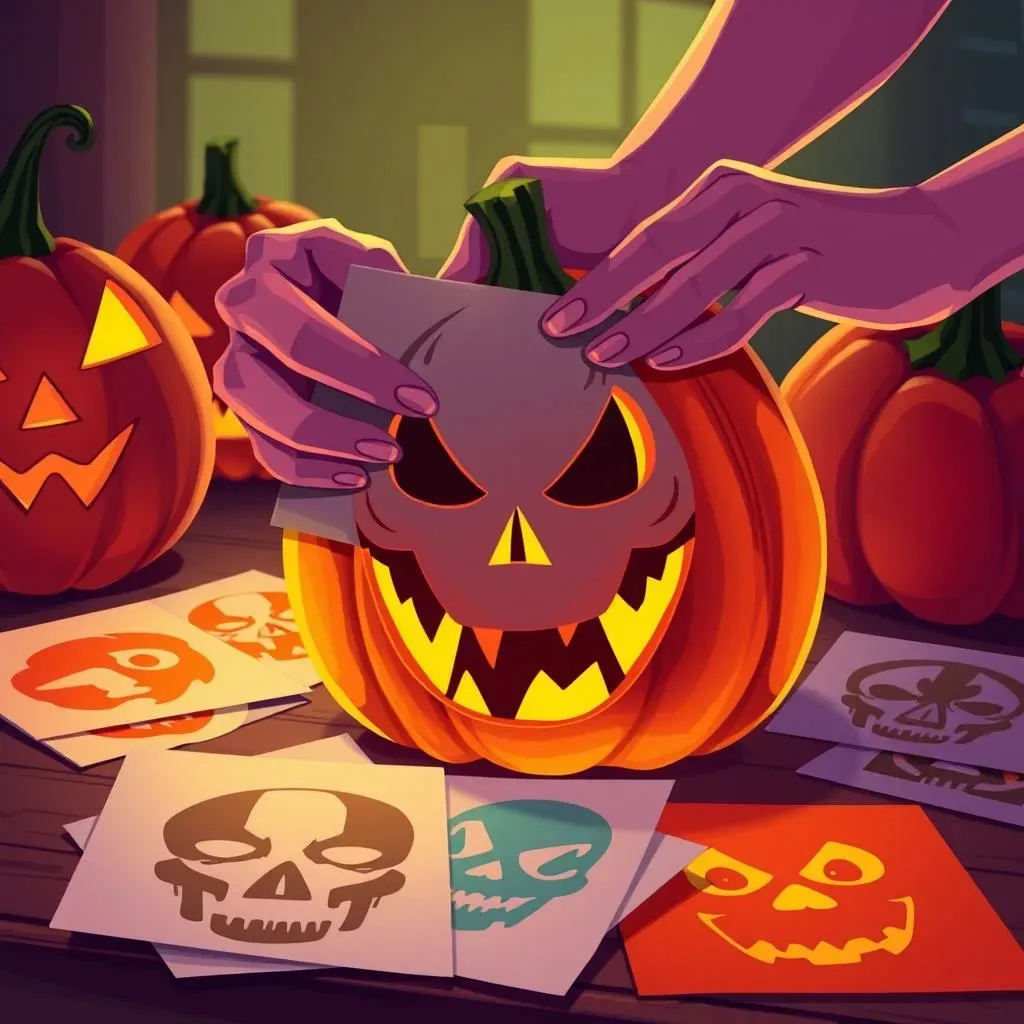
so maybe freehand carving isn't your thing. No sweat! That's where stencils and templates come in to save the day. Think of them as your personal pumpkin-carving cheat sheet. You can find tons of free stencils online – from classic spooky faces to intricate designs featuring your favorite movie monsters. Or, if you're feeling fancy, you can even buy pre-made template kits that come with everything you need to create a professional-looking jack-o'-lantern. The beauty of stencils is that they take the guesswork out of carving. Simply tape the stencil to your pumpkin, trace the design, and start cutting. It's like paint-by-numbers, but for pumpkins!
Using stencils is a game-changer for achieving those easy but scary pumpkin carving ideas. You're not relying solely on your drawing skills (or lack thereof). The stencil provides a clear guide, ensuring that your final product looks like what you envisioned. Plus, stencils are a great way to experiment with more complex designs without feeling overwhelmed. You can gradually build your carving confidence, one stencil at a time. It's all about making the process fun and accessible, regardless of your skill level.
Stencil Type | Description | Difficulty |
|---|---|---|
Printable Stencils | Free designs found online, printed on paper. | Easy |
Template Kits | Pre-made kits with stencils and carving tools. | Easy to Medium |
Custom Stencils | Designs created or commissioned for a unique look. | Medium to Hard |
Creative Twists: Unique Takes on Easy but Scary Pumpkin Carving Ideas
Creative Twists: Unique Takes on Easy but Scary Pumpkin Carving Ideas
Pumpkin as a Canvas: Painting and Mixed Media
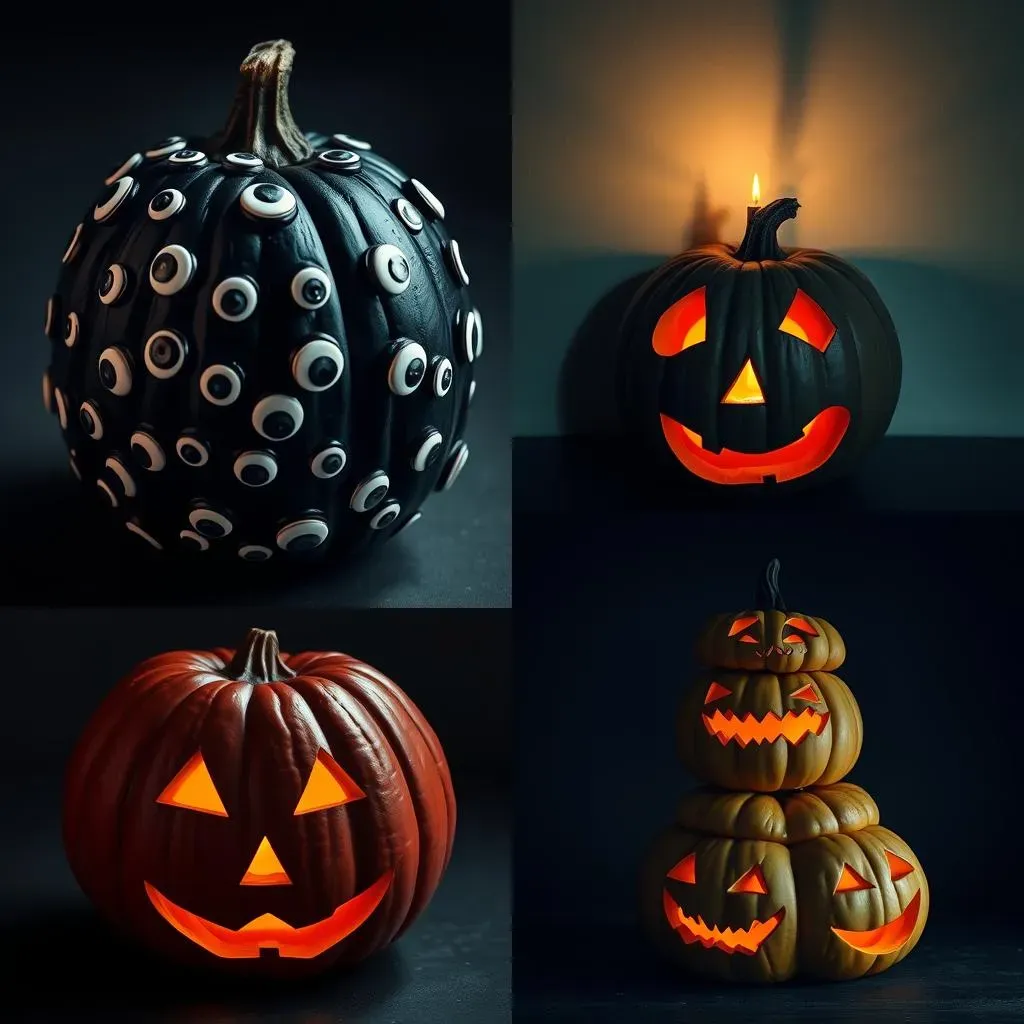
Forget carving altogether! Who says you have to cut into a pumpkin to make it scary? Think of your pumpkin as a blank canvas and unleash your inner artist with paint, glitter, googly eyes, and other mixed media. A simple coat of black paint can instantly transform a pumpkin into a spooky silhouette. Add some strategically placed glitter for an eerie, shimmering effect. Or, glue on googly eyes in varying sizes and arrangements for a truly monstrous creation. You could even create a collage of creepy images cut from magazines or newspapers. The possibilities are endless! This is a great option for those who are intimidated by carving or who want to involve younger children in the Halloween fun. It's all about embracing the unconventional and letting your creativity shine.
Remember those childhood art projects? Time to channel that energy! Use glow-in-the-dark paint for an extra spooky effect at night. Or, create a textured surface by gluing on dried beans, popcorn kernels, or even coffee grounds. You can also use stencils and sponges to create intricate patterns with paint. The key is to experiment and have fun. Don't be afraid to make mistakes – they can often lead to unexpected and amazing results. Painting and mixed media offer a low-pressure, high-reward way to create unique and memorable Halloween pumpkins.
Playing with Light: Shadows and Silhouettes
Let's talk about the power of light. Instead of focusing on intricate carvings, consider using light and shadow to create a spooky atmosphere. Carve out a few simple shapes – circles, squares, triangles – and then experiment with different light sources to see how the shadows play on the surrounding surfaces. A single candle placed inside the pumpkin can create a dramatic and eerie effect. Or, use a flashlight to project shadows onto a wall or ceiling. You can also create a layered effect by carving out multiple layers of shapes, allowing the light to shine through in different intensities. This technique can be used to create surprisingly complex and visually stunning designs.
Another cool idea is to use colored light bulbs to create a specific mood. A red light can make your pumpkin look menacing, while a green light can give it an otherworldly glow. You can also use a strobe light to create a flickering, disorienting effect. The key is to think about how light interacts with your carving and to use it to enhance the overall spookiness. Experiment with different angles, distances, and colors to find the perfect combination. With a little creativity, you can transform a simple pumpkin into a captivating display of light and shadow.
Light Source | Description | Spooky Effect |
|---|---|---|
Candle | Traditional light source. | Warm, flickering light, creates shadows. |
LED Bulb | Energy-efficient and safe. | Consistent, bright light, available in colors. |
Strobe Light | Flashes rapidly. | Disorienting, creates a sense of unease. |
Deconstructed Pumpkins: Multiple Gourds and Arrangements
Think outside the single pumpkin! Why limit yourself to just one gourd when you can create an entire arrangement? Stack multiple pumpkins on top of each other to create a towering monster. Carve different expressions on each pumpkin to create a sense of personality. Or, arrange several smaller pumpkins around a larger one to create a creepy scene. You could even create a pumpkin "family" with different sizes and shapes. The key is to think about how the different pumpkins interact with each other and to create a cohesive and visually interesting display.
Consider using pumpkins of different colors and textures to add visual interest. A white pumpkin can be used to create a ghostly effect, while a warty pumpkin can add a touch of grotesqueness. You can also use gourds, squash, and other fall vegetables to complement your pumpkins. Arrange them in a basket or on a hay bale to create a rustic and festive display. Deconstructed pumpkins offer a unique and eye-catching way to celebrate Halloween. It's all about thinking outside the box (or in this case, the pumpkin) and creating something truly original.
Unleash Your Inner Carver: Easy Scary Pumpkins Await
So, there you have it: a treasure trove of easy but scary pumpkin carving ideas to make your Halloween the spookiest yet. Whether you stick to the classics, get creative with stencils, or add your own unique twist, remember the most important thing is to have fun. Grab a pumpkin, gather your tools, and let your imagination run wild. With a little effort and a dash of creativity, you'll be the envy of the neighborhood with your frightfully fantastic jack-o'-lantern. Happy carving, and Happy Halloween!