Table of Contents
Halloween looms, and that means pumpkins are everywhere. Maybe you've scrolled past those incredible, intricate carvings online and thought, "Yeah, no way I can do that." Or maybe you've tried in the past and ended up with a lopsided mess that looked more sad than spooky. You're not alone. A lot of people think pumpkin carving requires some kind of advanced artistic degree. But what if I told you it doesn't have to be a frustrating ordeal? What if it could actually be, dare I say, easy but fun?
Picking Your Perfect Pumpkin & Essential Tools
Picking Your Perfect Pumpkin & Essential Tools
Finding Your Ideal Gourd
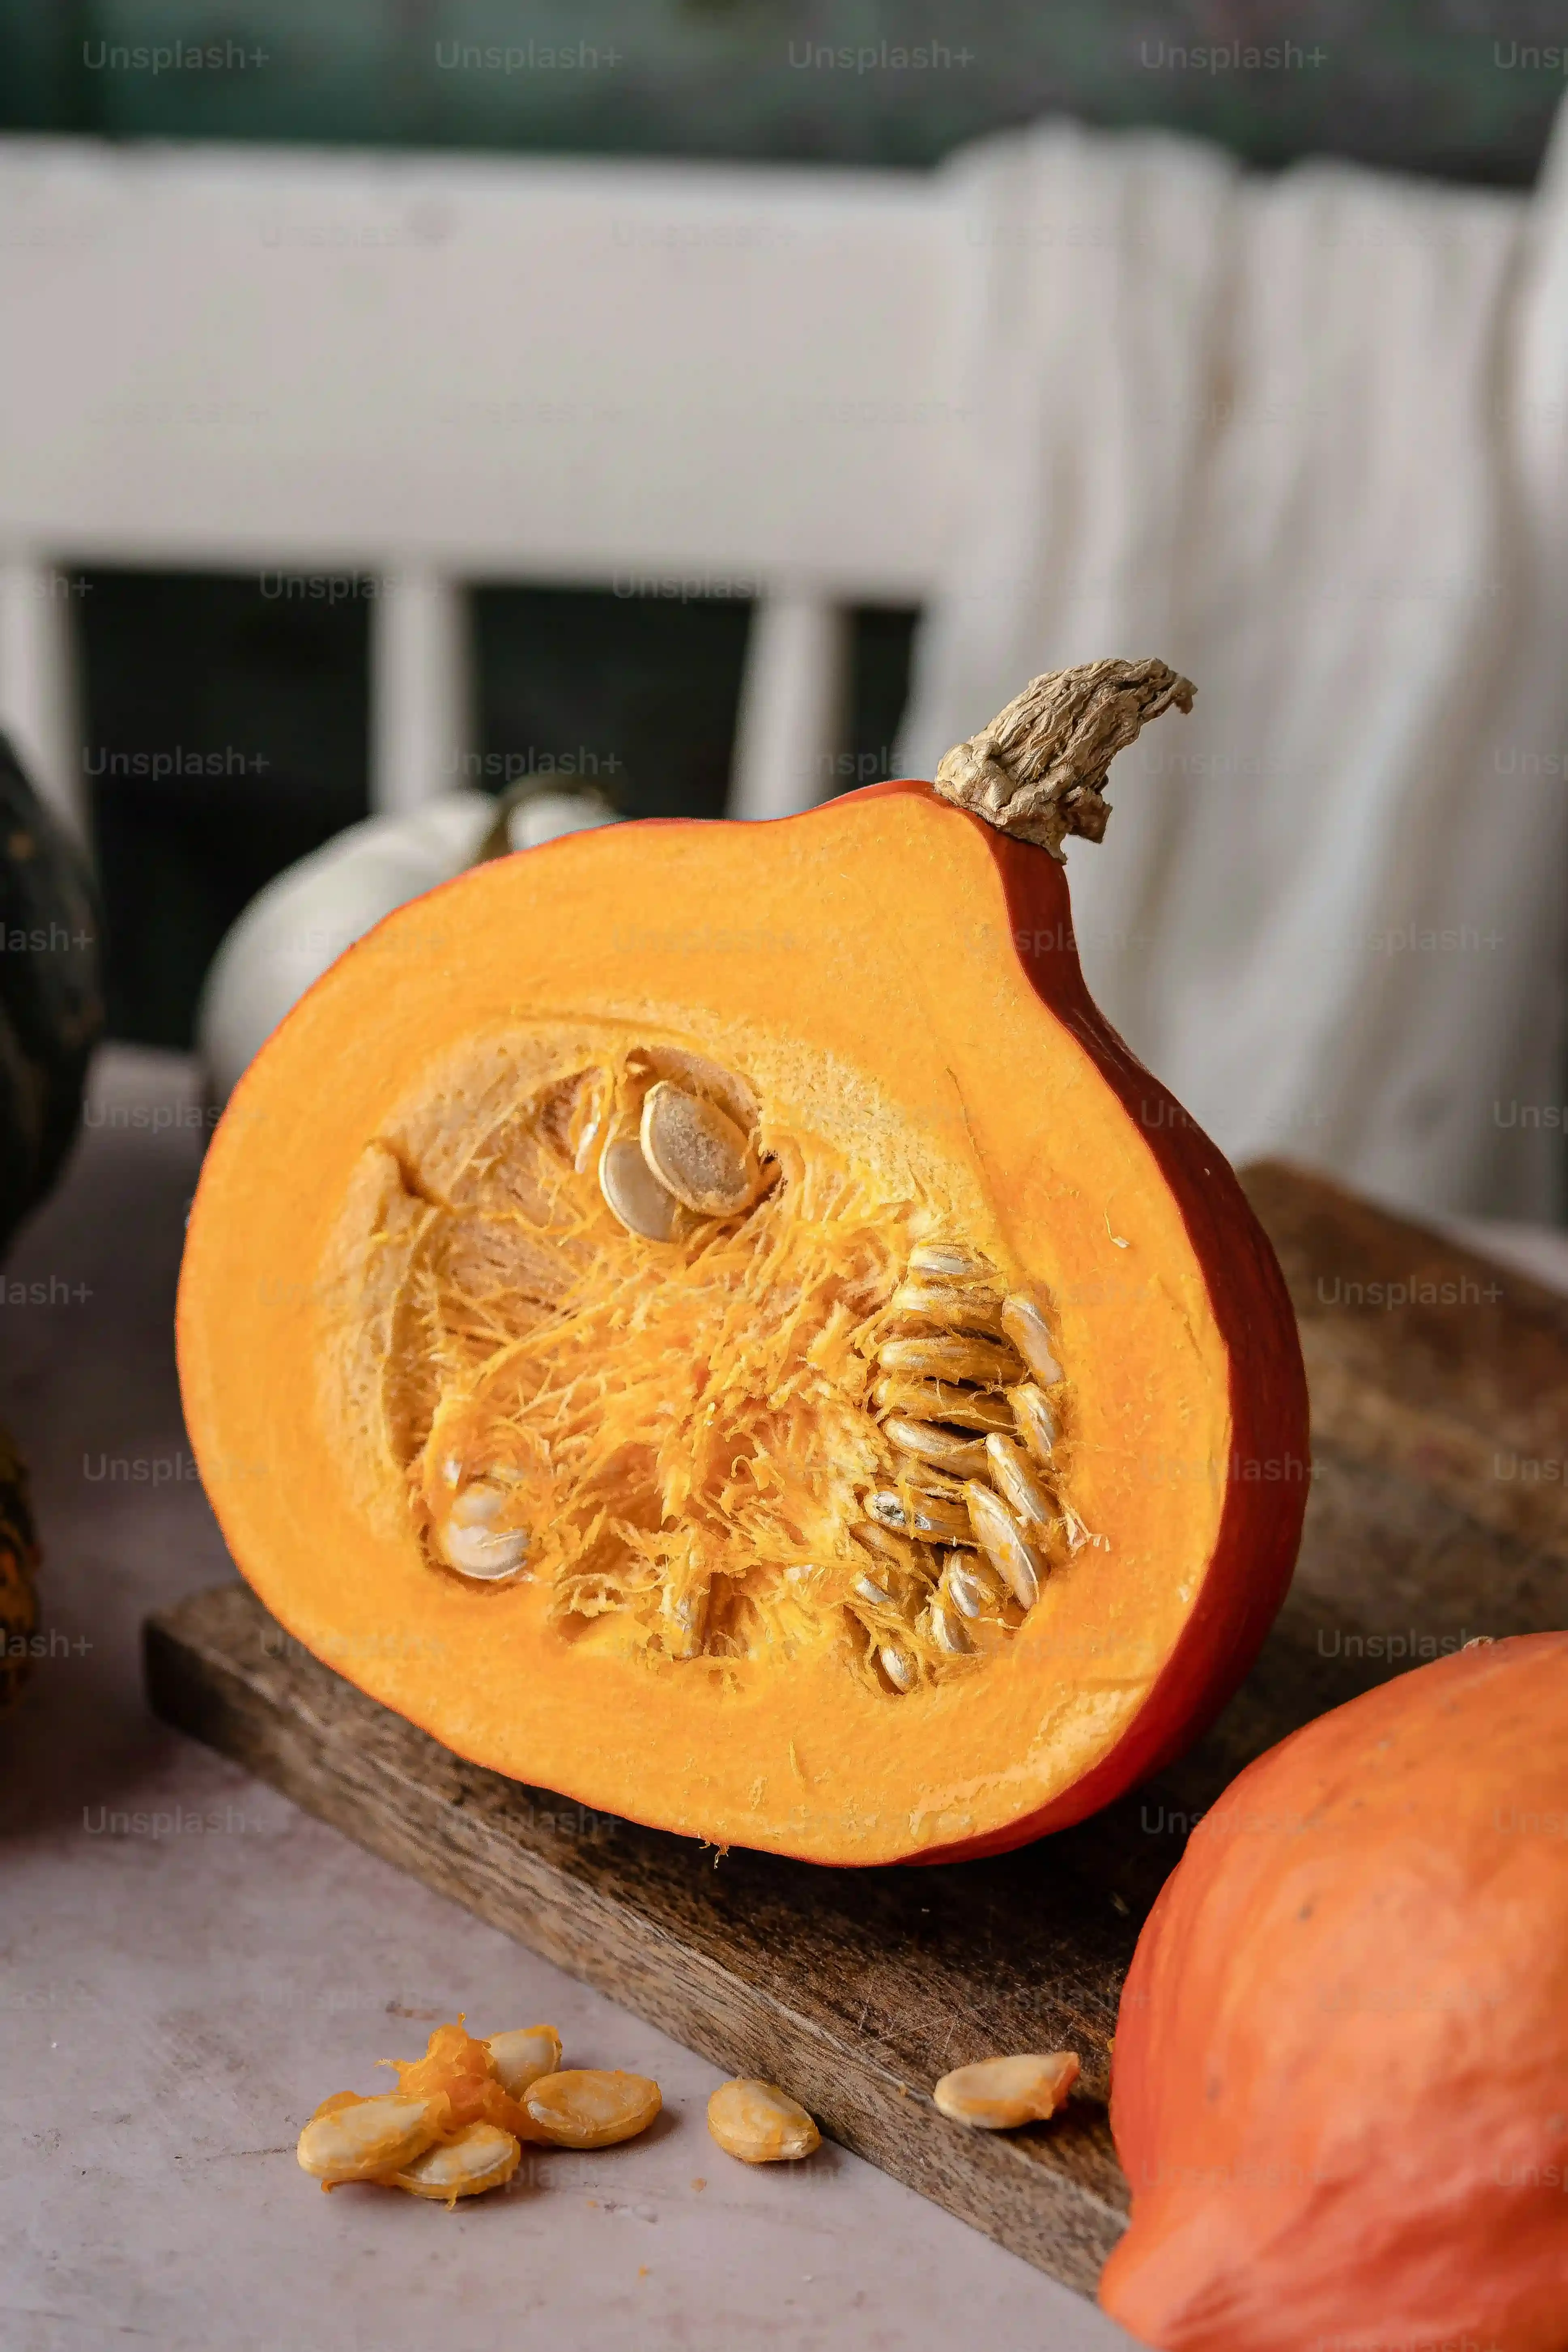
Alright, so you're standing in a patch or a grocery store, staring at a sea of orange. How do you pick the one that won't fight you every step of the way? It's not rocket science, but there are a few things to look for. First, give it a good once-over. You want a pumpkin with smooth, firm skin. Bumps and bruises might look "rustic," but they make carving harder than it needs to be. Also, check the stem – a sturdy, intact stem usually means the pumpkin is fresher and less likely to rot quickly. And don't be afraid to tap it; a hollow sound suggests it's ripe and ready.
Must-Have Tools for Easy Carving
Forget that flimsy little saw that comes in those cheap kits. While a basic kit can get you started, having a few better tools makes a huge difference. A good serrated knife is key for cutting off the top (or bottom, which some folks prefer for stability). For the actual carving, those small, sharp saws from a dedicated pumpkin carving kit are decent, but don't overlook kitchen tools. A sturdy ice cream scoop or a large spoon works wonders for scraping out the guts and seeds. Trust me, getting all that stringy stuff out is half the battle.
- Serrated knife (medium size)
- Sturdy spoon or ice cream scoop
- Pumpkin carving saw (small, sharp)
- Poker or drill for pilot holes
- Metal biscuit cutters (for shapes)
- Potato peeler (for skin etching)
Prepping Your Pumpkin Workspace
pumpkin selected, tools gathered. Now, set up your carving zone. This is where things can get messy, fast. Lay down some old newspapers or a plastic tablecloth. You'll thank yourself later when cleanup takes five minutes instead of fifty. Decide if you're cutting the top or the bottom. Cutting the bottom can make it easier to place the pumpkin over a light source later and keeps the top looking clean. Cut at an angle, not straight down, towards the center. This creates a little ledge for the lid to sit on, preventing it from falling in. Scoop out *everything*. The cleaner the inside, the less likely it is to mold quickly and the easier it is to light.
Simple Carving Techniques for Fun Results
Simple Carving Techniques for Fun Results
Getting Your Design Onto the Gourd
guts are out, pumpkin is prepped. Now, how do you get that cool design you want onto the round, slippery surface? Freehanding is an option if you're feeling brave (or reckless), but for genuinely easy but fun pumpkin carving ideas, transferring a pattern is the way to go. You can print templates you find online or draw your own simple shapes. Tape the pattern onto your pumpkin. Use a poker tool or even a sharp pencil to poke small holes along the lines of your design. Keep the holes close together, like a dotted line. When you peel the paper off, you'll have a connect-the-dots guide right there on the pumpkin skin. Simple, effective, and takes the guesswork out of it.
Making the Cuts That Count
With your design outlined in tiny dots, it's time to grab that small carving saw. Don't try to push it straight through with brute force; that's how you break blades and get frustrated. Use a gentle, back-and-forth sawing motion, like you're using a tiny hand saw. Always cut towards the center of the pumpkin cavity, not towards yourself (obvious, but worth stating). Start with the smaller, inner pieces first. If you cut the big outer shapes first, the pumpkin can become unstable, and those small details get much harder. Take your time. If a piece doesn't pop out easily, don't force it. Wiggle the saw blade in the cut a bit, or carefully push from the inside. Sometimes a dull blade is the culprit; swap it out if it feels like it's dragging.
Here are a few cutting tips to keep in mind:
- Keep your saw blade clean; wipe off pumpkin gunk regularly.
- For sharp corners, cut past the corner slightly, then approach the corner from the next line.
- If you want to create areas where light shines through *less* intensely, use a potato peeler or a linoleum cutter to shave off just the outer layer of skin instead of cutting all the way through.
- Work in a well-lit area so you can clearly see your lines and cuts.
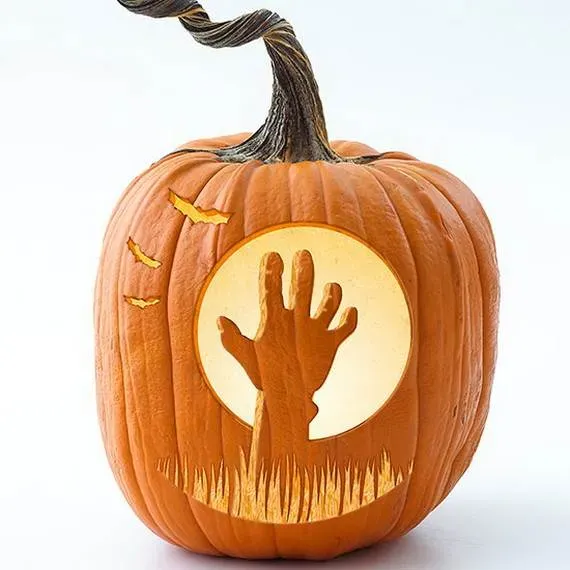
Creative & Easy But Fun Pumpkin Carving Ideas
Creative & Easy But Fun Pumpkin Carving Ideas
so you've got your prepped pumpkin and your poke-dot outline. Now for the fun part: making it look like something other than a gutted squash. This is where we get into the actual Creative & Easy But Fun Pumpkin Carving Ideas. Forget trying to recreate the Mona Lisa or a photo-realistic portrait of your cat. The best easy designs play to the pumpkin's strengths – its shape, its color, and the simple contrast of light and dark. Think bold shapes, classic Halloween symbols, or even just playing with textures. The goal here isn't perfection; it's personality and that satisfying glow from inside.
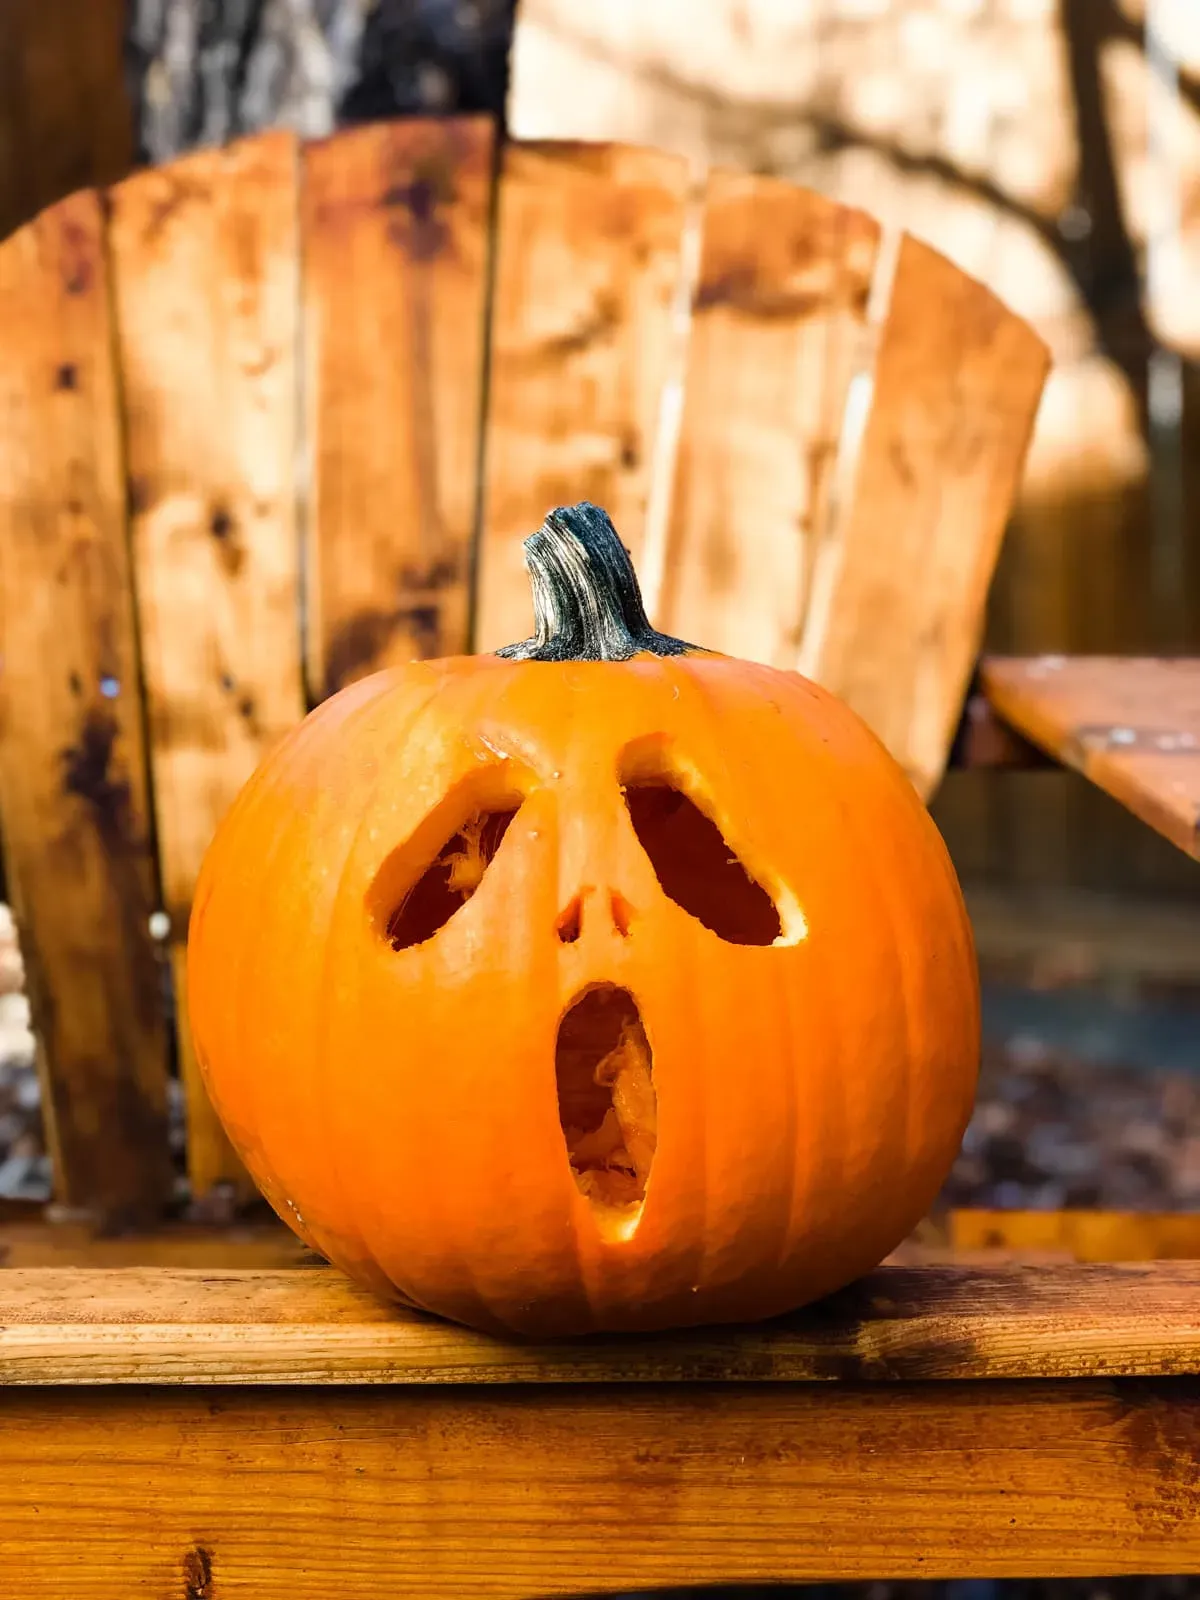
- Classic Jack-o'-Lantern Faces: Simple triangles for eyes and nose, a jagged smile. You can vary the expression easily – happy, grumpy, surprised.
- Ghostly Silhouettes: Cut out simple wavy ghost shapes. Easy to trace and cut.
- Starry Night: Use a drill with different sized bits or metal biscuit cutters to create a constellation of holes. No intricate cutting needed.
- House Numbers: Simple block numbers cut out so your trick-or-treaters can find you easily. Practical and festive.
- Animal Prints: Think polka dots for a ladybug, stripes for a tiger (etching the skin works well here), or simple paw prints.
Making Your Carved Creation Last & Shine

Making Your Carved Creation Last & Shine
Keeping Your Gourd From Going South
You spent time creating your easy but fun pumpkin carving ideas, and the last thing you want is for it to turn into a saggy, moldy mess after just one night. Pumpkins are organic, they will decay, but you can slow down the inevitable. Once carved, the exposed flesh is vulnerable to drying out and attracting bacteria. A simple trick is to give your pumpkin a "spa treatment." After carving, you can spray the cut edges with a bleach solution (about one teaspoon of bleach per quart of water). This kills surface bacteria. Or, for a less chemical approach, a thin layer of petroleum jelly rubbed on the cut surfaces helps seal in moisture and prevent drying.
Some folks swear by submerging the carved pumpkin in cold water for a few hours each day, especially if it starts to look a bit wilted. Just make sure it dries completely before putting a light source inside. Think of it like giving it a drink. It won't last forever, but these steps can buy you a few extra days of spooky display time.
Lighting Up Your Spooky Scene
Now that your pumpkin is carved and prepped for longevity, it's time to make it glow. The classic choice is a candle, of course. Tea lights are common, but they can be a fire hazard, especially if the pumpkin is getting a bit dry or if there are curious pets or kids around. If you go the candle route, use long matches or a long lighter to avoid burning yourself. Make sure the lid (if you cut one) has a vent hole or two to let heat escape, otherwise, you'll cook the pumpkin from the inside, speeding up decay.
A much safer and increasingly popular option is using battery-operated LED lights. These come in various forms – small tea lights, strings of fairy lights, or even color-changing puck lights. They don't produce heat, last a long time on a set of batteries, and eliminate the fire risk entirely. Plus, you can leave them on for hours without worry, which is great for Halloween night.
Lighting Options:
- Traditional Tea Light Candles (Ventilation needed, fire risk)
- Small Votive Candles (Larger flame, more heat)
- Battery-Operated LED Tea Lights (Safe, no heat, long-lasting)
- LED String Lights (Can fill larger pumpkins, versatile)
- LED Puck Lights (Bright, good for larger openings)
Where to Put Your Glowing Gourd
Where you place your carved pumpkin matters for both its lifespan and its visual impact. Direct sunlight is the enemy; it will dehydrate and degrade the pumpkin flesh rapidly. Find a cool, shady spot on your porch or in your yard. If temperatures are warm during the day, consider bringing it inside to a cool garage or basement until evening. Rain can also be detrimental, leading to mold growth, so a covered porch is ideal. If it has to be out in the open, maybe rig up a temporary cover if rain is in the forecast.
Elevating the pumpkin slightly can also help with air circulation, reducing the chance of mold forming on the bottom. A small stand or even a few bricks can do the trick. Check on your pumpkin daily. If you see small spots of mold starting, you can try wiping them away with a paper towel dampened with the bleach solution mentioned earlier. It's a bit like playing whack-a-mole with decay, but it helps keep your easy but fun pumpkin carving ideas looking good for as long as possible.
Carving Your Way to Halloween Fun
So there you have it. Pumpkin carving doesn't require a chisel and a week of free time. With the right pumpkin, a few simple tools, and a willingness to keep it easy, you can absolutely create something cool and festive. These easy but fun pumpkin carving ideas are just a starting point; feel free to mix and match, add your own flair, or keep it super minimal. The point is to enjoy the process, get a little messy, and end up with a glowing gourd that adds some character to your porch. Go grab a pumpkin and give it a shot.