Table of Contents
October rolls around, and suddenly pumpkins are everywhere. You see those incredible, intricate carvings online or on your neighbor's porch and think, "Yeah, that's not happening for me." The idea of tackling a big, round gourd with sharp tools feels less like festive fun and more like a potential trip to the emergency room or, at best, ending up with a lopsided, sad-looking mess.
Why Easy Beginner Pumpkin Carving Ideas Make Sense

Why Easy Beginner Pumpkin Carving Ideas Make Sense
Ditching the Intimidation Factor
Let's face it, staring at a big, blank pumpkin with a sharp knife in your hand can feel less like a fun fall activity and more like a high-stakes craft project. You see those elaborate designs online – haunted houses, famous movie monsters, incredibly detailed portraits – and immediately think, "Nope, not for me." That level of skill takes practice, patience, and probably a few years of dedicated gourd-gouging. Trying to jump straight into something complex is a surefire way to end up with a mangled mess and zero Halloween spirit.
Starting with easy beginner pumpkin carving ideas completely removes that barrier. We're talking simple shapes, basic patterns, things you can actually accomplish in an evening without wanting to throw the pumpkin across the yard. It’s about building confidence, not crushing it before you even start.
Building Confidence, One Simple Cut at a Time
Think of it like learning anything new. You don't start playing piano by tackling a Rachmaninoff concerto. You start with "Twinkle, Twinkle Little Star." Pumpkin carving is no different. Mastering basic cuts – simple triangles, circles, squares – gives you a feel for the tools and the gourd's texture. You learn how much pressure to apply, how to turn the knife, how to scoop out the guts efficiently without collapsing the wall.
Successfully carving a simple design, even just a classic goofy grin, feels good. It proves you *can* do it. That small win is way more motivating than failing spectacularly at something too ambitious. Plus, it's genuinely more enjoyable when you're not stressed about messing up a complicated pattern.
What's the biggest mistake beginners make?
- Choosing a design that's too intricate.
- Using dull or inappropriate tools.
- Trying to rush the process.
- Not scooping out enough of the inside.
- Ignoring safety precautions.
Quick Wins for Maximum Festive Impact
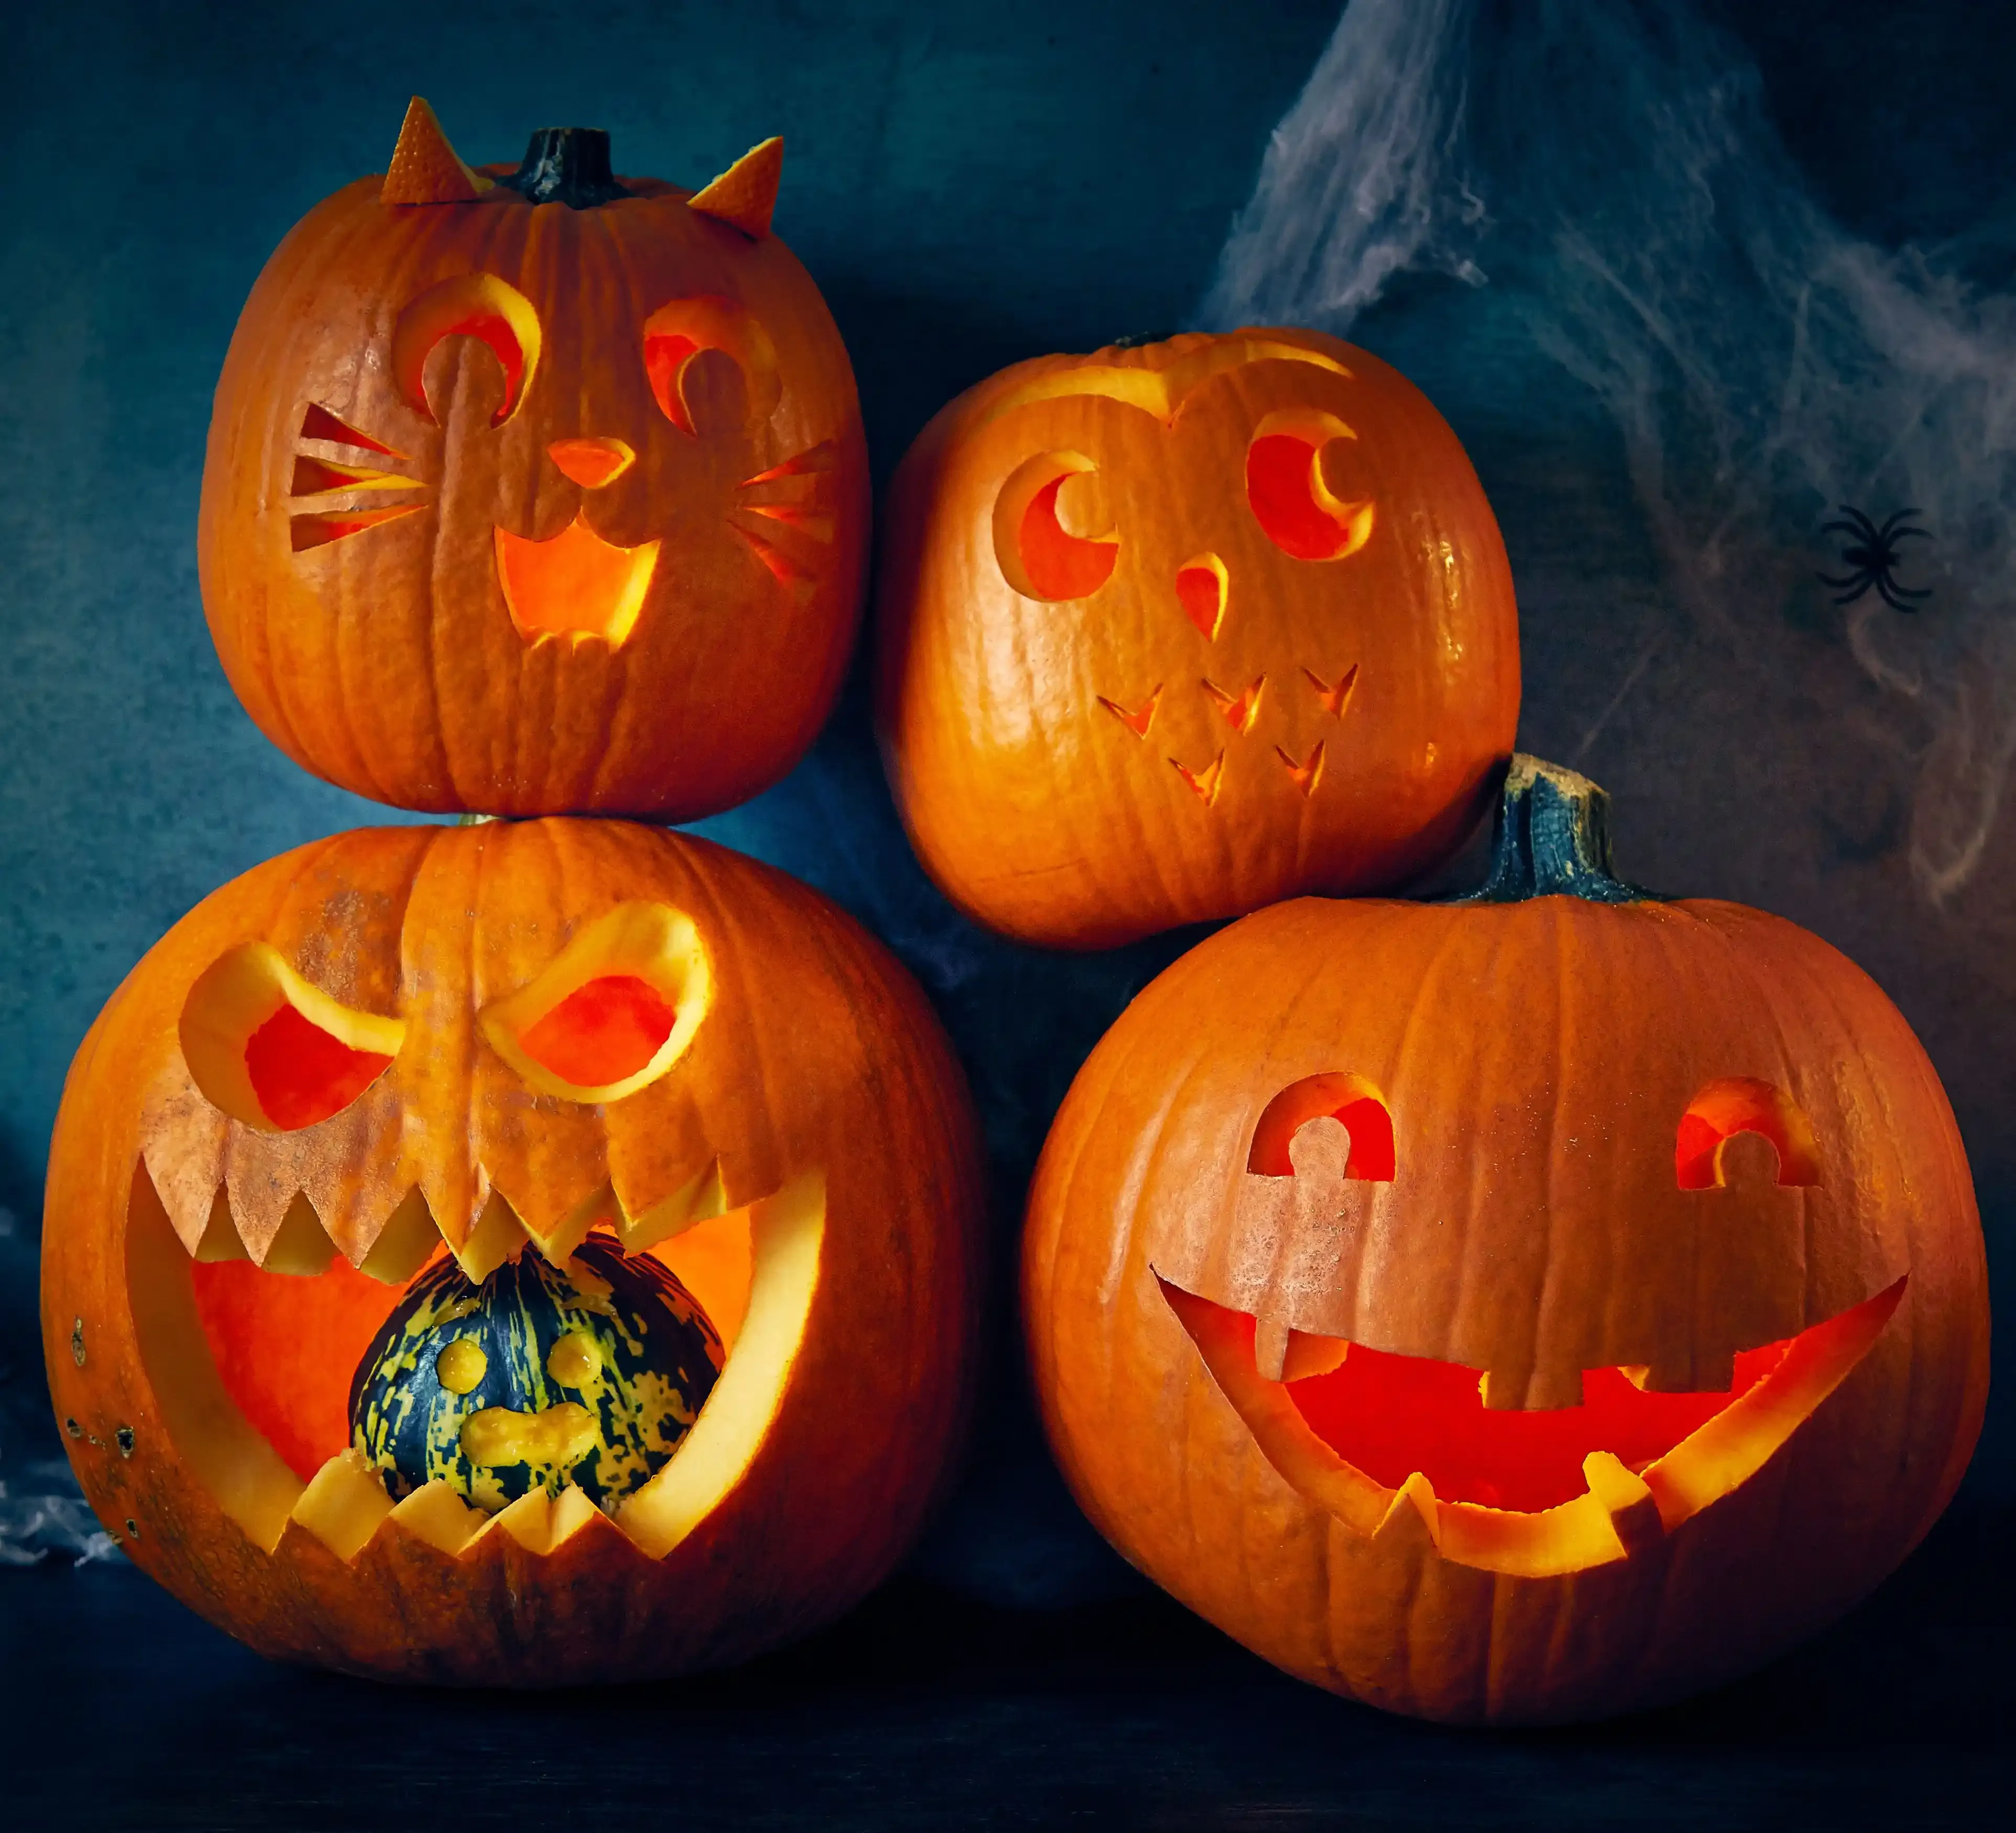
The beauty of easy beginner pumpkin carving ideas is that they deliver results fast. You get a recognizable jack-o'-lantern on your porch without hours of painstaking work. A few simple shapes can create a spooky ghost, a friendly monster, or a classic toothy grin that everyone recognizes and appreciates. These designs aren't just "good for a beginner"; they're genuinely effective Halloween decorations.
They still cast cool shadows when lit and signal to the neighborhood that you're participating in the fun. It's about getting into the spirit with minimal fuss and maximum return on your effort. Why overcomplicate it when simple works?
The Right Gear for Easy Pumpkin Carving
The Right Gear for Easy Pumpkin Carving
Picking the Right Tools, Not All the Tools
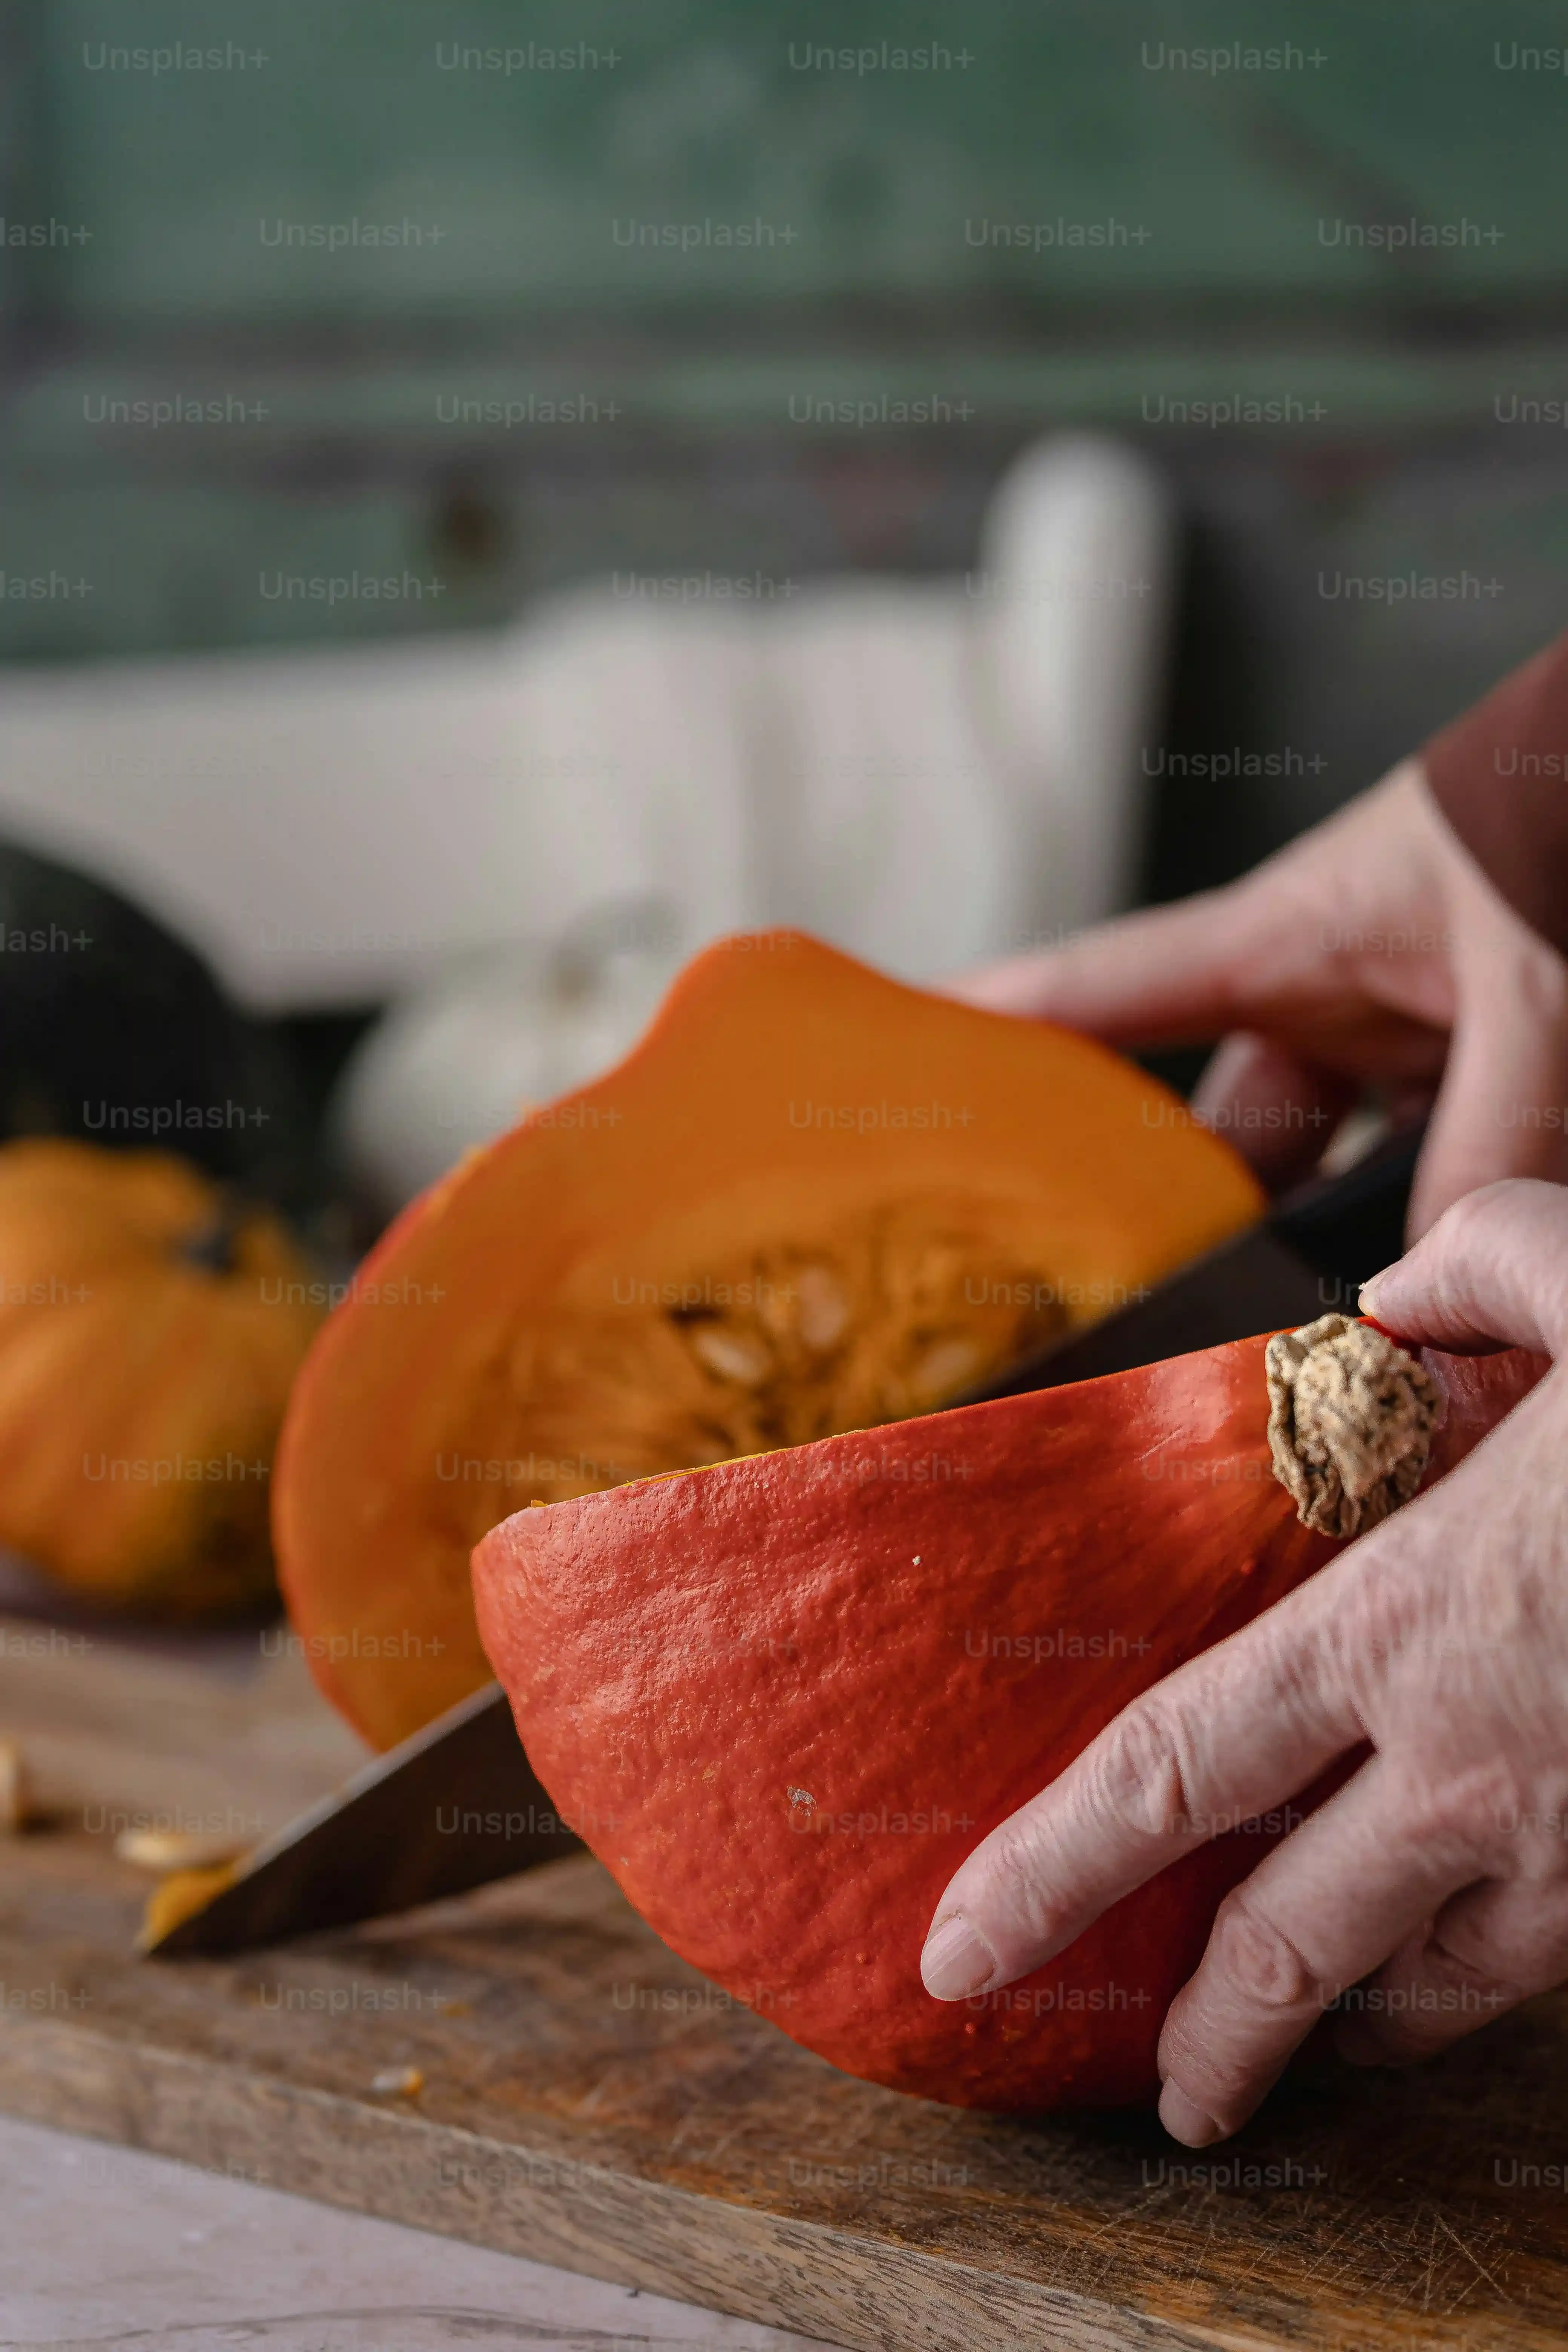
so you’re ready to carve. Before you picture yourself needing a whole surgeon's kit, let's talk about the actual tools you need for easy pumpkin carving. Forget those massive, intimidating carving sets with 50 different oddly shaped blades. You really only need a few key things to get the job done safely and effectively, especially when you’re just starting out with easy beginner pumpkin carving ideas. Think simple, sturdy, and sharp enough to get through pumpkin rind without a wrestling match.
What's in your essential beginner pumpkin carving kit?
- A sturdy spoon or scoop for gutting (an ice cream scoop works great).
- A small, sharp paring knife (make sure it's not too flimsy).
- A serrated knife or a dedicated pumpkin carving saw (the small ones that come in kits are decent for straight lines).
- A marker or pen to draw your design.
- Newspaper or a drop cloth for the mess.
Basic Cuts and Simple Shapes for Easy Beginner Pumpkin Carving
Basic Cuts and Simple Shapes for Easy Beginner Pumpkin Carving
Mastering the Simple Triangle
you've got your pumpkin, your basic tools, and a vague sense of determination. Where do you even start cutting? For easy beginner pumpkin carving ideas, the triangle is your absolute best friend. Think classic jack-o'-lantern eyes and jagged teeth. It's straightforward, forgiving, and instantly recognizable. You draw the shape on the pumpkin, then carefully insert your small serrated saw or knife at a 90-degree angle to the pumpkin surface.
Saw back and forth gently, following your line. Don't try to force it. Go slow, especially around corners. Once you've connected all the points of the triangle, give the piece a little push from the inside, and it should pop right out. If it's stuck, your cuts might not have met – just go back and saw those sections again. It sounds simple, and honestly, it really is when you take your time.
Circles, Squares, and Straight Lines
Beyond the mighty triangle, circles, squares, and straight lines are the building blocks of pretty much every easy beginner pumpkin carving idea out there. A simple circle can be an eye, a dot on a friendly monster, or part of a larger pattern. Squares work for blocky teeth or windows on a carved scene. Straight lines define mouths, eyebrows, or decorative elements.
Cutting circles can be a bit trickier than straight lines. For smaller circles, you can sometimes use a metal cookie cutter – press it firmly into the pumpkin skin and tap the back with a mallet or rubber hammer to push it through. For larger circles or squares, draw your shape and use your serrated saw, pivoting carefully as you go around curves. Straight lines are the easiest; just draw and saw.
What basic shapes should you practice first?
- Triangles (for eyes and teeth)
- Circles (for eyes, noses, or dots)
- Squares/Rectangles (for teeth or simple patterns)
- Straight Lines (for mouths or borders)
Combining Shapes for Character
The magic happens when you start combining these basic shapes. Two triangles and a jagged line make a classic spooky face. Two circles for eyes, a small triangle for a nose, and a simple curved line for a smile create a friendly character. You can make blocky robot faces with squares and rectangles, or abstract patterns with just lines and circles.
Sketching your design on the pumpkin first is crucial. Use a dry-erase marker if you want to be able to change your mind. Don't overcrowd the design; simple, larger shapes are easier to cut and look bolder when lit. Remember, the goal here is achievable fun, not competing for a carving championship. Stick to a few simple elements, execute them cleanly using these basic cuts, and you’ll have a fantastic, easy beginner pumpkin carving idea brought to life.
Our Favorite Easy Beginner Pumpkin Carving Ideas to Try
Our Favorite Easy Beginner Pumpkin Carving Ideas to Try
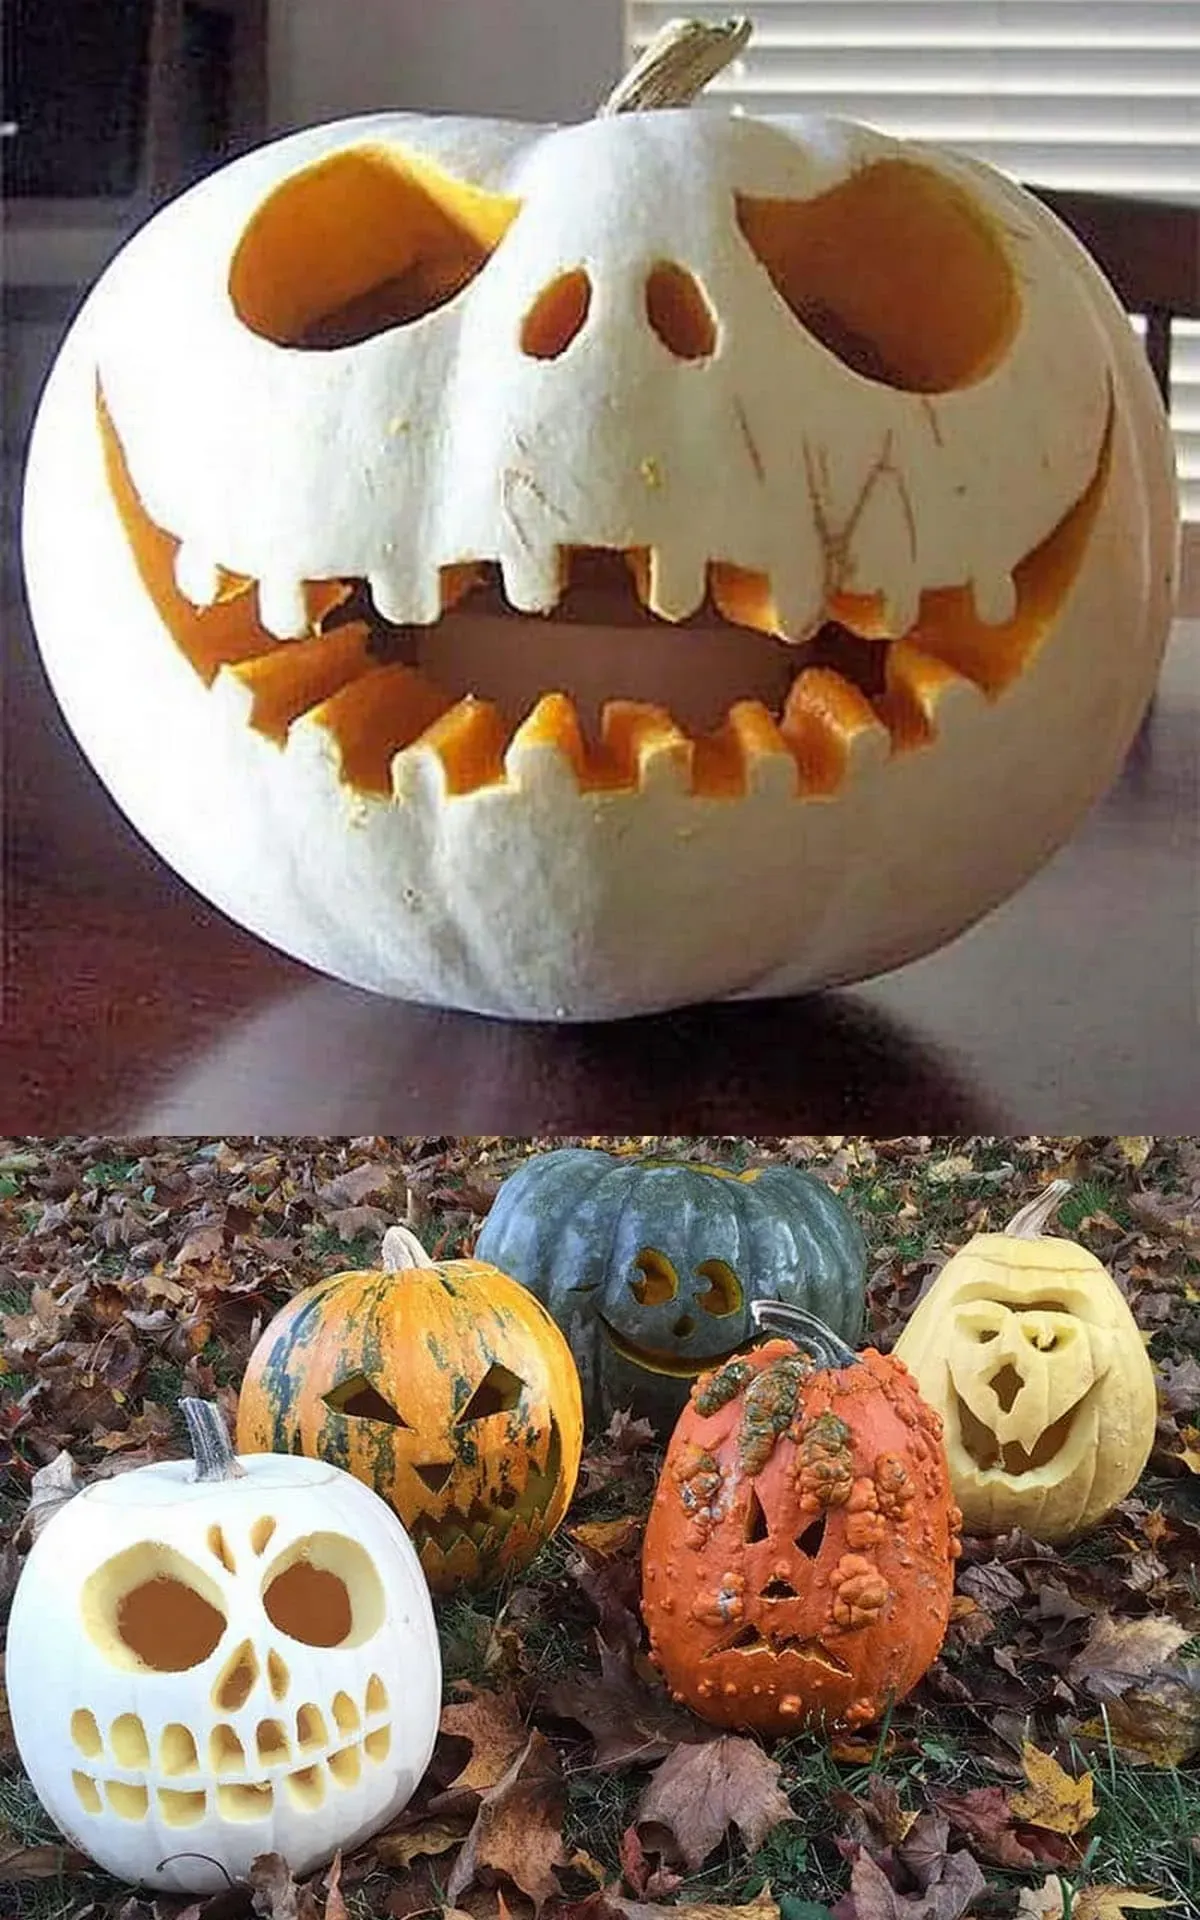
Alright, you've got your tools, you know how to make a triangle that doesn't look like a sad potato wedge, and you're ready for some actual projects. Forget trying to recreate the Mona Lisa on a gourd. We're focusing on easy beginner pumpkin carving ideas that are genuinely achievable and still look fantastic sitting on your porch or windowsill. These aren't just simplified versions of complex designs; they're clever ways to use basic shapes and techniques to create maximum impact with minimal effort. Think bold, graphic, and maybe a little goofy – because Halloween is supposed to be fun, not frustrating.
So, what kind of easy beginner pumpkin carving ideas are we talking about?
- Classic geometric faces (triangles, squares, circles)
- Simple silhouette shapes (ghosts, bats, stars, moons)
- Dot patterns (using drills or hole cutters)
- Etched designs (scraping the skin, not cutting all the way through)
- Word art (simple block letters)
Making Your Easy Beginner Pumpkin Carving Creation Last

Making Your Easy Beginner Pumpkin Carving Creation Last
You’ve successfully carved your first easy beginner pumpkin carving idea – maybe a goofy grin or a simple ghost silhouette. Now comes the slightly sad part: pumpkins are organic, and they don't last forever, especially once you slice into them. The open cuts invite bacteria and mold, and the pumpkin itself will start to dehydrate and collapse. You're not building a monument here; you're creating temporary art. However, you can definitely extend its lifespan beyond a couple of soggy days by taking a few simple steps. Think of it less as preservation and more as delaying the inevitable decomposition.
Wrap Up: Your Easy Pumpkin Carving Adventure Awaits
So there you have it. Tackling a pumpkin doesn't have to be an all-day, frustrating ordeal ending in disappointment. By starting with easy beginner pumpkin carving ideas, using the right basic tools, and focusing on simple shapes, you can absolutely create a cool Halloween decoration. It's about getting your hands a little messy, enjoying the process, and ending up with a glowing gourd that adds some festive spirit to your space. Don't overthink it; just pick one of the simple ideas and give it a shot. Worst case, you have some pumpkin guts to roast for snacks.