Table of Contents
Halloween's creeping up, and you've got that perfect pumpkin sitting on your porch. The thought of intricate, hours-long carving sessions might feel daunting, maybe even impossible after a long day. Forget the super-complex designs that require specialized tools and the patience of a saint. This year, let's keep it spooky but simple.
Why Go for Easy Bat Pumpkin Carving?
Why Go for Easy Bat Pumpkin Carving?
Skip the Carving Catastrophe
Let's be honest. Those intricate, award-winning pumpkin designs you see online? They look amazing, but attempting them often ends in tears, broken carving tools, and a defeated pile of pumpkin guts. It's supposed to be fun, not a test of your fine motor skills under pressure. Choosing easy bat pumpkin carving ideas means you can actually enjoy the process. You get a cool, spooky result for your porch without needing to block out an entire weekend or buy a specialized rotary tool.
Perfect for Every Skill Level (Even Yours)
Maybe you've never carved a pumpkin before. Maybe your last attempt looked more like a melting alien than a jack-o'-lantern. No judgment here. Easy bat pumpkin carving is incredibly forgiving. Bats are simple shapes – wings, a body, maybe some pointy ears. You're not dealing with tiny details that require surgical precision. This makes it an ideal project for beginners, kids, or anyone who just wants a quick win in the Halloween decor department.
- Less time commitment
- Lower chance of frustration
- Great for family activities
- Looks spooky without being difficult
Classic Spooky Vibes, Guaranteed
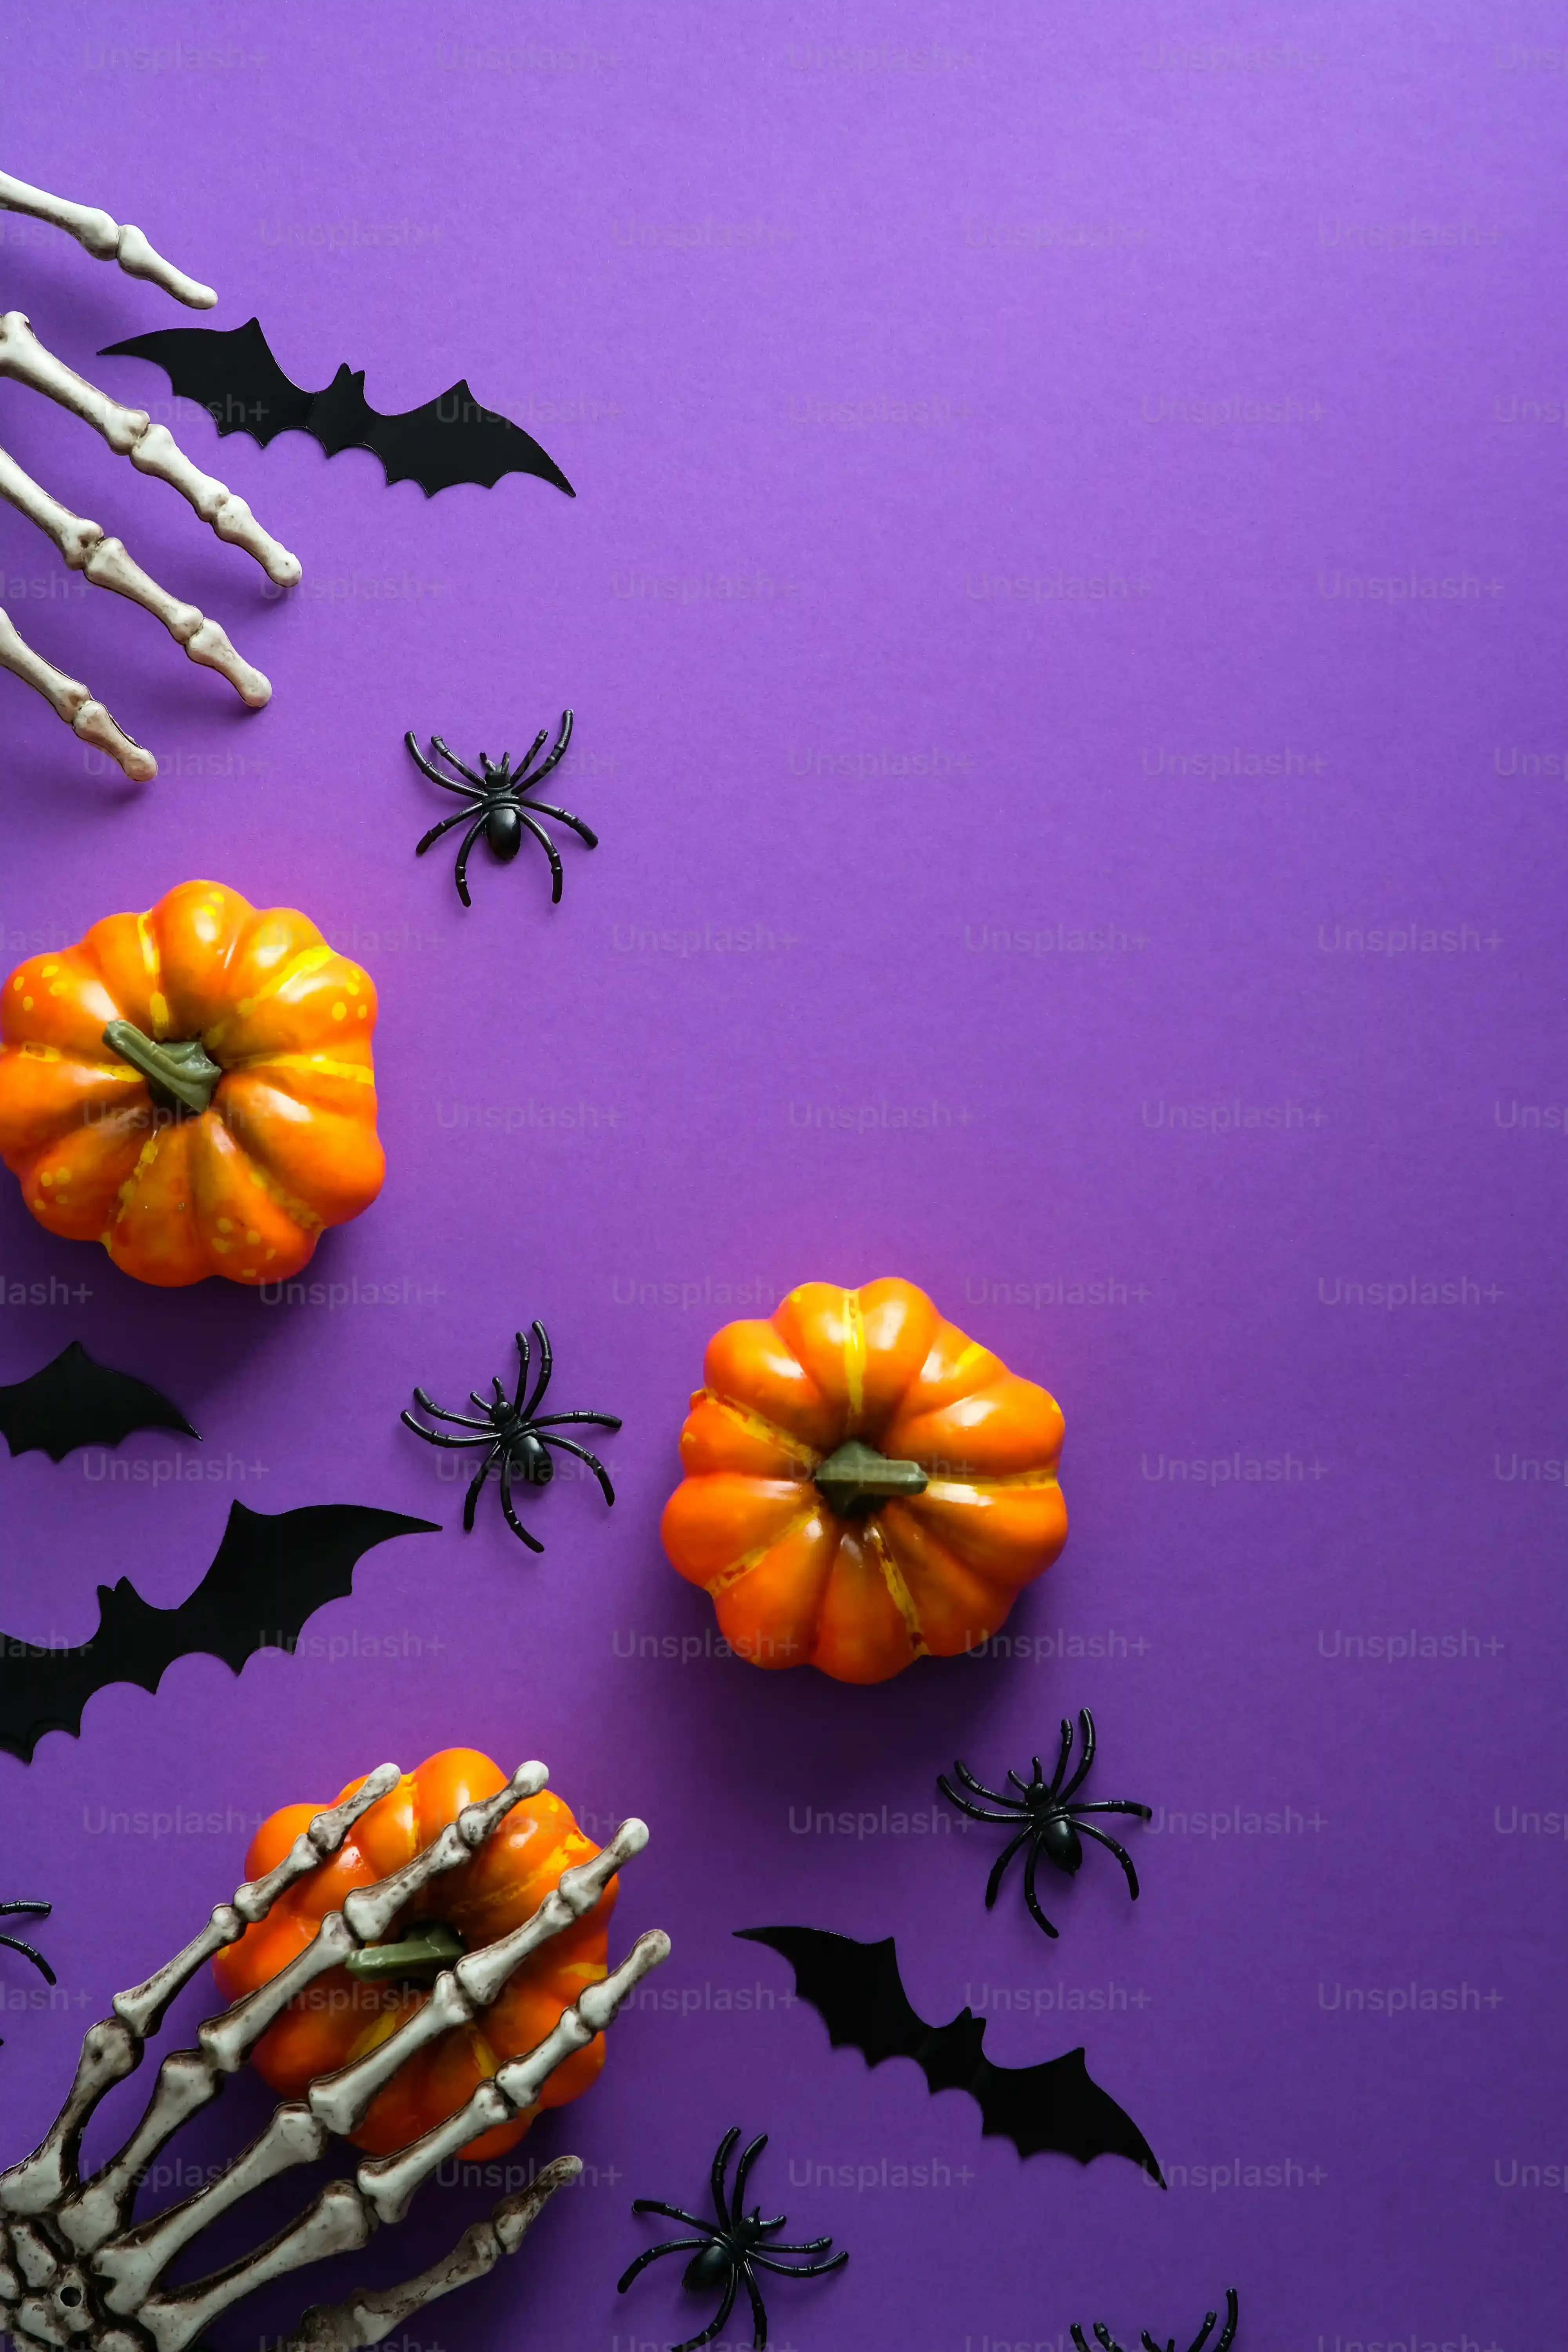
Bats are a Halloween staple for a reason. They flutter around at dusk, hang upside down in creepy places, and just scream "spooky night." An easy bat design on your pumpkin immediately sets the right tone. It's instantly recognizable, classic Halloween imagery. You don't need a complex scene to get the point across. A simple silhouette or a few flying bats convey that perfect, slightly eerie Halloween feeling without any fuss.
Simple Steps for Easy Bat Pumpkin Carving Success

Simple Steps for Easy Bat Pumpkin Carving Success
Picking Your Pumpkin and Prep
Alright, first things first. You need a pumpkin. Don't grab the biggest, most unwieldy one you see. For easy bat pumpkin carving, a medium-sized pumpkin with a relatively smooth surface works best. It's easier to handle, and you won't be wrestling with it while trying to make those simple cuts. Give it a good wash to get off any dirt. Then comes the classic step: cutting off the top (or bottom, some folks prefer the bottom for stability and easier gutting). Scoop out all the seeds and stringy bits. Get it really clean inside. This makes carving easier and helps prevent your masterpiece from molding too quickly.
Transferring Your Bat Design
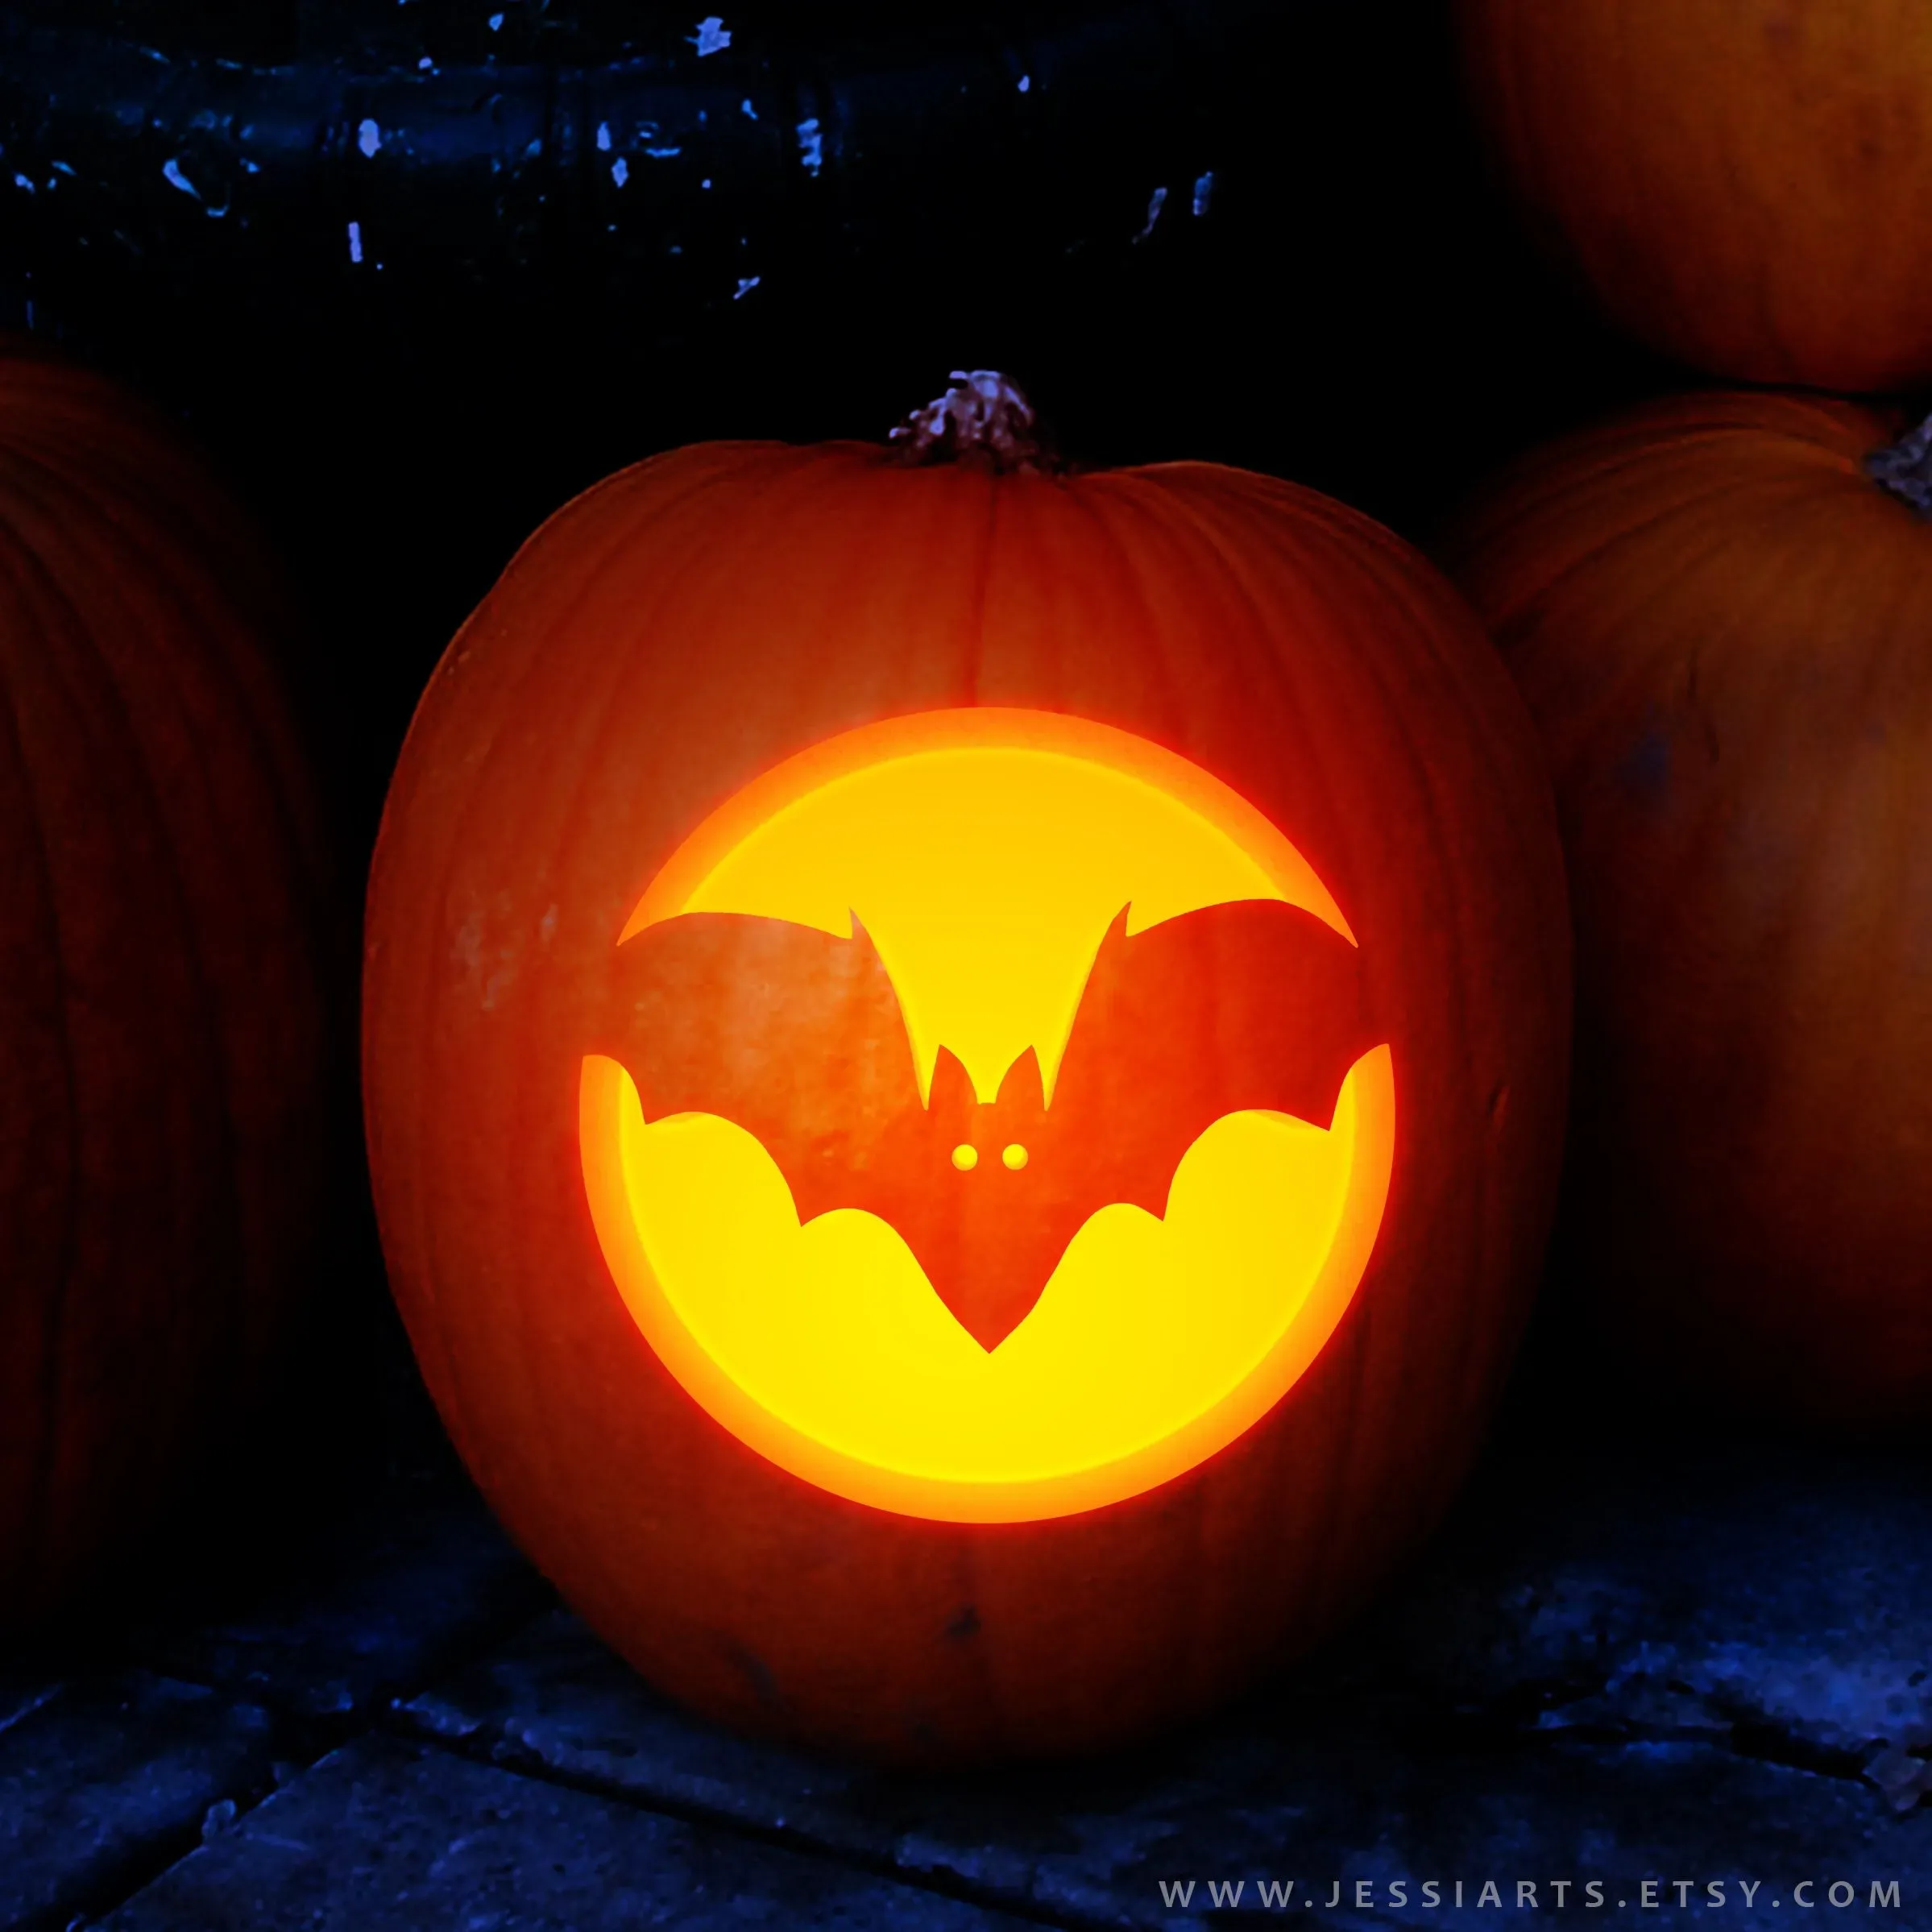
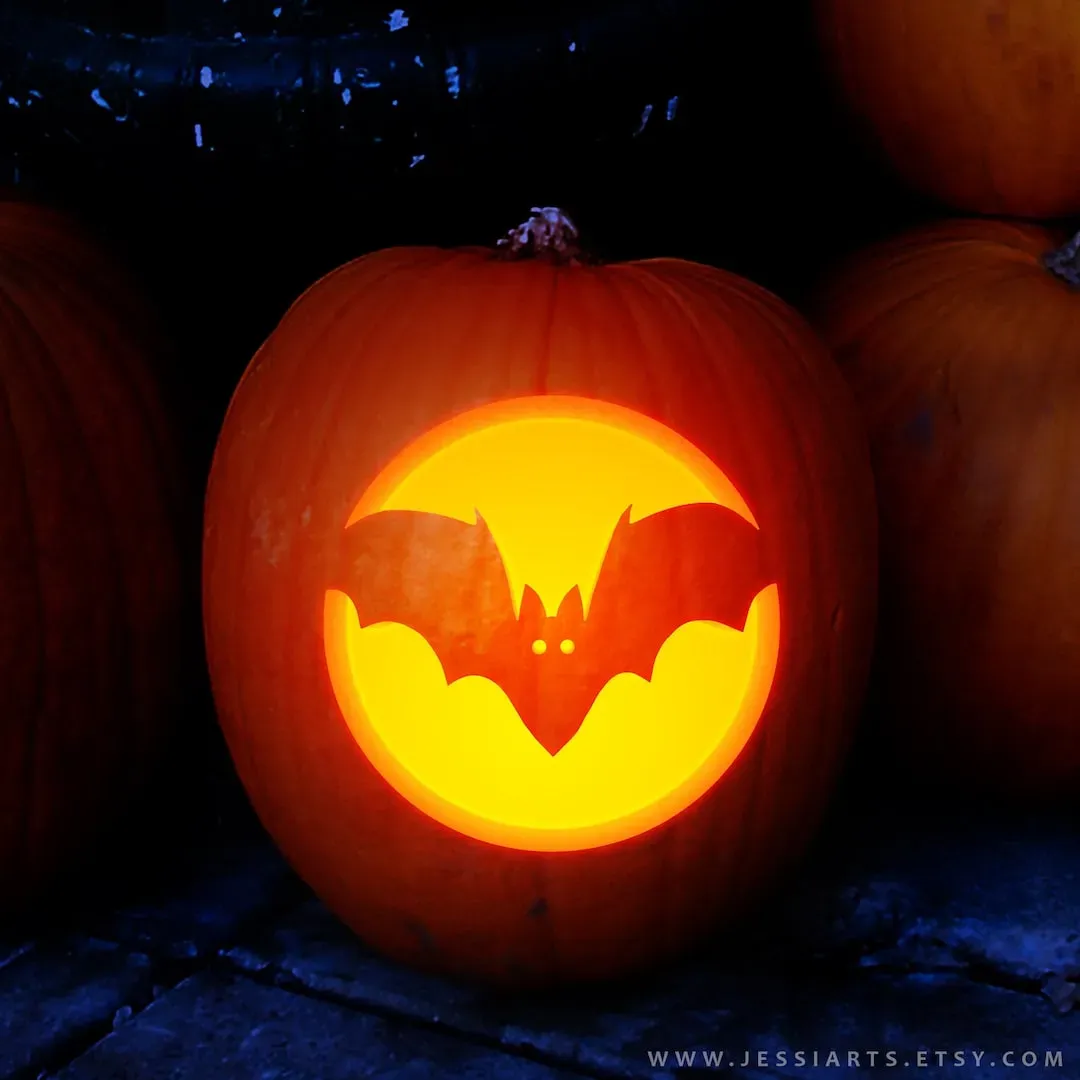
Now for the bat. You don't need to freehand this unless you're feeling brave. Find a simple bat silhouette online and print it out. Keep it basic – a body and two wings are enough. Tape the paper template onto your clean pumpkin where you want the bat to fly (or hang). Use a sharp tool, like a pumpkin carving poker or even a push pin, to poke small holes along the lines of your bat template. Space the holes close together. When you remove the paper, you'll have a dotted outline on the pumpkin surface. This dotted line is your guide for the actual carving. It's straightforward and takes the guesswork out of drawing.
- Choose a medium, smooth pumpkin.
- Clean it inside and out thoroughly.
- Find a simple bat silhouette template.
- Tape the template onto the pumpkin.
- Use a poker or pin to transfer the design via dots.
Beyond Basic: More Easy Bat Pumpkin Carving Ideas
Beyond Basic: More Easy Bat Pumpkin Carving Ideas
Adding a Swarm of Spooky Silhouettes
you've nailed the single bat. Feeling a bit more ambitious, but still want to keep things firmly in the "easy" category? Don't try to carve a vampire riding a bat. Instead, think in multiples. A single bat is cool, but a whole swarm? That's properly creepy. The beauty is, you're just repeating the same simple shape. Print out several different sizes of that basic bat silhouette template. Place them strategically across your pumpkin, maybe having them look like they're flying upwards or swirling around. Poke the dots for each one. Carve them out just like you did the first. It takes a little more time to transfer all those templates, sure, but the carving itself is the exact same easy cut you already mastered. The visual effect is way more dramatic for minimal extra effort.
This approach works because you're not adding complexity to the *cut*, just adding more of the *same* easy cut. It gives your pumpkin a dynamic look without requiring you to learn new techniques. Think of it as scaling up your easy win.
Etching for Texture and Detail (Still Easy!)
Want to add a bit more flair than just a cutout hole? You don't have to carve all the way through. Etching is your friend here, and it's surprisingly easy. Instead of cutting out the entire bat shape, you just scrape away the top layer of pumpkin skin. Pumpkin carving kits often come with simple scraping tools, or you can even use a sturdy spoon or a linoleum cutter. This removes the tough outer layer, revealing the lighter flesh underneath. When you light the pumpkin, these etched areas will glow softly, creating a different kind of spooky effect.
For a bat, you could etch the outline instead of cutting it, or etch details *within* a carved bat shape, like simple wing veins or furry texture on the body. It adds depth without the risk of breaking a thin piece of pumpkin flesh by trying to carve intricate details. It’s a low-stress way to elevate your easy bat pumpkin carving ideas.
Technique | Complexity | Result |
|---|---|---|
Simple Cutout | Easiest | Classic, bright silhouette |
Multiple Cutouts | Easy (Repetitive) | Dynamic, swarm effect |
Etching | Easy (Different Tool) | Subtle glow, textured detail |
Pro Tips for Your Easy Bat Pumpkin
Pro Tips for Your Easy Bat Pumpkin
Light It Right
So you've carved your easy bat pumpkin. Looks pretty good, right? Don't just stick any old candle in there and call it a day. The light source can make a huge difference in how your simple bat design looks, especially at night. Traditional candles are classic, but they can be a fire hazard, especially with kids or pets around. Plus, they can blacken the inside of your pumpkin quickly. Consider using battery-operated LED lights. You can get them in different colors, but a warm white or even a flickering "flame" LED gives that classic spooky glow without the fire risk. Pop a few in there for brighter illumination that really makes those bat shapes stand out.
Preserve Your Masterpiece (Sort Of)
You put in the effort, even if it was easy effort. You want your easy bat pumpkin to last longer than a couple of damp nights. Pumpkins are organic, they break down. It’s a fact of life, and Halloween. But you can slow the inevitable mush. After carving, you can spray the cut edges and inside with a bleach solution (about one tablespoon of bleach per quart of water). This kills bacteria and mold spores that cause decay. Let it dry completely. Some people also swear by rubbing petroleum jelly on the cut edges to seal in moisture, though this can sometimes make it look greasy. Store your pumpkin in a cool, dry place during the day if possible, bringing it out at night for display. It won’t last forever, but these steps buy you a few extra spooky nights.
- Use LED lights for safety and better glow.
- Clean inside thoroughly after scooping.
- Spray with a weak bleach solution to deter mold.
- Consider petroleum jelly on cut edges.
- Keep it cool and dry when not on display.
Your Easy Bat Pumpkin is Ready
So there you have it. Tackling easy bat pumpkin carving doesn't require a workshop full of tools or a week off work. With a few simple shapes and maybe a template, you can get a genuinely spooky result that holds up when the trick-or-treaters show up. No need to stress over perfection; sometimes, a slightly wonky bat looks even better. Light it up, place it where everyone can see, and enjoy the fact that you pulled off some classic Halloween decor without wanting to throw the pumpkin across the yard.