Table of Contents
Alright, it's that time of year again. The leaves are doing their dramatic color change, the air has that crisp bite, and suddenly you're staring down a big, round gourd wondering how you're going to turn it into something halfway decent – or, even better, something genuinely terrifying. Forget those intricate, multi-day carving projects you see online. Most of us just want something that looks cool (or spooky) without requiring a sculpture degree or sacrificing a weekend. If you're hunting for **easy and scary pumpkin carving ideas** that won't leave you covered in pumpkin guts and regret, you're in the right spot.
Picking Your Perfect Pumpkin & Getting Started Safely
Picking Your Perfect Pumpkin & Getting Started Safely
Choosing a Gourd That Won't Betray You
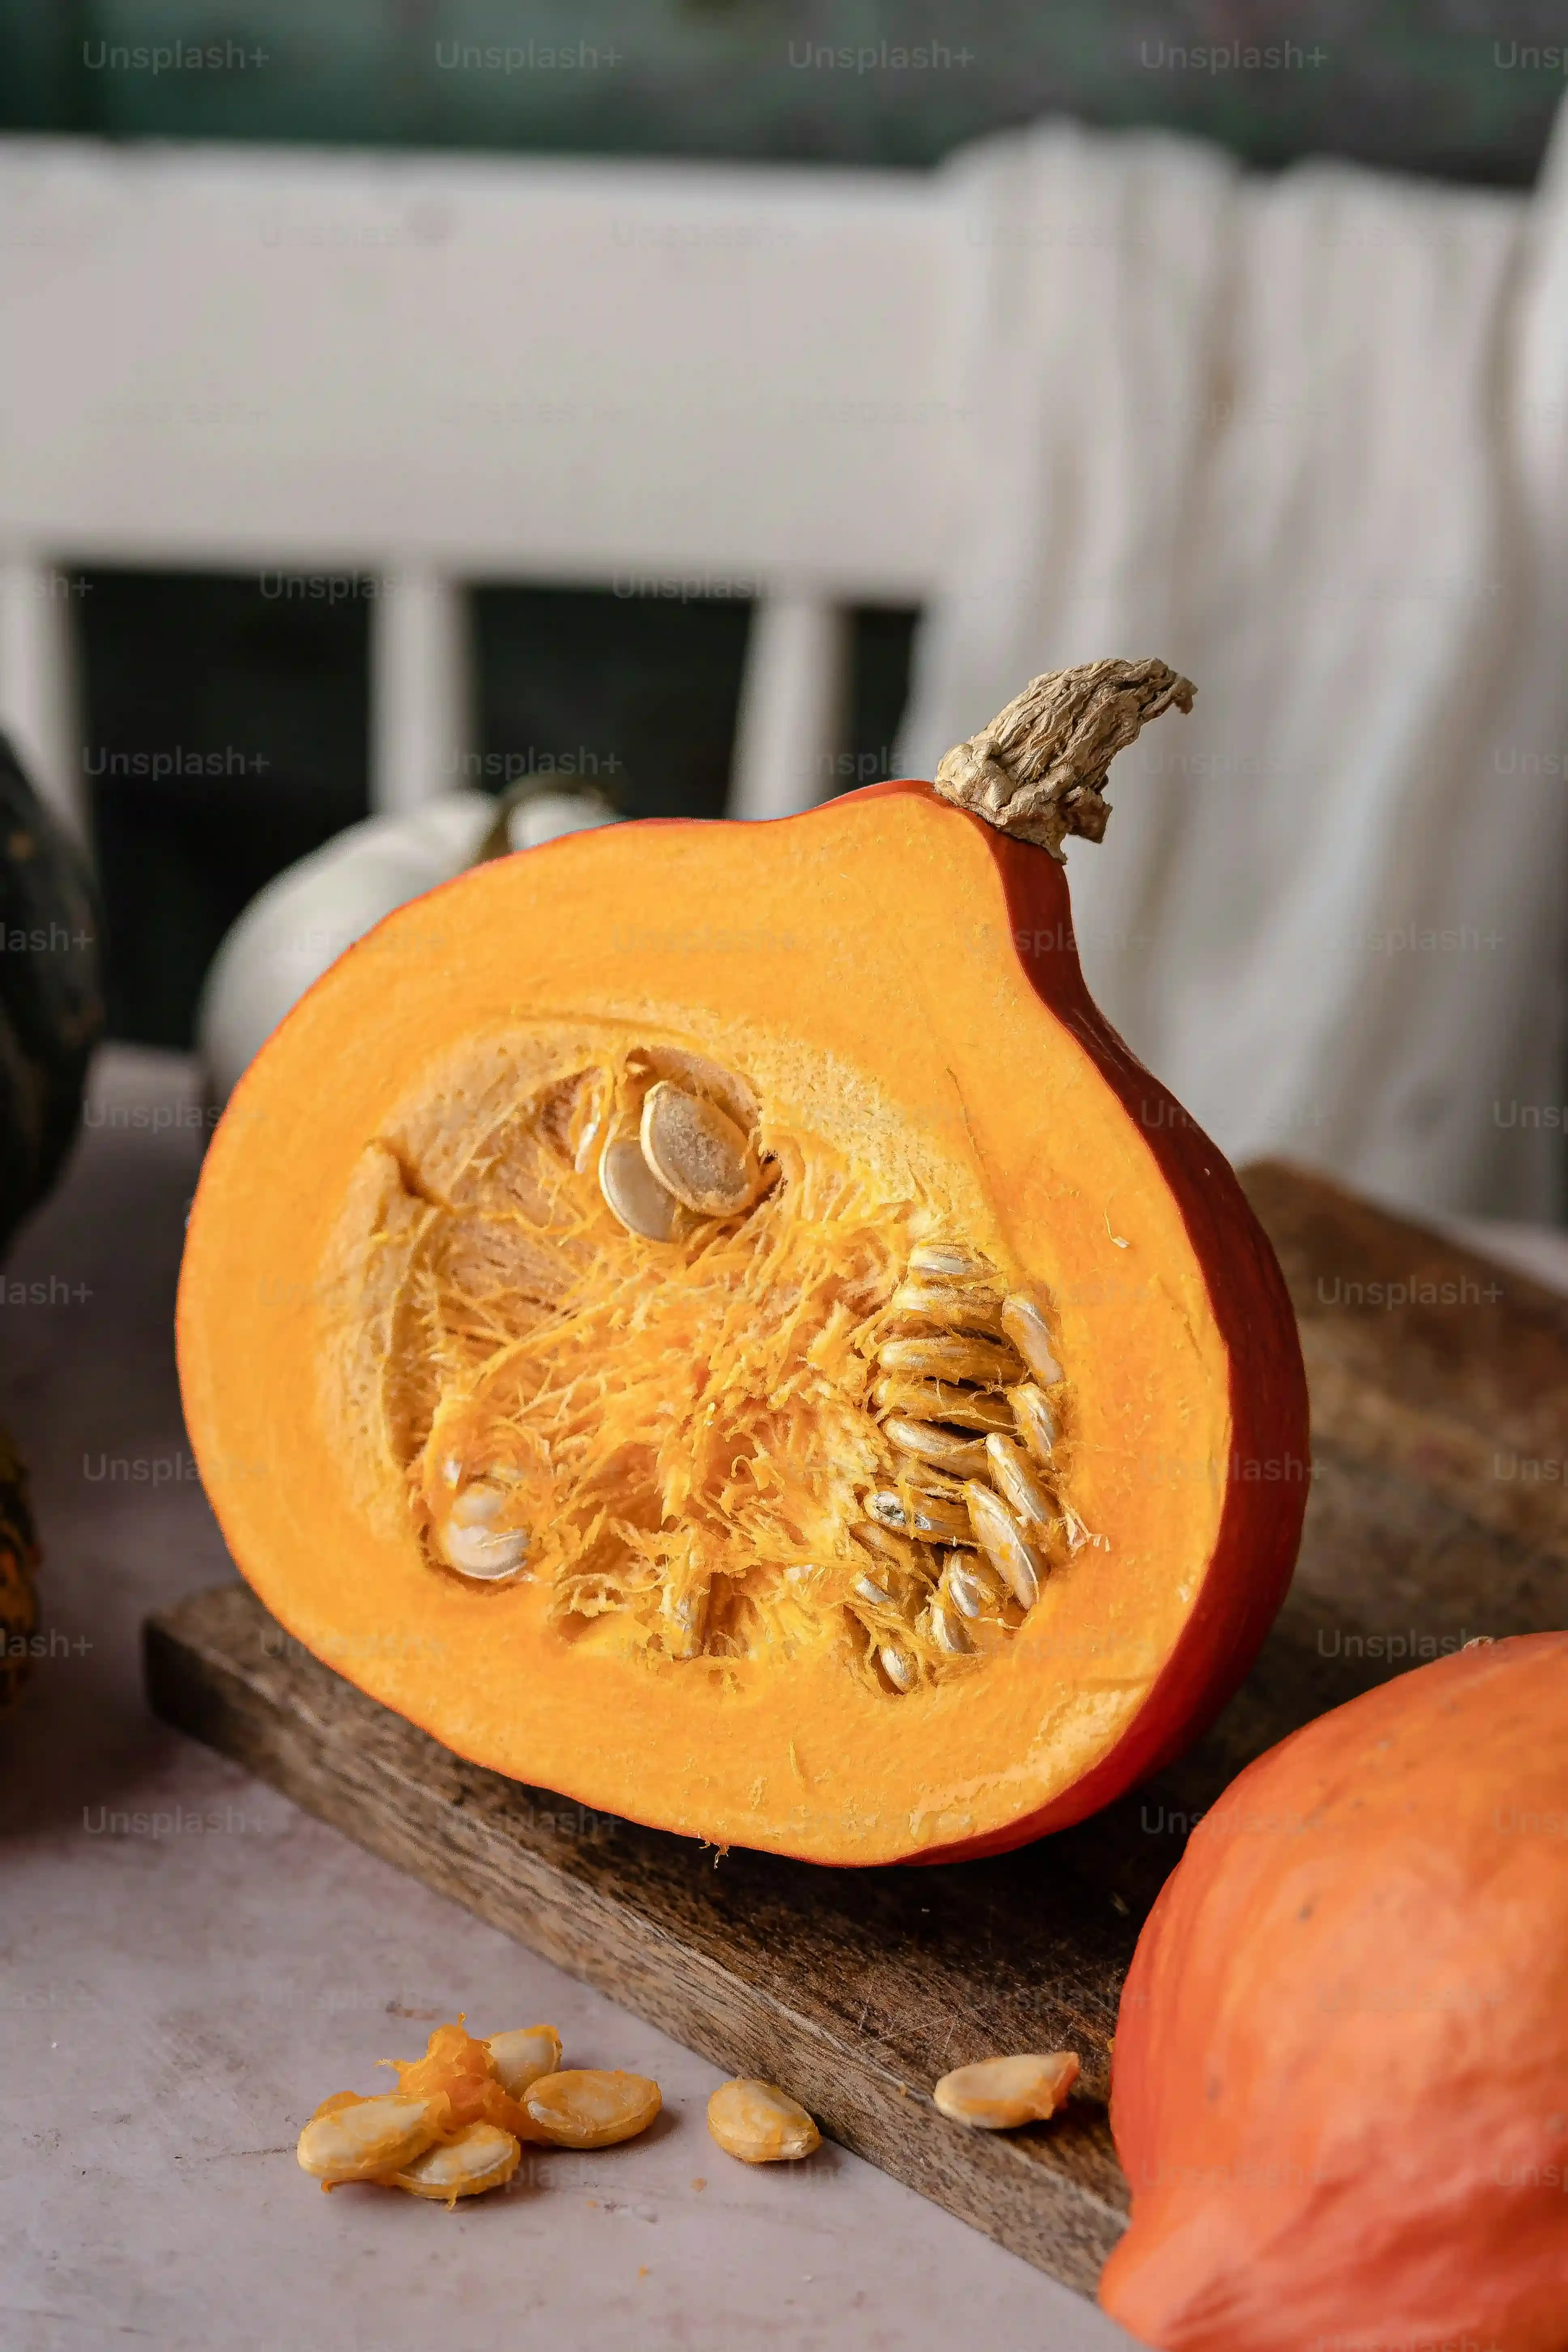
Alright, step one in your quest for truly easy and scary pumpkin carving ideas: picking the right canvas. You don't just grab the first orange thing you see. You need a pumpkin that's going to cooperate. Look for one with relatively smooth skin – bumps and ridges are just asking for your carving tool to slip and send you to the emergency room (slight exaggeration, maybe). Check the bottom; you want it flat so it doesn't wobble while you're trying to carve a spooky grin. Give it a tap; a hollow sound usually means it's mature and ready. Avoid any with soft spots or bruises, those are already on their way out and will likely collapse mid-carve.
Prepping Your Pumpkin Without Losing a Finger
You've got your perfect specimen. Now, the messy part begins. Cutting the top off seems simple, right? But this is where a lot of folks run into trouble. Use a sturdy, sharp knife, angled inwards slightly so the lid has a lip to sit on later. Don't just saw straight down. Make sure your cutting board is stable, and keep your non-cutting hand out of the path of the blade. Scoop out all the guts and seeds thoroughly. The cleaner the inside, the less likely your masterpiece is to rot prematurely, and the easier it is to work with a light inside.
- Look for smooth, firm skin.
- Check for a flat bottom for stability.
- Tap it – listen for a hollow sound.
- Avoid bruises or soft spots.
- Use a sharp, sturdy knife for the lid.
- Angle the lid cut inwards.
- Thoroughly clean out the inside.
Seriously Easy Pumpkin Carving Ideas (No Master's Degree Required)
Seriously Easy Pumpkin Carving Ideas (No Master's Degree Required)
Seriously Easy Pumpkin Carving Ideas (No Master's Degree Required)
let's talk about making this simple. You don't need to freehand a portrait of Dracula. We're aiming for maximum impact with minimal effort. Think basic geometric shapes – triangles for eyes and a jagged line for a mouth. Classic, effective, and hard to mess up completely. If you want something a little more detailed but still easy, stencils are your best friend. You can find tons online, print them out, tape them to your pumpkin, and just follow the lines. It takes the guesswork out of it entirely. Or, skip the knife entirely sometimes! Painting, using markers, or even sticking things onto the pumpkin can create cool effects without the risk of slicing off a fingertip. These are the bedrock of seriously easy pumpkin carving ideas.
Creepy & Scary Pumpkin Carving Ideas to Spook Your Street
Creepy & Scary Pumpkin Carving Ideas to Spook Your Street
Going for the Classic Ghoulish Grin
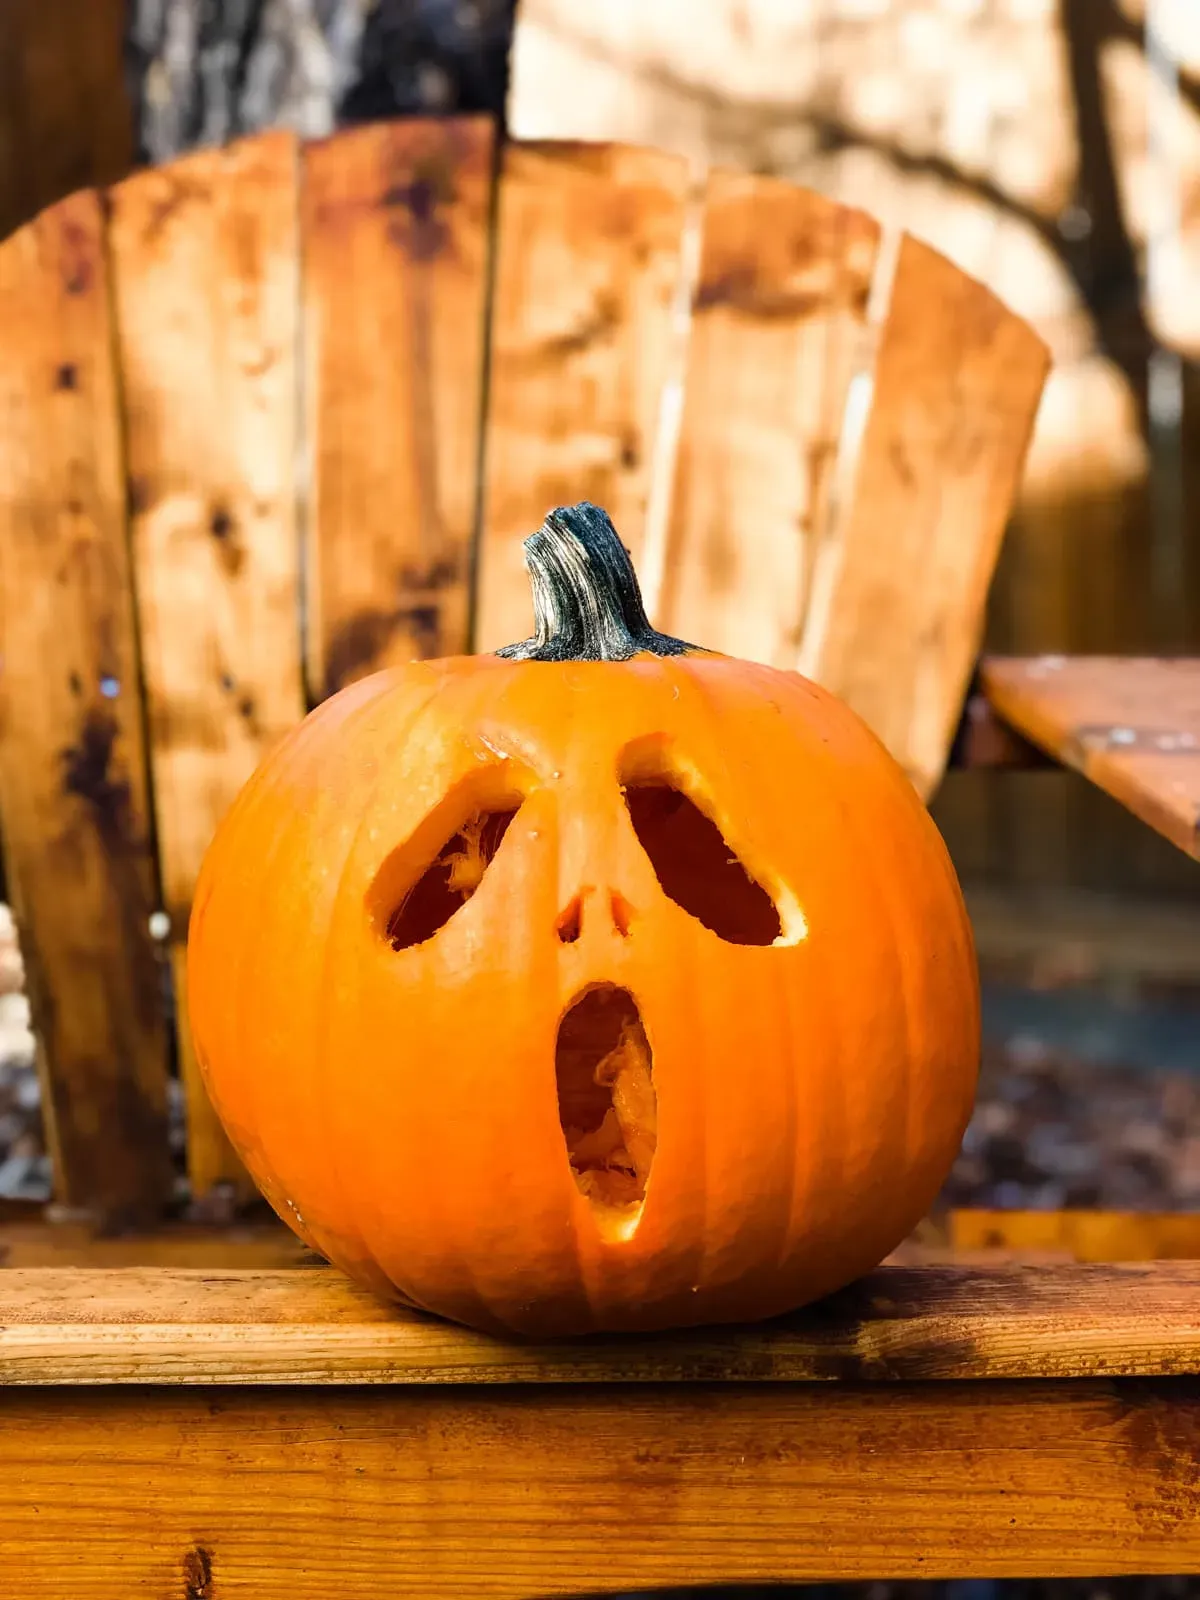
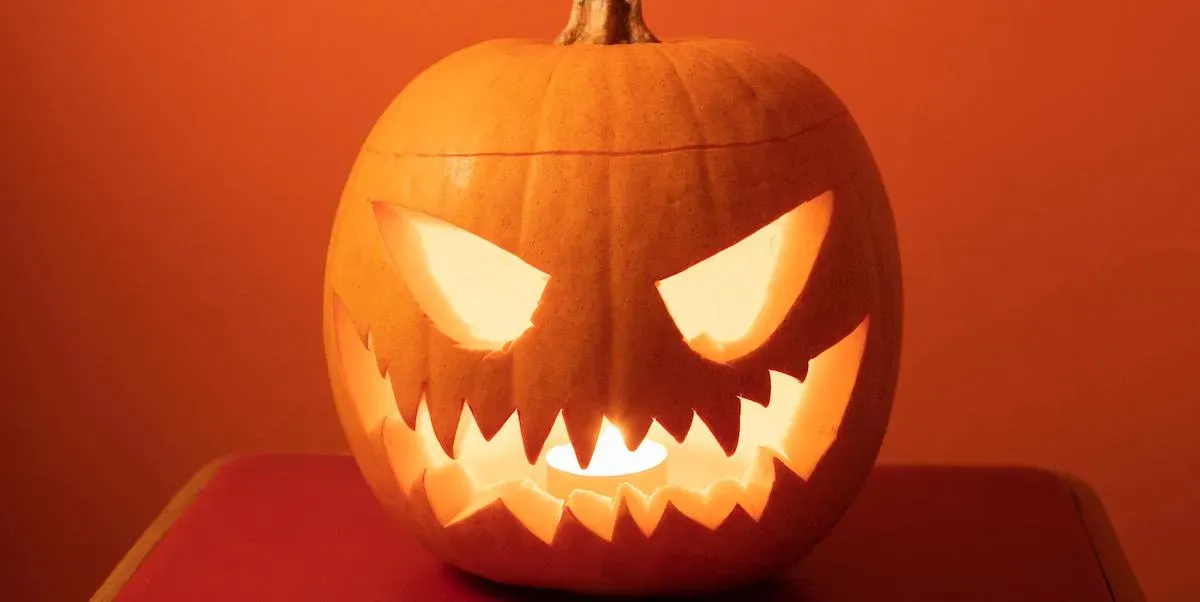
moving beyond the friendly Jack-o'-lantern smile. We're aiming for nightmares now. Think jagged teeth, empty eye sockets that stare into your soul, and maybe a nose that looks suspiciously like a skull's cavity. You don't need to be an artist to make something look menacing. Simple shapes, cut aggressively, work wonders. A few strategically placed holes can look like decaying flesh or insect entry points if you light it right. Don't be afraid to make the mouth disproportionately large or the eyes uneven. Imperfection often equals creepiness. Think less "cute ghost" and more "thing lurking in the basement."
Adding Layers of Fright with Simple Techniques
Want to elevate the scare factor without getting overly complicated? It's about more than just the face. Consider carving designs around the face – maybe some simple cracks radiating from the eyes, or lines that suggest stitches. You can also use tools to scrape away the skin without cutting all the way through. This creates translucent areas that glow eerily when lit. Scrape patterns that look like veins, spiderwebs, or dripping goo. Combining carved-through elements with scraped details adds depth and makes the pumpkin look genuinely unsettling, perfect for **easy and scary pumpkin carving ideas** that get noticed.
What makes a pumpkin truly scary to *you*?
Combining Easy Techniques for Scary Good Results
Combining Easy Techniques for Scary Good Results
Mixing Cuts and Scrapes for Maximum Impact
so you've got the hang of triangles and jagged lines, maybe even tried scraping a bit. The real magic for creating genuinely spooky **easy and scary pumpkin carving ideas** happens when you start mixing these simple tricks. Don't just do a carved face. Combine those menacing cut-out eyes with scraped-away skin around them to look like irritated, weeping sockets. Give it a carved mouth full of sharp teeth, but then scrape lines radiating from the corners to suggest stitches or scars. This layering of techniques adds depth and texture, making the pumpkin look less like a simple craft project and more like something that might actually chase you down the street.
Think about it: a basic carved shape is one-dimensional. When you add scraped areas, you introduce translucence and visual interest. You can make veins pop out on the forehead, create shadowy areas under the eyes, or make the skin look thin and stretched over bone just by controlling how deep you scrape. It’s about using light and shadow effectively, and it doesn't require intricate detail work, just a bit of patience and a scraping tool (even a sturdy spoon can work in a pinch, though proper tools are better).
Leveraging Shape and Adding External Horrors
Sometimes, the pumpkin itself gives you ideas. Got a tall, skinny one? Maybe it needs a long, drawn-out scream face or stacked, empty eye sockets. A wide, squat one might lend itself to a gaping maw or a monstrous, fanged grin. Don't fight the gourd's natural form; use it. Beyond just carving and scraping, consider adding simple external elements. A few strategically placed nails (seriously, just push them in) can look like horrifying warts or bolts. Yarn or string can be glued on to look like messy hair or cobwebs. Even just sticking twigs in to look like scraggly teeth in a carved mouth ups the creep factor significantly. These are low-effort additions that pay off big time in the scare department, enhancing your **easy and scary pumpkin carving ideas** without requiring advanced skills.
Think about the overall presentation too. Where will the pumpkin sit? How will it be lit? A flickering LED candle inside is standard, but placing a red or green light behind it can make a simple face look dramatically more sinister. Set it among some fake cobwebs or dried leaves, and suddenly that simple carved grin looks like it's emerging from a forgotten, creepy corner.
Simple Techniques to Combine:
- Carved eyes + Scraped "veins" around them
- Jagged carved mouth + Scraped "stitches" or scars
- Basic cut-out shape + Added nails for texture
- Carved face + Twigs inserted for teeth
- Scraped pattern (like webs) + Simple carved shape within it
Your Spooky Pumpkin, Done Right
So there you have it. Turning a plain pumpkin into something memorable, whether it's simply charming or genuinely unsettling, doesn't require hours of painstaking effort or fancy tools. We've covered the basics, explored designs that prioritize impact over intricacy, and looked at how combining simple cuts and shapes can elevate the scare factor. Grab a pumpkin, pick a design that feels right for your skill level (and desired spookiness), and get carving. The goal is a fun process and a result that makes your front step look ready for Halloween night. Now go make some gourd-based mischief.