Table of Contents
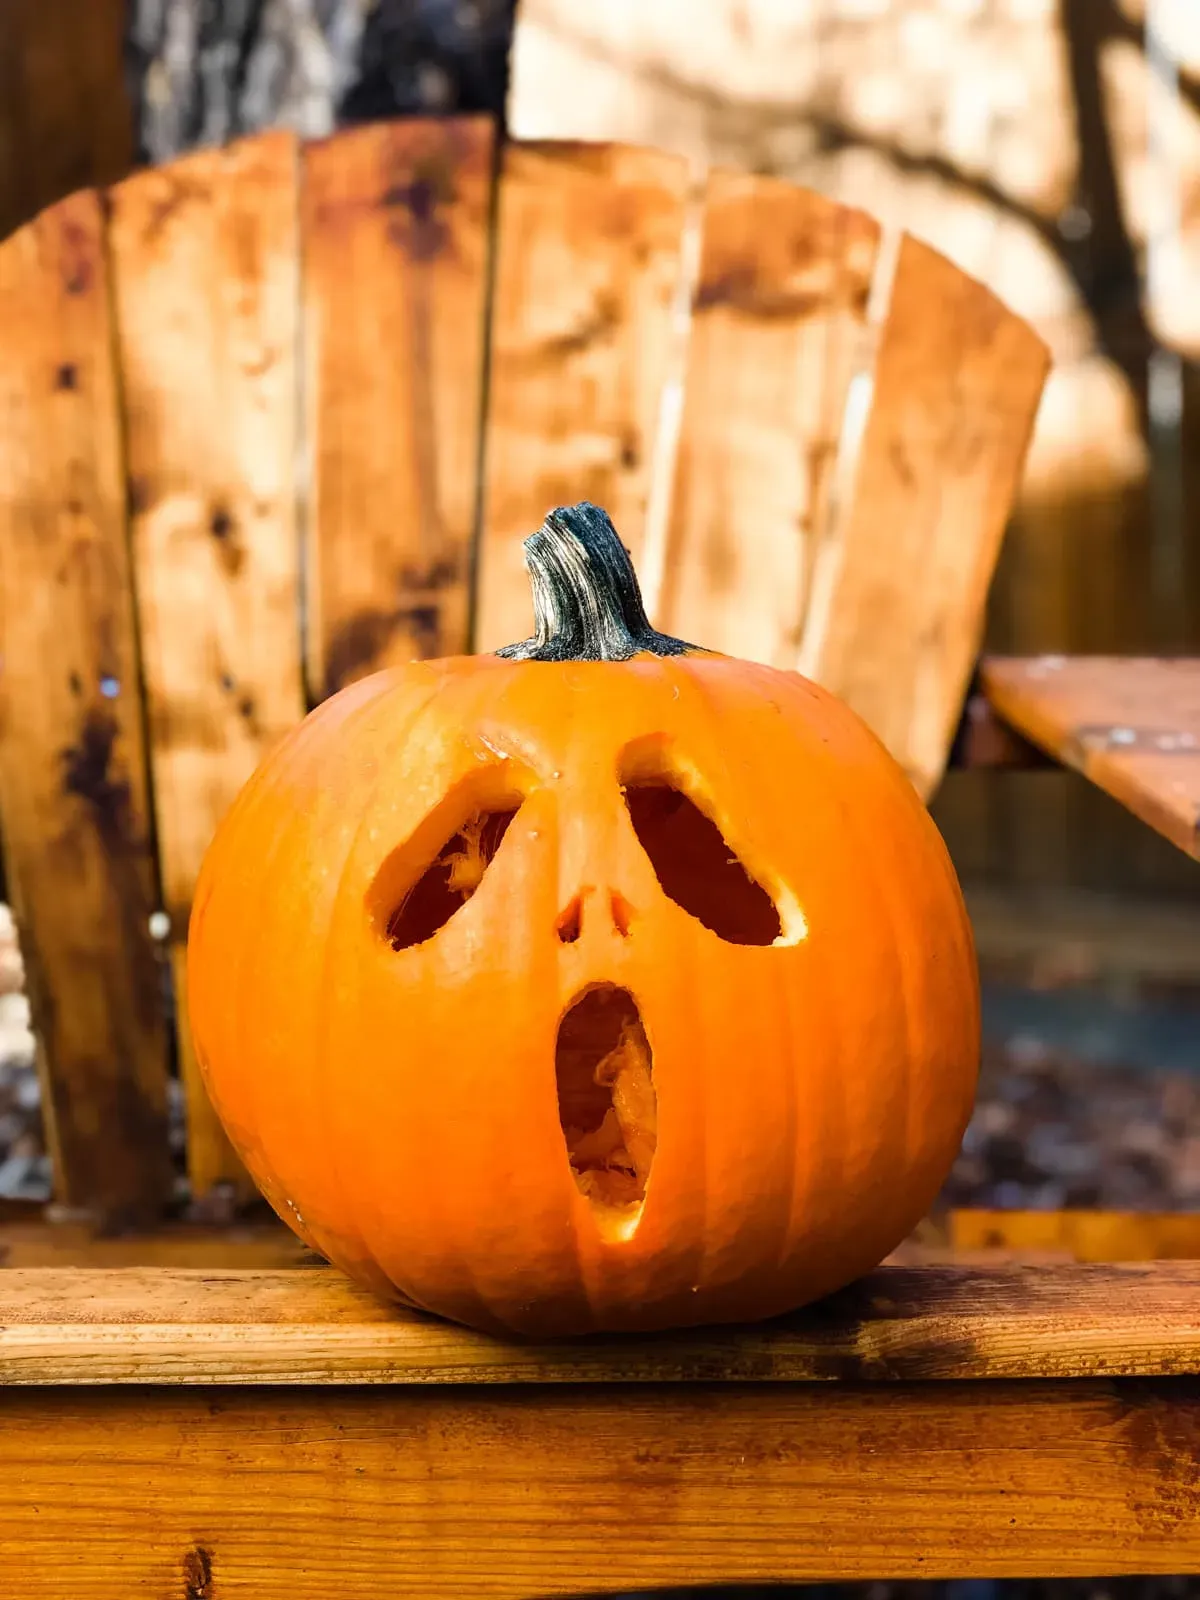
Ah, Halloween. Time for spooky costumes, questionable candy choices, and of course, pumpkins. Everyone loves the glow of a carved pumpkin on a crisp autumn night. But let's be honest, the reality of traditional pumpkin carving often involves slippery guts, dull knives, and results that look less like a masterpiece and more like a five-year-old attacked a gourd with a spoon. If the thought of wrestling with a giant squash brings a chill that has nothing to do with ghosts, you're in the right place. Forget the intricate, impossible designs you see online that require professional tools and a steady hand you probably don't possess after a few cider donuts.
Picking Your Perfect Pumpkin & Tools
Picking Your Perfect Pumpkin & Tools
Finding Your Ideal Gourd
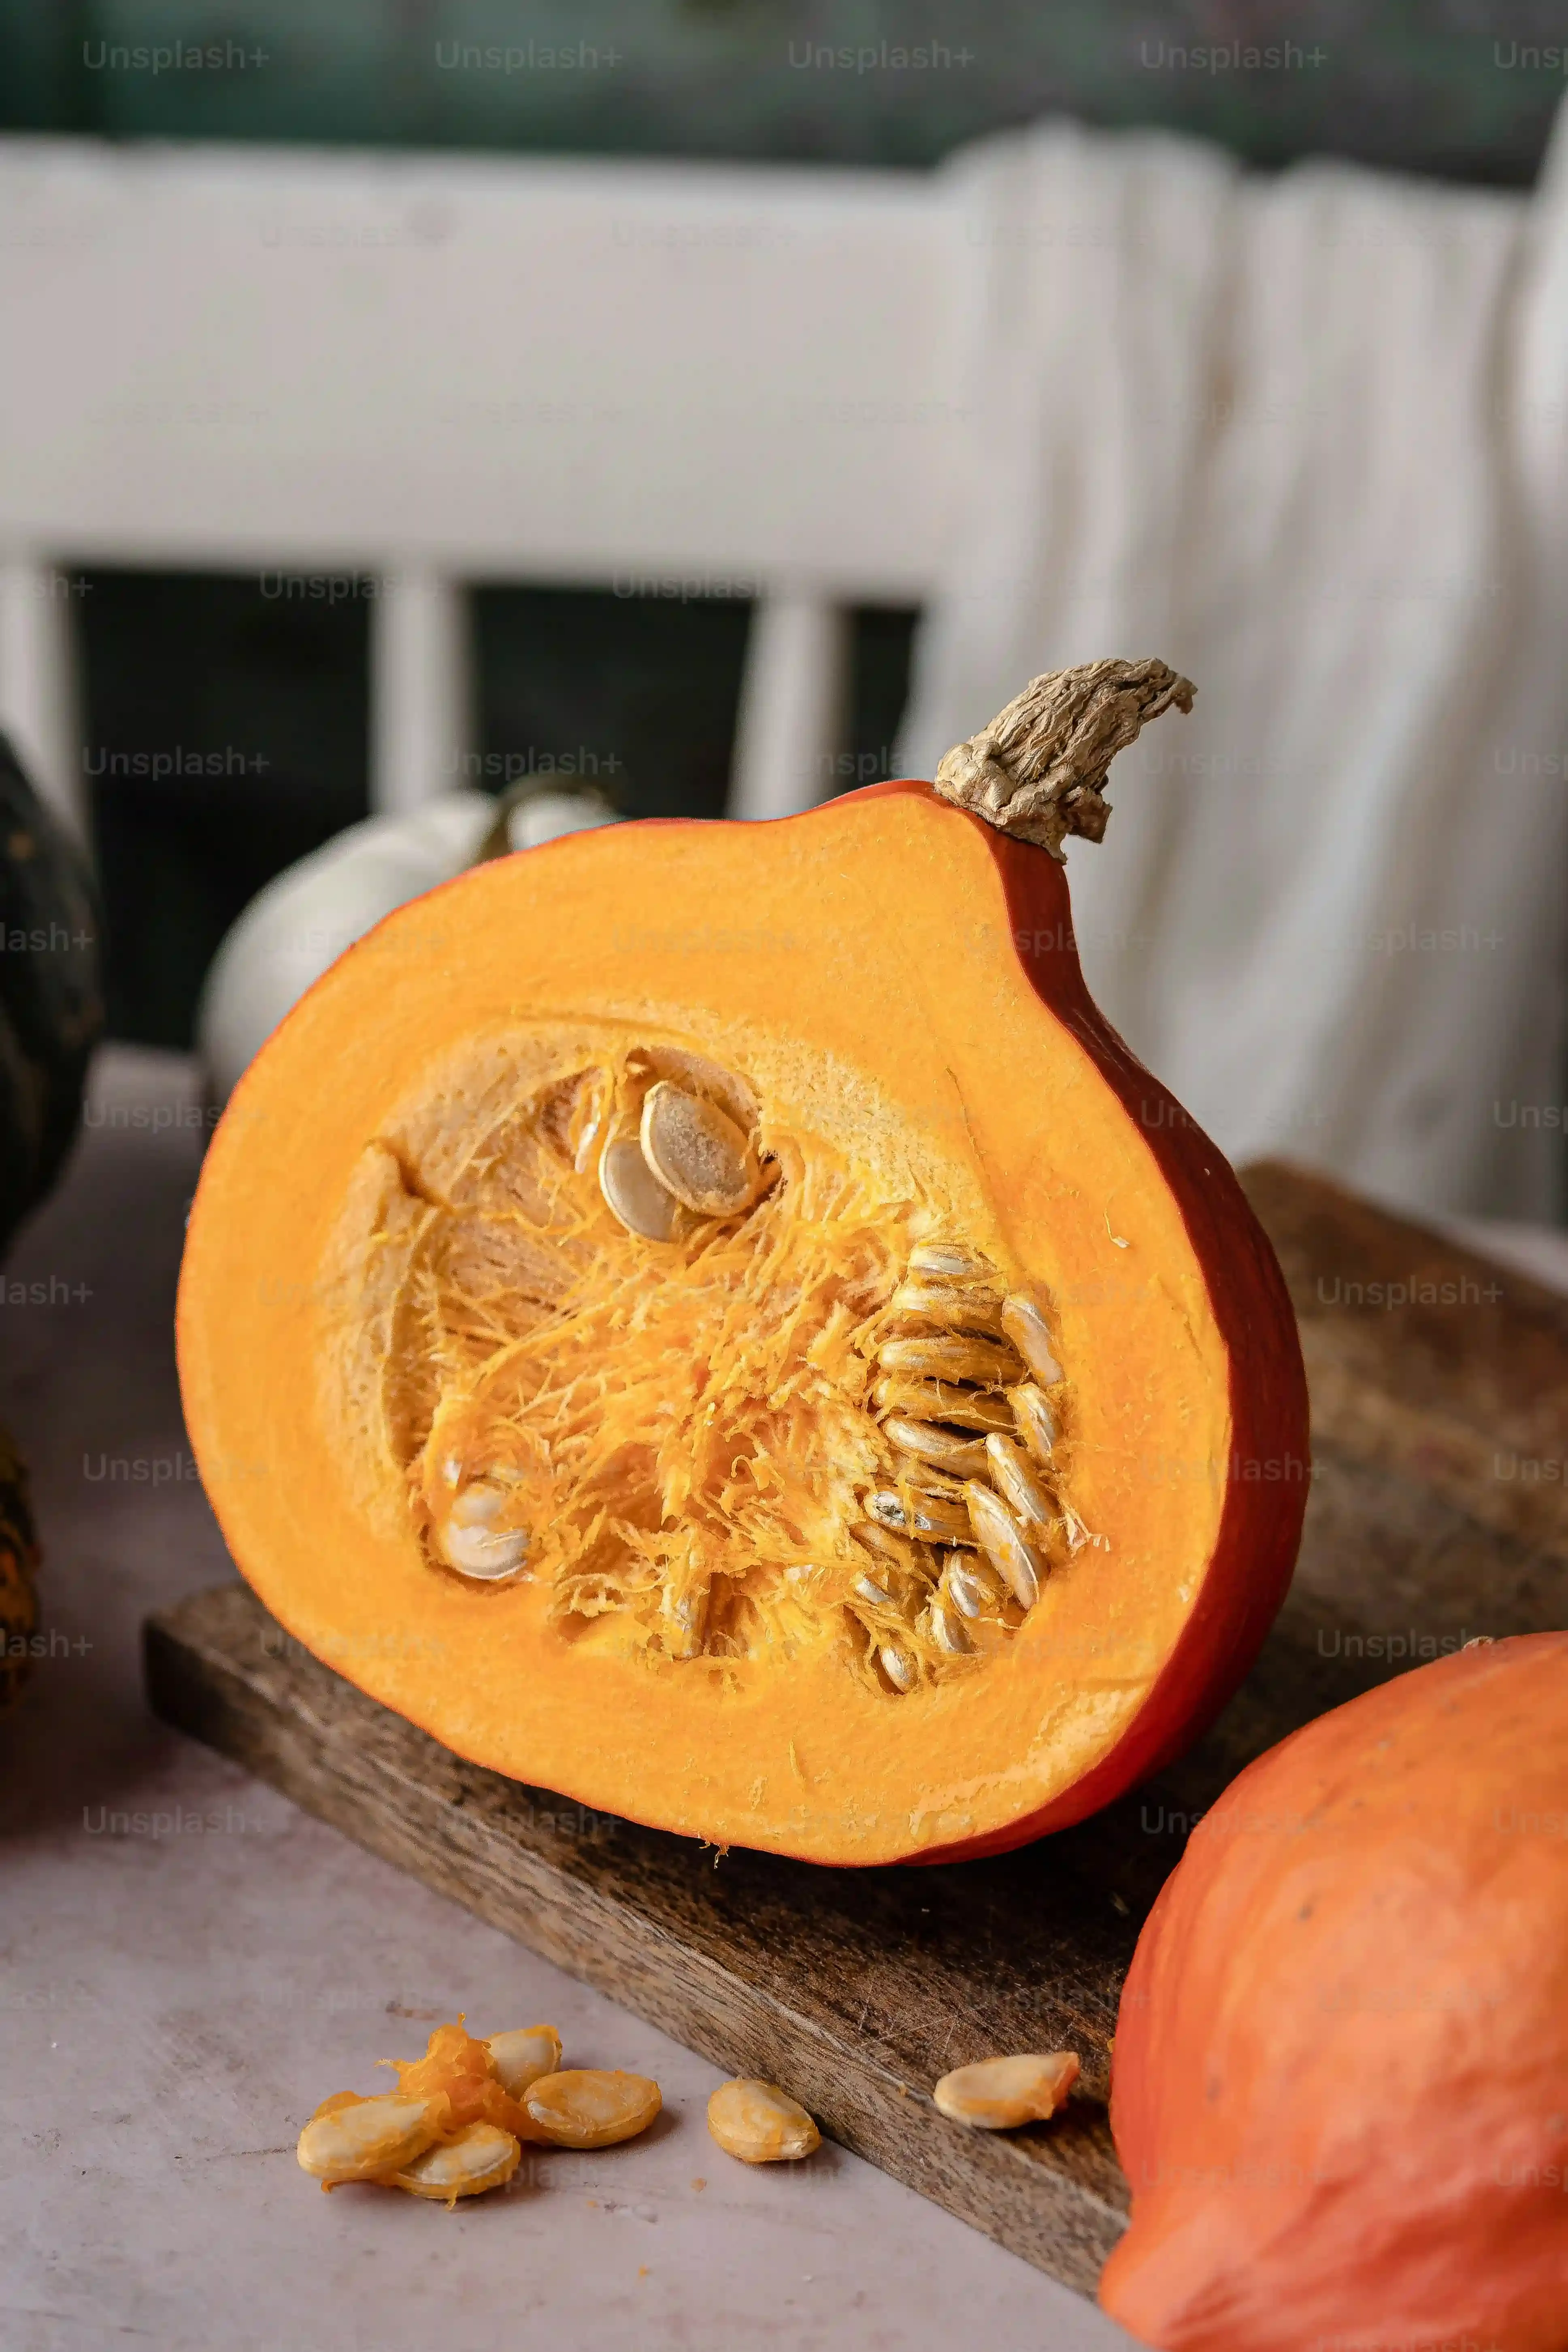
Alright, so you've committed. You're going to carve a pumpkin. The first step, obviously, is acquiring the victim... I mean, the pumpkin. Don't just grab the biggest orange thing you see. Think about the design you have in mind. A smooth, blemish-free surface is your best friend, especially for simpler designs or stencils. Check the bottom – you want a flat, stable base so your creation doesn't roll away mid-carve or, worse, fall over on your porch. Tap it. Does it sound hollow? Good. That usually means the walls aren't too thick, which makes carving easier. Avoid pumpkins with soft spots or weird bruises; those are just asking for trouble and early rot. Picking the right pumpkin isn't rocket science, but a little attention here saves a lot of frustration later.
Arming Yourself for the Task
Now, about the tools. You *can* use a regular kitchen knife, but please, for the sake of your fingers and sanity, don't. Those flimsy little saws in the cheap kits? They're a start, but they break easily. Invest in a decent, serrated pumpkin carving saw. It makes cutting through that thick rind infinitely easier and safer. A scoop is crucial for getting out all that stringy, seedy mess – an ice cream scoop or a sturdy metal spoon works wonders. For details, a small paring knife or specialized carving tools (they look like tiny clay sculpting tools) give you more control. And stencils? Absolutely. Unless you're an art school grad, tracing a design first is a smart move. You aren't cheating, you're being efficient.
Essential Pumpkin Carving Tools
- Sturdy serrated pumpkin saw
- Metal scoop or ice cream scoop
- Small paring knife or detail carving tools
- Dry-erase marker or pencil for tracing
- Paper towels (you'll need them)
- Bowl for seeds and guts (or for roasting seeds later!)
Simple Techniques for Easy and Fun Pumpkin Carving

Simple Techniques for Easy and Fun Pumpkin Carving
Simple Techniques for Easy and Fun Pumpkin Carving
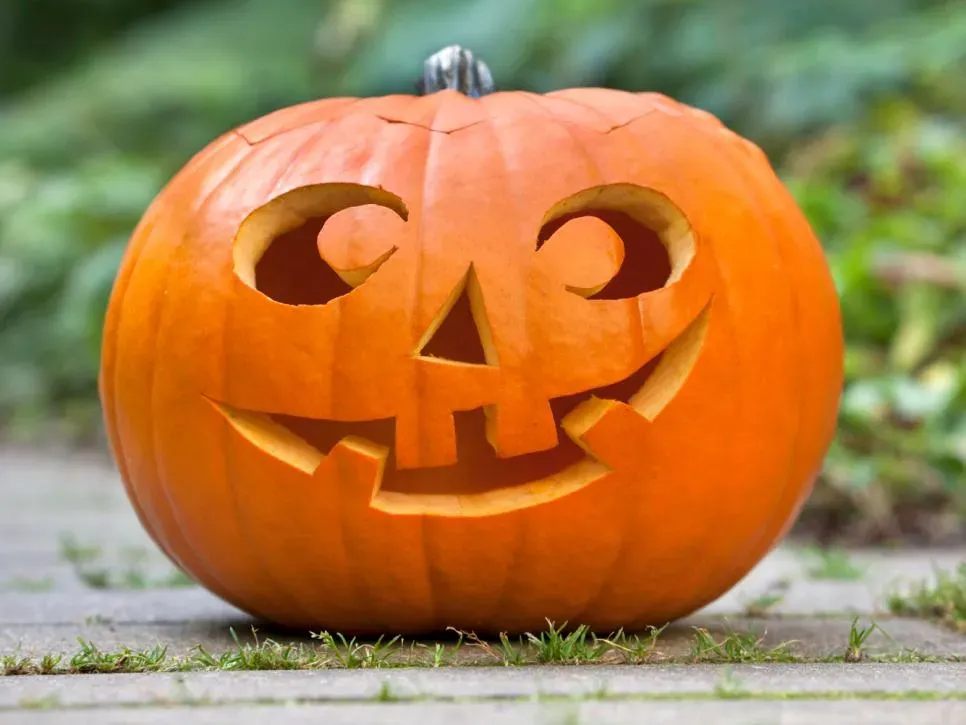
you've got your pumpkin, you've got your gear. Now for the main event: the actual carving. The goal here is simple techniques for easy and fun pumpkin carving, not winning some sculpting competition. First off, cut the lid from the *bottom*, not the top. Seriously. It makes it way easier to place the pumpkin over a light source later, and you don't have to worry about the lid falling inside. Scoop out *everything*. Get all the seeds and strings out. The cleaner the inside, the easier it is to work with. When carving, don't saw back and forth like you're cutting wood. Use a steady, controlled push-and-pull motion with your serrated saw. Start with the smaller, inner pieces of your design first. If you mess up a small piece, it's less noticeable than if you botch a big outer edge. Take your time. Rushing is the quickest way to slip and carve something you didn't intend to (like your finger).
Beyond the Knife: NoCarve and LowEffort Ideas
Beyond the Knife: NoCarve and LowEffort Ideas
Beyond the Knife: No-Carve and Low-Effort Ideas
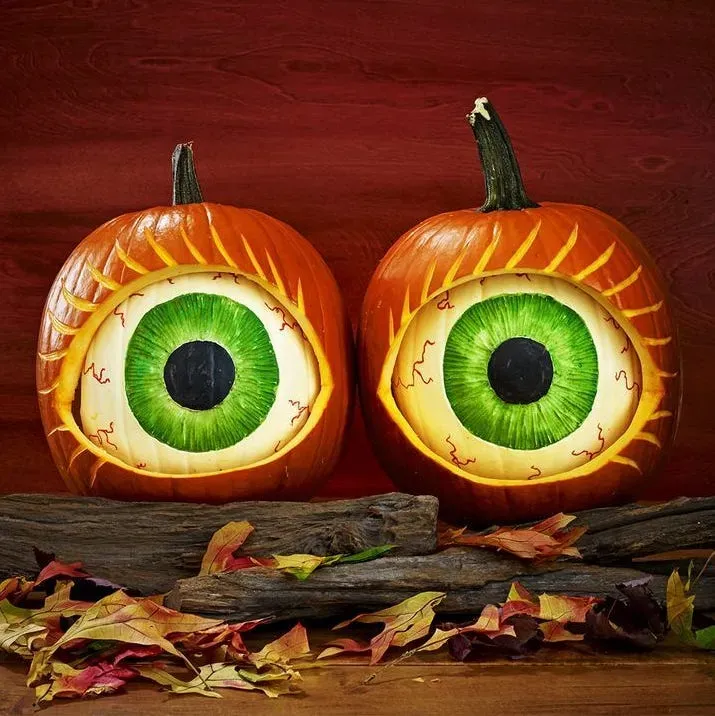
Sometimes, the whole carving ritual just isn't appealing. Maybe you're short on time, maybe you hate the mess, or perhaps the idea of wielding a sharp object near a round, unstable object gives you the creeps. That's perfectly fine. You can still have fantastic, spooky, or silly pumpkins without ever touching a saw. Think outside the carved box. Painting is a classic for a reason – grab some acrylics designed for craft use and go wild. Simple dots, stripes, or even a solid coat of black or white can look incredibly striking. You can use cookie cutters as stamps with paint, or tape off sections for crisp geometric designs. Adding googly eyes, yarn hair, or felt shapes with hot glue (adult supervision, obviously) turns a plain pumpkin into a character in minutes. These no-carve methods offer genuinely easy and fun pumpkin carving ideas alternatives, proving you don't need precision cuts to get into the Halloween spirit.
Lighting Up Your Easy and Fun Pumpkin Carving Creations
Lighting Up Your Easy and Fun Pumpkin Carving Creations
Choosing Your Pumpkin's Inner Glow
So your pumpkin masterpiece is complete, whether it's a classic spooky face or a cleverly painted character. Now, the real magic happens when the lights go down and your creation starts to glow. You've got options here, and some are definitely less fire-hazard-y than others. Traditionalists swear by real candles, and sure, that flickering flame has a certain charm. Just make absolutely sure your lid opening is large enough for heat to escape and keep it away from anything flammable. Also, wind is a thing, so they might blow out. Not exactly reliable for a full night of spookiness.
Enter the modern age: artificial lights. These are your best bet for consistent, safe illumination. You've got those little LED tea lights – they're cheap, they don't get hot, and they last a long time. Pop a few in for a brighter effect. Mini battery-operated string lights work too, especially if you want to create a more diffused glow or wrap them around features. Some folks even use small battery-powered puck lights stuck to the top or bottom inside. Pick the light source that matches your tolerance for potential fire and your desire for longevity.
Popular Pumpkin Lighting Options
- Real wax candles (use with caution!)
- Battery-operated LED tea lights
- Small battery-powered string lights
- Battery-operated puck lights
- Mini flashlights (good for a strong, focused beam)
Enhancing the Spooky Shine
Once you've chosen your internal light source, think about how to make that easy and fun pumpkin carving truly pop. Placement matters. If you're using a single light, put it towards the back or center depending on where you want the light to hit the carved areas. For multiple lights, spread them out. The goal is to illuminate the design, not just the inside of the pumpkin. You can also play with colored lights if you want a different vibe – a green LED for a ghoulish look, or red for something more sinister. Don't be afraid to experiment before the big night.
Consider the environment where your pumpkin will sit. Placing it near a wall can cast interesting shadows from your carving. Elevating it on a bale of hay or a sturdy box can make it more visible. The right lighting transforms a simple carving from "okay" to "wow," making all that effort (or lack thereof, with our easy ideas) totally worth it. It's the final touch that brings your spooky creation to life when the sun goes down.
Keeping Your Masterpiece Fresh: Tips & Tricks
Keeping Your Masterpiece Fresh: Tips & Tricks
Keeping Your Masterpiece Fresh: Tips & Tricks
Alright, you've put in the minimal effort required for your easy and fun pumpkin carving ideas, and your porch is starting to look appropriately festive. Now, the sad reality: carved pumpkins don't last forever. They're literally organic matter exposed to the elements. They start to look a bit... deflated and fuzzy after a few days. To squeeze a little more life out of your creation, you can try a few tricks. First, give the inside and cut edges a spray with a bleach solution (about one tablespoon of bleach per quart of water). This kills some of the mold and bacteria trying to move in. You can also rub petroleum jelly (like Vaseline) on the cut edges to keep them from drying out and shrinking, which makes the carving look distorted. Some people swear by commercial pumpkin preservative sprays, which are essentially diluted bleach and other anti-fungal agents. Store your pumpkin in a cool, dry place during the day if possible, or even the fridge if it's small enough and you have the space (your roommates might object). It won't last until Thanksgiving, but you can usually get a solid week or more out of it with a little care.
FAQs about Easy and Fun Pumpkin Carving

FAQs about Easy and Fun Pumpkin Carving
Are easy and fun pumpkin carving ideas *really* easy for total beginners?
Look, if you've never picked up a carving tool before, the idea can still feel a bit daunting. But yes, genuinely easy and fun pumpkin carving ideas exist and are absolutely doable for beginners. The trick is managing your expectations and choosing the right design. Don't aim for a detailed portrait of your pet on your first go. Start with simple shapes – triangles for eyes and a jagged line for a mouth. Seriously, that classic spooky face? It's a classic because it's simple and effective. Using stencils helps immensely; you just trace and cut. It takes the guesswork out of the design phase. It's less about innate artistic talent and more about patience and using the right tools we talked about earlier. You won't be entering any professional carving contests, but you'll definitely end up with something recognizable and festive on your porch.
How long will my easy and fun pumpkin carving creation actually last?
This is the million-dollar question, isn't it? You put in the (minimal) effort for your easy and fun pumpkin carving ideas, and you want them to last through Halloween night, at least. The reality is, carved pumpkins are on a ticking clock. Once you cut into them, you expose the flesh to air, bacteria, and mold. In warm, humid weather, they can start looking sad in just a couple of days. Cooler, drier conditions buy you more time. On average, expect a carved pumpkin to look decent for maybe 3 to 5 days outdoors. Using a bleach solution spray and petroleum jelly on the cut edges can push that to a week or maybe a bit longer if you're lucky and the weather cooperates. But don't count on it lasting much past November 1st.
Factors Affecting Pumpkin Lifespan After Carving
- Temperature and Humidity: Warmer, wetter conditions speed up decay.
- Pumpkin Condition: A fresh, firm pumpkin lasts longer than one with soft spots.
- Cleaning: Thoroughly scooping out the insides helps.
- Preservation Methods: Bleach spray and petroleum jelly offer some protection.
- Sunlight Exposure: Direct sun can accelerate breakdown.
Can I use regular kitchen tools for easy and fun pumpkin carving?
Technically, yes, you can use a regular kitchen knife. Is it a good idea? Generally, no. Kitchen knives are designed for cutting food on a flat surface, not sawing through a thick, round, often slippery pumpkin rind. They can be dangerous because they're sharp but not designed for the leverage needed, increasing the risk of slipping and cutting yourself. The cheap, small serrated saws in pumpkin kits are better, but still often flimsy. For genuinely easy and fun pumpkin carving, invest in a dedicated, sturdy pumpkin carving saw. They have the right kind of teeth and handle for the job, making the process smoother and significantly safer. For detail work, small paring knives can work, but specialized carving tools offer more control for intricate (or even just slightly detailed) cuts without the same risk.
Wrapping Up Your Easy Pumpkin Adventures
So there you have it. Pumpkin carving doesn't need to be an all-day, highly stressful ordeal that leaves you needing therapy. With a few simple tools, the right pumpkin, and some straightforward ideas, you can create genuinely cool Halloween decorations without feeling like you need an art degree. Whether you went for a classic goofy face, a simple geometric pattern, or even a no-carve masterpiece, the point is to have something glowing on your porch that you actually enjoyed making. Now, go admire your handiwork (and maybe grab some of that questionable Halloween candy).