Table of Contents
Ah, October. The air gets crisp, the leaves turn fiery colors, and suddenly, pumpkins are everywhere. They sit on doorsteps, pile up at grocery stores, and stare at you, practically begging for a spooky or silly makeover. But let's be honest, looking at those intricate, professional-level carvings online can feel less like inspiration and more like a personal challenge you're destined to fail. Maybe you've had a carving attempt go sideways, ending up with a sad, lopsided mess instead of a masterpiece. Or perhaps the thought of wielding sharp tools around a slippery gourd just feels like too much effort for one night of glory.
Why Bother with Easy and Cute Pumpkin Designs?

Why Bother with Easy and Cute Pumpkin Designs?
So, you're wondering, "Why Bother with Easy and Cute Pumpkin Designs?" when you see all those elaborate, spooky masterpieces online? I get it. There's a certain pressure to create something jaw-dropping for Halloween. But honestly, the charm of a slightly goofy, undeniably cute pumpkin often beats the technical perfection of a complex one. Think about it – who has the time (or patience) for hours of intricate carving, only for the pumpkin to start wilting a few days later? Choosing easy and cute pumpkin carving ideas makes the whole process way less intimidating, especially if you're doing it with kids or just want a low-stress creative outlet. It's about enjoying the process, getting a fun result without the headache, and creating something that brings a simple smile, not just an impressed nod.
Beyond the Knife: NoCarve Tricks for Adorable Pumpkins
Beyond the Knife: NoCarve Tricks for Adorable Pumpkins
Why Skip the Blade? Easy Adorableness Awaits
Look, not everyone is comfortable with sharp objects and slippery pumpkin guts. And frankly, sometimes you just want a cute pumpkin without the mess or the risk of slicing off a fingertip. That’s where the magic of no-carve pumpkin decorating comes in. It opens up a whole world of possibilities for creating adorable, personality-filled pumpkins using things you probably already have lying around the house. Think paint, markers, googly eyes, yarn, fabric scraps – the list goes on. This approach is fantastic for little hands that aren't ready for carving tools, but it's also perfect for adults who want a quick, charming result. It’s about pure creativity and zero stress, delivering thoseeasy and cute pumpkin carving ideasvibes without ever touching a knife.
Simple Supplies, Big Impact: Getting Creative Without Carving
So, what exactly can you do without carving? Plenty! Grab some acrylic paint and turn your pumpkin into a whimsical creature, a favorite character, or just a solid pop of color. Markers work great for drawing faces or patterns. Googly eyes are a non-negotiable for instant cuteness – seriously, put googly eyes on anything and it becomes adorable. Yarn can become hair, spiderwebs, or stripes. Felt or construction paper cutouts can form ears, noses, or spooky shapes. Hot glue is your best friend here, attaching all sorts of bits and bobs. This method means your pumpkin lasts longer too, since you're not cutting into its flesh. It's a low-commitment, high-reward way to get into the Halloween spirit.
- Paint it a bright, unexpected color like teal or pink.
- Use puffy paint to create raised designs or words.
- Wrap it in gauze to make a mummy.
- Glue on buttons or sequins for texture and sparkle.
- Add pipe cleaners for legs or antennae.
Classic and Clever: Easy and Cute Pumpkin Carving Ideas to Try Now
Classic and Clever: Easy and Cute Pumpkin Carving Ideas to Try Now
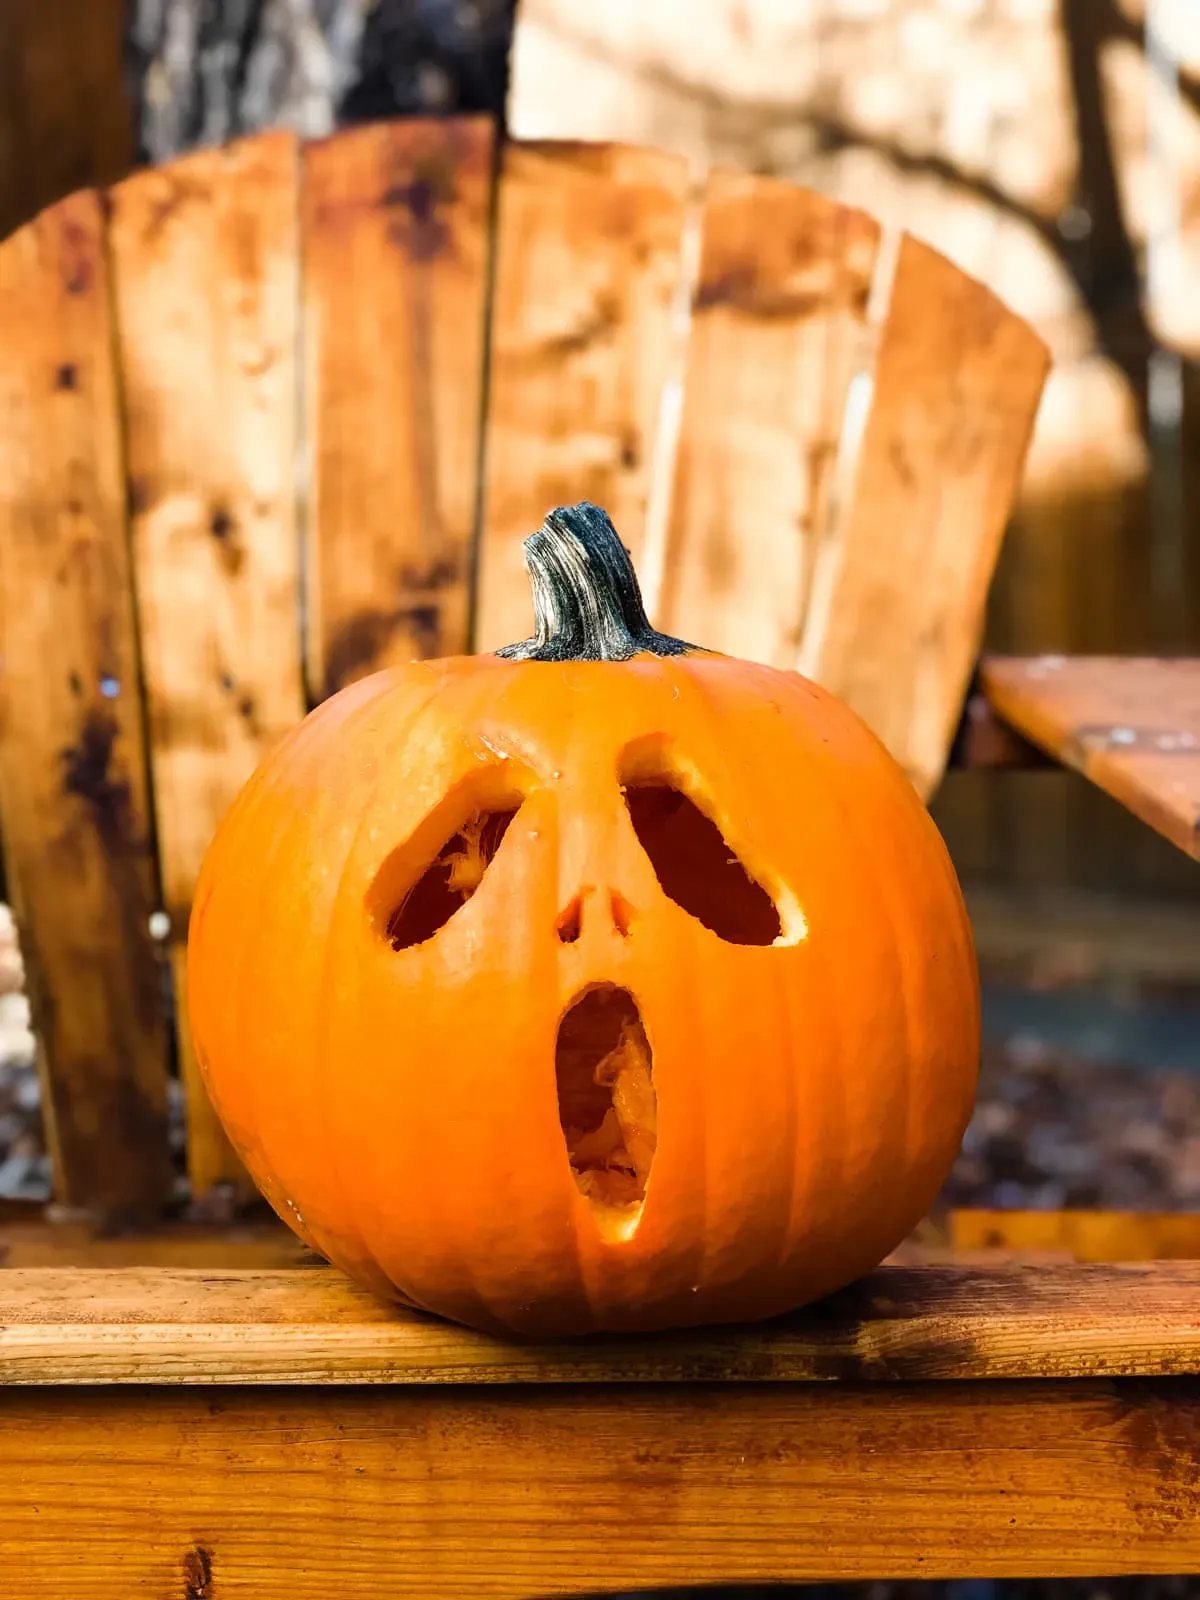
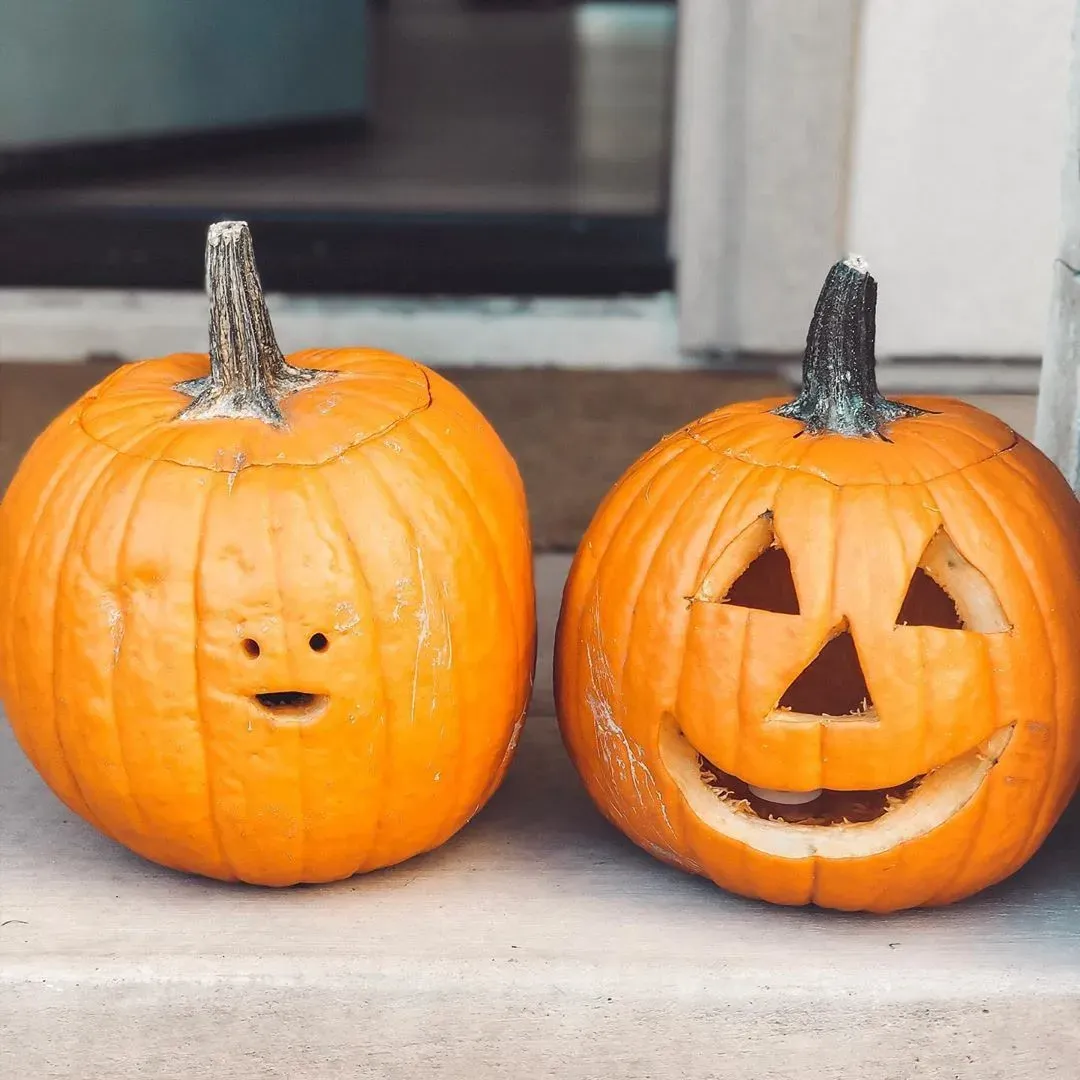
Alright, maybe you *do* want to carve, but you're not trying to recreate the Sistine Chapel on a gourd. That's totally fine. There are plenty of classic carving designs that remain firmly in the "easy and cute" camp. We're talking about the friendly faces, the simple shapes, the stuff that looks charming without requiring surgical precision. Forget those hyper-realistic zombie portraits; we're aiming for smiles and maybe a little bit of silly. Think simple geometric cutouts, basic facial features, or repetitive patterns that are forgiving even if your hand slips a little. These designs prove you don't need fancy tools or years of practice to turn a plain pumpkin into something delightful for your doorstep.
- The classic triangle-eyed, jagged-mouthed jack-o'-lantern. It's a classic for a reason – simple, effective, and timeless.
- Stars and moons cut out with cookie cutters (yes, really!). Just tap them in with a mallet.
- Simple circles for eyes and a mouth – think a surprised or happy emoji face.
- Polka dots of varying sizes, created with different drill bits or apple corers.
- A simple cat silhouette with arched back and tail.
- Ghost shapes cut out freehand or with a template.
Sharp Tools, Sweet Results: Tips for Easy and Cute Pumpkin Carving Ideas
Sharp Tools, Sweet Results: Tips for Easy and Cute Pumpkin Carving Ideas
so you've decided to go the carving route for youreasy and cute pumpkin carving ideas. Good on you. While we're not aiming for gallery-level art, having the right gear makes the process significantly less frustrating. Forget that giant, dull kitchen knife your dad used to hack away at pumpkins. You need purpose-built tools. Think small, sharp saws designed for pumpkin flesh, loop tools for scraping, and maybe even a drill with different sized bits for perfect holes. These aren't just fancy gadgets; they give you better control, reduce the chance of the blade getting stuck or slipping, and ultimately lead to cleaner cuts and less swearing. A simple template, even if it's just a face you drew on paper, taped securely to the pumpkin, guides your cuts and keeps things symmetrical. Don't rush it. Slow, steady strokes are your friend here, especially around corners or tight spots. And for heaven's sake, carve in good lighting and keep little fingers (and your own) well away from the sharp end.
Putting it All Together: Displaying Your Easy and Cute Pumpkin Creations

Putting it All Together: Displaying Your Easy and Cute Pumpkin Creations
Finding the Perfect Spot for Your Gourd Gang
you've put in the minimal effort for maximum cuteness with youreasy and cute pumpkin carving ideasor no-carve wonders. Now where do these adorable guys go? Shoving them on the front porch is the obvious choice, but let's think beyond just plunking them down. Consider elevation – putting one on a hay bale or an overturned crate gives it a little presence. Grouping them works well too, especially if you've made a few with different simple designs. Maybe place the cat-carved one next to the polka-dot painted one. Think about visibility from the street during the day and how they'll look lit up at night. A well-placed spotlight can make a simple design pop, while a cluster of pumpkins under a porch light creates a welcoming, slightly spooky vibe. Just make sure wherever you put them, they're relatively safe from squirrels, who have zero respect for your artistic endeavors.
Lighting and Longevity: Making Them Last and Shine
So, you've got them placed. Now, how do you light them up without setting your house on fire? Real candles are the classic, but let's be practical. They're a fire hazard, especially with kids or pets around, and they can actually cook your pumpkin from the inside out, speeding up the decay process. Battery-operated LED lights are the way to go for youreasy and cute pumpkin carving ideas. They're safe, they last a long time, and they come in various colors and flickering options to mimic a real flame. Pop one inside your carved pumpkin, or place mini string lights around your no-carve creations. To help your carved pumpkins last a bit longer, you can rub petroleum jelly on the cut edges to seal in moisture or give the whole thing a soak in a bleach solution before carving (rinse thoroughly!). It won't stop the inevitable rot forever, but it might buy you a few extra days before things get… mushy.
Here are a few spots to consider for displaying your pumpkins:
- On front porch steps
- Arranged on hay bales
- Along a garden path
- Clustered near the front door
- On a mantlepiece (for smaller or no-carve pumpkins)
- Inside a window facing the street
Wrapping Up Your Adorable Pumpkin Project
So there you have it. Proof that you don't need to be a sculptural genius or own a specialized toolkit to create pumpkins that are genuinely charming. We've looked at ways to bypass the knife entirely and simple cuts that make a big impact. The goal here wasn't perfect replicas of haunted mansions, but accessible, enjoyable ways to add some personality to your Halloween display. Don't overthink it; grab a pumpkin, pick an idea that makes you smile, and give it a go. Worst case, you learn what *not* to do next year. Best case, you end up with the cutest pumpkin on the block, achieved without any unnecessary stress or missing fingers. Now go forth and make some adorable gourd magic happen.