Table of Contents
Let's be honest, staring down a large, uncarved pumpkin with a flimsy plastic saw can feel less like festive fun and more like a daunting chore. Visions of intricate, internet-worthy designs quickly dissolve into the reality of snapped tools and uneven cuts. Maybe you've tried before and ended up with something that looked less like a spooky ghoul and more like a lopsided mess. It happens to the best of us. But what if getting into the Halloween spirit didn't require an engineering degree or the patience of a saint? What if there was a way to create cool, eye-catching pumpkins without the frustration? That's where focusing on the easiest pumpkin carving ideas comes in. We're skipping the overly complicated patterns that require surgical precision and zeroing in on designs and techniques that are genuinely achievable for anyone, regardless of skill level or tool arsenal. This guide will walk you through getting started, highlight simple designs that actually look good, and even touch on ways to decorate if carving feels like too much. Forget the struggle; let's talk about making your Halloween display look great the easy way.
Skip the Struggle: Why Choose Easiest Pumpkin Carving Ideas?
Skip the Struggle: Why Choose Easiest Pumpkin Carving Ideas?
Look, nobody signs up for Halloween decorations wanting to feel like a contestant on a high-stakes carving competition. You see those elaborate, multi-layered designs online and think, "Maybe I can do that." Spoiler alert: often, you can't, at least not without significant time, patience, and potentially a trip to the emergency room. Choosing the easiest pumpkin carving ideas isn't about being lazy; it's about being smart. It’s about setting yourself up for success instead of frustration. Simple designs are less likely to crack the pumpkin wall, require fewer specialized tools, and take a fraction of the time. This means you actually *finish* your pumpkin, it looks decent, and you still have energy left to enjoy the spooky season, rather than collapsing in a heap of pumpkin guts and shattered dreams.
Gearing Up: Tools for Your Easiest Pumpkin Carving Projects
Gearing Up: Tools for Your Easiest Pumpkin Carving Projects
What You Actually Need for Easy Carving
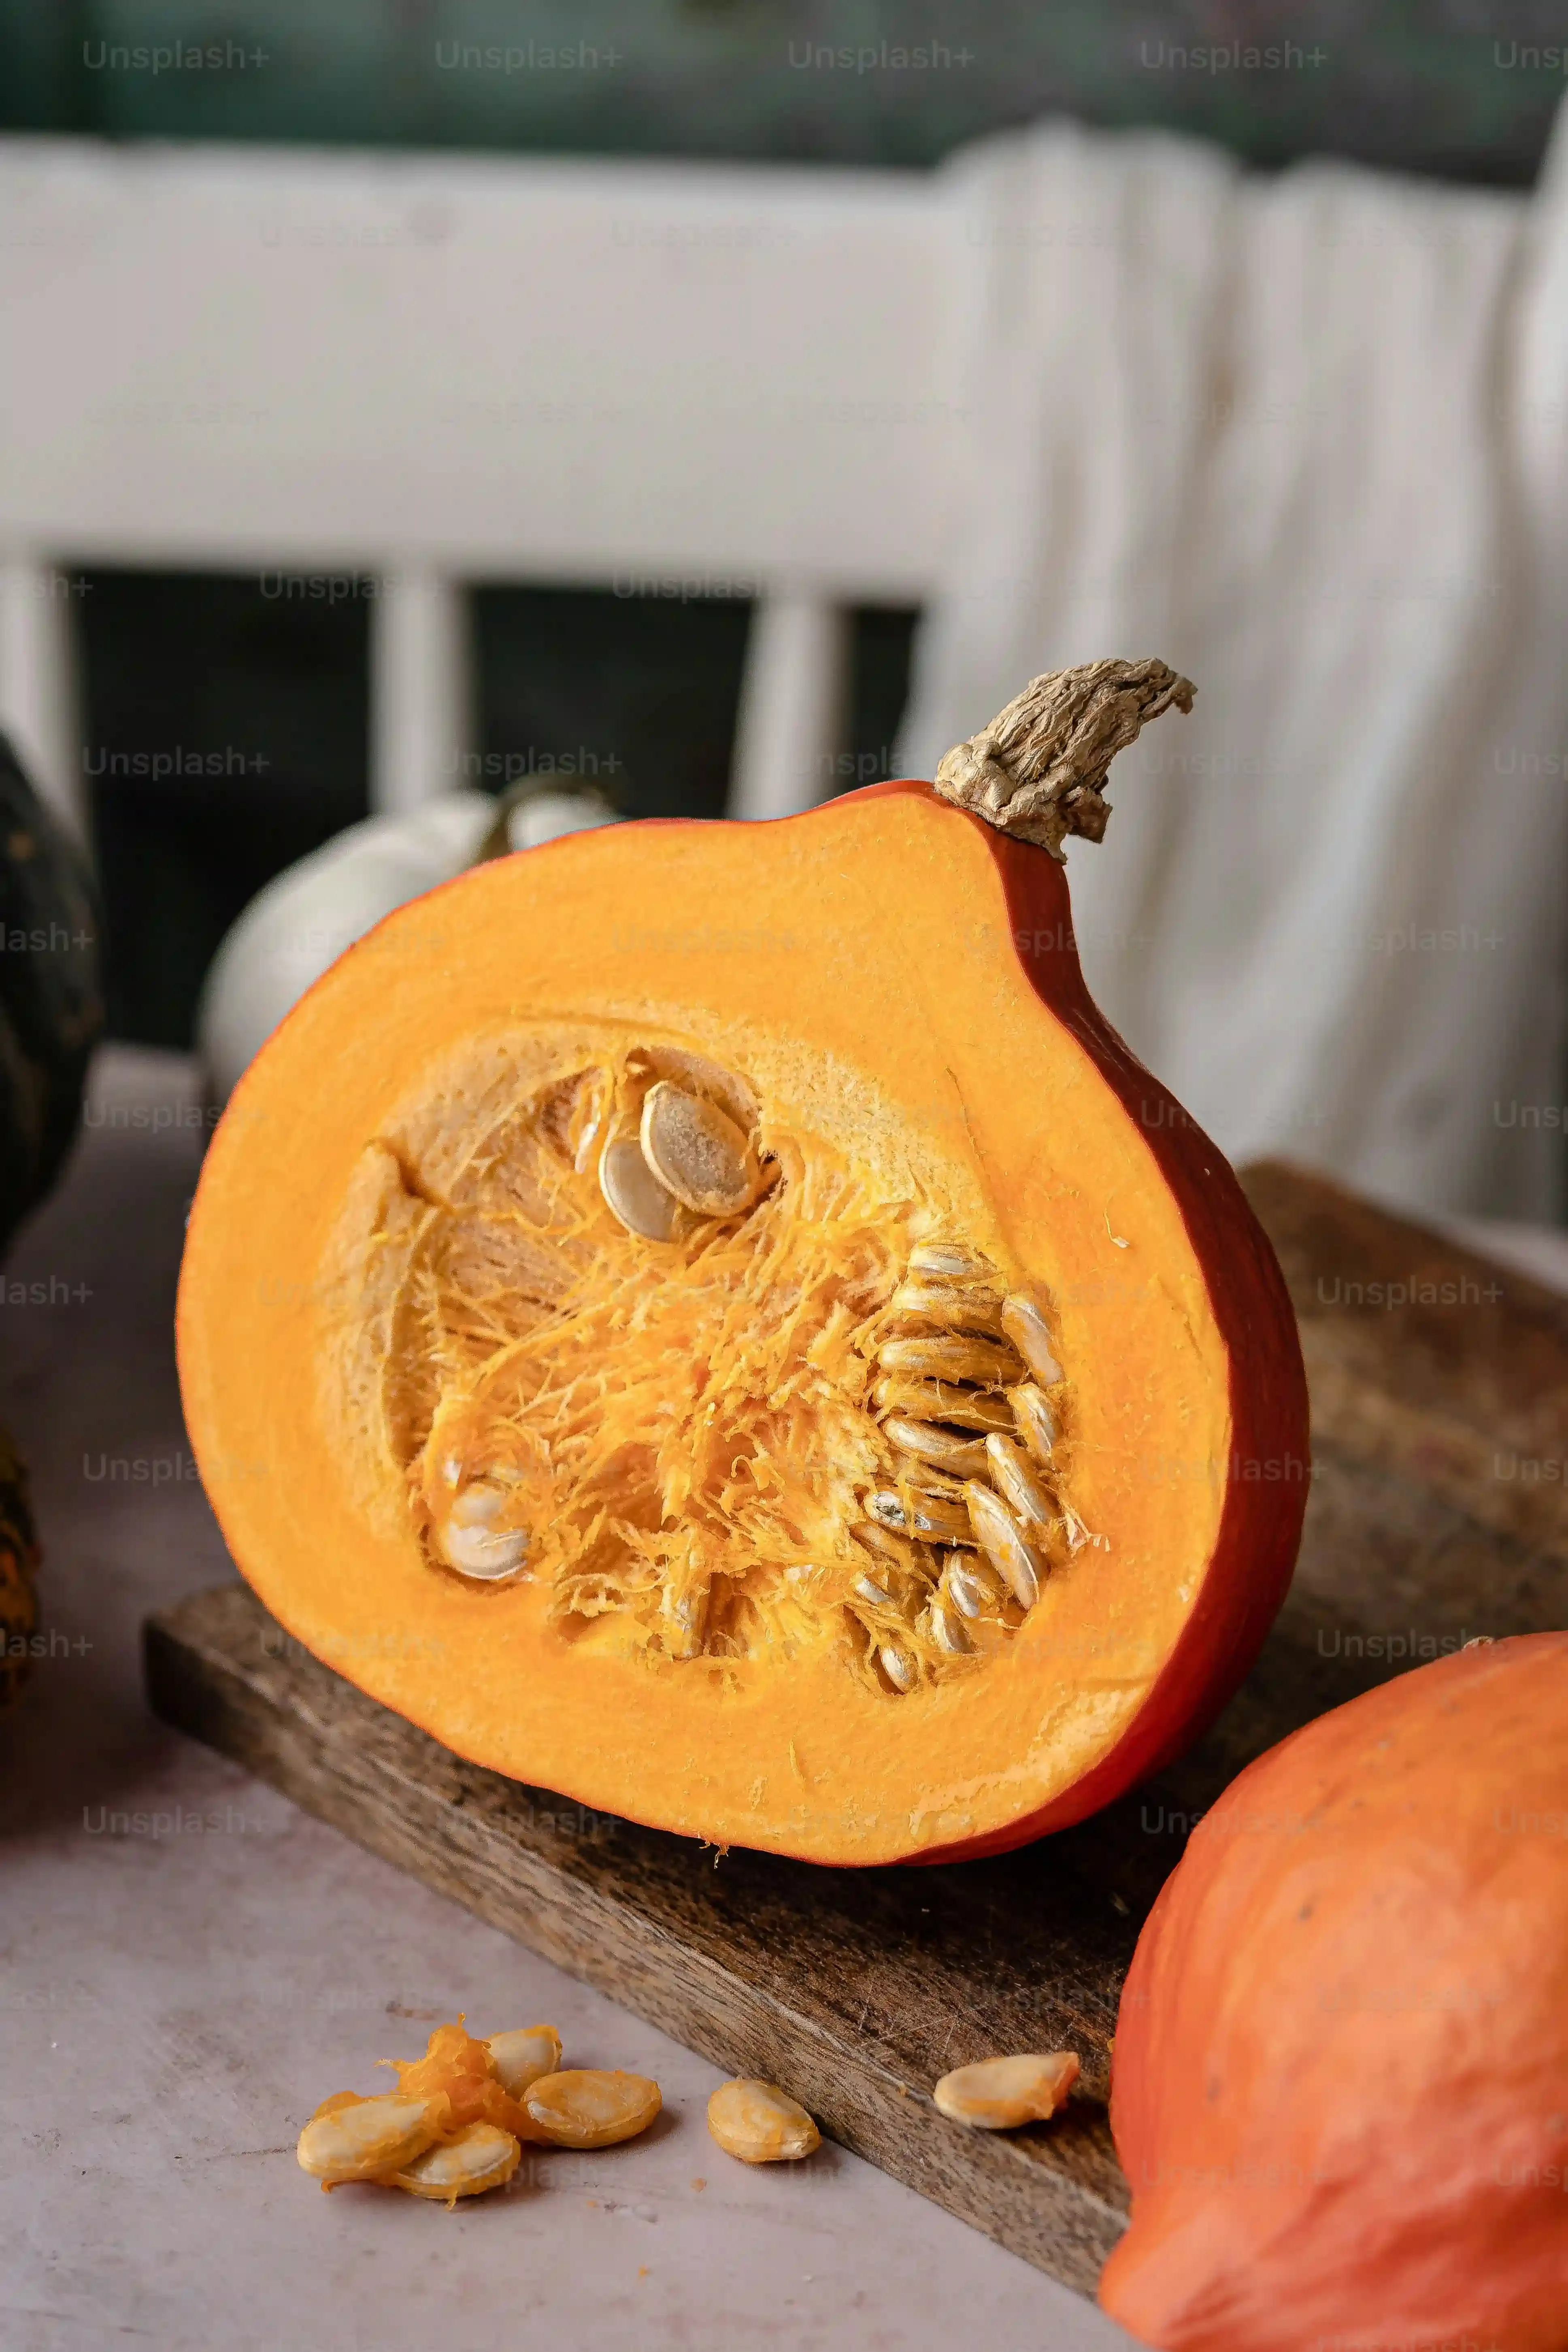
let's talk tools. Forget those flimsy, dollar-store carving kits with the tiny saw that bends if you look at it funny. For the easiest pumpkin carving ideas, you don't need a whole workshop. You need a few reliable items that won't fail you mid-cut. A sturdy, sharp knife for cutting the top off is crucial – think something like a chef's knife, but be careful. You'll also need a scoop for getting the guts out. An ice cream scoop or a large metal spoon works wonders here, much better than those tiny plastic scrapers. For the actual carving, a small serrated knife, often found in those basic carving kits (but look for a decent quality one!), is good for simple shapes. A poking tool, like a skewer or drill bit, is also surprisingly useful for transferring patterns or making small holes.
Making it Even Easier (and Cleaner)
Beyond the absolute basics, a couple of things can make your easiest pumpkin carving experience even smoother. A dry-erase marker is your best friend for drawing designs directly onto the pumpkin because mistakes wipe right off. No commitment! If you're using stencils, some tape to hold them in place is essential. And for cleaning up the inevitable mess of seeds and stringy bits? Newspaper or an old sheet spread out underneath is a lifesaver. Trust me, scraping dried pumpkin goop off your kitchen counter is zero fun. Having a dedicated space and some easy cleanup materials makes the whole process feel less like a biohazard situation.
- Sturdy knife (for the lid)
- Large metal spoon or ice cream scoop (for gutting)
- Small serrated carving knife
- Poking tool (skewer, drill bit)
- Dry-erase marker
- Tape (for stencils)
- Newspaper or old sheet (for cleanup)
Classic & Creative: Simple Faces, Shapes, and Easiest Pumpkin Carving Ideas
Classic & Creative: Simple Faces, Shapes, and Easiest Pumpkin Carving Ideas
Mastering the Minimalist Monster
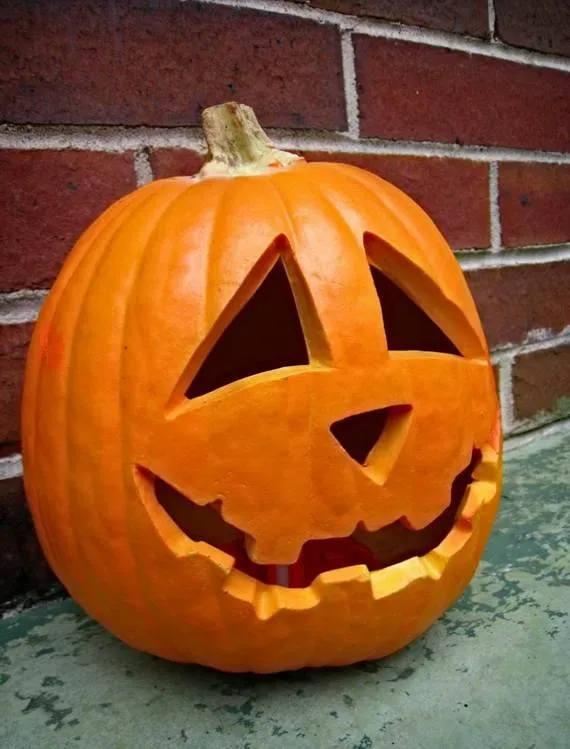
Alright, so you've got your pumpkin cleaned out and your basic tools ready. Now for the fun part: making it look like something other than a giant, hollow gourd. When we talk about the easiest pumpkin carving ideas, we're starting with the classics for a reason. Think back to the jack-o'-lanterns you drew as a kid. They weren't intricate portraits, right? They were usually two triangles for eyes, another triangle for a nose, and a simple jagged or smiling mouth. That's your starting point. These basic geometric shapes are forgiving. A wobbly line on a triangle eye? Looks characterful. A slightly uneven smile? Adds to the spooky charm. You can freehand these with your dry-erase marker, or if you want perfect shapes, find a simple stencil online and tape it on. Cut along the lines. It’s straightforward, minimizes the chance of structural collapse, and honestly, a row of pumpkins with simple, classic faces looks fantastic on a porch.
- Triangle eyes
- Triangle nose
- Jagged mouth
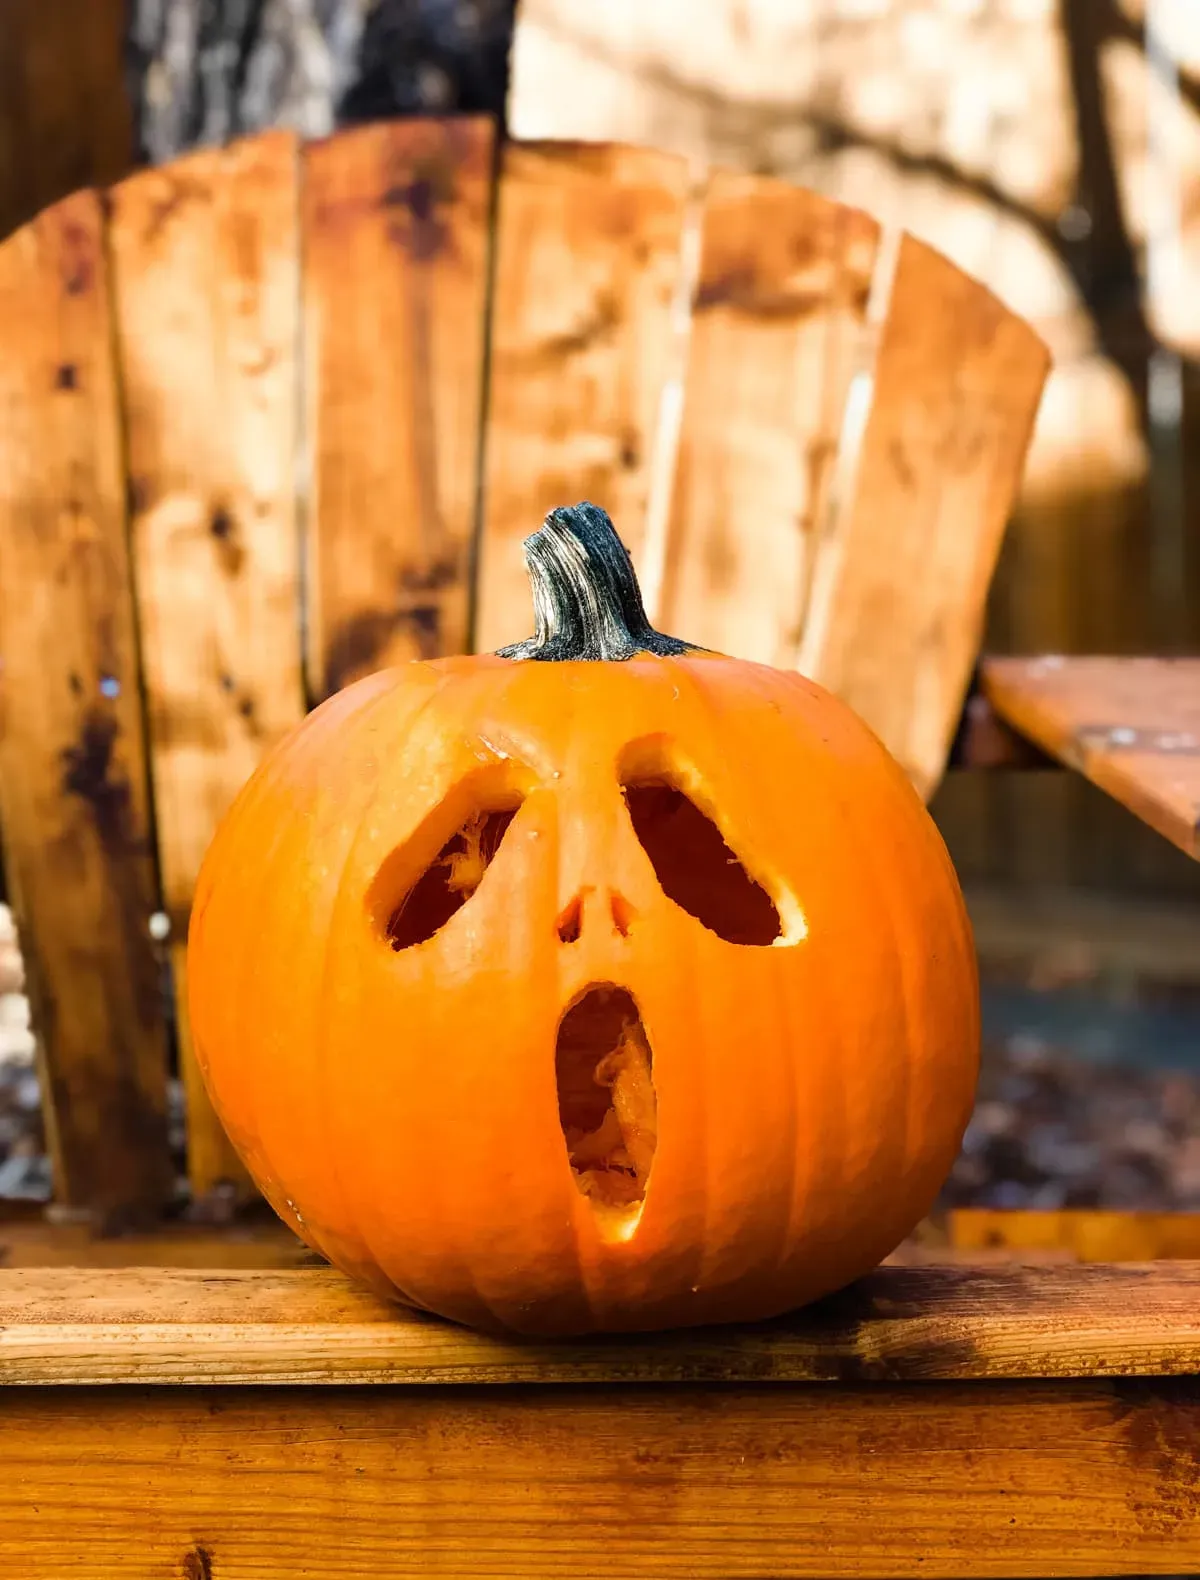
- Circle eyes
- Wavy mouth
- Simple toothy grin
Beyond the Basic Face: Still Super Easy
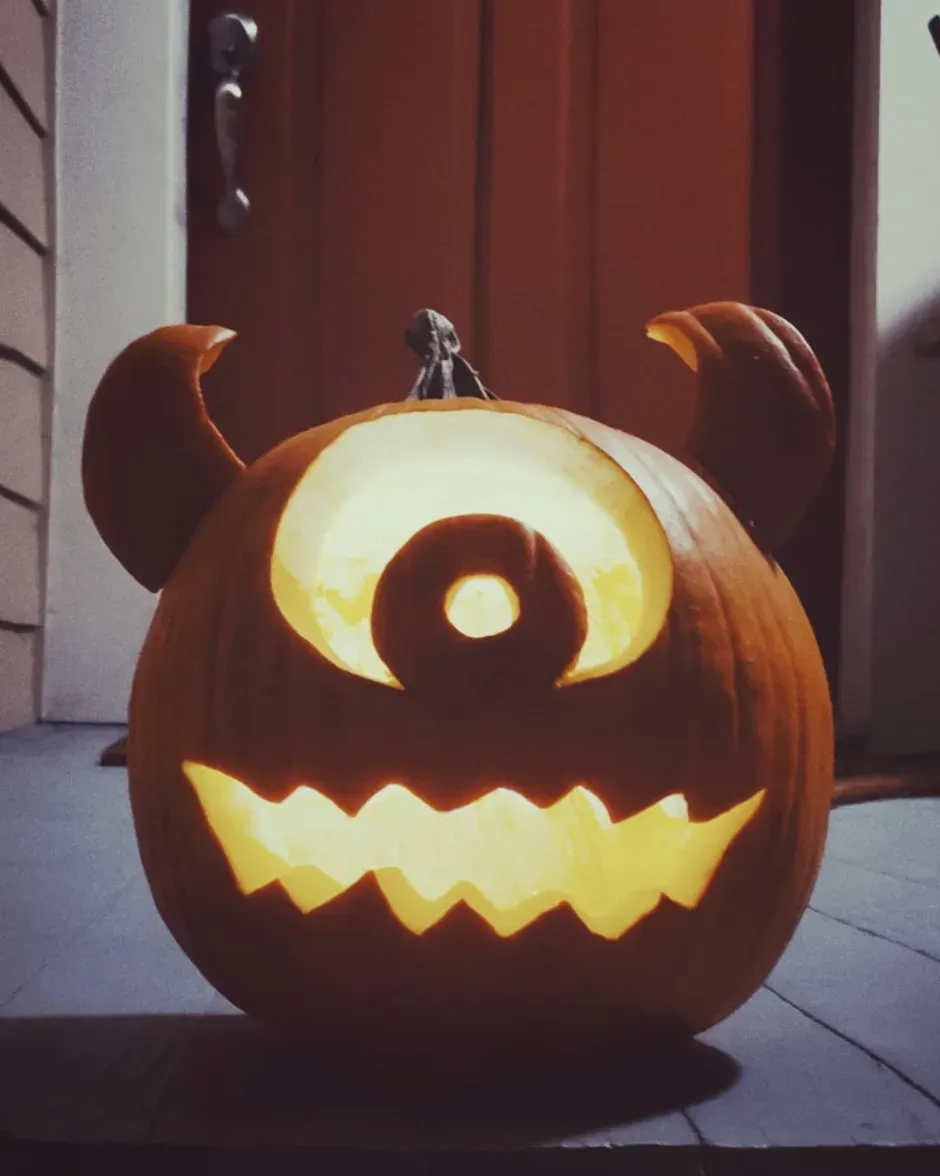
maybe you want to do something *slightly* more ambitious than just triangles, but still firmly within the realm of the easiest pumpkin carving ideas. Good news: you have options that don't involve attempting a haunted mansion facade. Consider simple silhouettes. A black cat, a bat, or a ghost shape can be surprisingly easy to carve if you use a good stencil. You just need to cut out one large shape. Another trick is using cookie cutters. Yes, really. Metal cookie cutters in simple shapes (stars, moons, small circles) can be hammered into the pumpkin skin with a mallet (gently!) and then the shape pushed out. It leaves clean, simple cutouts without needing precise knife work. Or, think about etching instead of cutting all the way through. Scraping away just the top layer of skin creates a translucent effect when lit from inside. Simple patterns like dots, swirls, or outlines of shapes are very effective and much less risky than full cut-throughs.
Beyond the Knife: Easy Pumpkin Decorating (No Carving Required!)

Beyond the Knife: Easy Pumpkin Decorating (No Carving Required!)
Paint it On: Color Your Way to Spooky
maybe the idea of plunging a sharp object into a gourd just isn't your jam, or perhaps you're working with younger kids where knives are a definite no-go. That's perfectly fine. You can still create impressive Halloween pumpkins without making a single cut. This is where Beyond the Knife: Easy Pumpkin Decorating (No Carving Required!) really shines. Painting is your best friend here. Grab some acrylic paints – they stick well to pumpkin skin – and go wild. You can paint classic spooky scenes, abstract patterns, or even turn your pumpkin into a specific character. Think simple ghosts, black cats silhouetted against an orange background, or just solid colors like black, white, or metallic gold for a different look. Mistakes are easy to paint over, and the only tool you really need is a brush. It's messy, sure, but it's a different kind of messy than pumpkin guts.
Stick 'Em Up: Decals, Glitter, and More
Painting is just one avenue when you're exploring options Beyond the Knife: Easy Pumpkin Decorating (No Carving Required!). Another incredibly simple method involves sticking things onto the pumpkin. Craft stores and even grocery stores around Halloween are packed with pumpkin decorating kits that come with foam shapes, googly eyes, yarn for hair, and sticky back felt. These are designed for maximum ease and minimal frustration. Hot glue is also your friend for attaching things like plastic spiders, fake cobwebs, or even fabric scraps to create mummy pumpkins. Glitter? Absolutely. Just paint a design or cover the whole pumpkin in glue and dump glitter on it for some sparkly Halloween flair. You can even use temporary tattoos or stickers designed for pumpkins. The possibilities are pretty wide open, and none of them involve risking a finger.
- Acrylic paints and brushes
- Googly eyes and foam shapes
- Hot glue gun (with adult supervision if needed)
- Plastic spiders and fake cobwebs
- Glitter and glue
- Temporary tattoos or stickers
- Yarn or felt for features
Quick Fixes: Troubleshooting Your Easiest Pumpkin Carving Attempts
Quick Fixes: Troubleshooting Your Easiest Pumpkin Carving Attempts
When Your Simple Cut Goes Wrong
Even with the easiest pumpkin carving ideas, sometimes things don't go exactly as planned. You're cutting out that simple triangle eye, and whoops, a crack starts spreading from the corner. Don't panic. A small crack isn't the end of your pumpkin's life. You can often "stitch" it up using toothpicks or small wooden skewers. Just break off pieces and gently push them across the crack, like tiny splints. If a piece you cut out was supposed to stay in (like the bridge of a nose) and it snapped off, you can try reattaching it with toothpicks too. It won't be invisible, but it holds it together. Uneven edges? Nobody expects perfection on an easy design. Embrace the wobble; it adds character. Think of it as rustic charm.
Lighting and Longevity Hacks
You've carved your masterpiece (even if it's just a few simple shapes), and now you want it to look good lit up. Standard candles are fine, but they can scorch the top and don't last long. Plus, fire and flammable porch decorations? Maybe not the brightest idea. LED candles are a game-changer for easy pumpkins. They're safe, last ages on batteries, and give a consistent glow. For maximizing how long your pumpkin lasts before it starts looking sad and droopy, a thin layer of petroleum jelly or vegetable oil rubbed on the cut edges can help lock in moisture. Some people swear by a bleach solution spray (1 tablespoon bleach per quart of water) to kill mold and bacteria, but honestly, keeping it cool and out of direct sun helps most.
Problem | Quick Fix for Easy Carving |
|---|---|
Crack in pumpkin wall | Use toothpicks to "stitch" across the crack. |
Cut-out piece broke off | Reattach with toothpicks. |
Uneven cut edges | Embrace the "rustic" look; nobody cares. |
Candle safety/short life | Switch to battery-operated LED candles. |
Pumpkin wilting fast | Rub petroleum jelly on cut edges; keep cool. |
So, What Did We Learn? Pumpkin Fun Doesn't Require a Chainsaw
Alright, we've covered the basics, looked at some genuinely achievable designs, and hopefully convinced you that tackling a pumpkin doesn't have to end in tears and a trip to the urgent care. The point isn't to win some imaginary pumpkin-carving championship. It's about having a bit of fun, getting into the Halloween vibe, and maybe not completely ruining your kitchen counter in the process. Armed with a few simple tools and some realistic expectations (i.e., aiming for 'pretty good' instead of 'Michelangelo'), you can absolutely create a cool-looking jack-o'-lantern or decorated pumpkin. So grab a gourd, pick an easy idea, and give it a shot. The worst that happens? You end up with a slightly sad-looking squash, which, let's be honest, is still kind of on-brand for Halloween anyway.