Table of Contents
Halloween is creeping closer, and what better way to celebrate than with a jack-o'-lantern that'll send shivers down spines? Forget the generic triangle eyes and toothy grins; we're diving headfirst into the world of diy scary pumpkin carving. Whether you're a seasoned pro with a collection of specialized tools or a newbie armed with nothing but a kitchen knife and a spoon, there's a terrifyingly terrific design waiting for you.
Choosing Your Pumpkin and Gathering Supplies for DIY Scary Carving
Choosing Your Pumpkin and Gathering Supplies for DIY Scary Carving
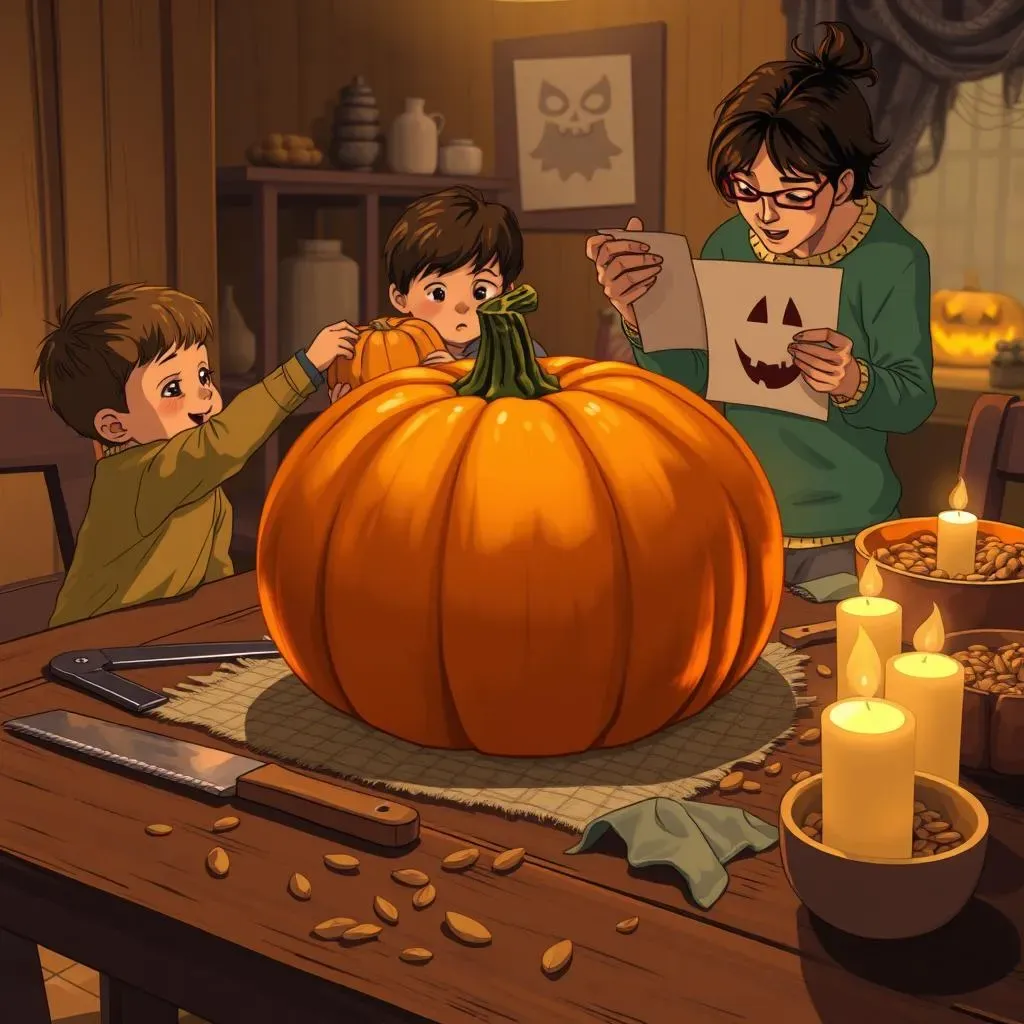
so you're ready to dive into some diy scary pumpkin carving? Awesome! First things first: you need a pumpkin. But not just any pumpkin. You're looking for a canvas, a blank slate for your spooky masterpiece. Head to your local pumpkin patch or grocery store and keep these points in mind. Size matters, depending on your design. A larger pumpkin gives you more surface area to work with, especially if you're planning something intricate. Shape is also key; a round, symmetrical pumpkin is generally easier to carve, but don't shy away from quirky shapes if they inspire you. Check for soft spots or blemishes, which indicate rot. You want a firm, healthy pumpkin that will last through Halloween night. Give it a gentle thump; a hollow sound means it's ripe and ready for carving.
Now that you've got your pumpkin, it's time to gather your tools. While you could technically use a butter knife, trust me, you'll want to invest in some proper carving tools. A basic carving kit usually includes a small serrated saw, a scoop for removing the pumpkin guts, and a poking tool for transferring patterns. You might also want to grab a sturdy knife for more detailed work, and a variety of smaller tools for fine-tuning your design. Don't forget a large bowl for the pumpkin seeds and pulp, a damp cloth for wiping your hands, and a well-lit workspace. And, of course, your chosen pattern or stencil. Whether you're going freehand or using a template, having a clear idea of your design will make the carving process much smoother. Finally, consider some LED candles or a small flashlight to illuminate your finished creation. Real candles can be a fire hazard, especially if you have little ones running around. LED lights are safer, longer-lasting, and come in a variety of spooky colors.
Supply | Why You Need It |
|---|---|
Pumpkin | The canvas for your masterpiece! |
Carving Kit | Essential for precise and safe carving. |
Large Bowl | To hold all the pumpkin guts. |
LED Candles/Flashlight | To light up your scary creation! |
Easy DIY Scary Pumpkin Carving Ideas for Beginners
Easy DIY Scary Pumpkin Carving Ideas for Beginners
Classic Jack-O'-Lantern with a Twist
Let's kick things off with a classic: the Jack-O'-Lantern. But we're not talking about your run-of-the-mill smiley face. Even beginners can add a scary twist. Think jagged teeth, asymmetrical eyes, and an overall menacing expression. Instead of perfectly smooth lines, embrace the imperfections. A slightly crooked smile or uneven eyes can add to the spooky effect. Use simple triangle or square shapes for the eyes and nose, but vary their sizes and angles to create a sense of unease. The key here is to keep it simple but make it sinister. You can easily find free stencils online if you're not confident drawing freehand. Just tape the stencil to your pumpkin and use a poking tool to transfer the design before you start carving.
To really amp up the scare factor, consider adding some extra details. Carve small cracks and crevices around the eyes and mouth to give your pumpkin a weathered, aged look. Or, use a thin carving tool to create a web-like pattern around the eyes. These small touches can make a big difference in the overall effect. Remember, it's all about creating a sense of unease and dread. Don't be afraid to experiment and get creative. There's no right or wrong way to carve a scary pumpkin, so have fun with it!
Silhouette Spookiness: Easy and Effective
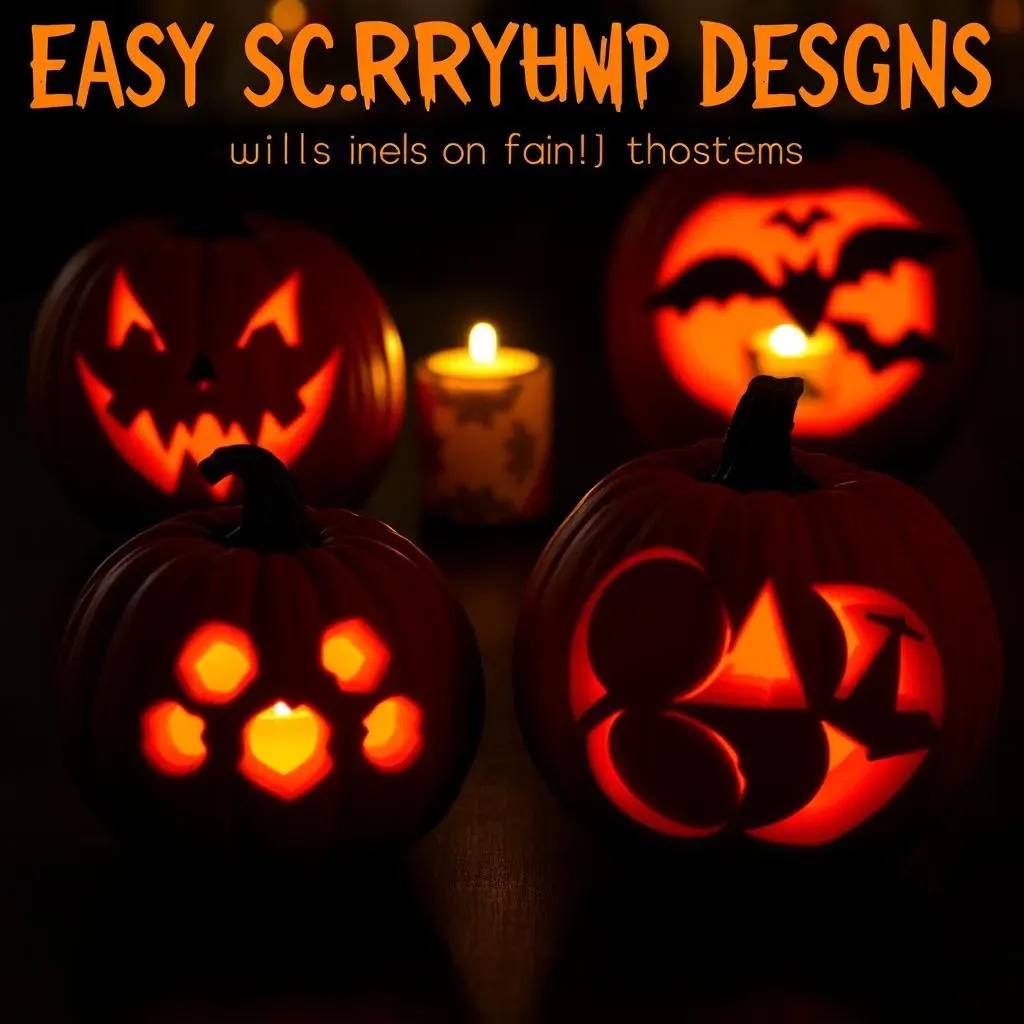
If you're looking for an even easier option, silhouette carvings are the way to go. These involve carving out large areas of the pumpkin to create a dark, dramatic silhouette against the glow of the candle or LED light. Think spooky trees, bats, ghosts, or even a creepy haunted house. The beauty of silhouette carvings is that they require minimal detail work. You're essentially just cutting out shapes, which makes them perfect for beginners. You can find tons of free silhouette templates online, or create your own by drawing simple shapes on paper and transferring them to your pumpkin.
To create a silhouette carving, start by taping your chosen template to the pumpkin. Use a poking tool to transfer the outline of the design. Then, carefully carve out the areas within the outline, making sure to remove all the pumpkin flesh. The key to a good silhouette carving is to make sure the edges are clean and crisp. Use a small carving tool to tidy up any rough spots or jagged edges. Once you're finished, place a light inside the pumpkin and watch your spooky silhouette come to life!
Idea | Description | Difficulty |
|---|---|---|
Jagged Jack | Classic face with uneven features. | Easy |
Bat Silhouette | Simple bat shape carved out. | Easy |
Creepy Cat | Silhouette of a menacing cat. | Easy |
Simple Shapes, Big Scares
Sometimes, the simplest designs are the scariest. Instead of trying to create an intricate masterpiece, focus on using simple shapes to create a sense of unease. Think of basic geometric shapes like circles, squares, and triangles, but arrange them in a way that's unsettling and off-kilter. For example, you could carve a series of overlapping circles to create a sense of depth and disorientation. Or, you could carve a series of jagged triangles to create a sense of danger and aggression. The key is to play with the shapes and their arrangement to create a visual effect that's both simple and unsettling.
To take this concept even further, consider using different carving depths to create a layered effect. Carve some shapes all the way through the pumpkin, and others only partially through the surface. This will create a subtle variation in light and shadow, adding to the overall spooky effect. You can also use different tools to create different textures. A serrated saw will create a rough, jagged texture, while a smooth knife will create a cleaner, more polished look. Experiment with different tools and techniques to see what works best for you. Remember, the goal is to create a design that's both simple and effective, proving that you don't need to be a master carver to create a truly scary pumpkin.
Advanced DIY Scary Pumpkin Carving Techniques for a Pro Look
Advanced DIY Scary Pumpkin Carving Techniques for a Pro Look
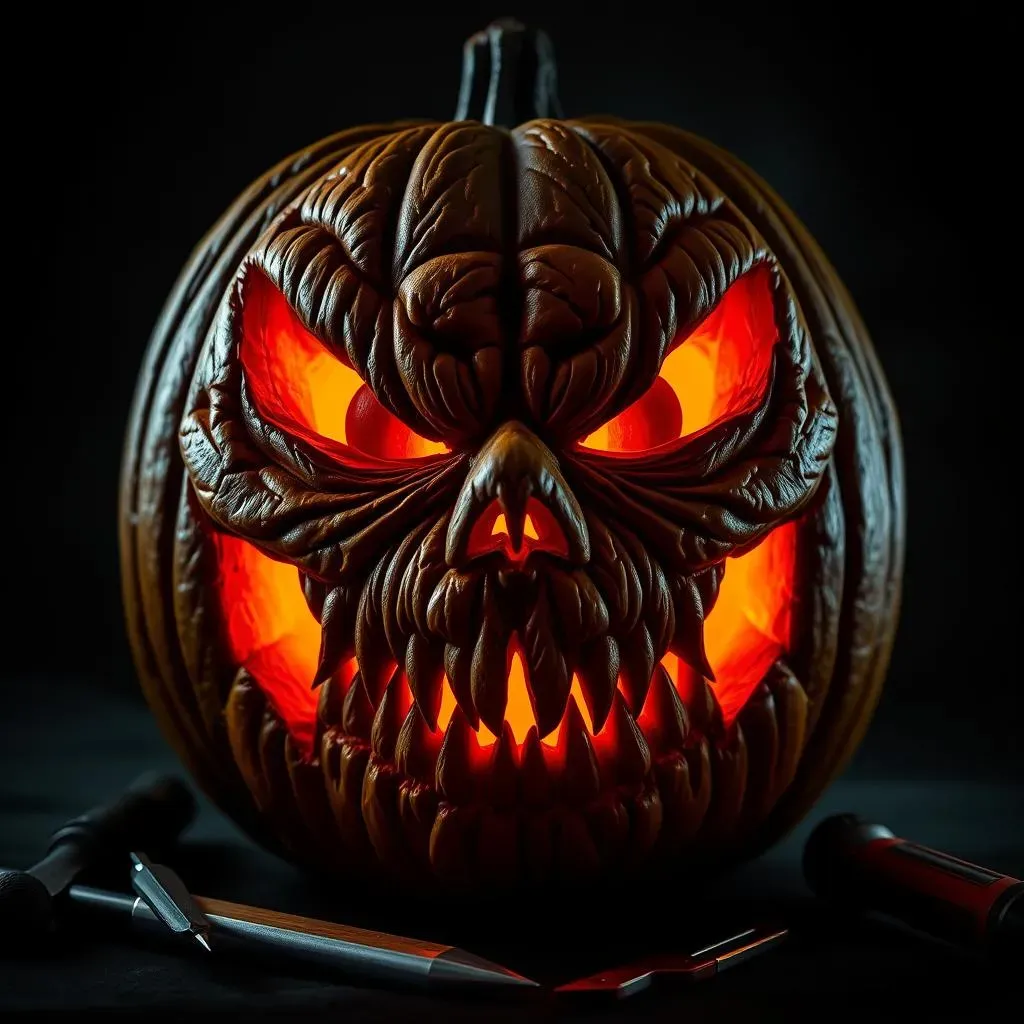
3D Carving: Bringing Your Pumpkin to Life
Ready to take your diy scary pumpkin carving to the next level? Forget flat, two-dimensional designs. We're talking about 3D carving, where you sculpt the surface of the pumpkin to create depth, texture, and a truly terrifying effect. This technique involves removing layers of pumpkin flesh to create different levels of relief, similar to sculpting with clay. Think protruding eyeballs, gnarly teeth, and deep, menacing wrinkles. The key to 3D carving is patience and precision. Start by sketching your design onto the pumpkin, paying close attention to the contours and shadows. Then, use a variety of carving tools to gradually remove the pumpkin flesh, working from the shallowest areas to the deepest. Remember to take your time and check your progress frequently. It's always easier to remove more pumpkin than it is to put it back!
To really master 3D carving, you'll need a good set of tools. A variety of loop tools, which are small metal loops attached to handles, are essential for shaping and smoothing the pumpkin surface. You'll also want a sharp knife for making precise cuts and defining edges. And don't forget a good light source! A bright lamp or flashlight will help you see the subtle variations in depth and texture as you carve. As you carve, constantly evaluate the light and shadow. The contrast between light and shadow is what creates the 3D effect, so pay attention to how the light interacts with the carved surfaces. Experiment with different carving depths and textures to create a truly unique and terrifying masterpiece.
Using Power Tools for Pumpkin Carving
For those who are truly dedicated to the art of diy scary pumpkin carving, power tools can be a game-changer. While it might sound intimidating, using tools like rotary tools (Dremels) and small saws can significantly speed up the carving process and allow for more intricate designs. However, safety is paramount. Always wear safety glasses to protect your eyes from flying debris, and use a dust mask to avoid inhaling pumpkin particles. Start with low speeds and gradually increase as you get more comfortable with the tool. Practice on a scrap pumpkin before tackling your final design. This will give you a feel for how the tool works and prevent any costly mistakes.
Rotary tools are especially useful for creating fine details and textures. Use different bits to achieve different effects, such as sanding bits for smoothing surfaces and engraving bits for creating fine lines. Small saws, like jigsaw or coping saws, can be used to cut out larger areas of the pumpkin, such as intricate silhouettes or complex shapes. When using power tools, always maintain a firm grip and keep the tool moving smoothly. Avoid applying too much pressure, which can cause the tool to slip or the pumpkin to crack. With practice and patience, power tools can help you create truly professional-looking pumpkin carvings that will impress even the most discerning Halloween enthusiasts.
Power Tool | Use | Safety Tip |
|---|---|---|
Rotary Tool (Dremel) | Fine details, textures | Use safety glasses, start with low speed |
Small Saw (Jigsaw/Coping Saw) | Cutting large areas, complex shapes | Maintain a firm grip, avoid excessive pressure |
Safety Tips and Creative Display Ideas for Your DIY Scary Pumpkins
Safety Tips and Creative Display Ideas for Your DIY Scary Pumpkins
Safety First: Carving Without the Scare
Alright, you've poured your heart and soul into creating a terrifyingly awesome pumpkin. But before you proudly display your masterpiece, let's talk safety. Carving can be dangerous, especially with sharp tools involved. First and foremost, always supervise children closely. Never let them handle sharp tools unsupervised. Even adults should take their time and pay attention to what they're doing. Carve in a well-lit area to avoid accidents. And remember, dull tools are more dangerous than sharp ones because they require more force to use, increasing the risk of slipping. Keep your tools sharp and in good condition.
Another important safety tip is to carve on a stable surface. A wobbly table or countertop can lead to accidents. Use a cutting board or a non-slip mat to keep your pumpkin from sliding around. And finally, don't be afraid to ask for help. If you're struggling with a particular part of the design, enlist the assistance of a friend or family member. Two sets of hands are always better than one, especially when it comes to safety. Remember, the goal is to have fun and create a spooky pumpkin, not to end up in the emergency room!
- Supervise children closely
- Carve in a well-lit area
- Use sharp tools (and keep them sharp!)
- Carve on a stable surface
- Don't be afraid to ask for help
Showcasing Your Spooky Creation: From Simple to Spectacular
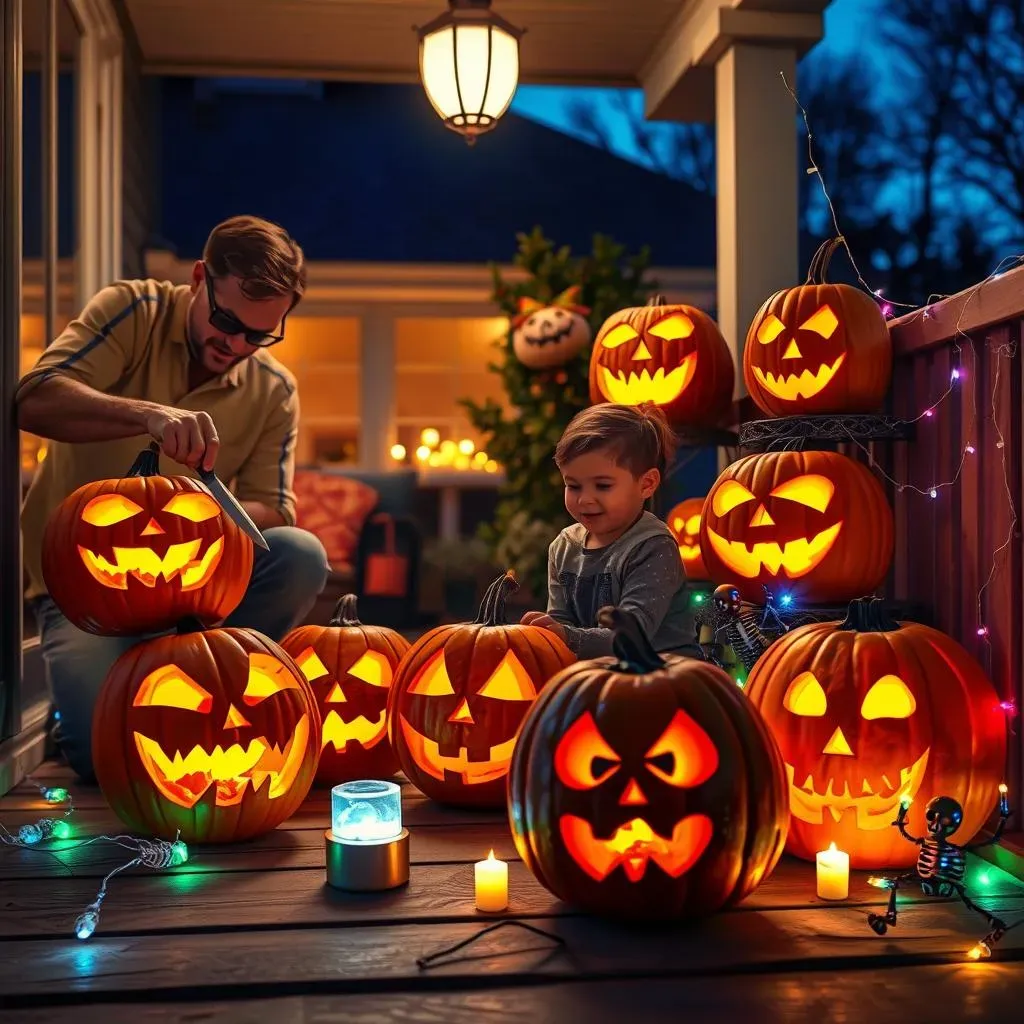
Now for the fun part: displaying your diy scary pumpkin carving! There are tons of creative ways to showcase your spooky creation, from simple and classic to elaborate and over-the-top. For a classic look, place your jack-o'-lantern on your porch steps or in a window. Add some flickering LED candles for a spooky glow. You can also create a spooky scene by surrounding your pumpkin with other Halloween decorations, such as cobwebs, skeletons, and tombstones. Get creative with lighting! Use colored bulbs to cast eerie shadows or string fairy lights around your pumpkin for a whimsical touch. You can even project spooky images onto your pumpkin using a small projector.
If you're feeling ambitious, consider creating a themed display. For example, you could create a haunted graveyard scene with multiple pumpkins carved with different spooky designs. Or, you could create a pumpkin family, with each pumpkin representing a different member of the family. Don't forget about the power of sound! Adding a spooky soundtrack or some creepy sound effects can really enhance the atmosphere. The possibilities are endless! The most important thing is to have fun and let your creativity shine. After all, Halloween is all about embracing the spooky and celebrating the season with friends and family.
Display Idea | Description |
|---|---|
Classic Porch Display | Pumpkin on steps with LED candles |
Spooky Scene | Cobwebs, skeletons, tombstones around pumpkin |
Themed Display | Haunted graveyard or pumpkin family |
Conclusion: Mastering the Art of DIY Scary Pumpkin Carving
So, you've reached the end of our guide to diy scary pumpkin carving. Hopefully, you’re now armed with the knowledge and inspiration to transform an ordinary pumpkin into a terrifying work of art. Remember, the most important thing is to have fun and let your creativity run wild. Don't be afraid to experiment with different designs, techniques, and lighting to create a truly unique and spooky jack-o'-lantern. Whether you choose a classic scary face, a creepy character, or an intricate design, your DIY scary pumpkin is sure to be a hit this Halloween. Happy carving, and may your Halloween be filled with frights and delights!