Table of Contents
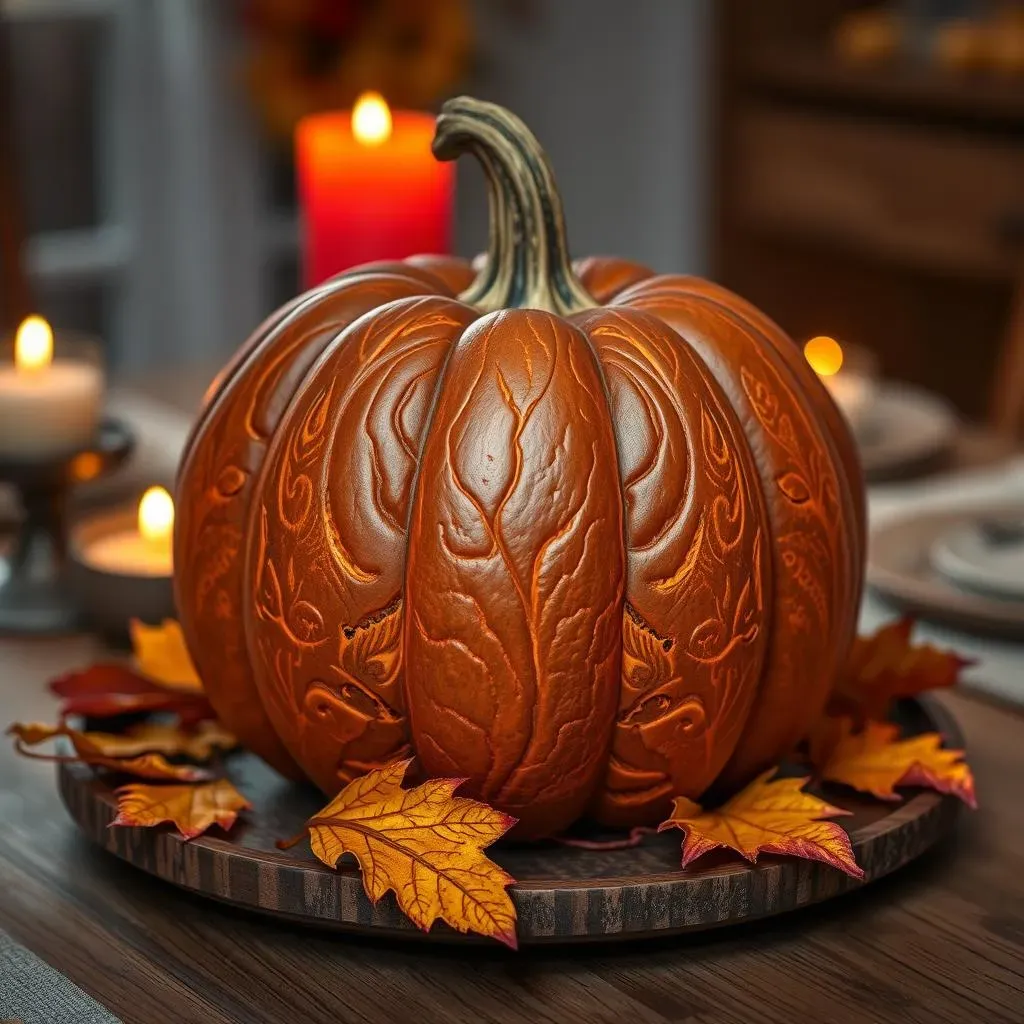
Alright, let's be honest, carving pumpkins isn't just for kids. It's a full-on art form, and if you're like me, you want your creation to be the envy of the neighborhood. We're not talking about basic triangle eyes here; we want intricate designs that make people stop and stare. But how do you go from a lumpy orange gourd to a glowing masterpiece? That's where these display pumpkin carving tips come in. In this article, I'm going to spill my secrets, the ones I've learned from years of trial, error, and more than a few pumpkin-related disasters. We'll tackle everything from prepping your pumpkin to the nitty-gritty of carving and how to make sure your hard work lasts more than a day or two. So, grab your tools, maybe a snack (carving makes you hungry!), and get ready to elevate your pumpkin game. I'm going to guide you through the best ways to choose, carve, and display your pumpkin, ensuring it's the star of the show. Let's get carving!
Prep Like a Pro: The Best Start for Your Carved Pumpkin
Prep Like a Pro: The Best Start for Your Carved Pumpkin
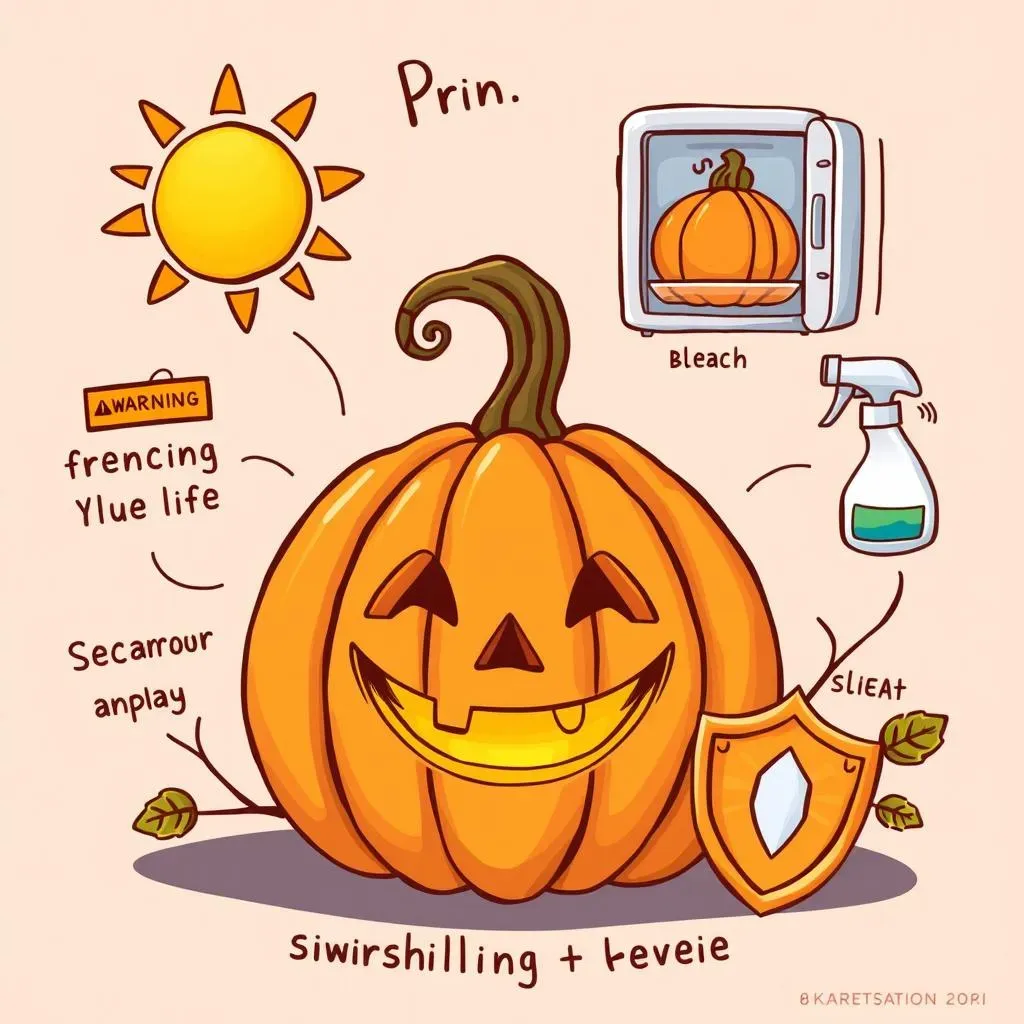
Okay, so you're ready to carve, but hold up! Before you even think about touching that knife, let's talk prep. It's like building a house; you wouldn't start with the roof, would you? Same goes for pumpkins. First, we need to pick a good one. Look for a pumpkin that's got a flat bottom, so it doesn't wobble when you put it on display. It should also have a smooth surface, which makes carving easier. And, for goodness sake, make sure it's not bruised or soft, unless you want a moldy jack-o'-lantern in a few days. Now, once you've got your perfect pumpkin, give it a bath! A diluted bleach solution will keep the creepy crawlies away and help prevent rot. It's like giving your pumpkin a spa day, except it's for its own good, not because it needs a facial. We also need to think about how you're going to open it up. Most people go for the top, but I say, let's get radical and go for the bottom. Opening from the bottom keeps the top of your pumpkin intact, so you're not stuck with that weird, wobbly lid. Plus, it makes cleaning out the guts way easier.
Prep Step | Why It Matters |
|---|---|
Choose a Flat-Bottomed Pumpkin | Prevents wobbling during display. |
Smooth Surface | Easier to carve designs. |
Check for Bruises or Soft Spots | Avoids rot and mold. |
Bleach Bath | Disinfects and prevents decay. |
Open from the Bottom | Maintains the pumpkin's shape and makes cleaning easier. |
Carving Techniques for EyeCatching Display Pumpkins

Carving Techniques for EyeCatching Display Pumpkins
Design First, Carve Later
Okay, so you've got your pumpkin prepped, now comes the fun part: carving! But hold your horses, don't just start hacking away. Planning your design is crucial. It's like trying to paint a masterpiece without sketching it out first; you'll probably end up with a mess. I like to draw my design directly onto the pumpkin with a washable marker. This way, I can make changes if I don't like how it looks. You can also use stencils, but where's the fun in that? Think about the details you want to include. Are you going for a spooky face, a cool pattern, or something totally unique? Once you've got your design down, it's time to move on to the actual carving.
Tools of the Trade
Now, let's talk tools. Forget those flimsy plastic pumpkin carving sets you find at the grocery store. They're about as useful as a chocolate teapot. You need some proper tools to get the job done right. I'm a big fan of using small, saw-type knives, like the ones you get in a linoleum cutting set. They're sharp, precise, and they make carving a breeze. You can also use potters' loop tools for etching fine details. It's like using a tiny chisel, but for pumpkins. And when you are carving, remember to take your time. It's not a race. Use smooth, controlled motions, and don't try to force the blade. I've seen people try that, and it usually ends in a trip to the first aid kit.
Light and Shadow
Finally, let's talk about creating depth and dimension. It's not just about cutting out shapes; it's about using light and shadow to make your design pop. Think about thinning the pumpkin walls in certain areas to let more light shine through. You can also try carving different depths to create a layered effect. It's like sculpting, but with a pumpkin. And before you put a candle in there, think about using an LED light instead. It's safer, it lasts longer, and it won't set your pumpkin on fire. Unless you're into that sort of thing, I guess. The key is to experiment and have fun. There's no right or wrong way to carve a pumpkin, as long as you're not hurting yourself or setting anything ablaze.
Technique | Description | Effect |
|---|---|---|
Thinning Walls | Shave interior pumpkin walls to varying depths. | Creates different levels of light intensity. |
Layered Carving | Carve at different depths to create a 3D effect. | Adds visual depth and dimension. |
LED Lighting | Use battery-powered LED lights instead of candles. | Safer, longer-lasting, and won't overheat. |
Displaying Your Masterpiece: Making Your Carved Pumpkin Last
Displaying Your Masterpiece: Making Your Carved Pumpkin Last
Sunlight is the Enemy
Okay, so you've poured your heart and soul into this pumpkin, and now it's time to show it off. But here's the thing: pumpkins are delicate creatures. Direct sunlight is their kryptonite. It'll dry them out, make them shrivel up like a raisin, and basically turn your masterpiece into a sad, saggy mess. So, if you want your pumpkin to last more than a day, keep it out of direct sunlight. Find a nice, shady spot on your porch, or maybe even bring it inside when the sun is at its peak. Think of it as giving your pumpkin a little vacation from the harsh rays.
The Fridge is Your Friend
Now, let's talk about the fridge. Yes, your refrigerator is not just for leftovers; it's also a pumpkin preservation machine. When you're not displaying your pumpkin, pop it in the fridge. The cold air will slow down the decay process and keep it looking fresh. It's like putting your pumpkin in a time capsule. If your fridge is too crowded, you can also wrap your pumpkin in plastic wrap and keep it in a cool, dark place. It's not as effective as the fridge, but it's better than nothing. And remember, moisture is not your friend here, so make sure your pumpkin is dry before you wrap it up.
The Bleach Solution Returns
Remember that bleach solution we used to clean the pumpkin? Well, it's back! Every few days, give your carved pumpkin a quick soak in a diluted bleach bath. This will kill any bacteria that are trying to set up shop and cause your pumpkin to rot. It's like a mini spa treatment, but for the outside of your pumpkin this time. Make sure you dry it thoroughly after the bath; you don't want any water hanging around and causing problems. And, if you really want to go the extra mile, you can spray the inside of your pumpkin with a sealant. It's like giving your pumpkin a protective coating, which will help keep it from drying out and cracking.
Preservation Step | Why It Works |
|---|---|
Avoid Direct Sunlight | Prevents drying and shriveling. |
Refrigerate When Not Displaying | Slows down decay and keeps it fresh. |
Diluted Bleach Baths | Kills bacteria and prevents rot. |
Sealant Spray | Provides a protective coating. |