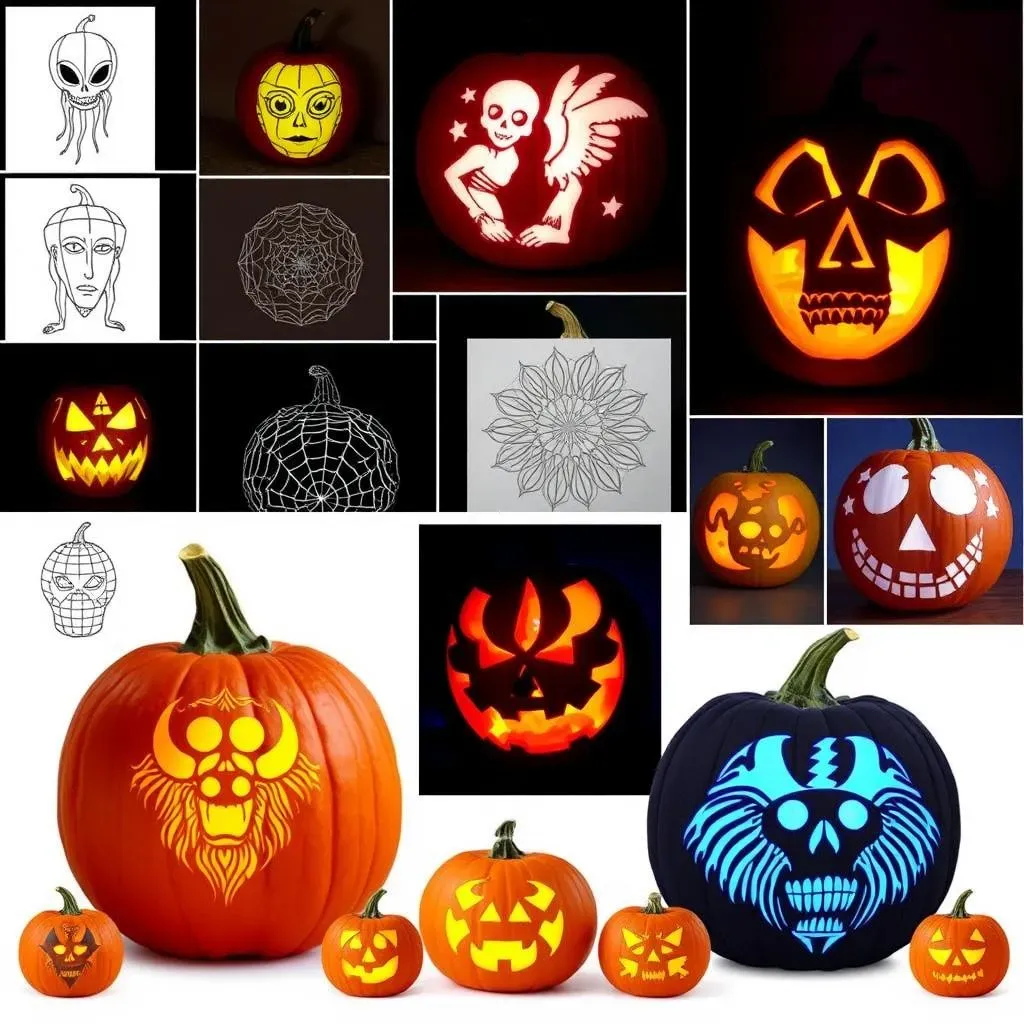
Table of Contents
Halloween is just around the corner, and what's a better way to celebrate than with some awesome jack-o'-lanterns? Forget those boring triangle eyes; this year, we're taking it up a notch. I've gathered 41 fantastic pumpkin carving stencils and design ideas that'll make your porch the envy of the neighborhood. Whether you're into spooky, cute, or downright magical, there's something here for everyone. This isn't just about hacking away at a pumpkin; it's about creating a whole display that screams Halloween. We'll explore templates that range from delightfully enchanting to spine-chillingly scary. You can download these designs or follow along with helpful tutorials, perfect for all skill levels. So, grab your carving tools and let's get started creating a killer display with these pumpkin carving templates. This guide will help you navigate through various designs, giving you all the inspiration you need to make a memorable Halloween display.
Magical Pumpkin Display Carving Templates

Magical Pumpkin Display Carving Templates
Alright, so you're looking to add a touch of enchantment to your Halloween display? Forget the usual spooky stuff, let’s talk magical! Think swirling galaxies, cute little fairies, and maybe even a unicorn or two. These aren't your run-of-the-mill jack-o'-lanterns; these are going to be dazzling centerpieces. We're talking about turning your porch into a scene straight out of a fairy tale. Imagine pumpkins with delicate cutouts that cast intricate shadows, creating an ethereal glow. These templates aren't just about carving; they’re about crafting an experience, a vibe, if you will. I'm picturing a whole display with twinkling lights and maybe some faux foliage to really set the scene. Let's make some magic!
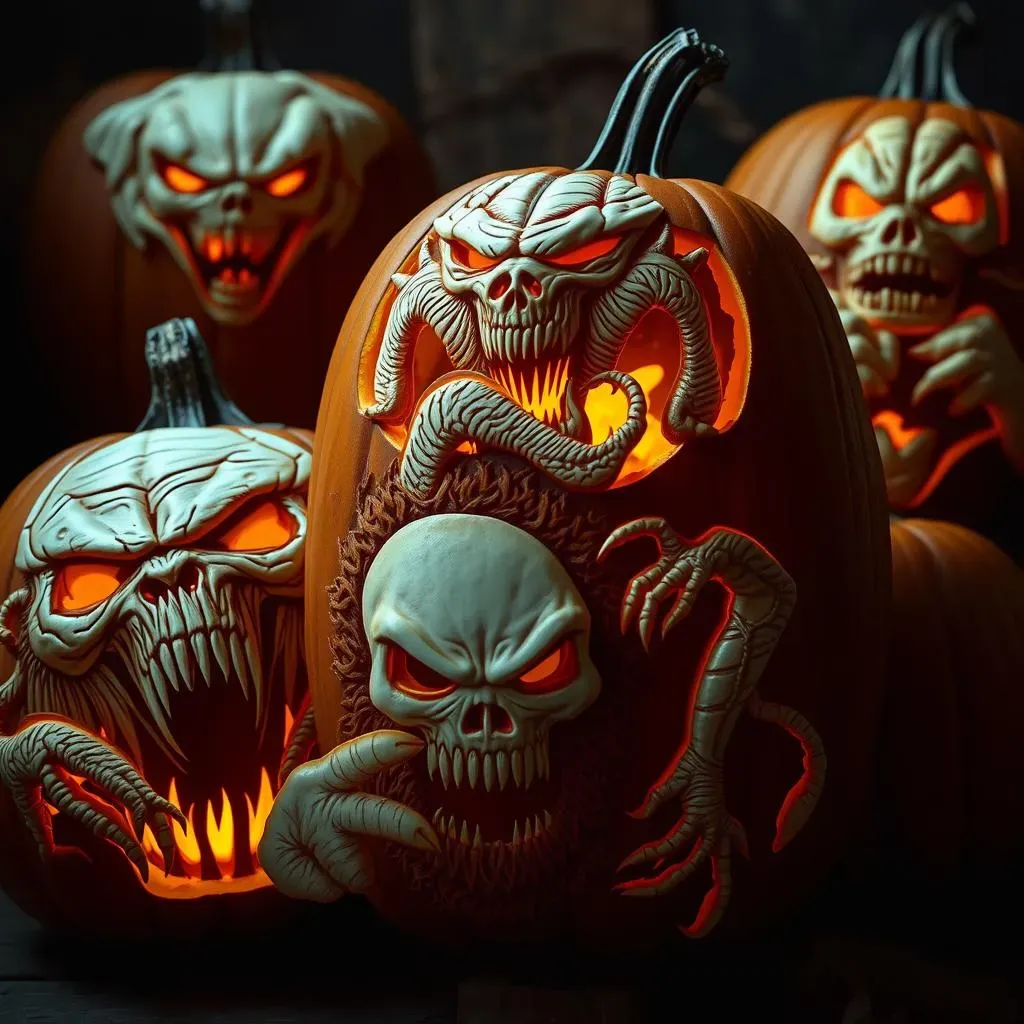
Scary Pumpkin Display Carving Templates
Scary Pumpkin Display Carving Templates
Okay, so you've got the magic down, but what about the chills? We can't have Halloween without a healthy dose of scary, right? Forget cute ghosts; we're talking menacing monsters, creepy crawlies, and maybe even a zombie or two. These templates are designed to make your display the talk of the town—in a terrifying way. Think jagged teeth, hollow eyes, and designs that look like they're about to jump right off the pumpkin. We’re not holding back on the gore or the grit. Imagine the shadows these pumpkins will cast—they'll make even the bravest trick-or-treaters think twice before ringing your doorbell. Now, I'm not saying you need to be an expert carver, but these scary templates are going to give your porch a seriously spooky upgrade. It’s time to scare some people!
DIY Pumpkin Display Carving Templates
DIY Pumpkin Display Carving Templates
Getting Your Hands Dirty
So, you're not just buying a template; you want to make it your own, huh? I get it. There's something super satisfying about creating your own designs. This section is all about getting those creative juices flowing. We're talking about transforming simple ideas into stunning pumpkin displays. Think about it—you could sketch your own spooky creatures, design intricate geometric patterns, or even try your hand at a portrait. Don't worry if you're not a pro artist; the beauty of DIY is that it doesn't have to be perfect. It's about having fun and putting your personal touch on your Halloween decorations. I've seen some wild stuff, from pumpkins carved with family portraits to ones that look like they're straight out of a comic book. The possibilities are endless!
And it's not just about the design, it's also about the tools. You can use all sorts of things beyond the standard carving kit. Think about using linoleum cutters for fine details, or even cookie cutters to make shapes. And don't forget about paint! You can add color, texture, and even glitter to your creations. It's all about making your pumpkin display unique and memorable. This is where you can really let your personality shine, and trust me, when people see your custom designed pumpkins, they'll be impressed. It's time to go beyond the basic template and build something awesome.
DIY Tool | Purpose | Where to find it |
|---|---|---|
Linoleum Cutters | Fine detail carving | Art supply stores |
Cookie Cutters | Creating shapes | Kitchen supply stores |
Acrylic Paint | Adding color | Craft stores |
From Sketch to Spook
Now, let's get down to the nitty-gritty of how you can actually bring these DIY ideas to life. First, grab some paper and start sketching out your ideas. Don't worry about making it perfect; it's just a starting point. Once you have a design you like, transfer it onto your pumpkin. You can use carbon paper or even just poke holes along the lines to create a guide. Then, it's time to start carving. Remember, safety first! Use your tools carefully and take your time. There's no rush to create a masterpiece. It's about enjoying the process and seeing your vision come to life, step by step.
Don't be afraid to experiment with different techniques. Try carving different depths to create a 3D effect. Use stencils for complex shapes, or try freehand carving for a more organic look. And remember, you can always add to your design. Once you've finished carving, clean up any loose bits and get ready to show off your creation. I’ve seen people use LED lights inside their pumpkins to make them glow, or even add fake spider webs for extra effect. It’s all about making your display stand out and reflecting your creativity. The best part? You made it all yourself. That's something to be proud of!
- Start with a sketch on paper
- Transfer your design to the pumpkin
- Use various tools for carving
- Experiment with depth and techniques
- Add lights and other decorations
Easy Pumpkin Display Carving Templates for Beginners
Easy Pumpkin Display Carving Templates for Beginners
Simple Shapes, Big Impact
Alright, so you're new to the pumpkin carving game? No problem! We're not jumping into intricate designs right away. We're starting with the basics, the easy-peasy stuff that still looks amazing. Think classic shapes—circles, triangles, maybe a simple star. These templates are perfect for beginners because they're forgiving. A little wobble here and there? No biggie. It's all part of the charm. The goal here is to create a fun display without stressing out over complex patterns. I've seen some seriously impressive beginner displays that use just a few basic shapes. It's all about placement and how you arrange your pumpkins. Trust me; simple can be stunning.
And the best part? These beginner templates are super quick to carve. You can get a bunch of pumpkins done in no time, which is great if you're planning a big party or just want to decorate your whole porch. Plus, they're perfect for kids to get involved. Just grab some kid-safe tools, and let them go wild. It's a great way to get the whole family in on the Halloween fun. You can even turn it into a little competition to see who can carve the best simple design. It's all about enjoying the process and making some memories. So, let's keep it simple and make something awesome together!
Template Type | Difficulty | Time to Carve | Recommended Tools |
|---|---|---|---|
Simple Shapes (Circles, Triangles) | Easy | 10-15 minutes | Kid-safe tools, small knife |
Basic Stars, Moons | Easy | 15-20 minutes | Small knife, stencil |
Simple Ghost, Bat | Easy | 20-25 minutes | Small knife, stencil |
Tips and Tricks for Easy Carving
Okay, so you've got your simple templates ready, but you're still a little nervous? Don't worry, I've got your back. Here are a few tips and tricks to make the carving process as smooth as pumpkin pie. First off, make sure your pumpkin is clean and dry. Any dirt or moisture can make it harder to carve. Then, use a poking tool to transfer your design onto the pumpkin. You can use a toothpick or even a thumbtack. This makes it easier to see your design while you're carving. And most importantly, take your time. There’s no need to rush, slow and steady wins the race.
Another thing, don't be afraid to use stencils. You can find tons of free stencils online, or you can even make your own. Stencils make it super easy to carve shapes accurately. And remember, you don’t have to carve all the way through. You can create a cool effect by just carving shallow cuts. This is a great way to add some texture to your design. And don't forget about lighting. A simple tea light or LED light can make a huge difference. It’s all about creating a spooky, fun atmosphere. So, keep these tips in mind, and you'll be carving like a pro in no time!
- Clean and dry your pumpkin before carving
- Use a poking tool to transfer your design
- Take your time and don't rush
- Use stencils for accurate shapes
- Experiment with shallow cuts for texture
- Add lighting to enhance your display