Table of Contents
Halloween's around the corner, and you're itching to carve a pumpkin, but who has hours to spend on intricate designs? Not you, that's for sure! This year, we're ditching the marathon carving sessions for something much more manageable: **display pumpkin carving for quick designs**. Forget those complicated patterns; we're going for fast, fun, and fabulous. Think spooky smiles, silly faces, and maybe even a little bit of abstract art, all achievable in a fraction of the time. This article will guide you through easy-to-execute carving techniques, share some clever tips for making your pumpkins pop, and give you some creative display ideas that'll have your porch looking boo-tiful in no time. Whether you’re a carving newbie or a seasoned pro looking for a speed challenge, these ideas will help you create impressive displays without the fuss. Get ready to transform your pumpkins into Halloween masterpieces with minimal effort and maximum impact!
Quick Pumpkin Carving Designs: Simple Yet Spooky
Quick Pumpkin Carving Designs: Simple Yet Spooky
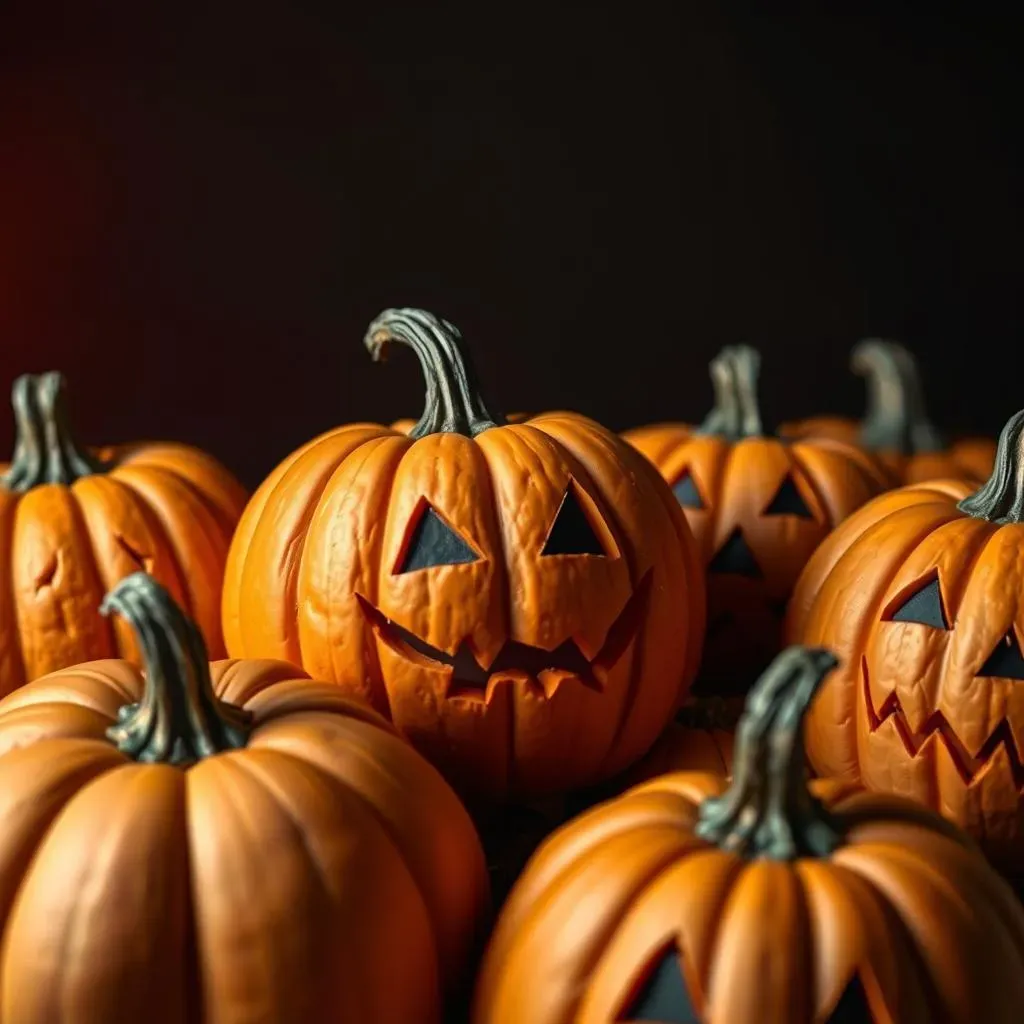
Okay, so you want spooky, but you're short on time? I get it. The good news is, simple doesn’t have to mean boring. Think classic shapes, but with a twist. A jagged mouth with just a few teeth can look way more menacing than a perfectly carved grin. Instead of going for super detailed eyes, try triangles or simple circles—they’re quick to cut out and give that classic spooky vibe. The key here is to use a sharp knife (adults only, obviously!) and not overthink it. Sometimes, the imperfections are what make it look truly unique and a little bit creepy. Don't aim for perfection, aim for impact. It's all about the feeling, not the flawless execution.
Here's a thought: forget the fancy stencils. Grab a marker and sketch some basic shapes right onto the pumpkin. Think about it - a bunch of unevenly spaced holes can create a cool, eerie glow, like a jack-o'-lantern from a horror movie. Or, try carving a few simple lines to make it look like the pumpkin is cracking. It's all about playing with the basics and making them a little bit off-kilter. Trust me; this is where the "spooky" comes from. It's not about how complicated the design is, but how you use the basic elements to create a mood.
- Triangles for eyes
- Jagged lines for mouths
- Simple circles for a startled look
- Cracked lines for a spooky effect
- Use a marker for easy sketching
Display Pumpkin Carving: Tips and Tricks for Fast Results
Display Pumpkin Carving: Tips and Tricks for Fast Results
Prep Like a Pro: Quick Carving Essentials
Alright, let's talk speed. First things first: ditch the flimsy plastic carving tools. They're more frustrating than helpful. You want a good, sturdy serrated knife – think a small kitchen knife or even a pumpkin carving kit knife – and a scoop to clean out the insides. I know, it's the messy part, but get it done quickly and efficiently. And here's a pro tip: scrape the inside walls of the pumpkin a little thinner, that makes carving easier. Don't go too crazy though, you don't want it to collapse! Think of it like prepping a canvas; a smooth, thin inside makes the carving process much faster and easier. It’s all about setting yourself up for success right from the start.
Speed Carving Techniques: Get it Done Fast
Now, for the carving itself. Forget about trying to do everything in one go. Instead, make a series of small cuts. Don't try to force the knife; let it do the work. Think of it like sketching with a knife: short, controlled movements are key. If you’re doing a jagged mouth, make small, angled cuts. If you're doing a circle, cut it in small segments. You'll be surprised how much faster this is than trying to cut out the entire shape at once. And here’s another time-saver: don’t try to cut all the way through on your first pass. Score the design first, and then go back and cut through. This makes the whole process smoother and faster. Trust me; this trick makes a big difference!
Tip | Why it helps |
|---|---|
Use a sturdy serrated knife | Cuts through pumpkin easier and faster. |
Thin out the inside walls | Makes carving much smoother and less effort. |
Score before cutting | Provides a guide and makes cutting easier. |
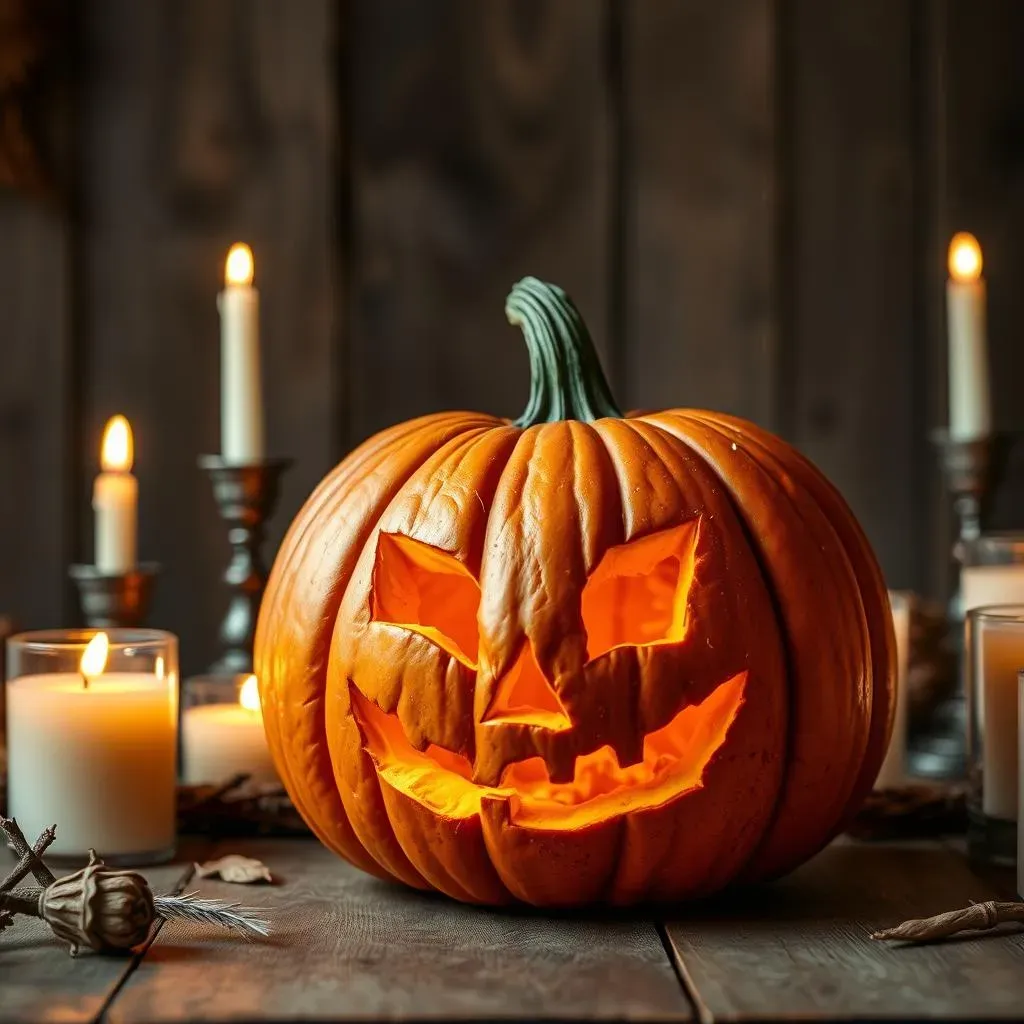
Lighting and Display: Making Your Quick Carve Shine
So, you've carved your pumpkin quickly and efficiently - now what? The right lighting and display can make even the simplest design look amazing. Instead of a regular candle, try a battery-operated tea light or even a string of fairy lights. They're safer and last longer. And here's a thought: group your pumpkins together! A bunch of simple, quickly carved pumpkins can look way more impressive than one single, elaborate design. You can also add some extra flair with hay bales, corn stalks, or some spooky fabric. It's all about creating a scene. Remember, the display is just as important as the carving itself. It's the final touch that makes all the difference.
Creative Display Ideas: Making Your Carved Pumpkins Shine
Creative Display Ideas: Making Your Carved Pumpkins Shine
Themed Displays: Go Beyond the Basics
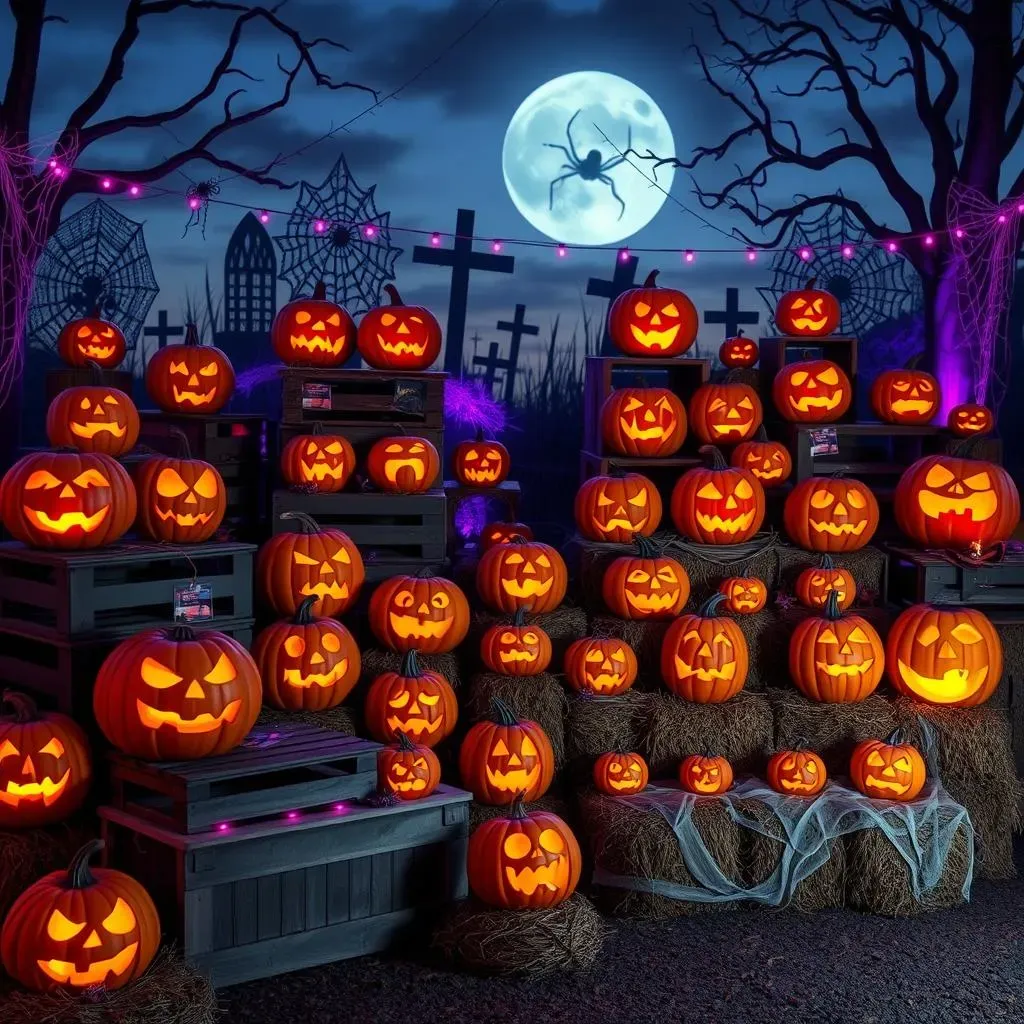
Okay, let's talk themes. Instead of just scattering your pumpkins randomly, why not create a whole spooky scene? Think about it: a graveyard theme with tombstones made of cardboard and some ghostly fabric draped around, or a witch's lair with a cauldron and some potion bottles. You can even do a funny theme, like a pumpkin band with each pumpkin having a different silly face and maybe even some hats. It's all about telling a story with your display. It makes it more engaging and fun for everyone who sees it. It also gives you an excuse to get a little bit extra with your Halloween decorations.
Don't limit yourself to just Halloween themes, either. If you're having a fall party, consider an autumn harvest theme with leaves, gourds, and maybe even some mini-pumpkins scattered around. It makes the whole thing feel more intentional and thought out. The secret is in the details, so don't be afraid to get creative and have a bit of fun with it.
Elevate Your Display: Literally and Figuratively
Now, let’s talk about elevation. Don't just leave your pumpkins sitting on the ground. Use crates, boxes, or even old books to create different heights. This makes your display more visually interesting and it draws the eye around your scene. You can also use things like hay bales or wooden pallets to add some rustic charm. It’s all about creating layers and levels to make your display feel more dynamic. I've always found that a little bit of height can make even the simplest pumpkin look way more impressive.
Consider using risers for your pumpkins, or even just placing them on your porch steps at different levels. It adds depth to your display and makes it feel less flat. You can also use things like lanterns or candles to create a warm, inviting glow that highlights your pumpkins beautifully. It’s all in the presentation, right? It's the little things that can make a big difference.
Display Idea | Why it works |
|---|---|
Themed displays | Creates a story and adds depth. |
Different heights | Adds visual interest and draws the eye. |
Lighting | Enhances the mood and highlights the pumpkins. |
Adding Extra Flair: Lights, Colors, and More
Okay, let’s get into the details. Don’t be afraid to add some extra flair to your display. Think about using different colored lights, like purple, green, or even orange, to create a spooky or festive atmosphere. You can also add some spooky silhouettes behind your pumpkins to make them stand out even more. And here’s a fun idea: use glow-in-the-dark paint on your pumpkins for an extra spooky touch. It's the little extras that really make your display pop. You can also add things like spider webs, plastic spiders, or even some fake eyeballs to complete the look. Remember, it's all about having fun and making your display uniquely yours.
Don't be afraid to experiment with different materials and textures. Maybe add some burlap or lace to create a bit of contrast. You could also use some leaves or twigs to add a natural element. The possibilities are endless, and it’s all about making your display look unique and creative. Have fun with it, and let your imagination run wild. It's the perfect way to make your carved pumpkins shine.