Table of Contents
Ever seen those mind-blowing pumpkin carvings at festivals or fancy events? The ones that look like they were made by magical elves? That's the world of display pumpkin carving for professionals, and it's way cooler than your average jack-o'-lantern. We're not talking about simple triangle eyes here; we're talking about intricate designs, sculpted masterpieces, and pumpkins that are practically works of art. This article is your backstage pass to that world. We'll explore the techniques the pros use, from specialized tools to secret carving tricks. We'll also talk about how to turn this passion into a paying gig, because who wouldn't want to get paid to play with pumpkins? So, grab your (metaphorical) carving knife, and let's get started. Ready to learn how to create some truly show-stopping display pumpkin carvings? We will uncover the professional methods, the unique tools, and the business side of this awesome craft.
The Art of Professional Display Pumpkin Carving
The Art of Professional Display Pumpkin Carving
Okay, so you're curious about professional pumpkin carving? It's not just about scooping out seeds and making a goofy face, it's a real art form. Think of it like sculpting, but with a giant orange vegetable. These pros don't just hack away at a pumpkin; they plan, they sketch, and they use a variety of tools to create incredible depth and detail. It's about transforming a simple pumpkin into something that tells a story, captures a likeness, or just plain dazzles. It's about understanding the pumpkin's form, the way light plays on its surface, and how to use that to your advantage. It's a blend of creativity, skill, and a whole lot of patience. It’s not something you pick up overnight, but it’s incredibly rewarding once you do.
Tools and Techniques for Pro Pumpkin Carvers
Tools and Techniques for Pro Pumpkin Carvers
The Pro's Arsenal: More Than Just a Kitchen Knife
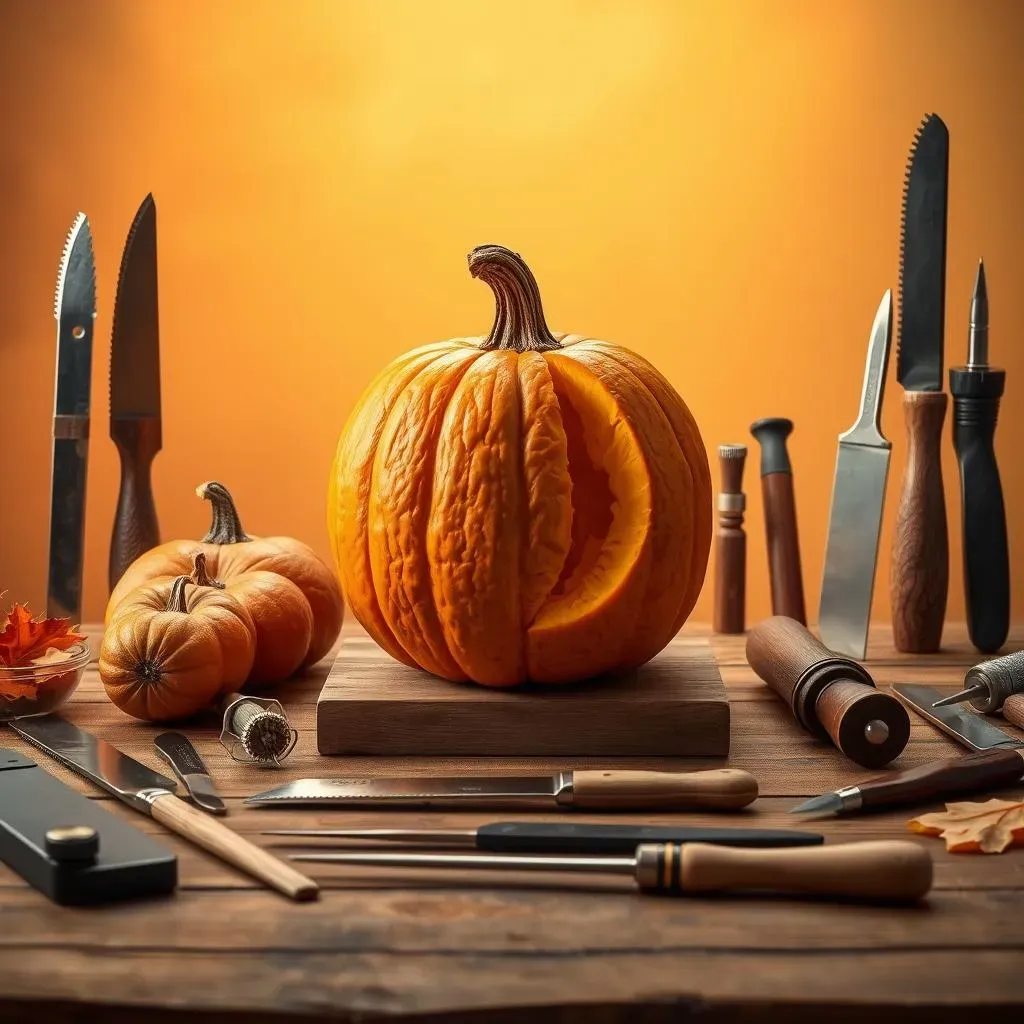
Forget those flimsy plastic tools from the grocery store. Professional pumpkin carvers have a serious toolkit. Think of it like a surgeon's kit, but for gourds. We're talking about saws, gouges, loops, and all sorts of pointy things. These aren't your average butter knives. Each tool has a specific job, whether it's removing large sections of pumpkin, creating fine lines, or sculpting delicate curves. A good set of tools is like having a good set of paints for an artist; they're essential to bringing your vision to life. It's not just about having the tools, but also knowing how to use them properly. There's a real learning curve involved, but the results speak for themselves.
Techniques That Transform
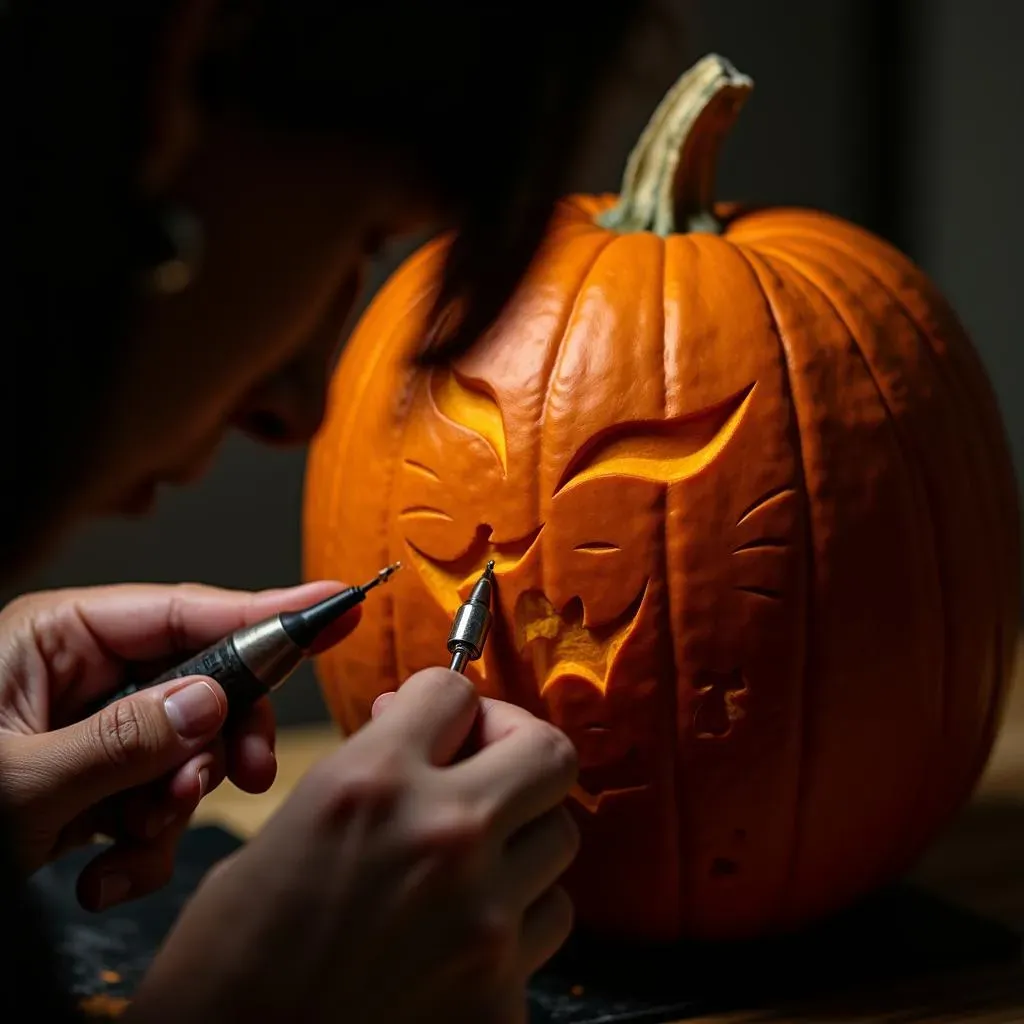
It’s not just about having the right tools; it's how you use them. Professional carvers use techniques that go way beyond cutting simple shapes. They use methods like undercutting, where they remove pumpkin from underneath to create the illusion of depth. They also use shading, where they scrape away different layers of the pumpkin's skin to create different levels of light and shadow. It's like creating a grayscale image on a pumpkin, and it adds a whole new dimension to the carving. This is where it moves beyond just hacking away and into actual art. These techniques take practice, but once you get the hang of it, you can create some truly jaw-dropping results.
And don't forget about stencils! Even pros use them, especially for complex designs or logos. It's all about precision and efficiency.
Tool | Purpose |
|---|---|
Pumpkin Saws | Cutting large sections and basic shapes |
Gouges and Chisels | Creating depth and texture |
Loop Tools | Removing thin layers for shading |
Paring Knives | Fine detail work |
Stencils | Guiding complex designs |
Shading and Sculpting: Adding Depth and Dimension
Shading and sculpting are what really separate the pros from the amateurs. Shading is all about controlling how much light passes through the pumpkin. By carefully scraping away layers, you can create subtle transitions from light to dark, adding incredible realism to your carvings. Think of it like a painter using light and shadow to create a 3D effect. Sculpting takes it even further, where you're actually removing large chunks of pumpkin to create a truly 3D design. This might involve creating noses, eyes, or even whole figures that pop right out of the pumpkin. It’s about manipulating the pumpkin's form to create something that is both visually striking and technically impressive. It's like taking a block of marble and turning it into a statue, but with a pumpkin.
Making Money with Display Pumpkin Carving
Making Money with Display Pumpkin Carving
Finding Your Niche in the Pumpkin Patch
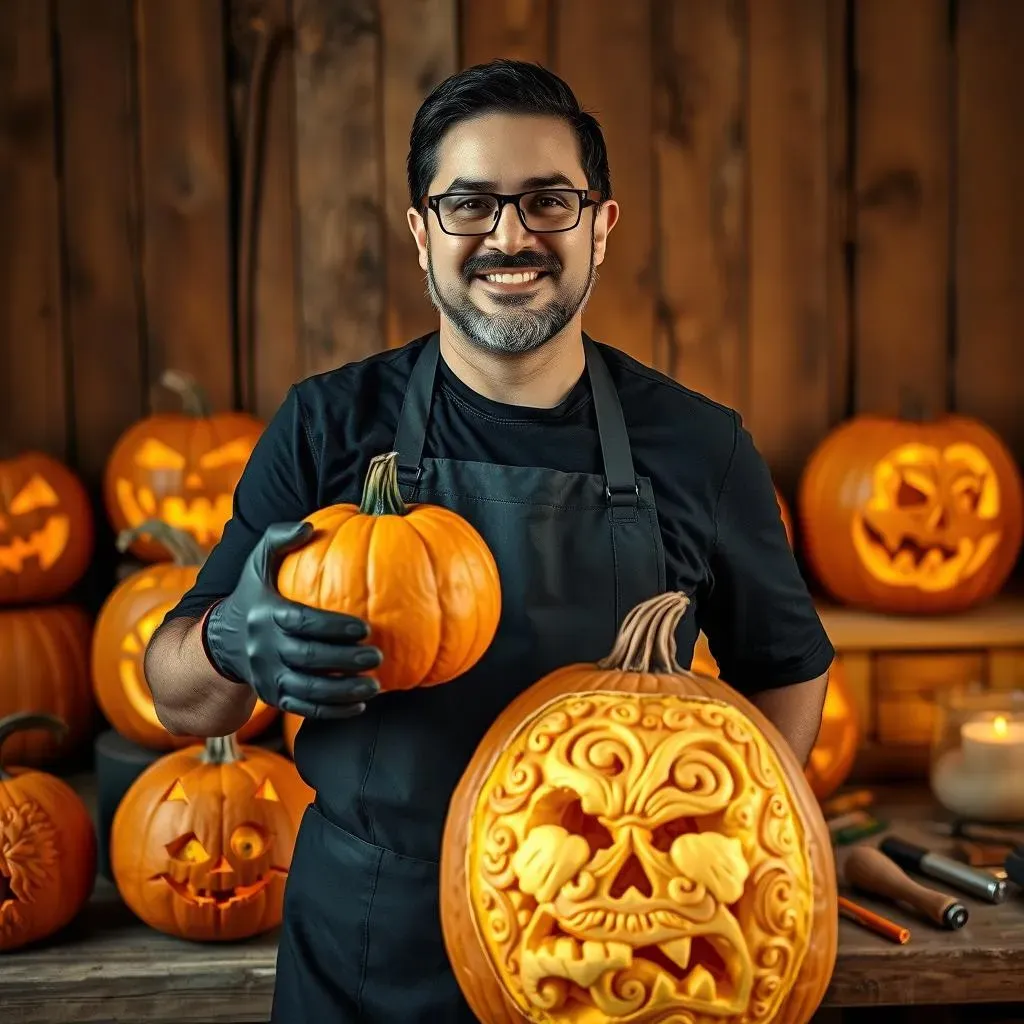
So, you've got the skills, you've got the tools, now you want to get paid? Awesome! The good news is, there are a bunch of ways to make money with display pumpkin carving. First things first, figure out what you're really good at. Are you a portrait master? Can you whip up spooky monsters? Or do you specialize in those intricate, detailed designs? Defining your niche will help you target the right clients. It's like any other business; you need to find your unique selling point. Maybe you offer on-site carving for events, or perhaps you create custom carvings for businesses. The more specific you are, the easier it is to find your ideal customer. Don't try to be everything to everyone; focus on what you do best.
Think about local events, fall festivals, or even corporate parties. These are all great places to showcase your work and find potential clients. Start small, build a portfolio, and let your work speak for itself. Word of mouth is powerful, so make sure your carvings are unforgettable. People love to see the process, too, so consider doing live carving demonstrations. It's a great way to attract attention and show off your skills.
Pricing Your Pumpkin Art
Okay, this is where it gets tricky. Pricing your pumpkin art is a delicate balance between valuing your time and skills, and also being competitive. Don't undervalue your work; these aren't your average grocery store pumpkins. Think about the time it takes to plan, carve, and deliver a piece, not to mention the cost of your materials and tools. A good place to start is by figuring out an hourly rate for your labor and then adding in material costs, or you can price by complexity of design. If you're doing live events, factor in travel and setup time too. It's not just about the carving itself; it's about the entire process.
Research what other professional carvers in your area are charging. This will give you a good idea of the local market. Don't be afraid to charge what you're worth. If you're producing high-quality, unique work, people will be willing to pay for it. Consider offering different tiers of service, from simple designs to elaborate sculptures, to cater to various budgets. And don't forget about the power of repeat business. A happy customer is your best advertisement, so make sure you're providing great service along with amazing art.
Service | Price Range (Example) |
|---|---|
Simple Jack-o'-Lantern | $50 - $100 |
Custom Portrait Carving | $200 - $500+ |
Live Carving Demonstration (Per Hour) | $150 - $300 |
Corporate Logo Carving | $300 - $800+ |
Large Display Pieces | $500 - $2000+ |