Table of Contents
Ready to turn your pumpkins into awesome Halloween displays? Forget boring jack-o'-lanterns, we're diving into the world of creative display pumpkin carving for kids! This isn't just about making spooky faces; it's about unleashing your imagination and creating something truly special. We will explore fun and easy carving ideas that are perfect for little hands. Get ready for tips on how to make your designs stand out, from using cool lighting to adding extra decorations. Safety is also a big deal, so we will go over some tips to keep everyone safe during the carving process. Plus, we will discuss how to make your amazing pumpkin displays last longer so you can show them off all season. So, grab your pumpkins, gather your kids, and let’s get carving and displaying!
Easy Pumpkin Carving Ideas for Kids
Easy Pumpkin Carving Ideas for Kids
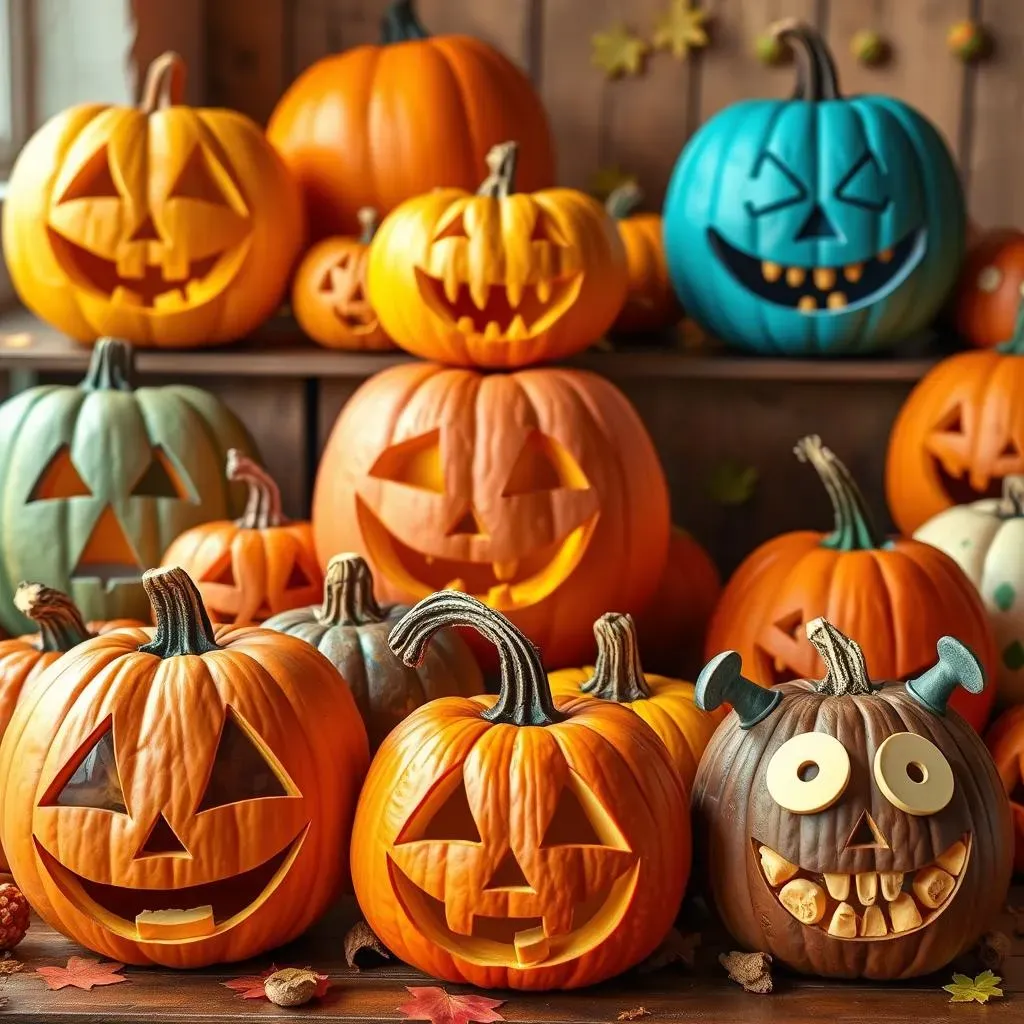
Okay, so you wanna get those little hands busy with some pumpkins, right? Forget about those crazy intricate designs that take hours; we're talking easy peasy! Think simple shapes that kids can actually manage. We’re talking classic triangle eyes and jagged smiles, but also consider using cookie cutters to make shapes. Yes, cookie cutters! Press them firmly into the pumpkin skin, then use a small, kid-safe saw to follow the outline. Circles, stars, and even simple animal shapes work wonders. Another great idea is to use a drill to create fun dot patterns – it’s super easy and looks fantastic.
Don't feel limited to just faces, either. How about turning your pumpkin into a silly monster? Add some pipe cleaners for crazy hair or craft foam for big goofy teeth. The goal here is to keep it fun and doable for kids, so they don’t get frustrated and give up halfway through. We want happy, proud carvers, not stressed-out ones. Remember, it’s not about perfection; it’s about the joy of creating something cool together. Plus, the simpler the design, the less chance of a carving disaster, which is always a win in my book!
Idea | Description | Difficulty |
|---|---|---|
Classic Faces | Triangles for eyes, jagged smile | Easy |
Cookie Cutter Shapes | Use cookie cutters to outline shapes | Easy |
Drill Dot Patterns | Drill holes to make patterns | Easy |
Silly Monsters | Add pipe cleaners and foam for features | Easy |
Creative Display Ideas for Carved Pumpkins
Creative Display Ideas for Carved Pumpkins
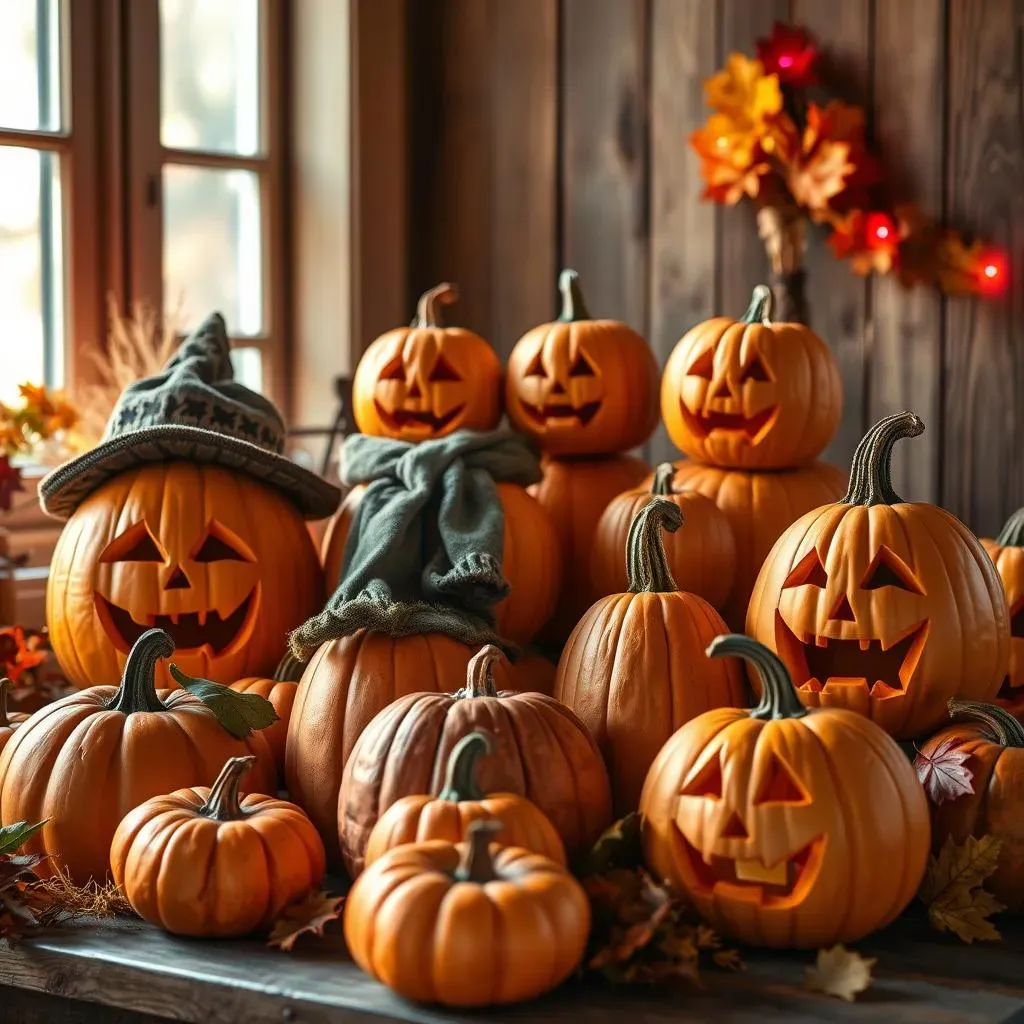
Alright, so you've got your awesome carved pumpkins; now what? Don't just plop them on the porch and call it a day! Let's talk about turning them into a real show. Think beyond the basic doorstep display. How about creating a spooky pumpkin family scene? Arrange your pumpkins in different sizes and add some props like hats or scarves. Or, if you are feeling extra creative, use some paint to make a whole pumpkin village. You can even create a themed display, like a haunted forest or a pumpkin patch. The key is to use your imagination and make it fun and inviting.
Lighting is your secret weapon here. Instead of just using tea lights, consider using colored LED lights to give your pumpkins a spooky glow. You can also use spotlights to highlight certain features or create dramatic shadows. And don't forget about the surroundings! Place your pumpkins on hay bales or add some fall foliage to enhance the display. You can even use some old crates to create different heights, making the display more dynamic. It's all about creating a visual experience that will impress your neighbors and trick-or-treaters alike. Remember, the goal is to make your display a real eye-catcher and the envy of the neighborhood!
Display Idea | Description | Tips |
|---|---|---|
Pumpkin Family | Arrange pumpkins of different sizes with props | Use hats, scarves, and other accessories |
Themed Display | Create a haunted forest or pumpkin patch | Add themed decorations and lighting |
Dynamic Lighting | Use colored LED lights or spotlights | Experiment with different colors and angles |
Elevated Display | Use hay bales and crates to create height | Add fall foliage for extra effect |
Safe Pumpkin Carving Tips for Kids
Safe Pumpkin Carving Tips for Kids
Adult Supervision is Key
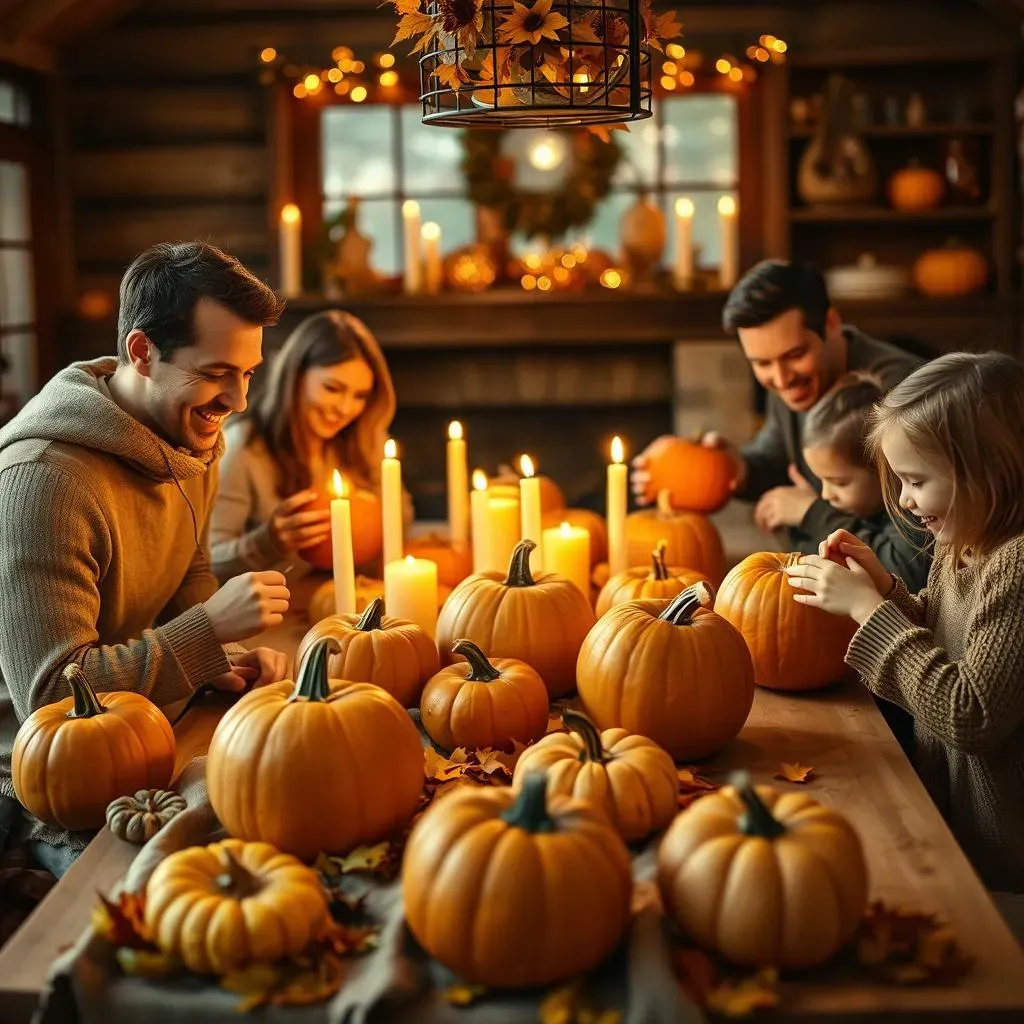
Okay, let’s get real for a second. Carving pumpkins involves sharp tools, and kids + sharp tools = a recipe for potential disaster if not handled correctly. So, the number one rule is: adults need to be in charge. This doesn't mean you have to do all the work, but you should be the one wielding the knife or saw for the tricky parts. Let the kids scoop out the insides, draw the designs, and even do some of the simple sawing under your watchful eye. But remember, your job is to make sure everyone stays safe and has a good time. Don’t let the excitement of the moment overshadow the importance of safety. It’s better to be overcautious than to end up with a trip to the emergency room, trust me. I've seen way too many carving accidents, and none of them are fun.
Think of it like teaching a kid to ride a bike; you wouldn't just push them down a hill and hope for the best, right? You'd start with training wheels, you'd guide them, and you'd make sure they had a helmet. Pumpkin carving is the same. It's a fun activity, but it requires some guidance and safety measures. So, be present, be patient, and be ready to step in when needed. The goal is to create awesome pumpkins and happy memories, not to create a scary situation.
Kid-Friendly Tools & Techniques
Now, let's talk tools. Forget about those big, scary carving knives. We are going with kid-friendly options. Look for those small, serrated saws that are designed for pumpkin carving. They are much safer than kitchen knives and easier for little hands to control. Another great option is to use those plastic pumpkin carving sets you can find at most stores. They usually come with a variety of tools that are safe for kids to use. And don't underestimate the power of a good scoop. Those plastic scoops are perfect for getting all the goopy pumpkin guts out.
When it comes to the actual carving, start by drawing the design on the pumpkin with a marker. This gives kids a clear guideline to follow. And remember, it’s better to cut small sections out at a time, rather than trying to carve big chunks all at once. This will give kids more control and help prevent accidents. And if you’re working with younger kids, consider using stencils. They can be a lifesaver for creating simple and fun shapes. Remember, it’s all about making the process as easy and safe as possible for everyone.
Tool | Description | Safety Notes |
|---|---|---|
Small Serrated Saws | Designed for pumpkin carving | Easier for kids to control |
Plastic Carving Sets | Come with various kid-friendly tools | Safe and easy to use |
Plastic Scoops | For removing pumpkin guts | Safe for kids to handle |
Markers | For drawing designs on the pumpkin | Helps kids follow a clear guideline |
First Aid and Emergency Prep
Okay, let's be honest, accidents can happen, even when you are being super careful. So, it’s always a good idea to have a first aid kit handy. Include some bandages, antiseptic wipes, and maybe even some kid-friendly pain relief. If a minor cut occurs, clean it up and put a bandage on it. But if it’s a deep cut, or if you are worried about it, don't hesitate to seek medical help. And, this might sound obvious, but make sure you know where the nearest emergency room is, just in case. It’s always better to be prepared, right?
One thing I’ve learned is that it's really helpful to have a designated "adult helper" spot during the carving process. This is where you can keep all your tools and first aid supplies organized. It also helps to have a clear space for carving, so that you can avoid tripping hazards. And, make sure that everyone knows the safety rules before you start carving. That way, you can avoid the chaos and keep the carving process fun and safe. Remember, the goal is to have a blast and make some awesome pumpkins, but safety should always come first.
Making Your Carved Pumpkin Display Last Longer
Making Your Carved Pumpkin Display Last Longer
The Pumpkin Prep
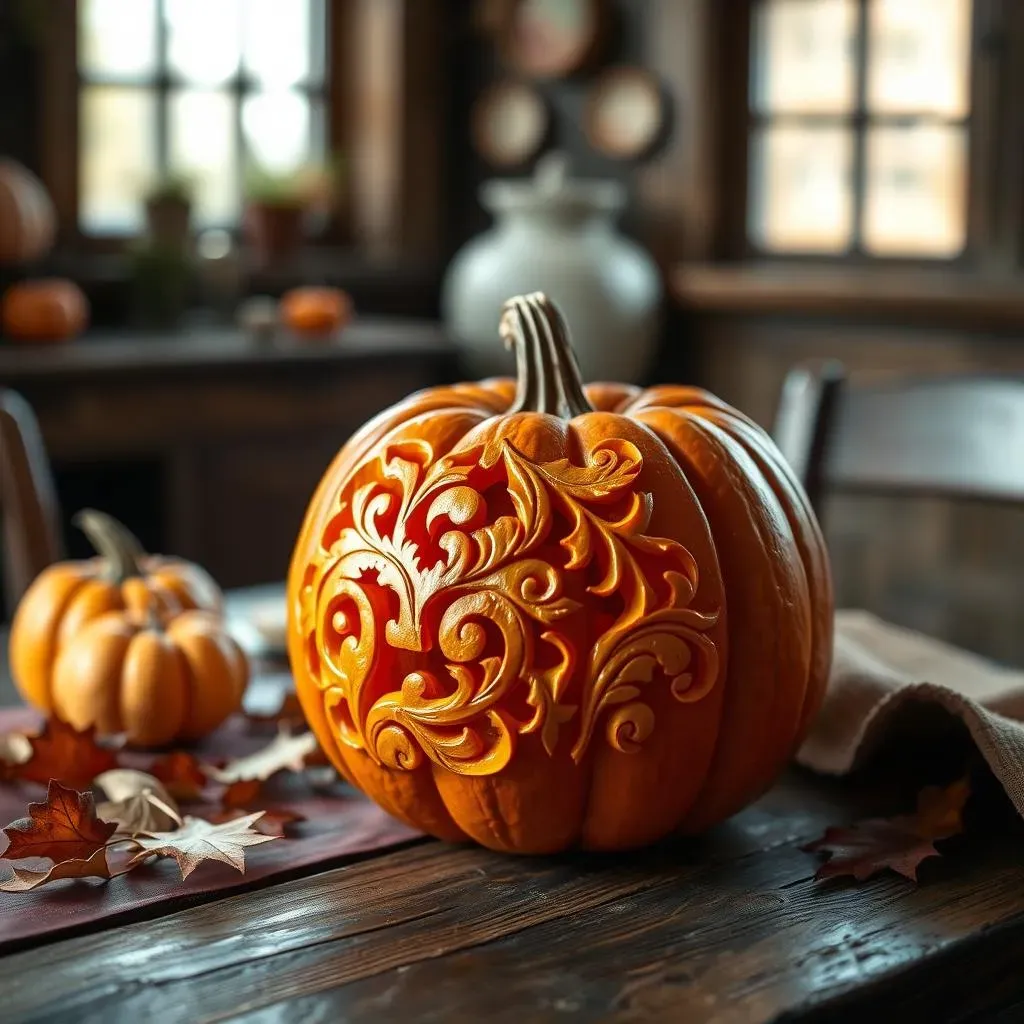
Okay, so you've poured your heart and soul into carving these amazing pumpkins, and now you want them to last, right? First things first, let's talk about pumpkin prep. Before you even start carving, give your pumpkin a good wash. Get rid of any dirt or grime that might be hanging out on the surface. A clean pumpkin is a happy pumpkin. Next, you can try a diluted bleach bath. Mix about a tablespoon of bleach with a gallon of water. Then, soak your pumpkin for about 30 minutes. This helps kill any bacteria that could cause your pumpkin to rot faster. After the bleach bath, make sure to dry your pumpkin really well.
Now, after carving, you need to think about the inside. Those pumpkin guts can get pretty gross fast, so make sure you remove all the seeds and stringy bits. Scrape the insides of the pumpkin to remove any soft flesh. If you leave that stuff in there, it’s just going to speed up the rotting process. You want a clean, dry interior, which is going to help your pumpkin last longer. It might seem like a lot of work, but trust me, it’s worth it in the end when your pumpkins are still looking fabulous weeks later.
Sealing the Deal
Alright, now that your pumpkin is all clean and gutted, let's talk about sealing it up. Think of it like giving your pumpkin a protective coat of armor. There are a few different ways to do this, but one popular method is to use petroleum jelly. Yes, that's right, the stuff you use for chapped lips. Rub a thin layer of petroleum jelly all over the cut edges of your pumpkin. This helps to seal in the moisture and keep the pumpkin from drying out. Another option is to use a sealant spray. You can find these at most craft stores. They work the same way as petroleum jelly, but they can be easier to apply. Just make sure to follow the instructions on the can and spray in a well-ventilated area.
Another thing you can do to help your pumpkin last longer is to keep it hydrated. It sounds weird, but it works! If you see that your pumpkin is starting to look a little sad and wrinkly, give it a good soak in some cold water. Just fill a large tub or sink with cold water and submerge the pumpkin for a few hours. This will help rehydrate the pumpkin and keep it looking fresh. Think of it like giving your pumpkin a spa day. And remember, the more you seal and hydrate your pumpkin, the better it will hold up against the elements and the passage of time. It's like giving your pumpkin the best chance of a long, happy life on your porch.
Method | Description | Tips |
|---|---|---|
Petroleum Jelly | Apply a thin layer to cut edges | Seals in moisture and prevents drying |
Sealant Spray | Spray on cut edges | Easy to apply, follow instructions |
Water Soak | Submerge pumpkin in cold water | Rehydrates and freshens the pumpkin |
Location, Location, Location
Okay, so you've prepped and sealed your pumpkin like a pro, but where you put it is just as important. You want to think about location, location, location! The sun can be your pumpkin's worst enemy. Direct sunlight can cause your pumpkin to dry out and rot faster, so avoid placing your pumpkins in a spot that gets a lot of sun. Instead, try to find a shady spot, like on a covered porch or under a tree. This can really help slow down the decaying process. Also, think about the temperature. Extreme heat or cold can also damage your pumpkin, so try to keep it in a spot where the temperature is fairly stable.
Another thing to consider is how you display your pumpkins. If you put them directly on the ground, they might start to rot from the bottom up. So, try elevating them on a porch step, a hay bale, or even a wooden pallet. This will allow air to circulate around the pumpkin and keep it from getting soggy. And if you have a lot of pumpkins, try to space them out. This also helps with airflow and keeps them from rubbing against each other. Remember, the goal is to create a cool display, but you also want to make sure that your pumpkins are in a place that will help them stay fresh for as long as possible. It’s all about giving those pumpkins the best possible chance of a long and happy life on your porch.