Table of Contents
Ready to take your Halloween pumpkin game to the next level? Forget those simple triangle eyes; we're diving deep into the world of display pumpkin carving for intricate patterns. This isn't your average jack-o'-lantern tutorial. We're talking about creating show-stopping, detailed designs that will make your porch the envy of the neighborhood. This article will guide you on how to pick the perfect pumpkin, what tools you need to make those complex designs a reality, and even how to make sure your carving stays looking great. Think of it as a masterclass, but without the boring lectures. Get ready to learn about choosing the right pumpkin, mastering the carving tools, and displaying your work of art. Whether you're a seasoned carver or a total newbie, you'll find some tips and tricks to help you create a pumpkin masterpiece.
Choosing Your Pumpkin for Intricate Carving Patterns
Choosing Your Pumpkin for Intricate Carving Patterns
The Shape Matters
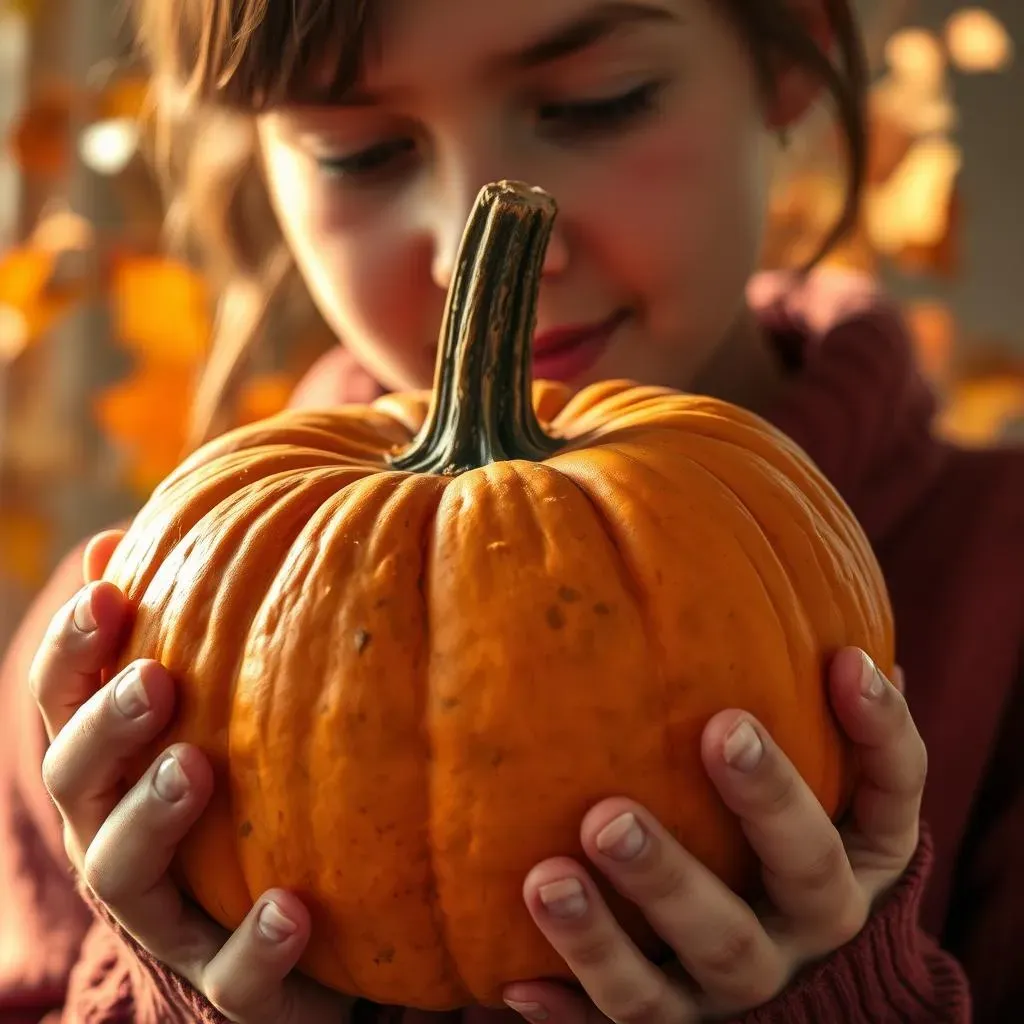
Alright, so you're ready to go beyond the basic jack-o'-lantern, huh? First things first: the pumpkin. Not all pumpkins are created equal, especially when you're planning on some seriously detailed carving. Forget those tall, skinny gourds, they're a nightmare for complex designs. You'll want to look for a pumpkin that's more round and squat, like a slightly deflated basketball. These guys have a wider, flatter surface, which gives you more space to work with, like a canvas for your spooky masterpiece. Think of it this way, a round pumpkin is like a blank page in your sketchbook and those tall skinny ones are like a long receipt.
Also, check the stem. A strong, sturdy stem means a healthier pumpkin. Avoid any pumpkins that feel soft or squishy; that's a sign they're not going to last. You want a firm, solid pumpkin that can handle your intricate designs without collapsing. It's all about that structural integrity, you know? It's like building a house, you need a good foundation, in this case, a good pumpkin.
Size and Surface
Next up, size. It might be tempting to go for the biggest pumpkin you can find, but bigger isn't always better when it comes to intricate carving. A huge pumpkin can be difficult to handle and the surface can be uneven, making it hard to carve fine details. I'd say aim for a medium-sized pumpkin, something you can easily rotate and work with. It's like trying to paint a mural on a small canvas, you need a manageable area to see every detail as you work.
Also, take a close look at the surface of the pumpkin. You're looking for a smooth, relatively blemish-free surface. Any major bumps or deep grooves can make it difficult to achieve clean, crisp lines in your design. It's like trying to draw on a wrinkled piece of paper, you're not going to get the sharp lines you want. A smooth surface is your best friend when carving intricate patterns.
Pumpkin Characteristic | Why It Matters | Ideal Choice |
|---|---|---|
Shape | Provides carving surface | Round, squat |
Stem | Indicates freshness | Strong, sturdy |
Size | Ease of handling | Medium |
Surface | For clean lines | Smooth, few blemishes |
Color and Texture
Finally, don’t just grab the first orange blob you see. Take a good look at the color and texture. While most pumpkins are orange, some have lighter or darker patches. A uniform color can make your design stand out more clearly, but don't shy away from a bit of character. The texture is important too; you want a skin that isn’t too thick or too thin. If it's too thick, it'll be a pain to cut through, and if it's too thin, it might tear while you’re carving. It's like choosing the right fabric for a dress, the material makes a huge difference in how the final product looks.
And remember, the best pumpkin for intricate carving is the one that feels right to you. Pick it up, give it a tap, and if it feels solid and ready for action, you've got a winner. Don't be afraid to be picky, this is your pumpkin masterpiece, after all! It's like picking a good book, you want one that sparks your imagination and you're excited to spend time with.
Tools and Techniques for Display Pumpkin Carving
Tools and Techniques for Display Pumpkin Carving
Gathering Your Arsenal
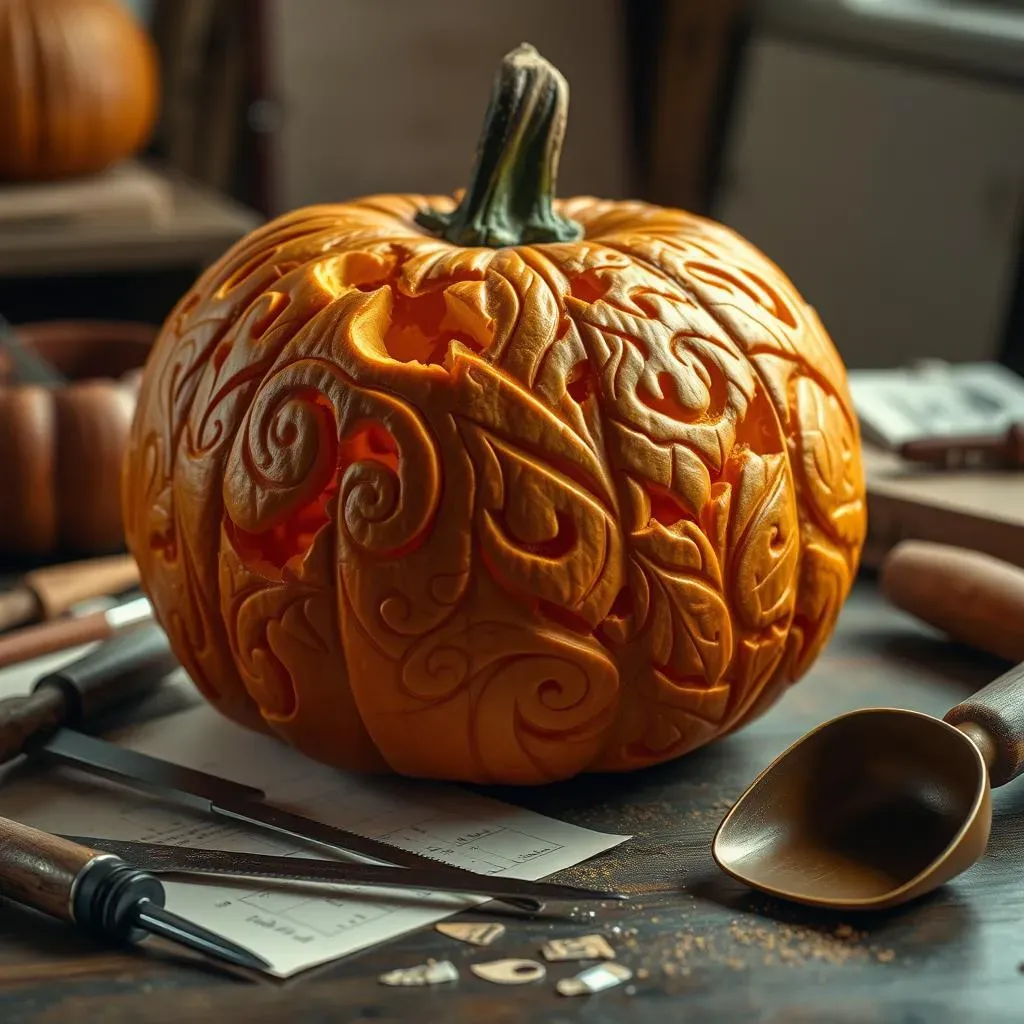
Okay, so you've got your perfect pumpkin, now it's time to talk tools. Forget those flimsy plastic kits you see in the grocery store, we're going pro. For intricate patterns, you need precision. Think of it like this, you wouldn't use a butter knife to perform surgery, right? You need the right tools for the job. A good set of carving tools is a must. Look for tools with different sized blades, from small, fine-tipped saws to larger gouges. These will allow you to create a variety of lines and shapes with control. It's all about having the right tool for each cut.
Don't underestimate the power of a good transfer method either. You'll need tracing paper, a pin tool, and tape. This will allow you to transfer intricate designs onto your pumpkin accurately. It's like using a stencil when you’re painting, it gives you a guide to follow. And please, please grab a scoop to remove the guts. It's not glamorous, but it's necessary. Trust me, you want to avoid reaching in there with your bare hands. It’s a sticky situation that is easily avoided with the right tool.
The Art of the Cut
Now that you've got your tools, let's talk technique. Carving isn't about brute force; it’s about finesse. Think of it as sculpting, not hacking. Start by lightly scoring the surface of the pumpkin, this will give you a guideline to follow. Then, using a small, fine-tipped saw, begin cutting along your design. Use short, controlled strokes, and always keep the blade perpendicular to the surface of the pumpkin. You don’t want to go to deep, just enough to cut through the skin. It's like using a pen to sketch a drawing before you start painting, you're creating a roadmap for your carving.
When you're removing larger sections, use a gouge or a wider saw, but continue to work slowly and carefully. Don't try to force the blade through the pumpkin; let the tool do the work. Keep your free hand out of the way to avoid accidents, you’re holding a sharp object. And remember, it's better to make several light passes than one deep cut. It's like building a sandcastle, you add layer by layer to achieve the desired form. Patience and precision are the keys to intricate carving.
Tool | Purpose | Why it's important |
|---|---|---|
Fine-tipped saws | Cutting intricate lines | Allows for precise details |
Gouges | Removing larger sections | Creates clean shapes |
Pin tool | Transferring patterns | Ensures accurate designs |
Scoop | Removing guts | Keeps things clean |
Lighting and Finishing Touches
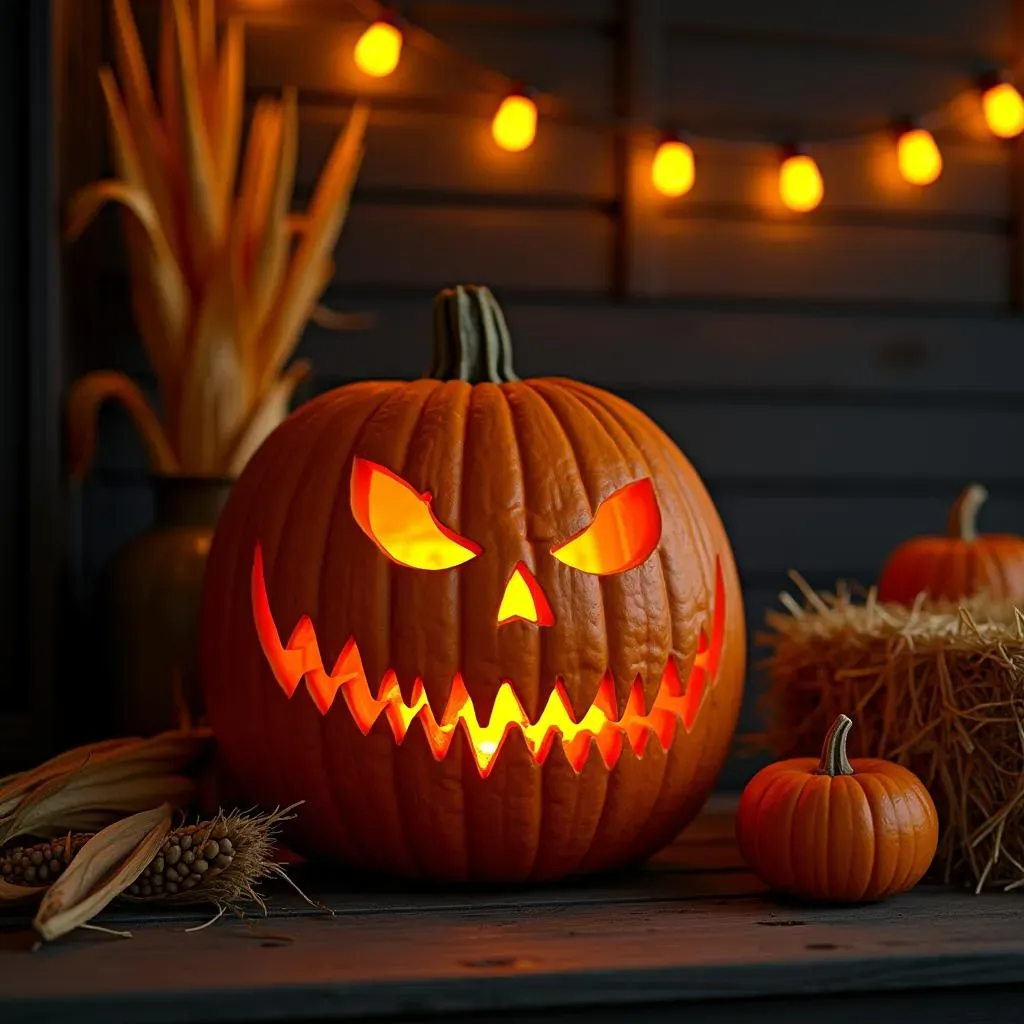
Once your carving is complete, it’s time to think about lighting. A simple tea light can work, but for more dramatic effect, consider using an LED light. They are safer and last longer. Place the light inside the pumpkin and see how your design comes to life. You can also use different colored lights to add a unique touch. It’s like setting the stage for a play, the right lighting makes all the difference.
Finally, consider applying a bit of petroleum jelly to the carved edges of your pumpkin to help keep it from drying out. This is like putting a moisturizer on your skin, it helps keep it hydrated. And remember, your pumpkin will probably only last a few days, so enjoy it while it lasts. It's like a beautiful sand sculpture, it's temporary, but it's a great piece of art. Now, step back and admire your intricate pumpkin carving masterpiece!
Displaying Your Intricate Pumpkin Carving
Displaying Your Intricate Pumpkin Carving
Location, Location, Location
Okay, so you've poured your heart and soul into this pumpkin masterpiece, now it’s time to show it off! The first thing to consider is where you’re going to display your intricate carving. Don't just plop it down anywhere. Think about the lighting and the overall effect you want to create. A porch or entryway is a classic choice, but consider the angle of the light. You want to position your pumpkin so the light catches all those amazing details you worked so hard on. It's like setting up a gallery for a piece of art, the placement is crucial.
Also, think about the background. A plain wall or a dark corner can make your pumpkin stand out more. Avoid placing it in a cluttered area or next to other decorations that might distract from your carving. You want your pumpkin to be the star of the show, not just another piece of the backdrop. It's like framing a photograph, the background is just as important as the subject.
Creating the Mood
Now, let’s talk about setting the mood. You're not just displaying a pumpkin; you’re creating an atmosphere. Consider using additional lighting to enhance your display. String lights, spotlights, and even colored bulbs can add a touch of drama. Experiment with different lighting options to see what works best for your design. It's like adding music to a movie, it sets the tone and enhances the experience. You can also use props to complement your pumpkin. Think hay bales, corn stalks, or even some spooky cobwebs. These additions can help to create a more immersive and festive display. It's like decorating a stage set, all the elements work together to tell a story.
Display Element | Effect |
|---|---|
Location | Highlights the carving |
Background | Ensures pumpkin stands out |
Lighting | Adds drama and depth |
Props | Creates a festive atmosphere |
Protecting Your Masterpiece
Finally, let's talk about protecting your hard work. Unfortunately, pumpkins don't last forever, especially once they're carved. To help prolong the life of your display, keep it away from direct sunlight and extreme temperatures. A cool, shaded area is best. You can also mist your pumpkin with water every day to help keep it hydrated. It’s like giving your plant a drink, it helps keep it alive longer. And remember, even with the best care, your intricate pumpkin carving is a temporary piece of art. Enjoy it while it lasts, and take lots of pictures to remember it! It's like enjoying a good meal, it's a fleeting experience, but the memories last.
“The best way to predict the future is to create it.” - Peter Drucker. Think of your pumpkin carving as a little piece of the future you're creating. It's a unique, temporary piece of art that you brought to life, so make sure you display it with pride!