Table of Contents
Halloween's coming, and you're itching to carve a pumpkin, right? But maybe you're tired of the same old jack-o'-lanterns rotting on your porch. Let's bring the carving party inside! This article is all about "display pumpkin carving for indoor use," which means we're ditching the outdoor mess and creating stylish, long-lasting decorations. Forget those basic triangle eyes; we're talking about turning pumpkins into art pieces that'll wow your guests. We'll start by picking the perfect pumpkin for indoor display, then we’ll move on to the essential tools and techniques. Finally, we'll unleash a torrent of creative ideas to make your indoor pumpkin display the talk of the town. Think beyond the spooky face; we're exploring elegant designs, fun patterns, and even pumpkin dioramas. Get ready to transform your living room into a pumpkin paradise!
Choosing the Right Pumpkin for Indoor Display
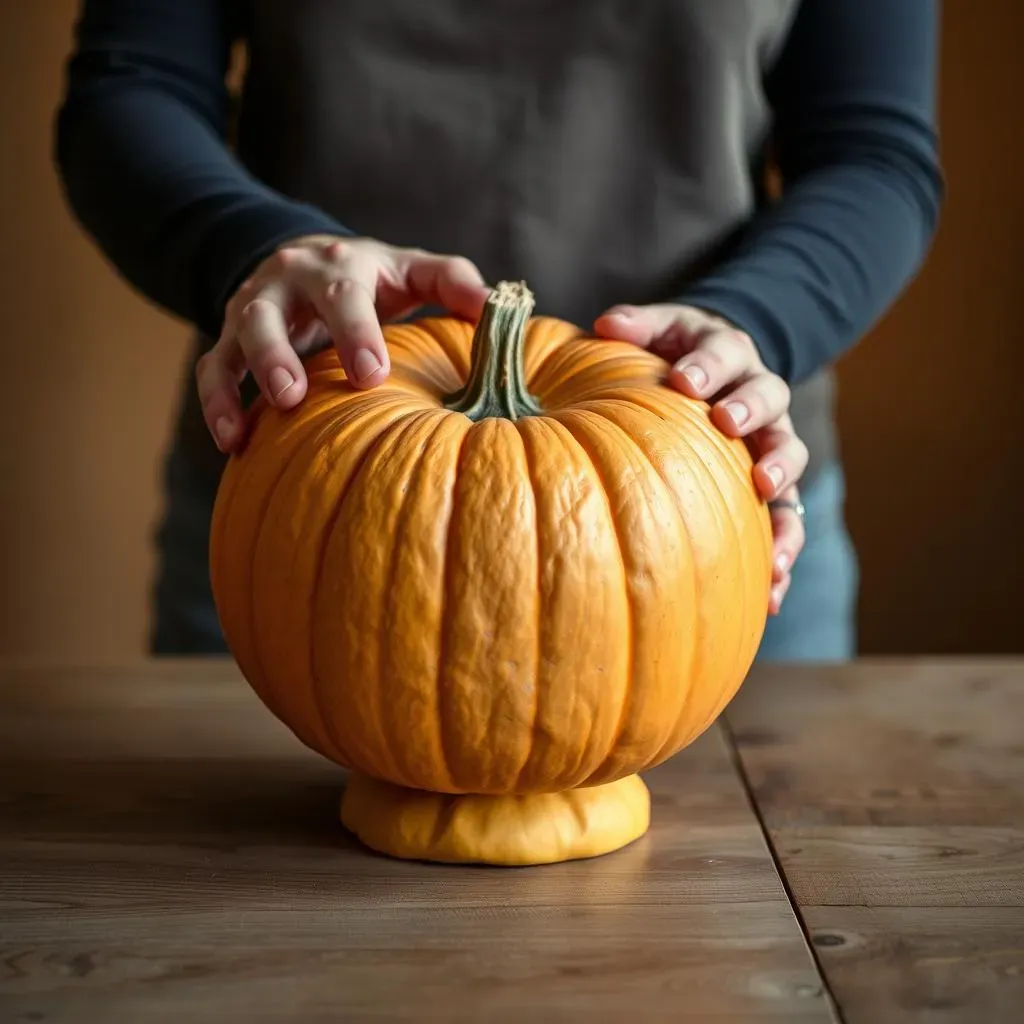
Choosing the Right Pumpkin for Indoor Display
Okay, so you're ready to carve, but hold up! Not all pumpkins are created equal, especially when we're talking about indoor displays. You wouldn't wear flip-flops to a blizzard, would you? Same deal with pumpkins. We need to pick the right one for the job. First, think about size. Huge pumpkins might seem impressive, but they can be a pain to maneuver inside, and honestly, they take up a ton of space. Medium-sized pumpkins are usually perfect for most tables or shelves. Then comes the shape; a nice, round pumpkin is classic, but don't be afraid of oblong ones if you've got a specific design in mind. The key thing is to pick a pumpkin that sits flat and doesn’t wobble; we don't want any pumpkin tumbles in the middle of the night. And, of course, check for any soft spots or bruises; we want a pumpkin that’s going to last, not one that's already on its way out.
Feature | Ideal for Indoor Display | Not Ideal |
|---|---|---|
Size | Medium | Large, Very Small |
Shape | Round, Oblong, Stable Base | Wobbly, Uneven |
Condition | Firm, No Soft Spots | Bruised, Soft, Damaged |
Indoor Pumpkin Carving Techniques and Tools
Indoor Pumpkin Carving Techniques and Tools
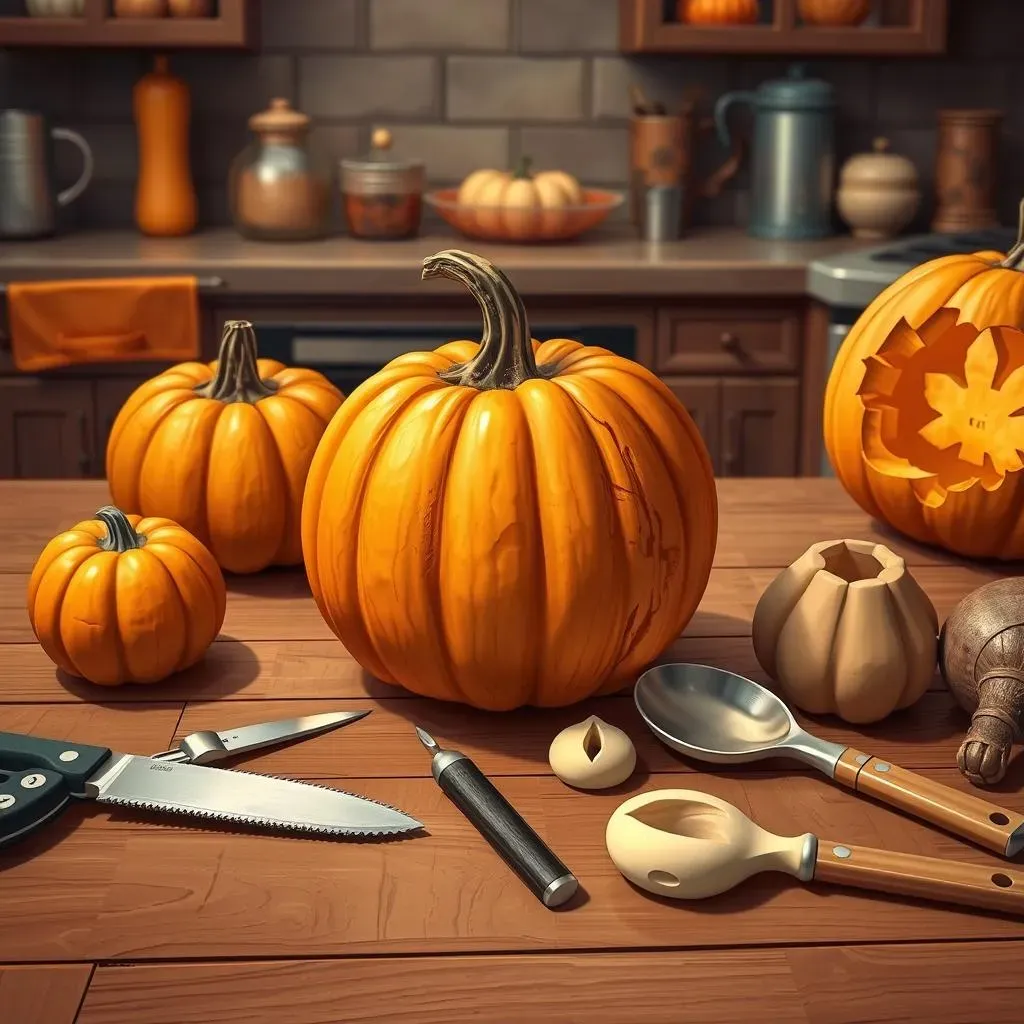
Alright, so you've got your perfect pumpkin, now let's talk tools and techniques. Forget those flimsy plastic carving kits, they're about as useful as a chocolate teapot. We're aiming for precision and safety here. First up, you'll need a good quality serrated knife; it's like the workhorse of pumpkin carving, perfect for cutting out large sections and making that initial opening. A paring knife is also your friend, it's the detail guy, great for finer work and intricate designs. And don't forget about scoops – those are essential for getting all the pumpkin guts out. For more advanced designs, consider clay sculpting tools; they're fantastic for shaving down the pumpkin's surface to create different depths and textures.
Safety first, my friend! Always carve on a stable surface and never rush. It's not a race, it's an art. And remember, a dull knife is more dangerous than a sharp one because you have to use more force. So, keep your knives sharp. When it comes to carving techniques, start with the big stuff first; cut out your opening and scoop out the insides. Then, sketch out your design, either freehand or using stencils. When carving, use a sawing motion rather than pushing straight through. This gives you more control and prevents you from slipping. And lastly, take breaks, especially if you’re doing a complex design. Carving should be fun, not a chore.
Tool | Use | Why it's Important |
|---|---|---|
Serrated Knife | Cutting large sections, opening the pumpkin | Provides control, reduces slipping |
Paring Knife | Fine details, intricate designs | Offers precision and maneuverability |
Scoops | Removing seeds and pulp | Makes clean up easier |
Clay Sculpting Tools | Shaving and creating textures | Adds depth and dimension |
Creative Ideas for Display Pumpkin Carving Indoors
Creative Ideas for Display Pumpkin Carving Indoors
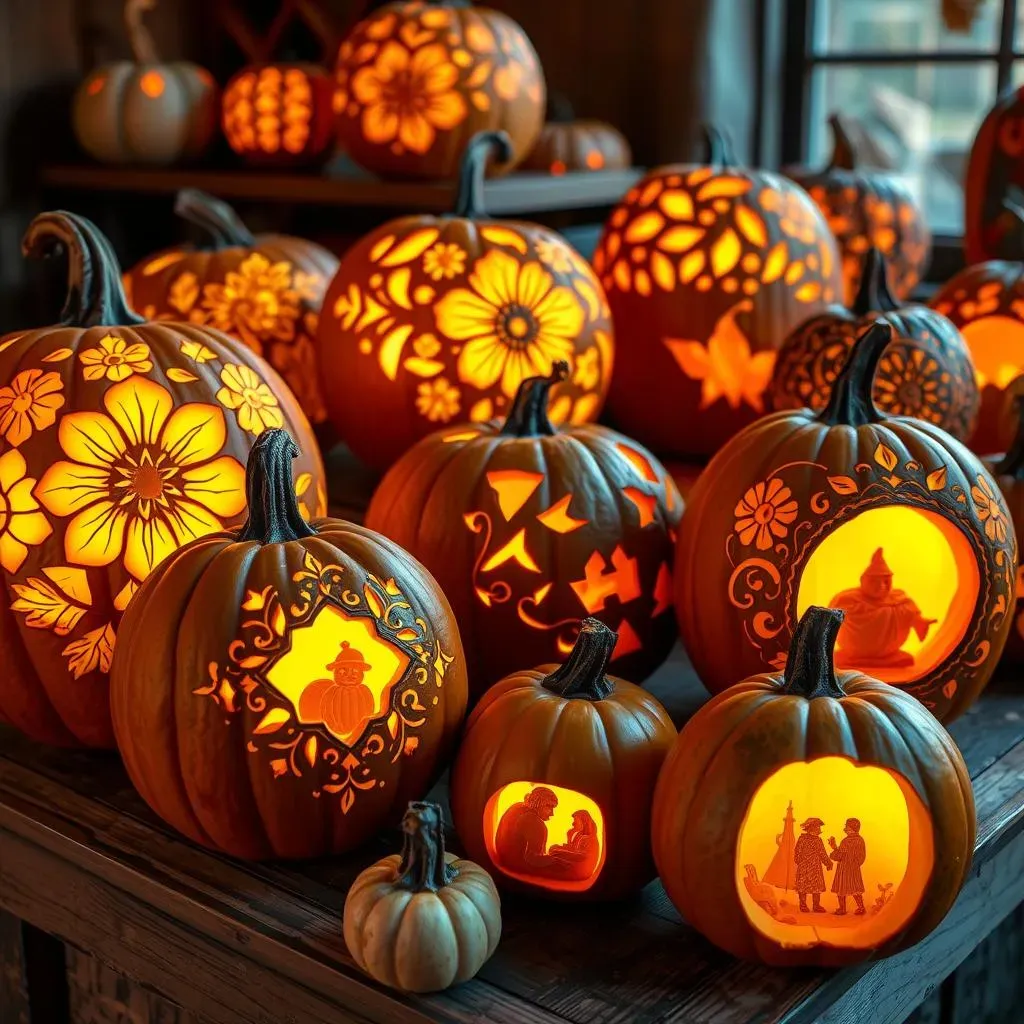
Okay, so you've got the pumpkin and the tools, now for the fun part: unleashing your inner artist! When it comes to "creative ideas for display pumpkin carving indoors," the sky's the limit. Forget the same old spooky faces, we're going for unique and eye-catching designs. How about a floral pumpkin? You can carve out petal shapes and create a beautiful, blooming design. Or, if you're feeling a bit more intricate, try a geometric pattern. Think clean lines, repeating shapes, and maybe even some cool optical illusions. And if you're a fan of the whimsical, a "peek-a-boo" pumpkin is super fun. Carve out a window and create a little scene inside – maybe a tiny fairy garden or a miniature spooky setting. The goal is to make your pumpkin a conversation starter, something that reflects your personal style and creativity.
- Floral Designs: Carve out petal shapes for a blooming effect.
- Geometric Patterns: Use clean lines and repeating shapes for a modern look.
- "Peek-a-Boo" Pumpkins: Carve a window and create a miniature scene inside.
- Textured Carving: Use clay tools to shave the surface for depth.
- Stenciled Designs: Use stencils for precise patterns or quotes.