Table of Contents
This Halloween, ditch the basic jack-o'-lantern and elevate your carving game! This comprehensive guide dives into the art of detailed pumpkin carving techniques, transforming your ordinary pumpkin into a breathtaking masterpiece. We'll equip you with the knowledge and skills to tackle intricate designs, moving beyond simple triangles and toothy grins. Get ready to explore the essential tools and materials needed to achieve professional-level results. We'll then guide you through a progression of advanced techniques, starting with simpler designs and building up to more complex, awe-inspiring creations. Along the way, we'll share insider tips and tricks from experienced pumpkin carvers, helping you avoid common pitfalls and achieve stunning detail in your work. Whether you're a seasoned pro or a complete beginner, this guide will unlock your creative potential and empower you to create truly unforgettable jack-o'-lanterns. Prepare to be amazed by what you can achieve with these detailed pumpkin carving techniques!
Essential Tools and Materials for Detailed Pumpkin Carving Techniques
Essential Tools and Materials for Detailed Pumpkin Carving Techniques
Choosing the Right Pumpkin
First things first: you need a good pumpkin! Select a pumpkin that's firm, without bruises or soft spots. A larger pumpkin offers more carving surface area for intricate designs, but smaller pumpkins are easier to manage for beginners. Consider the shape too; a round pumpkin is classic, but oddly-shaped pumpkins can add character to your design. Don't forget to check out our guide on advanced pumpkin carving ideas for inspiration!
Once you've got your perfect pumpkin, give it a good wash to remove any dirt or debris. This will make handling easier and help prevent the spread of bacteria. A clean pumpkin will also last longer. For really intricate work, you might want to consider using a foam pumpkin for practice before tackling a real one. This can save you from ruining a perfectly good pumpkin during the learning process. Check out these complex pumpkin carving designs for some advanced inspiration.
- Firm, undamaged pumpkin
- Consider size and shape
- Wash thoroughly before carving
Essential Carving Tools
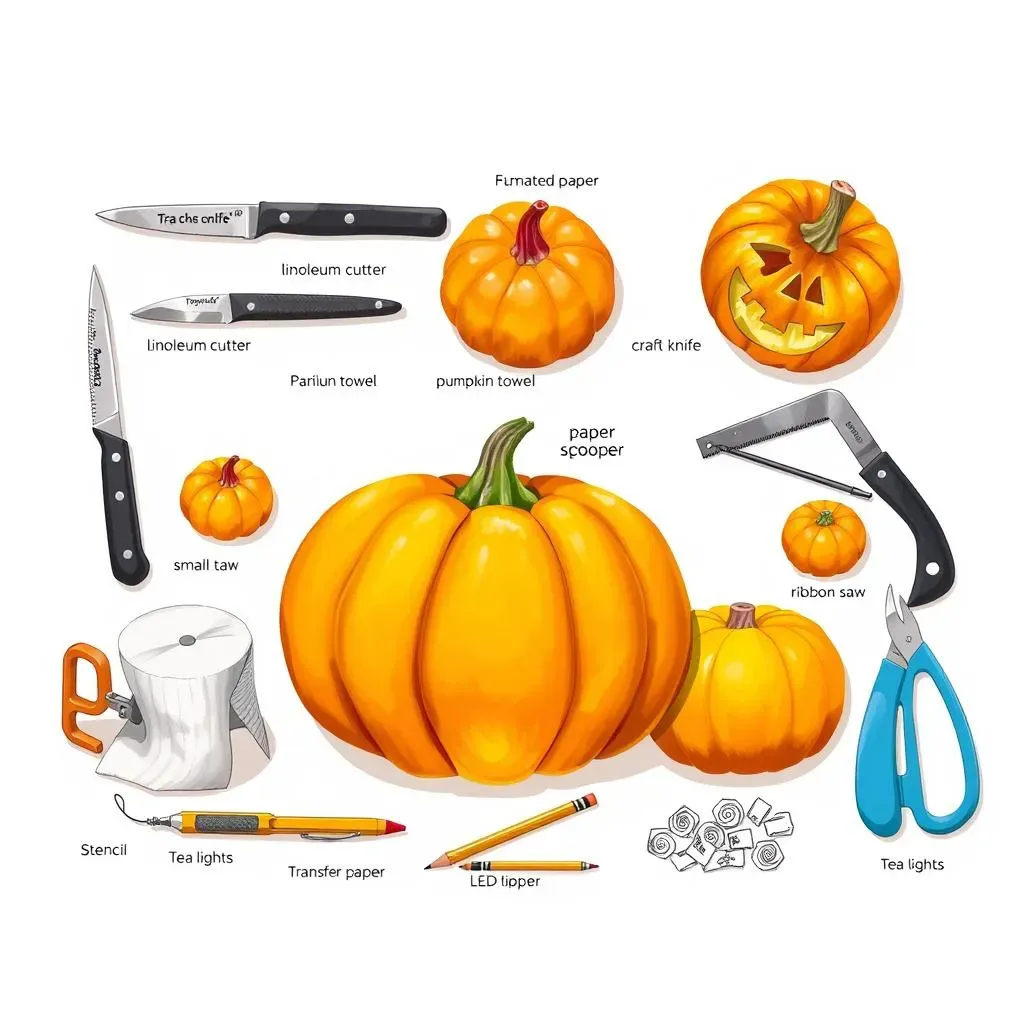
Now for the fun part – gathering your tools! You'll need a variety of tools for detailed pumpkin carving, depending on the complexity of your design. A good quality serrated knife is essential for cutting the initial opening and removing the pumpkin guts. For intricate details, you'll want a set of small, sharp carving tools, such as a paring knife, a linoleum cutter, or even a craft knife with different blade sizes. A pumpkin scooper is great for quickly removing the seeds and pulp. Remember to always handle sharp tools with care!
Beyond the basics, consider adding some specialized tools to your arsenal for even more precise work. A small saw can be helpful for cutting out larger sections or creating intricate patterns. A variety of different sized ribbon tools can be useful for removing skin from the pumpkin in various shapes and sizes. For extremely detailed work, even dental tools can be employed. Finally, don't forget a good light source to illuminate your work as you carve. These advanced pumpkin carving tools will take your designs to the next level.
Tool | Purpose |
|---|---|
Serrated knife | Cutting opening, removing guts |
Small carving tools | Intricate details |
Pumpkin scooper | Removing seeds and pulp |
Additional Supplies
Besides tools, you'll need a few other supplies to make your carving experience smoother and your pumpkin last longer. Have some paper towels handy for cleaning up spills and wiping away excess pumpkin guts. A stencil can help you create precise designs, especially if you're not confident in freehand drawing. You can make your own stencil or find pre-made ones online. For transferring your design onto the pumpkin, use a pencil or transfer paper. Keep in mind that some people use a complex pumpkin carving stencil for their designs.
Finally, once your pumpkin is carved, you'll need a way to light it up! Tea lights or battery-operated LED lights are safe and convenient options. To make your pumpkin last longer, consider applying petroleum jelly to the cut edges to help prevent drying. This simple step can significantly extend the life of your jack-o'-lantern. And you can always find more inspiration by checking out some detailed pumpkin carving techniques.
- Paper towels
- Stencil (optional)
- Pencil or transfer paper
- Light source (tea lights, LED lights)
- Petroleum jelly (to preserve pumpkin)
Advanced Pumpkin Carving Techniques: From Simple to Intricate Designs

Advanced Pumpkin Carving Techniques: From Simple to Intricate Designs
Basic Carving: Mastering the Fundamentals
Before diving into intricate designs, let's master the basics. Start with simple shapes like triangles for eyes and a jagged mouth. Practice making clean, even cuts with your tools. Focus on controlling the depth of your cuts for a consistent look. Don't rush! Take your time, and remember that even simple designs can look amazing with precise execution. For more inspiration, check out these detailed pumpkin carving ideas for beginners.
Once you’re comfortable with basic shapes, try incorporating lines and curves. Experiment with different tools to see how they affect the texture and appearance of your cuts. Consider adding simple details like small dots or lines to enhance your design. Remember, practice makes perfect! The more you carve, the better you'll become at controlling your tools and achieving precise cuts. This is a great foundation to build upon before moving to more complex designs. Learn more about beginner-friendly techniques to get you started.
- Practice basic shapes (triangles, curves)
- Focus on even cuts and depth control
- Experiment with different tools
- Add simple details (dots, lines)
Intermediate Carving: Adding Depth and Dimension
Now that you've mastered the basics, it's time to add some depth and dimension to your designs. Start by experimenting with different carving techniques, such as creating layered cuts or using a variety of tools to achieve varied textures. You can create shadows and highlights by varying the depth of your cuts. For example, you could carve a deeper cut for a shadow and a shallower cut for a highlight. This technique will add realism to your designs and make them pop!
Consider incorporating textures into your designs. You can create interesting textures by using different tools or by carving in different directions. For example, you could carve swirling patterns or create a rough, textured surface. Experiment with different techniques to see what you like best. Remember, there are no rules when it comes to pumpkin carving – have fun and let your creativity flow! Find more inspiration in our gallery of intricate pumpkin carving patterns.
Technique | Description |
|---|---|
Layered Cuts | Carving at different depths to create shadows and highlights |
Textured Carving | Using different tools or carving directions to create varied textures |
Advanced Carving: Intricate Designs and 3D Effects
Ready to take your pumpkin carving to the next level? Let's explore intricate designs and 3D effects! This involves creating complex patterns and shapes that require precise cuts and attention to detail. You might consider using stencils or freehand drawing to create your design. Remember to plan your design carefully before you start carving. A well-planned design will make the carving process much easier and less frustrating.
To create 3D effects, you'll need to carve out sections of the pumpkin to create depth and shadow. This can be challenging, but the results are well worth the effort. Think about creating things like raised or recessed designs, or even carving out entire scenes within your pumpkin. Remember to use a variety of tools and techniques to achieve the desired effect. Finally, always remember to take breaks and check your progress regularly. Don’t be afraid to experiment and try new things. The more you practice, the better you’ll become at creating stunning, intricate pumpkin carvings. For advanced ideas, explore our collection of advanced Halloween pumpkin designs.
- Plan your design carefully
- Use stencils or freehand drawing
- Create 3D effects with layered cuts
- Experiment with different tools and techniques
Tips and Tricks for Achieving ProfessionalLevel Detailed Pumpkin Carving Techniques
Planning Your Design
Before you even touch a pumpkin, meticulously plan your design. Sketch it out on paper, considering the pumpkin's shape and size. Think about the overall composition, the placement of key elements, and the flow of lines. A well-thought-out plan will prevent frustration later on. Don't underestimate the power of a good design! Check out our complex pumpkin carving stencils for inspiration.
For intricate designs, consider using a stencil. This will help you transfer your design accurately onto the pumpkin's surface. You can either purchase pre-made stencils or create your own using tracing paper and a printer. This helps ensure precision, especially for complex patterns. It's also helpful to consider the lighting; how will the light shine through your design? Will the shadows and highlights work together to create the desired effect? See more intricate Halloween designs for ideas.
- Sketch your design on paper
- Consider pumpkin shape and size
- Use a stencil for intricate designs
- Plan for lighting and shadow effects
Mastering the Carving Process
Begin by carefully transferring your design onto the pumpkin. Use a pencil or transfer paper to create a light outline of your design. Then, start carving with your chosen tools, working slowly and deliberately. Remember to take breaks to avoid fatigue and ensure accuracy. It’s important to be patient and precise during this process. It's like sculpting, but with a pumpkin!
For intricate details, use small, sharp tools. Don't be afraid to experiment with different techniques to achieve the desired effect. Vary the depth of your cuts to create shadows and highlights, adding depth and dimension to your design. If you make a mistake, don't panic! Many mistakes can be easily corrected with a little patience. For more advanced techniques, check out our guide on advanced pumpkin carving instructions.
Technique | Description |
|---|---|
Varying Cut Depth | Creating shadows and highlights |
Tool Selection | Using appropriate tools for detail |
Patience and Precision | Slow and steady wins the race |
Preserving Your Masterpiece
Once your pumpkin is carved, take steps to preserve your masterpiece. Apply petroleum jelly to the cut edges to help seal in moisture and prevent drying. This will help your jack-o'-lantern last longer. Choose a suitable light source; battery-operated LED lights are a safe and convenient option.
Consider displaying your pumpkin in a cool, dry place, away from direct sunlight or extreme temperatures. This will help prevent it from wilting or rotting too quickly. If you want to extend the life of your pumpkin, you can try soaking it in cold water for a few hours. You can find more tips on preserving your pumpkins in our blog post on professional pumpkin carving tips.
- Apply petroleum jelly to cut edges
- Use battery-operated LED lights
- Store in a cool, dry place
- Consider soaking in cold water