Table of Contents
Ready to ditch the scary and embrace the sweet this Halloween? Forget the ghouls and goblins, we're diving headfirst into the world of cute ideas to carve pumpkins! This isn't about menacing grins, it's about adorable faces, charming critters, and designs that'll make everyone say "aww." We'll start with the basics: think easy-to-carve smiles and simple shapes that are perfect for beginners. Then, we'll move on to some animal-inspired designs, because who can resist a pumpkin kitty or a wide-eyed owl? But the cuteness doesn't stop there. We'll explore fun character themes, like those little yellow guys who love bananas. Finally, I'll share some tips and tricks to make your carving experience smooth and enjoyable. Get your carving tools ready, because we're about to make some seriously cute pumpkins!
Easy & Adorable Pumpkin Faces: Cute Ideas to Carve Pumpkins
Easy & Adorable Pumpkin Faces: Cute Ideas to Carve Pumpkins
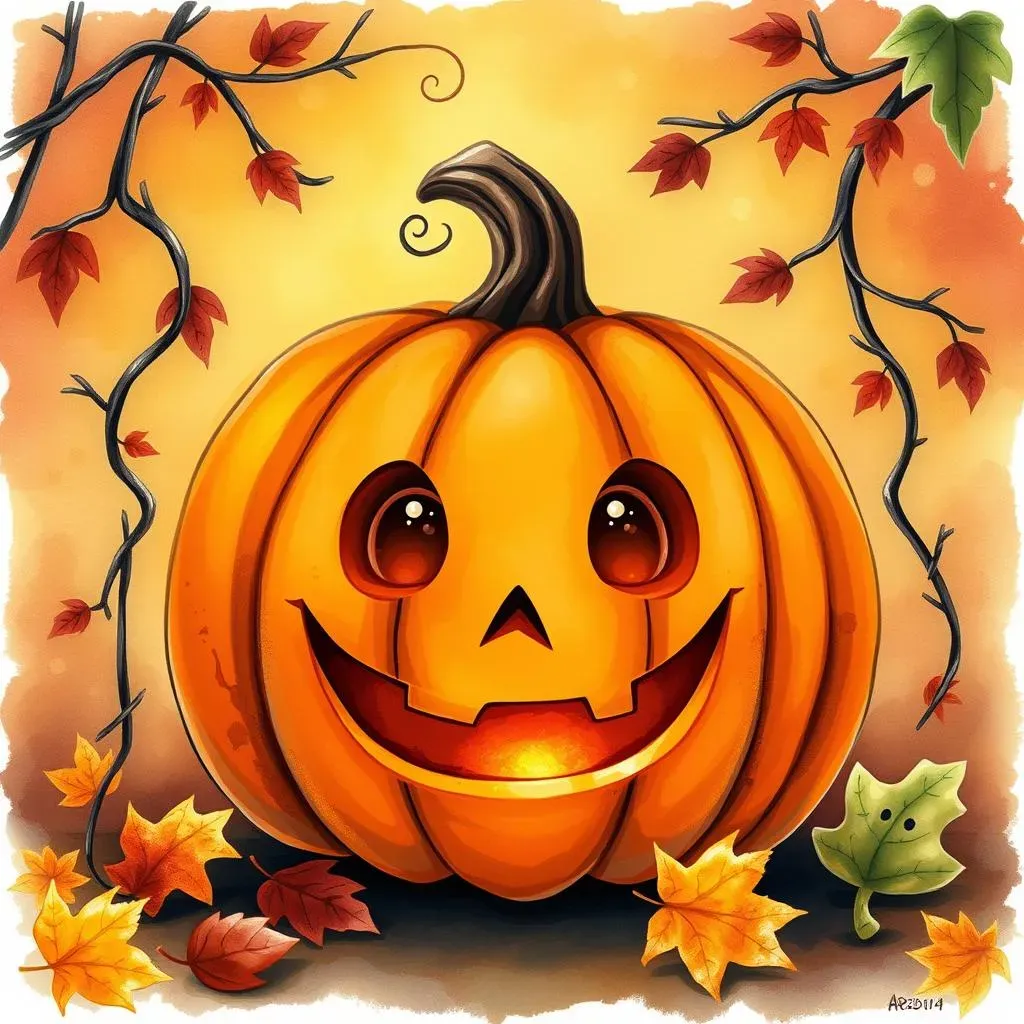
Okay, so you want to make a pumpkin that's more "aww" than "argh," right? Let's start with the simplest, most charming faces. Forget those complicated, scary grins. We're talking about sweet, gentle expressions. Think big, round eyes, maybe just two simple circles, or even cute little triangles. A small, upturned smile is your best friend here. You don't need a lot of jagged teeth or menacing brows. Keep the lines soft and smooth. Imagine a smiley face emoji, but on a pumpkin. That's the vibe we're going for. And hey, if you mess up a little? No biggie! It'll just add to the pumpkin's unique charm. Remember, we’re aiming for cute, not perfect.
Feature | Cute Approach | Scary Approach |
|---|---|---|
Eyes | Circles, triangles, or simple dots | Sharp, jagged, or narrow slits |
Mouth | Upturned smile, small curve | Fanged grin, downturned mouth |
Brows | Soft, rounded or non at all | Angled or furrowed, menacing |
Cute Animal Pumpkin Carving Ideas: From Cats to Owls
Cute Animal Pumpkin Carving Ideas: From Cats to Owls
Feline Fun: Crafting Cat Pumpkins
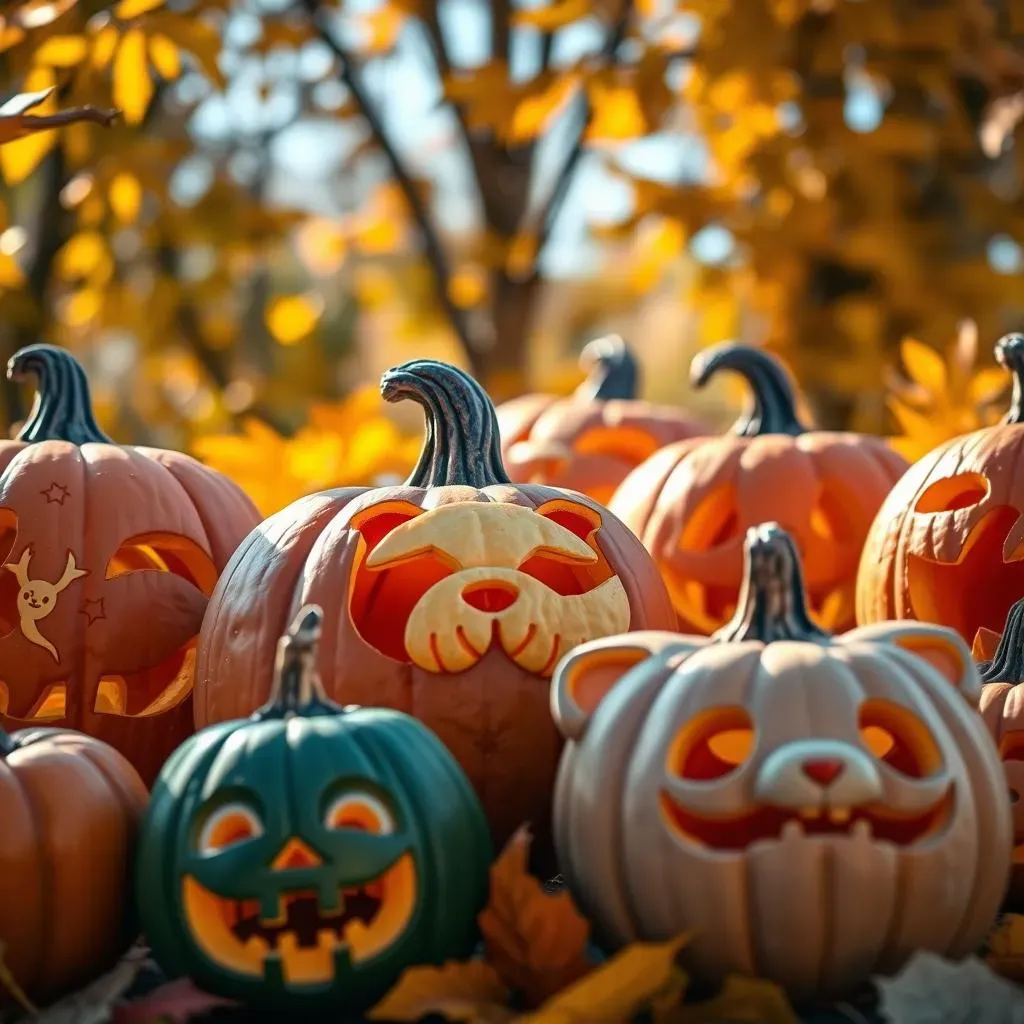
Alright, animal lovers, this one's for you! Cats are super popular, and they translate so well onto a pumpkin. Think about those adorable pointy ears – you can carve them as simple triangles on top, or get a bit fancier with curved edges. For the eyes, go for big circles or slightly slanted ovals to capture that feline gaze. A little triangle for the nose, and a cute, small mouth is all you need. The best part? You can add whiskers! Use thin strips of pumpkin peel, or even pipe cleaners, for a touch of extra charm. I once made a cat pumpkin that had a little yarn ball next to it, it was a hit!
Wise and Wonderful: Owl Pumpkin Designs
Now, let’s talk owls. These wise birds are perfect for a slightly more intricate, but still totally cute, pumpkin design. Their big, round eyes are the star of the show, so make them prominent. You can even carve out a second layer around each eye to give them depth. A small, beak-like triangle is perfect for the nose. For the rest of the face, think about feathers. You don't need to carve every single one, but a few curved lines around the eyes and on the sides of the face will give that feathery feel. And if you're feeling extra creative, you can add little carved "ears" on top. It's like giving your pumpkin a little hat!
Animal | Key Features | Carving Tips |
|---|---|---|
Cat | Pointy ears, round or slanted eyes | Use triangles for ears, add whiskers for flair |
Owl | Big round eyes, beak-like nose | Layer eyes for depth, use curved lines for feathers |
Dog | Floppy ears, round nose | Use rounded shapes, make the nose prominent |
Creative & Cute Character Pumpkin Designs: Think Minions & More
Creative & Cute Character Pumpkin Designs: Think Minions & More
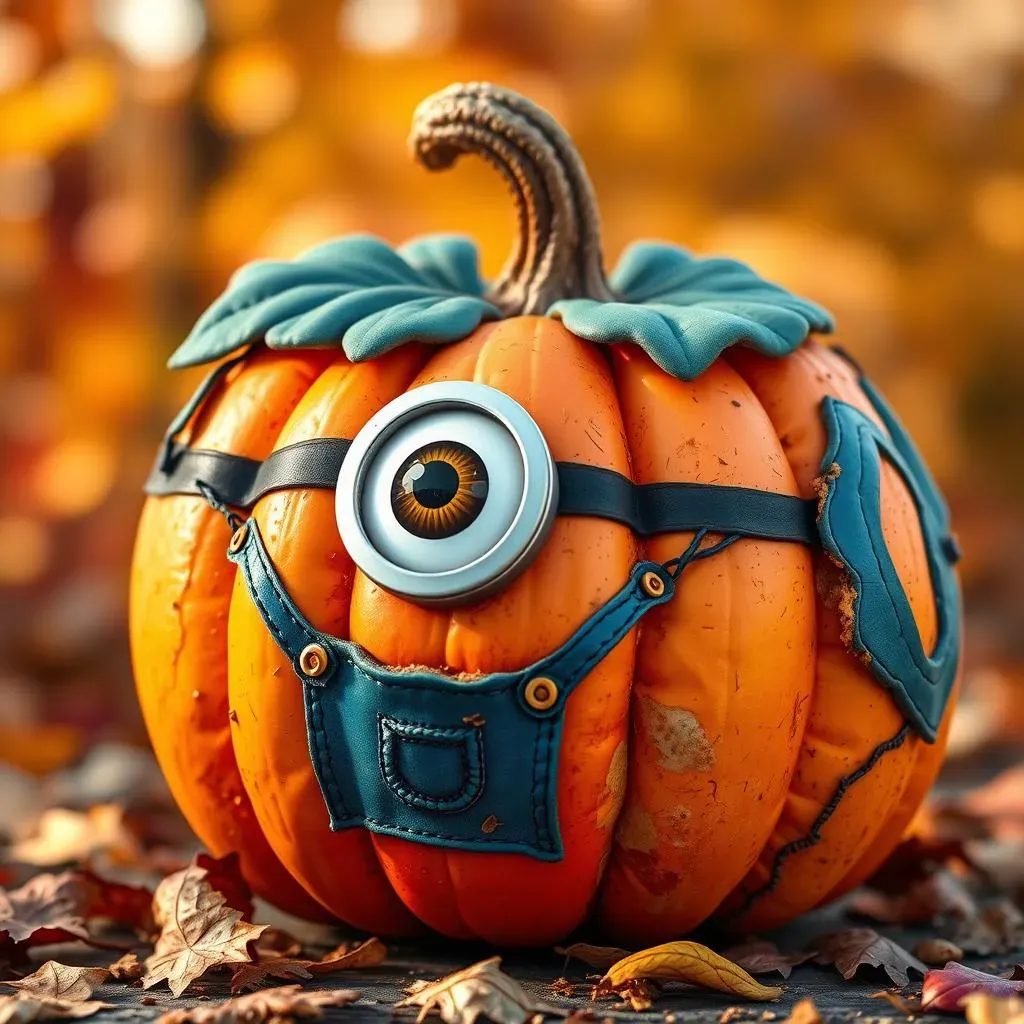
Okay, so we've covered adorable faces and cute critters, but what about bringing some of our favorite characters to life? This is where things get really fun! Think about the characters that make you smile – the ones that are instantly recognizable and just plain charming. Minions are a fantastic place to start, their simple, cylindrical shape and big goggles translate perfectly to a pumpkin. You can carve out their goggle shape and paint the rest, or even use some colored paper or craft foam. And they don't have to be yellow! Get creative with different colors and expressions. But, don't just stop at Minions. Consider other cartoon characters, video game heroes, or even book characters that have a unique and recognizable look. The goal is to make a pumpkin that's not only cute but also shows off your personality and favorite things.
I remember one year, I saw someone carve a Baby Yoda pumpkin, and it was absolutely amazing. The big ears, the wide eyes – it was instantly recognizable and incredibly cute. That’s the kind of impact we're aiming for here. Don't be afraid to think outside the box! You can use paint, glitter, or even felt to add extra details. The key is to break down the character's design into simple shapes and then translate those shapes onto your pumpkin. Think about what makes the character unique, is it their big eyes, a funny hat, or a specific pattern? Focus on those key elements, and you'll have a pumpkin that's not only cute but also instantly recognizable.
Character Type | Design Elements | Tips |
|---|---|---|
Minions | Cylindrical shape, big goggles | Use paint or craft foam for goggles, experiment with colors |
Cartoon Characters | Unique features, recognizable shapes | Focus on key features, use paint for details |
Video Game Characters | Pixelated designs, specific colors | Simplify complex designs, use geometric shapes |
Tips for Carving Cute Pumpkins: Tools and Techniques
Tips for Carving Cute Pumpkins: Tools and Techniques
Gather Your Gear: The Essential Tools
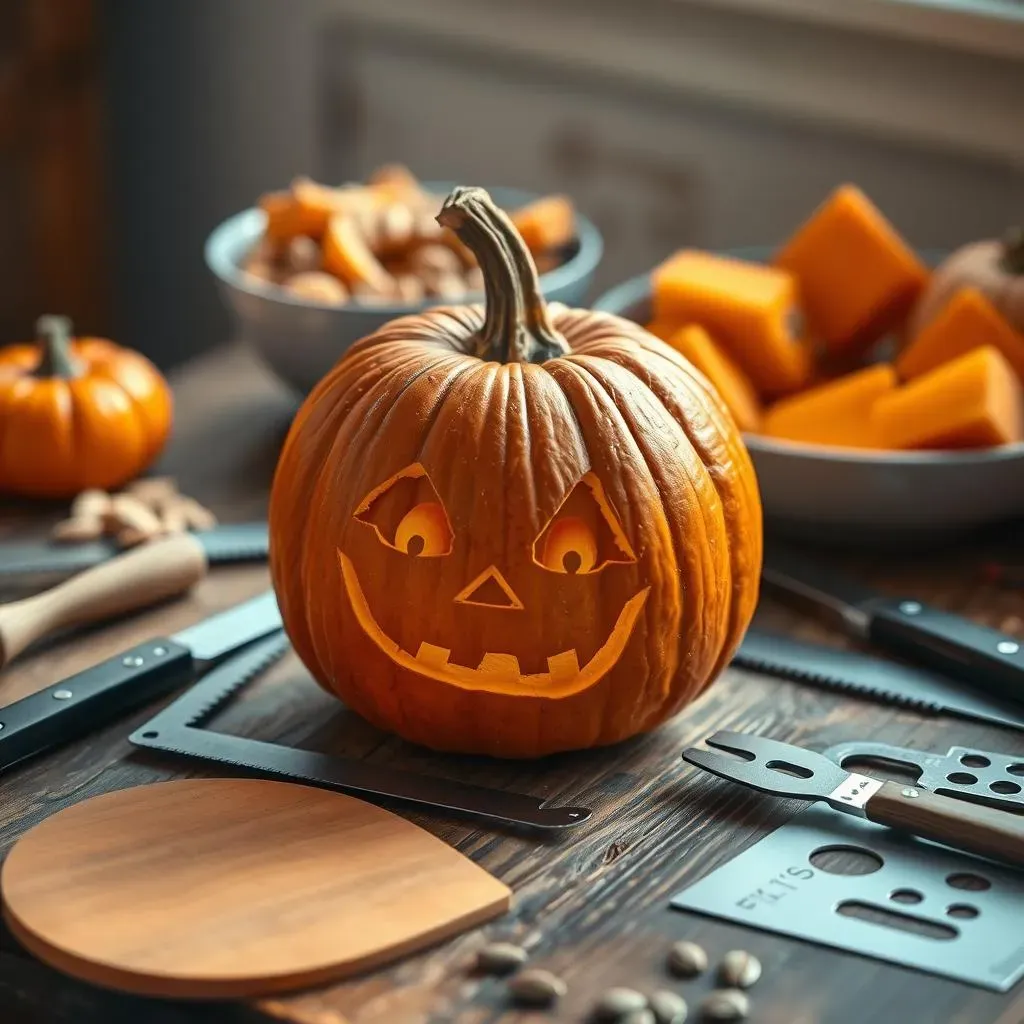
Okay, before we get carving, let's talk tools. You don't need a fancy kit to make adorable pumpkins. A good, sturdy serrated knife is a must, but make sure an adult is doing the cutting. I like to use small saws for more detailed work. A scoop is also crucial for getting all those pumpkin guts out – trust me, you don't want to skip this step. And then, of course, we have stencils. You can find tons online, or even draw your own. A marker will help you transfer the design onto your pumpkin. Oh, and don't forget a bowl for all the pumpkin seeds! I always roast them later, they’re the perfect snack.
The Art of the Carve: Simple Steps for Success
Now, let's get to the carving. First, cut a circle around the stem of your pumpkin, making a lid. Scoop out all the seeds and pulp - this is the messy part, but it's also kinda fun! Next, tape your stencil onto your pumpkin and trace the design with a marker. This is the key to getting those cute shapes just right. Then, using your saw or knife, carefully start carving along the traced lines. Remember, slow and steady wins the race. Don't try to push too hard, and take breaks if your hand gets tired. I always like to start with the smaller details first. It makes the larger parts easier to handle.
Tool | Purpose |
|---|---|
Serrated Knife | Cutting the lid and larger shapes |
Small Saw | Detailed carving and intricate designs |
Scoop | Removing seeds and pulp |
Marker | Transferring stencils onto pumpkin |
Finishing Touches: Adding Extra Cuteness
You've got your carved pumpkin, but why stop there? Let's add some extra cuteness! Consider using paint to add colors or details, I love to use glow in the dark paint for night time fun. You can also use glitter for some extra sparkle, or even small craft pom-poms for noses or eyes. If you’re feeling ambitious, you could even add accessories like hats or glasses. The possibilities are endless! I once saw someone add little fairy lights inside their pumpkin, and it looked absolutely magical. The key is to have fun with it and let your creativity shine. Don’t be afraid to experiment and make your pumpkin uniquely yours.