Table of Contents
Hey there, pumpkin pals! Are you ready to ditch the scary faces this Halloween and go for something a little sweeter? If you're nodding your head, then you're in the right place! We're diving headfirst into the world of "cute girl pumpkin carving ideas," where adorable meets spooky. Forget the fangs and googly eyes; we're talking bows, braids, and maybe a touch of sparkle. This article is your go-to guide for creating the most charming pumpkins on the block. We'll start with some inspiration, looking at designs that are both sweet and a little spooky. Then, we'll move to easy-to-follow ideas, perfect if you're a beginner or just want a quick project. Finally, we'll get into the nitty-gritty of creating your own masterpiece with a detailed step-by-step guide. So, grab your carving tools, and let's make some magic happen with these cute girl pumpkin carving ideas!
Cute Girl Pumpkin Carving: Sweet & Spooky Designs
Cute Girl Pumpkin Carving: Sweet & Spooky Designs
Adorable Faces, Not Scary Spaces
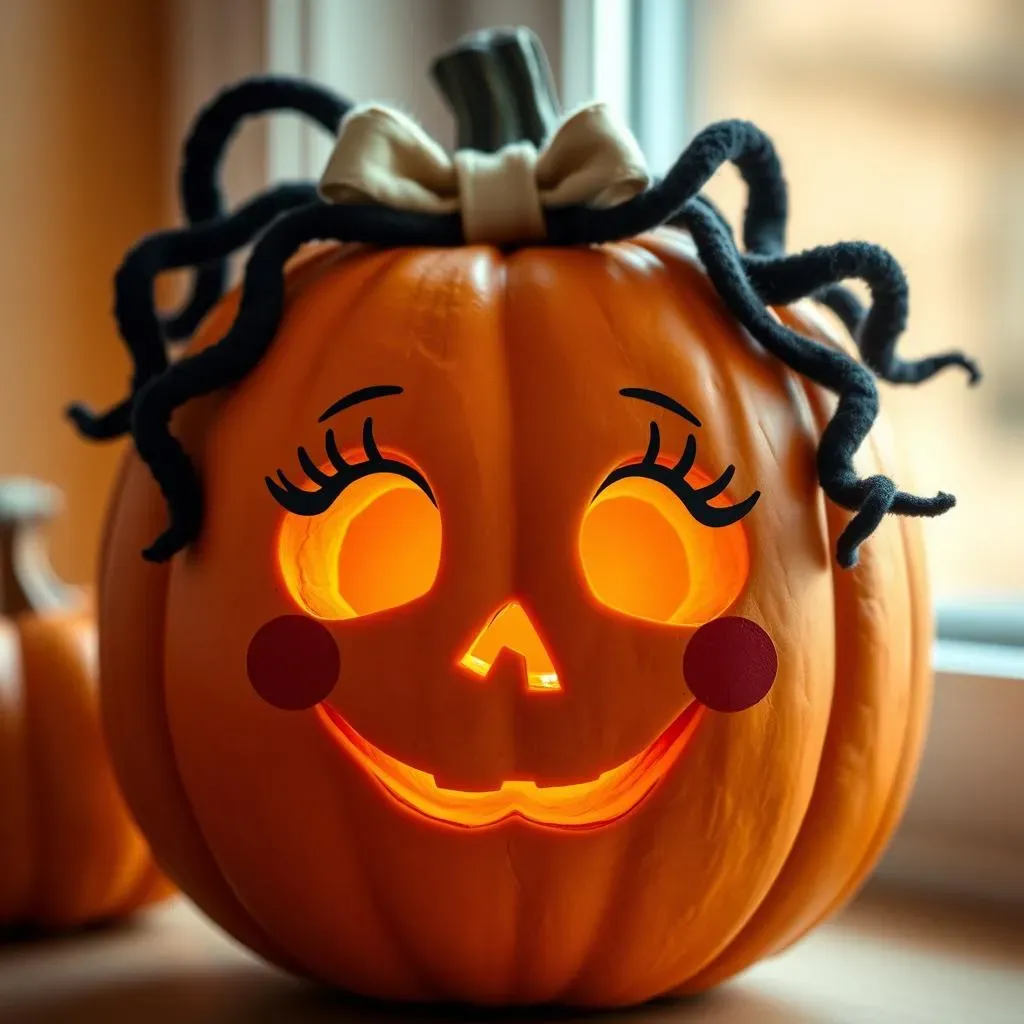
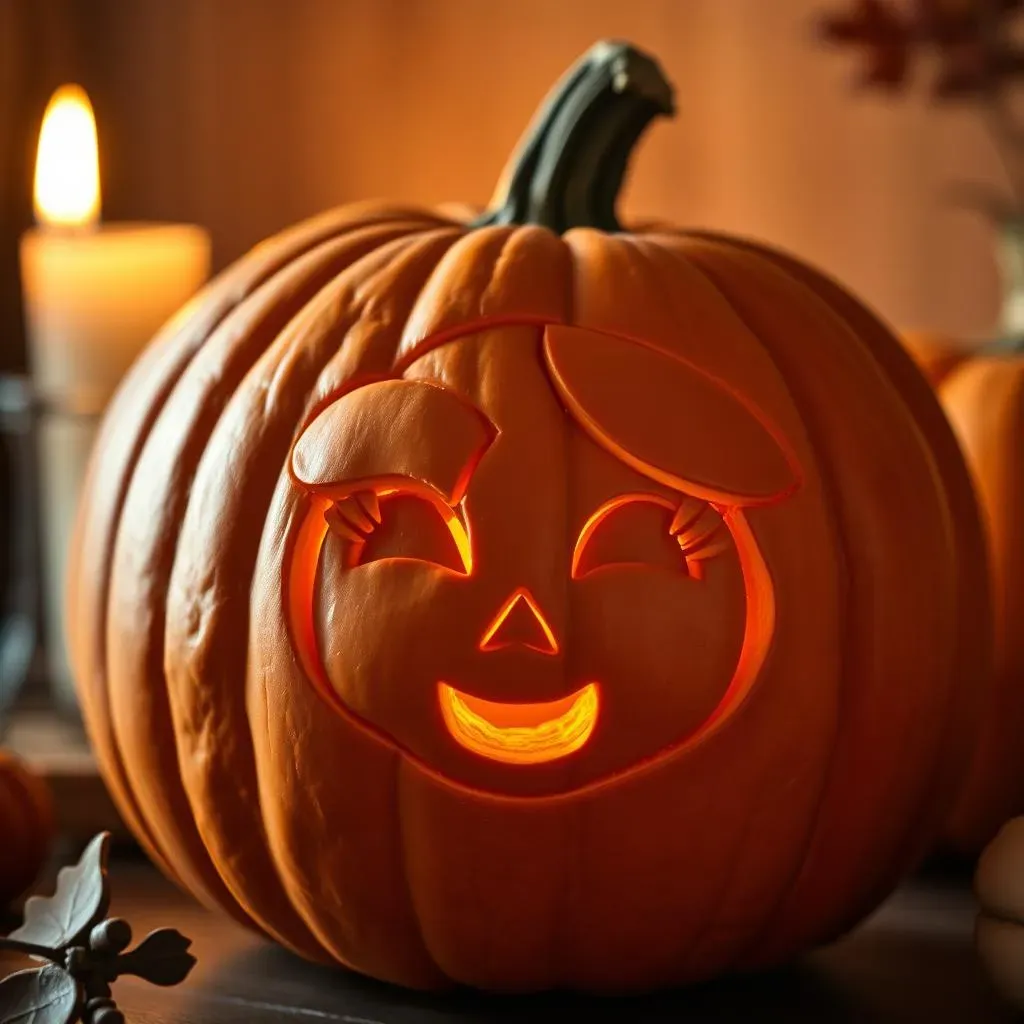
Okay, so you're thinking cute, right? Not the usual creepy crawlies and jagged teeth. Think big, bright eyes, sweet smiles, and maybe even some rosy cheeks on your pumpkin. We're talking about transforming those orange gourds into little characters. Imagine a pumpkin with long eyelashes made from black felt and a little bow on top. Or how about a pumpkin with pigtails crafted from yarn? These aren't your run-of-the-mill jack-o'-lanterns; they're mini works of art. It's about using simple shapes and materials to create something totally charming and not at all spooky. Think beyond the usual and consider adding elements like glitter, paint, or even fabric scraps to bring your "cute girl" pumpkin to life.
It's all about balancing that sweet look with the spooky season. You can keep it purely cute with soft colors and gentle features or give it a hint of Halloween flair. Think about adding a tiny witch's hat or some spiderweb details around the edges of the design. The key is to keep the overall vibe light and fun, not terrifying. It's like creating a character that's dressed up for a Halloween party, but still wants to be friends with everyone. It's all about that playful contrast that makes these designs so unique. You could even add little props like a tiny broom or a miniature cauldron to complete the look.
Inspiration Galore
Now, let's get into some real-world examples. You could try carving a pumpkin with a sweet, innocent face, adding a few freckles with a marker. Or, think about a design inspired by a favorite cartoon character but with a cute, Halloween twist. Maybe a princess with a pumpkin crown or a fairy with glittery wings. The possibilities are endless, really. Remember, it's all about making it your own and having fun with the process. Don't be afraid to mix and match ideas to create something totally unique. This is where you can really let your creativity shine!
Consider your favorite storybook characters or even your own personal style. If you like pastel colors, use them. If you prefer bold designs, go for it! The beauty of these cute girl pumpkin carving ideas is that they're totally customizable to your taste. You could even create a whole family of cute girl pumpkins, each with their own unique look. The goal is to make something that makes you smile every time you see it. So, let your imagination run wild and create a pumpkin that's as unique and special as you are.
Feature | Cute Style | Spooky Touch |
|---|---|---|
Eyes | Big, round, friendly | Slightly slanted, with lashes |
Mouth | Smiling, gentle curve | Small fangs, subtle grin |
Accessories | Bows, flowers, glitter | Tiny hats, spiderwebs |
Easy Cute Girl Pumpkin Carving Ideas for Beginners
Easy Cute Girl Pumpkin Carving Ideas for Beginners
Simple Shapes, Big Impact
Alright, so maybe you're not a master carver, and that's totally okay! The beauty of "cute girl pumpkin carving ideas" is that you don't need to be. We're focusing on simple shapes here. Think circles, triangles, and gentle curves. These are your best friends when you're just starting out. Forget about trying to carve intricate details; focus on creating a clear, recognizable design. A round face with two circle eyes and a small, curved smile is a classic for a reason – it's easy and super cute. You can use cookie cutters to trace shapes onto your pumpkin before you start carving. This is a great trick for getting those basic shapes right, and it’s a game changer for beginners.
Consider using tools that are easy to handle, like small saws or even kid-friendly tools. The idea is to make the process enjoyable and not frustrating. Don't get caught up in trying to make it perfect; embrace the imperfections! Sometimes, the slight wobbles and uneven lines add to the charm. This is all about having fun and creating something that’s uniquely yours. You could even use a marker to draw your design directly onto the pumpkin before carving. This way you can change your mind and adjust the design before you even pick up your carving tools. It's all about making it as easy and stress-free as possible.
No-Carve Options
Now, let’s say you want to skip the carving altogether? No problem! There are tons of ways to create adorable "cute girl" pumpkins without ever picking up a knife. Painting is your best friend here. You can create all sorts of cute faces using just paint and some brushes. Think about using different colors to add details like rosy cheeks, bright eyes, and even hair. You could even use stencils if you’re not confident in your freehand skills. It’s all about finding what works best for you and your comfort level.
Another fun option is to use craft supplies to decorate your pumpkin. Think felt, yarn, googly eyes, and glitter. You can create all sorts of cute details by gluing these items onto the pumpkin. You can make a cute little bow out of ribbon, use yarn for hair, or stick on some googly eyes for instant personality. The possibilities are endless, and it's a great way to get the kids involved. It's all about using what you have on hand and getting creative with your decorations. The best part is that these no-carve options are super safe and easy for everyone to enjoy.
Method | Tools/Materials | Difficulty | Best For |
|---|---|---|---|
Simple Carving | Small saws, cookie cutters | Easy | Beginners who want to try carving |
Painting | Paint, brushes, stencils | Easy | Anyone, especially those who want no carving |
Crafting | Felt, yarn, glue, googly eyes | Easy | Kids, beginners, no-carve options |
Creative Cute Girl Pumpkin Carving: StepbyStep Guide
Creative Cute Girl Pumpkin Carving: StepbyStep Guide
Planning Your Design
Okay, so you're ready to get seriously creative? Awesome! First things first, let's plan. Don't just jump in with a knife; take a moment to sketch out your design. Think about the overall look you want to achieve. Are you going for a sweet princess, a whimsical fairy, or a quirky character? Once you have a general idea, sketch it out on paper first. This will help you visualize the final product and make sure all the elements fit together nicely. Don't worry if your drawing isn't perfect; it's just a guide. You can also use stencils or templates if you're not comfortable drawing freehand. The key is to have a clear plan before you start carving.
Next, think about the details. What kind of eyes will your pumpkin have? What about the mouth? Will there be accessories like bows, hats, or jewelry? These details are what will really bring your cute girl pumpkin to life. Consider using different materials to add texture and dimension. Maybe some yarn for hair, felt for accessories, or glitter for sparkle. It's all about making your design unique and personal. Remember, this is your chance to really let your creativity shine and create something that's totally one of a kind.
Carving and Detailing
Now for the fun part: carving! Before you start, make sure you have all the right tools. You'll need a good carving knife, a scoop for removing the insides, and maybe some smaller tools for detail work. Start with the larger shapes first and work your way down to the smaller details. Carve slowly and carefully, taking breaks as needed. It's better to take your time and do it right than to rush and make mistakes. If you're not comfortable with a sharp knife, you can always use a small saw or even a kid-friendly carving tool. Safety first, always! Remember to clear out the inside of the pumpkin before you start carving any details. This will make it easier to work with and help prevent any accidental damage.
Once you have the basic shapes carved, it's time to add the details. This is where you can really bring your character to life. Use smaller tools to carve out the eyes, mouth, and any other intricate details. You can also use paint, markers, or other materials to add extra touches. Don't be afraid to experiment and try new things. This is your chance to really get creative and make your pumpkin stand out. Remember, there's no right or wrong way to do it; it's all about having fun and expressing yourself.
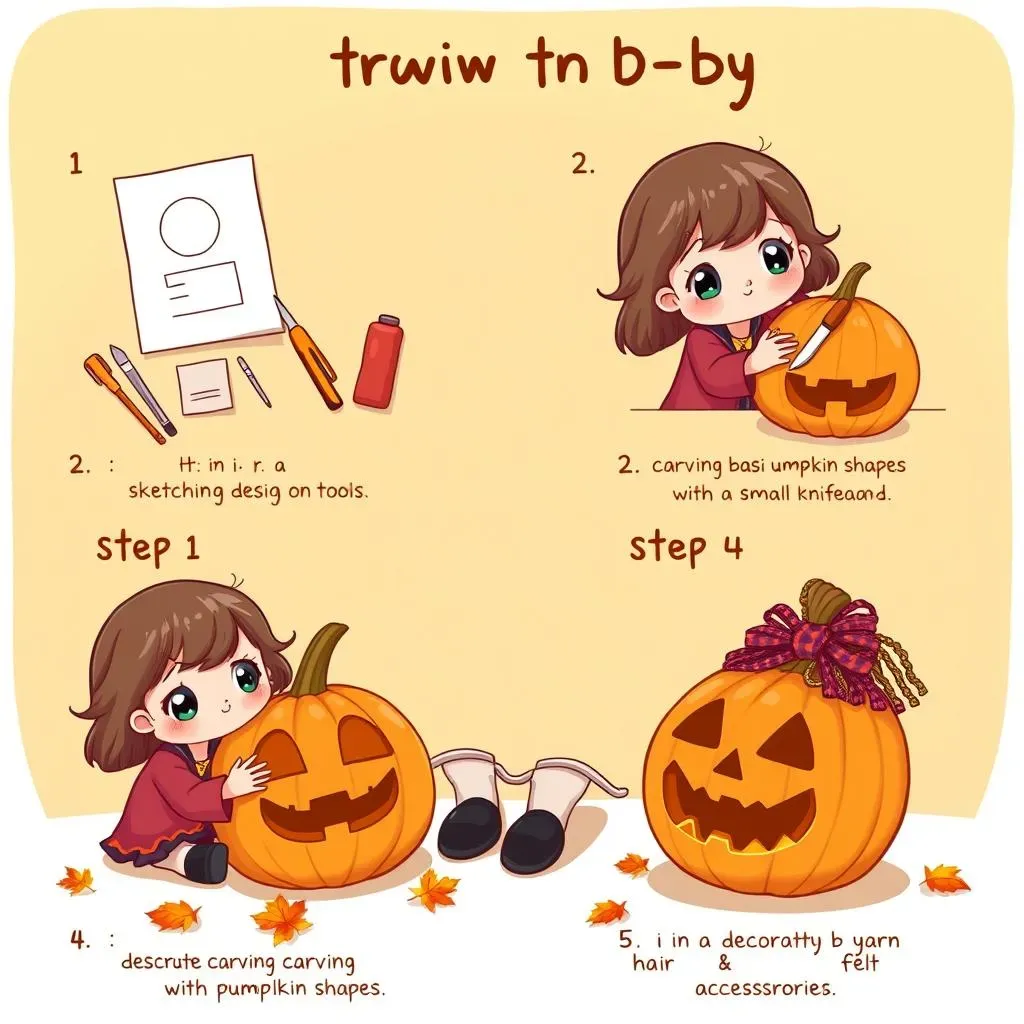
Step | Action | Tips |
|---|---|---|
1 | Sketch Your Design | Use paper, stencils, or templates. |
2 | Gather Tools | Carving knife, scoop, detail tools. |
3 | Carve Basic Shapes | Start with large shapes, go slow. |
4 | Add Details | Use small tools, paint, or markers. |
Adding the Finishing Touches
Alright, you've carved your masterpiece, now it's time for the finishing touches! This is where you can really make your "cute girl" pumpkin shine. Think about adding accessories to give it that extra bit of personality. You could use ribbon to make a bow, yarn to create hair, or felt to fashion a hat. Don't be afraid to get crafty and use whatever materials you have on hand. You can also add paint or glitter to give your pumpkin some extra sparkle. Consider using different colors and textures to add depth and interest to your design. It's all about making it look as cute and charming as possible.
And don't forget the lighting! A well-placed light can make all the difference. You can use a candle, a battery-operated light, or even a string of fairy lights. The right lighting will not only make your pumpkin visible at night but also highlight all the details you've worked so hard to create. Once you're done, step back and admire your creation. You did it! You've created an adorable, one-of-a-kind "cute girl" pumpkin that's sure to be the envy of the neighborhood. Remember, the most important thing is to have fun and enjoy the process. Happy carving!