Table of Contents
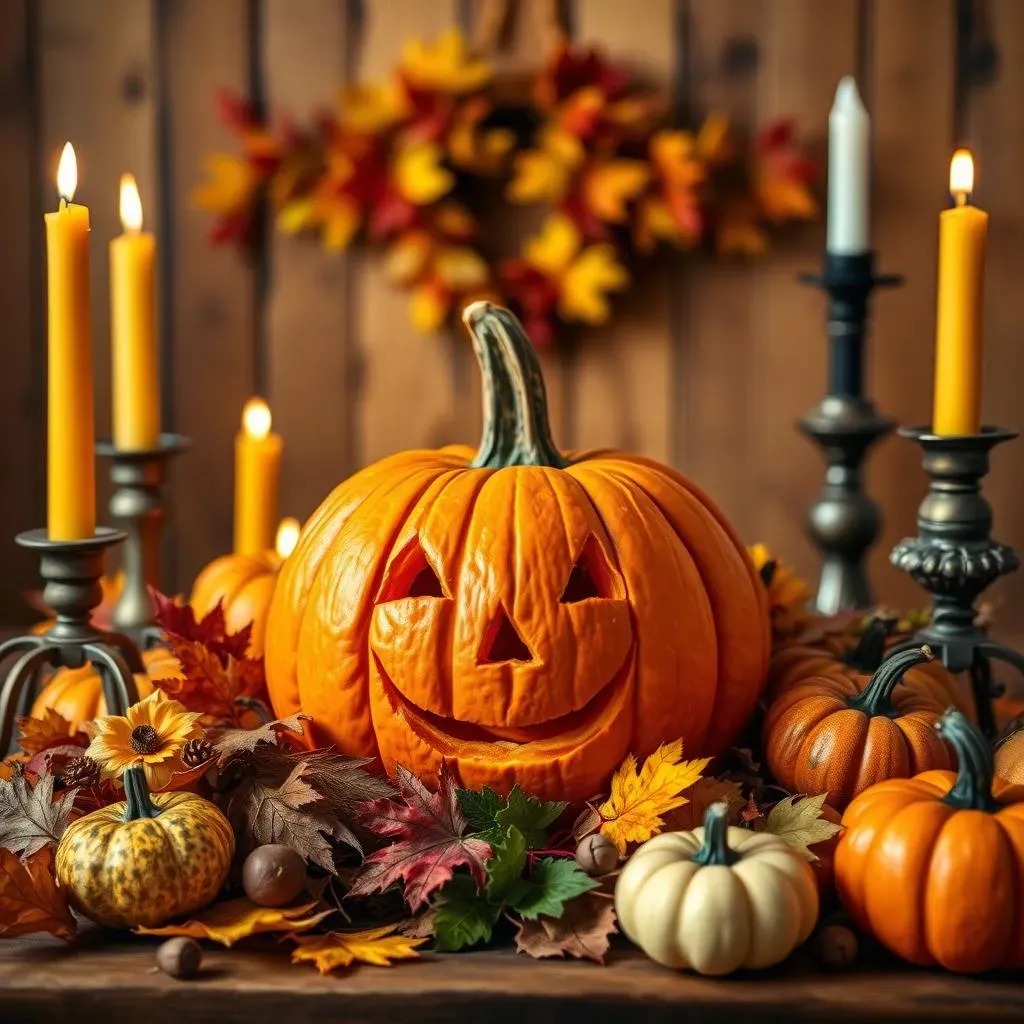
Hey there, pumpkin pals! Ready to ditch the scary faces and embrace some seriously cute fall pumpkin carving ideas? I know, I know, the usual jack-o'-lanterns are cool, but this year, let's get adorable! We're talking pumpkins that'll make you say "aww" instead of "boo." This isn't your average carving guide; it's a treasure map to the cutest gourds on the block. We'll start with super simple designs that anyone can tackle, even if you've never held a carving knife before. Then, we'll crank up the creativity with some slightly more involved, but still totally doable, ideas. I'll also spill all my secrets for making your carved cuties last longer, because who wants a sad, mushy pumpkin? Finally, I'll show you the essential tools and some clever tricks to make your carving experience smooth and fun. So, grab your pumpkin, get cozy, and let’s get carving! Ready to transform your pumpkin into the cutest one on the block?
Simple & Sweet: Easy Cute Fall Pumpkin Carving Ideas
Simple & Sweet: Easy Cute Fall Pumpkin Carving Ideas
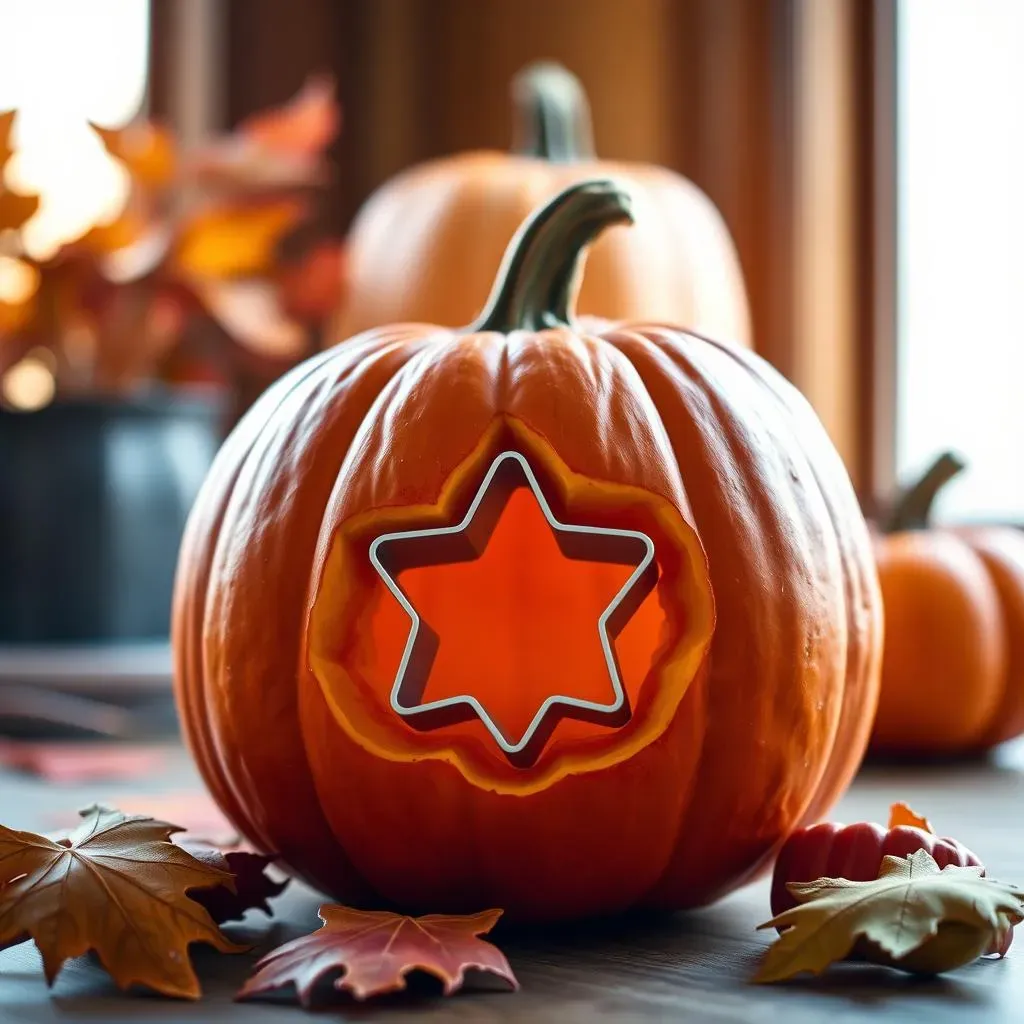
Okay, so you wanna carve a pumpkin but you're not exactly Michelangelo, right? No sweat! Some of the cutest designs are also the easiest. Think simple shapes and patterns. We are not going to make it complicated. I'm talking about using cookie cutters to create adorable shapes. Yes, you heard that right! Press a star, a heart, or even a cute little ghost cookie cutter into the pumpkin skin, then carefully carve along the edges. You can also use a drill to make polka dots for a super easy and cute look. If you want to take it up a notch, try carving a simple cat face or a happy ghost. The key here is not to overthink it. Simple is often the cutest!
Beyond the Basic: Creative Cute Pumpkin Carving Ideas
Beyond the Basic: Creative Cute Pumpkin Carving Ideas
Whimsical Wonderland Pumpkins
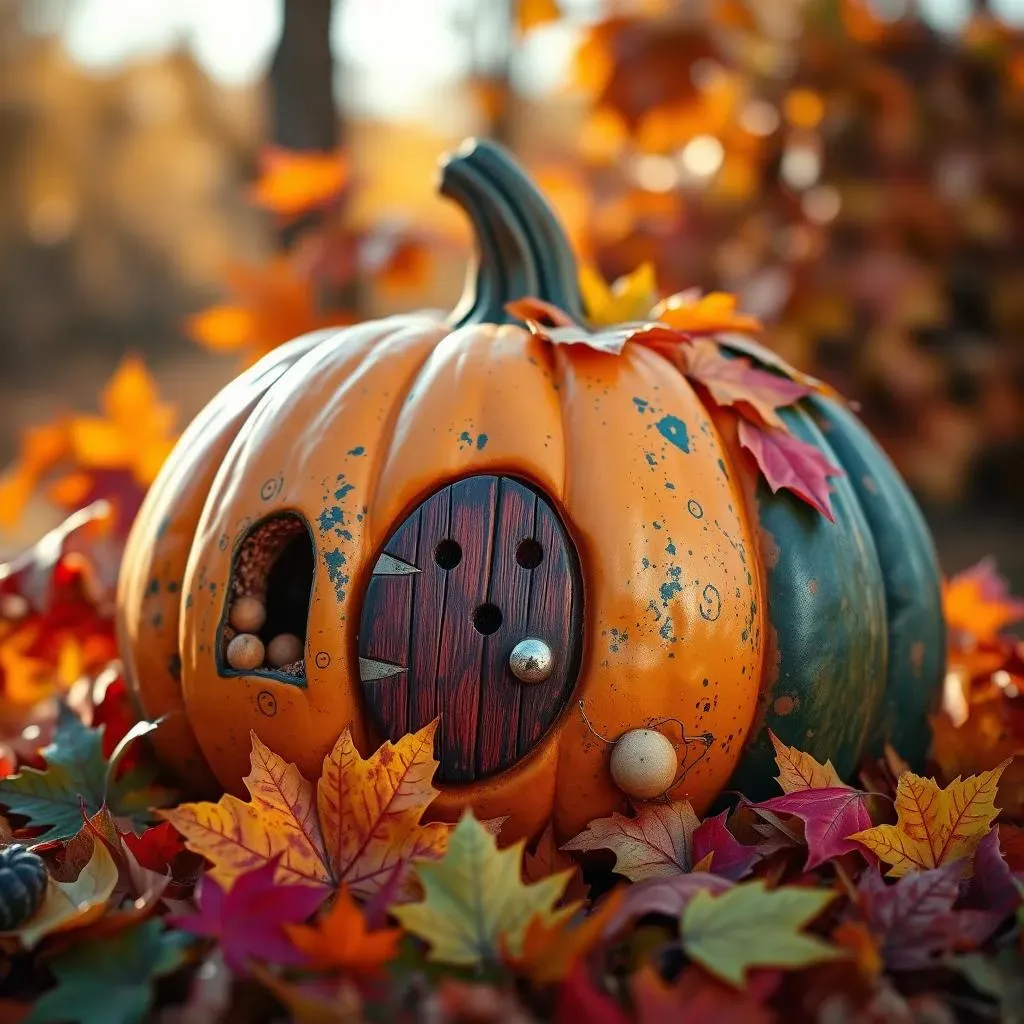
Alright, so you've mastered the basics, and you're itching for something a bit more... magical? Let's dive into whimsical wonderland pumpkins! Think beyond the usual faces. What about a pumpkin that looks like a cute little gnome home? Carve a small door and a few tiny windows, and maybe even add a little moss around the base for extra charm. Or how about a pumpkin that looks like a stack of books? You can carve simple rectangles and then draw on the spines with a marker. Get creative with it!
Animal Antics on Pumpkins
Animals always make things cuter, right? Instead of just carving a basic cat, let's try a whole scene. Imagine a pumpkin with a tiny carved fox peeking out from behind some carved leaves. Or a family of carved owls perched on different branches. You could even do a cute little hedgehog with pointy quills or a sleepy sloth hanging from a vine. The possibilities are endless! Don't be afraid to combine different elements and create your own adorable pumpkin creatures.
Cute Animal Idea | Difficulty Level | Extra Touches |
|---|---|---|
Fox Peeking | Medium | Carved leaves, painted details |
Owl Family | Medium | Different sized holes for eyes, branch details |
Hedgehog | Easy | Pointy triangle cuts for quills, small button nose |
Pattern Play and Texture Tricks
Want to add some visual interest without going crazy with complicated designs? Let's talk patterns and textures. Instead of carving all the way through, try just scoring the pumpkin skin to create beautiful patterns. You could do intricate geometric designs, swirling lines, or even delicate floral patterns. You can also use different tools to create varied textures. Try using a spoon to scrape away the top layer of the pumpkin skin in some areas for a cool effect. Combine patterns and textures to create a pumpkin that's both cute and visually stunning.
Tips for a Lasting Masterpiece: Cute Fall Pumpkin Care
Tips for a Lasting Masterpiece: Cute Fall Pumpkin Care
Prep and Protect Your Pumpkin
Okay, so you've spent all this time making your pumpkin look super cute, now you want it to last, right? First things first, give your pumpkin a good bath. Use a damp cloth to wipe off any dirt or grime. Then, once it's dry, you can give it a protective coat. Some people swear by using petroleum jelly, but I like to use a mix of water and a little bit of bleach. It helps to keep the pumpkin from getting moldy and gross. Just mix one teaspoon of bleach with one gallon of water, and spray it all over the inside and outside of your pumpkin. Remember, a clean pumpkin is a happy pumpkin!
Don't forget about the insides! Get all those seeds and stringy bits out. The less gunk inside, the less likely it is to rot. And if you're planning on using a candle, make sure you carve a big enough hole at the top for ventilation. You don't want your cute pumpkin to become a fire hazard. Plus, a well-ventilated pumpkin is less likely to get all mushy and sad.
Hydration and Preservation Tips
Now, let's talk hydration. Yes, even your pumpkin needs to stay hydrated! You can extend the life of your carved pumpkin by giving it a daily soak. Fill a large tub or sink with cool water and submerge your pumpkin for a few hours every day, or you can use a spray bottle to mist your pumpkin with water. This helps keep it from drying out and wrinkling. Another great trick is to use vinegar. Mix a solution of water and vinegar (about a 1:10 ratio) and spray your pumpkin with it. Vinegar helps to kill bacteria and prevent mold growth. It's like giving your pumpkin a mini spa day!
And when you're not showing off your cute creation, keep it in a cool, dry place. Direct sunlight can cause it to dry out faster, so try to keep it away from the sun. A garage, basement, or even a shaded porch would be perfect. With a little TLC, your cute pumpkin can last for weeks, bringing you joy throughout the fall season.
Care Tip | How to Do It | Why It Works |
|---|---|---|
Clean Your Pumpkin | Wipe it with a damp cloth | Removes dirt and prevents mold |
Bleach Solution | Spray with a mix of water and bleach | Kills bacteria and prevents rot |
Hydrate Daily | Soak or mist with water | Keeps pumpkin from drying out |
Vinegar Spray | Spray with a water and vinegar solution | Kills bacteria and prevents mold |
Cool Storage | Keep in a cool, dry place | Prevents drying and sun damage |
Tools and Tricks: Cute Pumpkin Carving Essentials
Tools and Tricks: Cute Pumpkin Carving Essentials
Gather Your Pumpkin Carving Arsenal
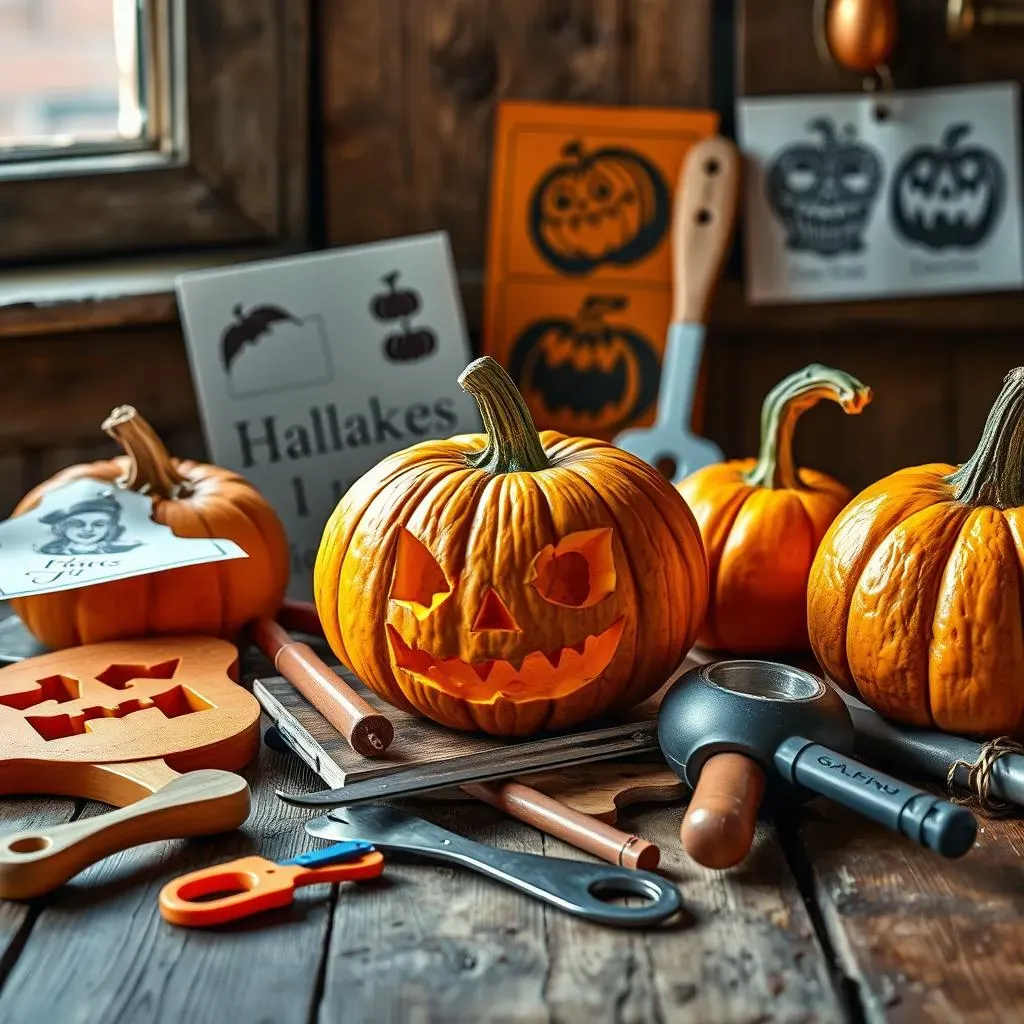
Alright, my fellow pumpkin artists, let's talk tools! You can't create a masterpiece with just your bare hands, unless you're some kind of pumpkin-whispering wizard. First up, you'll need a good carving knife. I prefer those small, serrated ones, they're like the tiny ninjas of pumpkin carving. They give you control and are less likely to slip. You'll also want a scooping tool, it can be a sturdy spoon, or a special pumpkin scoop tool. This is for getting all the goopy insides out. Don't forget about stencils! You can find tons online, or even make your own! And for those tiny details, an X-Acto knife or a small craft knife will be your best friend. Remember, safety first, always carve away from yourself!
Besides the basics, there are a few other tools that can make your life easier. A drill with different sized bits can be great for creating polka dots or other patterns. Cookie cutters are amazing for making quick and easy shapes. And don't forget about markers! They are perfect for sketching out your design before you start carving. Grab some paint, glitter, or even some googly eyes to take your cute pumpkin to the next level. Remember, it's all about having fun and letting your creativity shine. It's like a painter choosing their brushes, you need the right tools to create the perfect cute pumpkin.
Clever Carving Techniques and Tips
Now that you have your tools, let's talk technique. One of the biggest mistakes I see is people trying to carve too quickly. Take your time, be patient, and let the tool do the work. When using a knife, make short, controlled cuts. Don't try to saw your way through the pumpkin, it's not a log! If you are using a stencil, tape it to the pumpkin and then use a poking tool to mark the design. Then, carefully carve along the lines. For those intricate details, use the tip of your X-Acto knife, and go slow. If you make a mistake, it's okay! You can always adjust your design or even just embrace the imperfection.
Another great tip is to use a dry erase marker to draw your design directly on the pumpkin. If you don't like it, just wipe it off and start over. And don't be afraid to experiment! Try different carving techniques, mix and match patterns, and see what you can create. For example, you can try carving some areas deeper than others for a cool 3D effect. Or you can try etching the design instead of cutting all the way through. The key is to have fun and let your imagination run wild. After all, it's your pumpkin, and it should be as cute and unique as you are!
Tool | Use | Why It's Helpful |
|---|---|---|
Small Serrated Knife | Carving | Provides control and precision |
Scooping Tool | Removing insides | Makes the process easier and cleaner |
Stencils | Guiding design | Helps create accurate shapes |
X-Acto Knife | Detailed carving | Allows for intricate cuts |
Drill | Creating patterns | Makes polka dots and other designs easy |
Cookie Cutters | Making shapes | Provides quick and easy shapes |
Markers | Sketching designs | Allows for planning and adjustments |