Table of Contents
Alright, let's talk pumpkins. Every fall, the pressure's on to transform an oversized gourd into something remotely impressive, or at least not a lopsided mess. Maybe you've tried intricate, spooky designs and ended up with something that looks less like a ghoulish masterpiece and more like it lost a fight with a butter knife. Or perhaps the thought of jagged teeth and empty, soulless eyes just isn't your vibe this year.
Why Go for Cute Easy Pumpkin Faces This Year?

Why Go for Cute Easy Pumpkin Faces This Year?
Tired of Carving Nightmares?
Let's be honest, the dream of carving a movie-quality monster face often crashes headfirst into the reality of dull tools, stubborn pumpkin flesh, and designs that look fantastic on paper but turn into an unrecognizable mess on the actual gourd. You spend hours scooping slimy guts, sketching intricate patterns, and carefully slicing, only to end up with a jack-o'-lantern that looks less like a terrifying creature and more like it got hit by a truck. It's frustrating. It's messy. And sometimes, it's just not worth the effort, especially when the whole thing starts to mold in three days.
Switching gears to cute, easy pumpkin faces takes all that pressure off. You don't need to be an artist or a master carver. You need simple shapes, a basic understanding of where eyes and a mouth usually go, and maybe five minutes of your time. It’s a low-stress way to participate in the Halloween tradition without wanting to throw the pumpkin (or the carving tools) across the yard.
Bringing Smiles, Not Screams
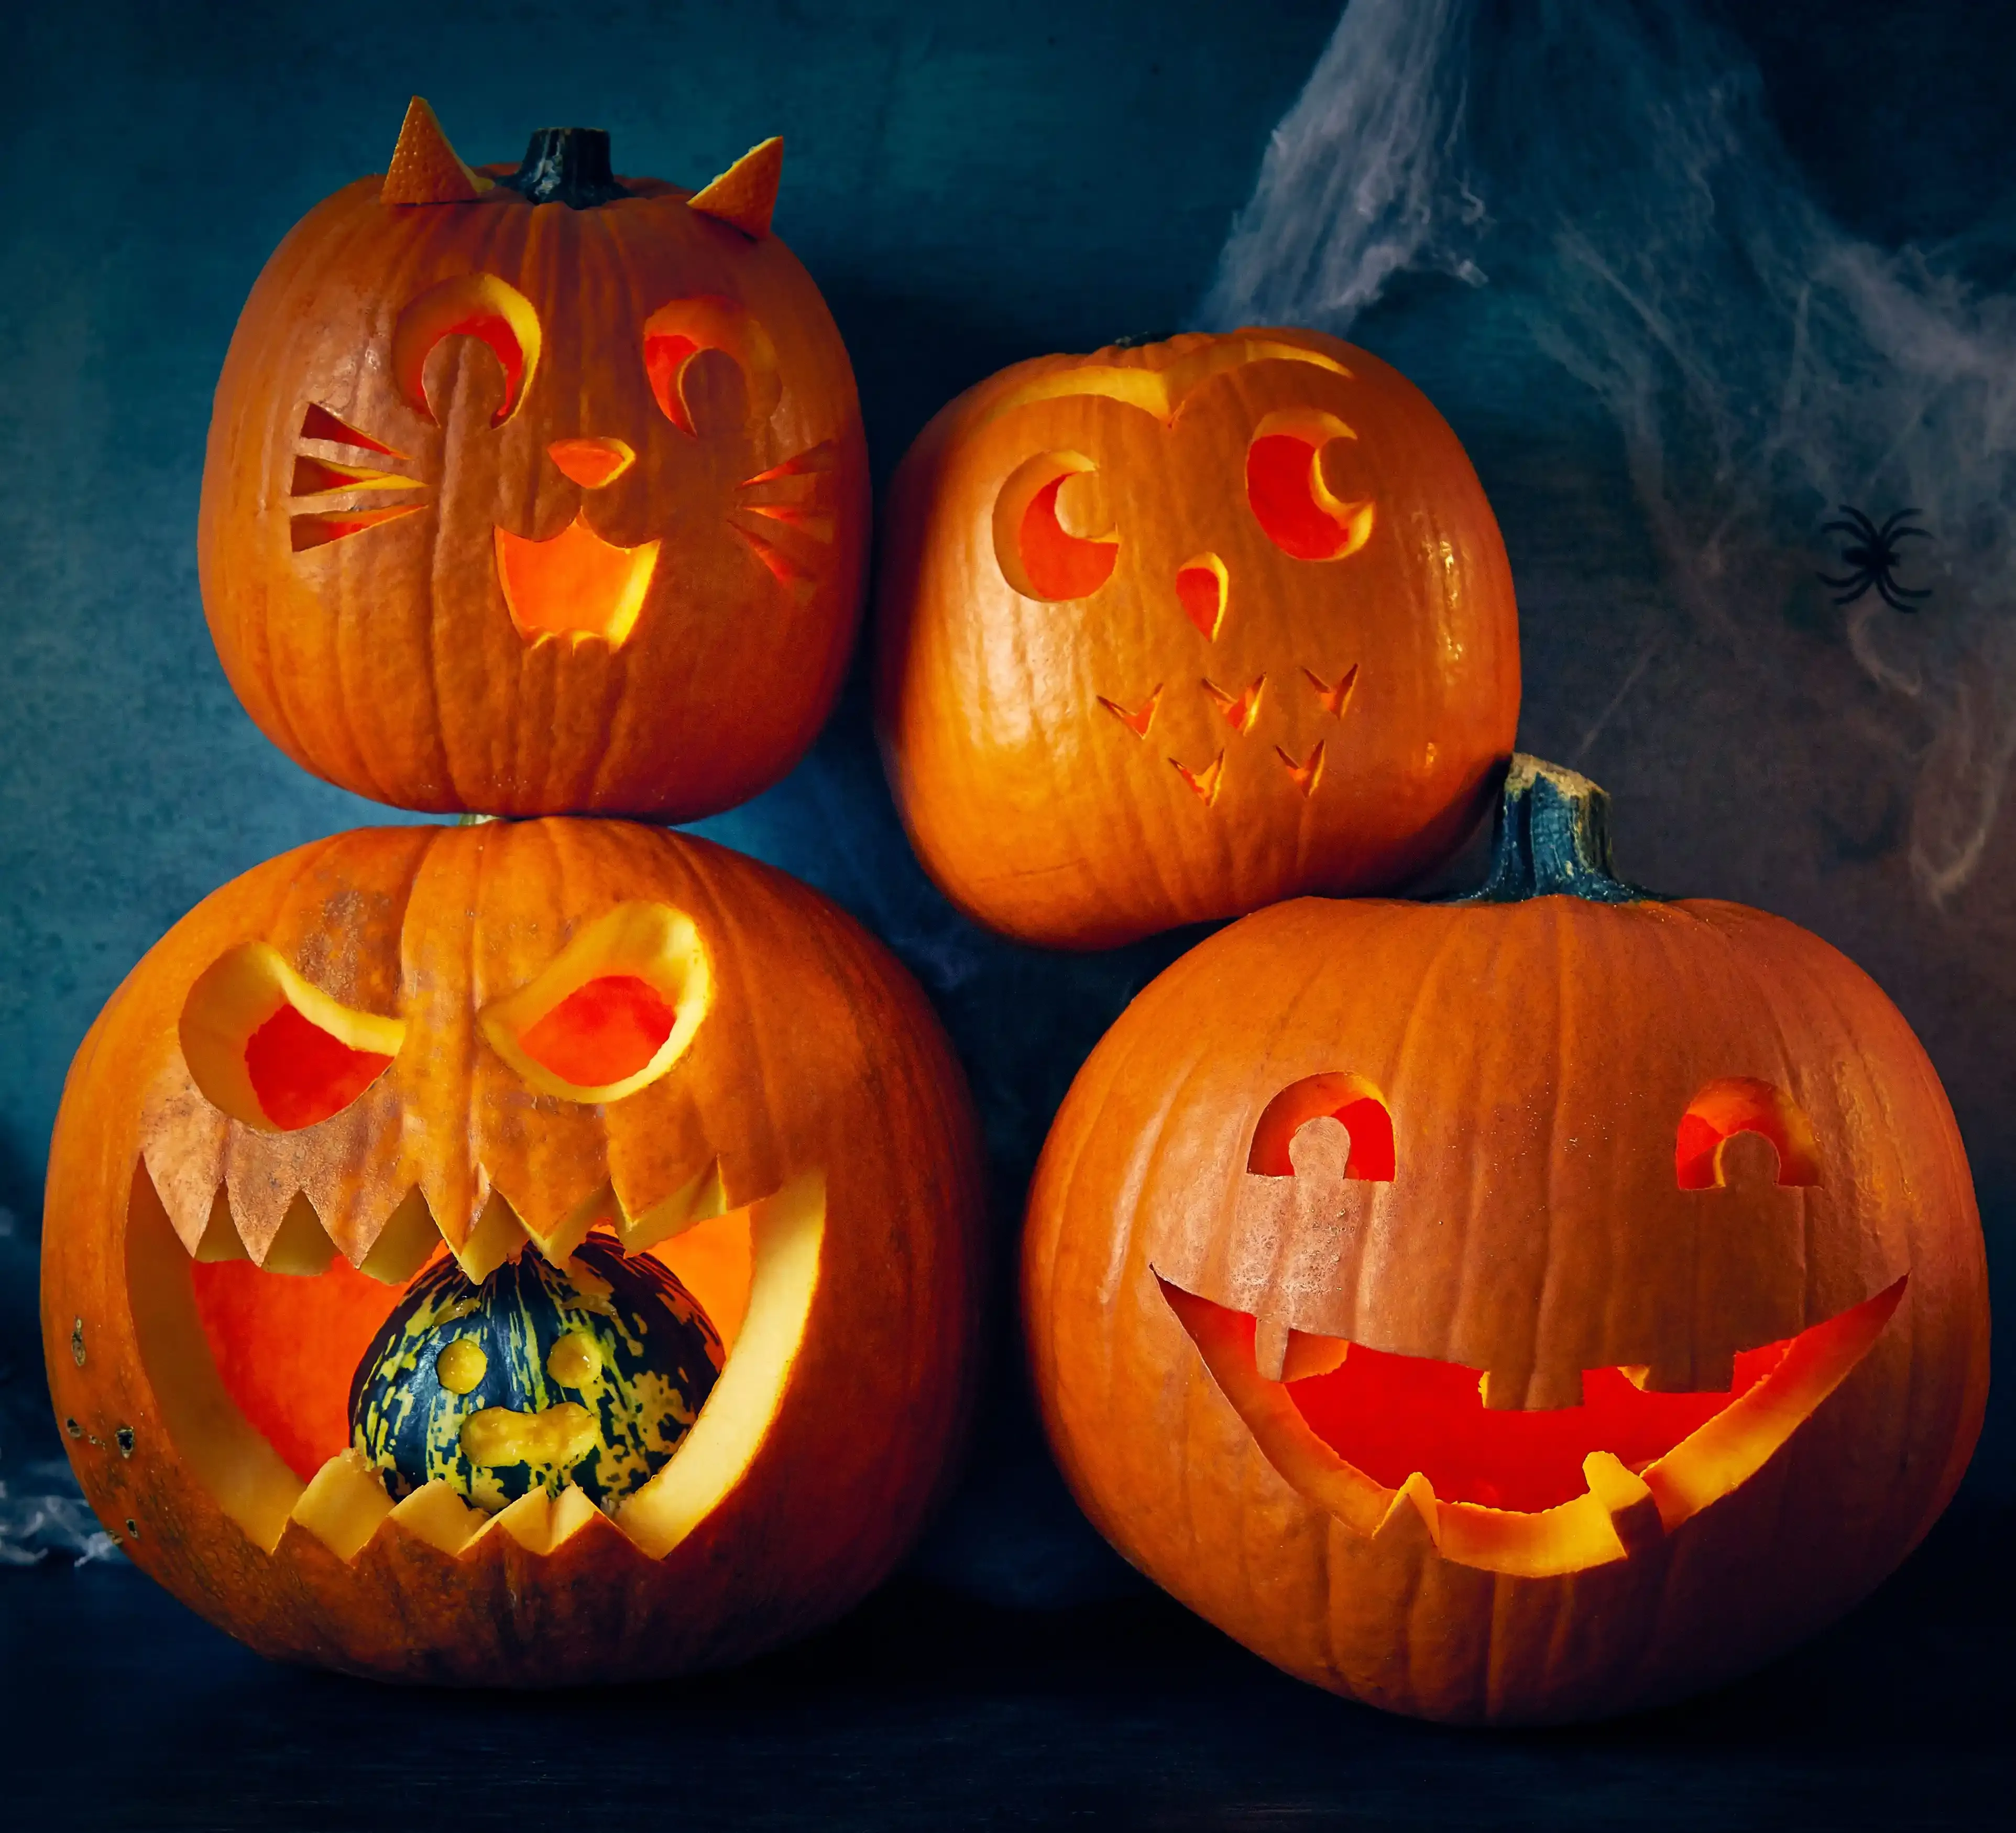
While spooky pumpkins have their place, there's something genuinely charming about a row of pumpkins sporting goofy grins, wide-eyed wonder, or even just a simple, sweet smile. They feel welcoming, friendly, and less likely to make the neighborhood kids (or let's be real, some adults) jump back in fright. If you have little ones around, cute faces are a no-brainer. They can participate more easily, and the final result is something they'll actually enjoy looking at, rather than something that might give them nightmares.
Plus, cute pumpkins just fit a different vibe. Maybe your Halloween decor is more whimsical than terrifying. Maybe you live in a neighborhood where jump scares aren't the main goal. Cute faces add a touch of lighthearted fun to your porch, inviting people in with a friendly wave instead of a menacing glare. It's a different kind of Halloween spirit, and frankly, sometimes it's a much-needed break from the intense spookiness.
- Less frustration and wasted effort.
- Faster carving time.
- Perfect for beginners or carving with kids.
- Creates a friendly, welcoming atmosphere.
- Adds a touch of charm and whimsy to decor.
Essential Tools and Simple Shapes for Cute Faces
Essential Tools and Simple Shapes for Cute Faces
Essential Tools and Simple Shapes for Cute Faces
so you're ready to ditch the fancy, intimidating carving kits. Good. Forcute easy pumpkin faces carving ideas, you honestly don't need much. Forget the tiny saws and specialized scrapers. A sturdy spoon for scooping out the guts, a sharp kitchen knife (carefully handled, of course) for cutting the lid and perhaps larger shapes, and maybe a small paring knife or even a sturdy craft knife for simpler details are usually all you require. The real trick isn't the toolset; it's thinking about shapes. Cute faces are built on simplicity: circles for eyes, maybe ovals or triangles for noses, and simple curves or crescent shapes for smiles. You’re not sculpting a masterpiece; you’re arranging basic geometry on a gourd.
Cute Easy Pumpkin Faces Carving Ideas: Adorable Designs
Cute Easy Pumpkin Faces Carving Ideas: Adorable Designs
Classic Cute: Grins and Giggles
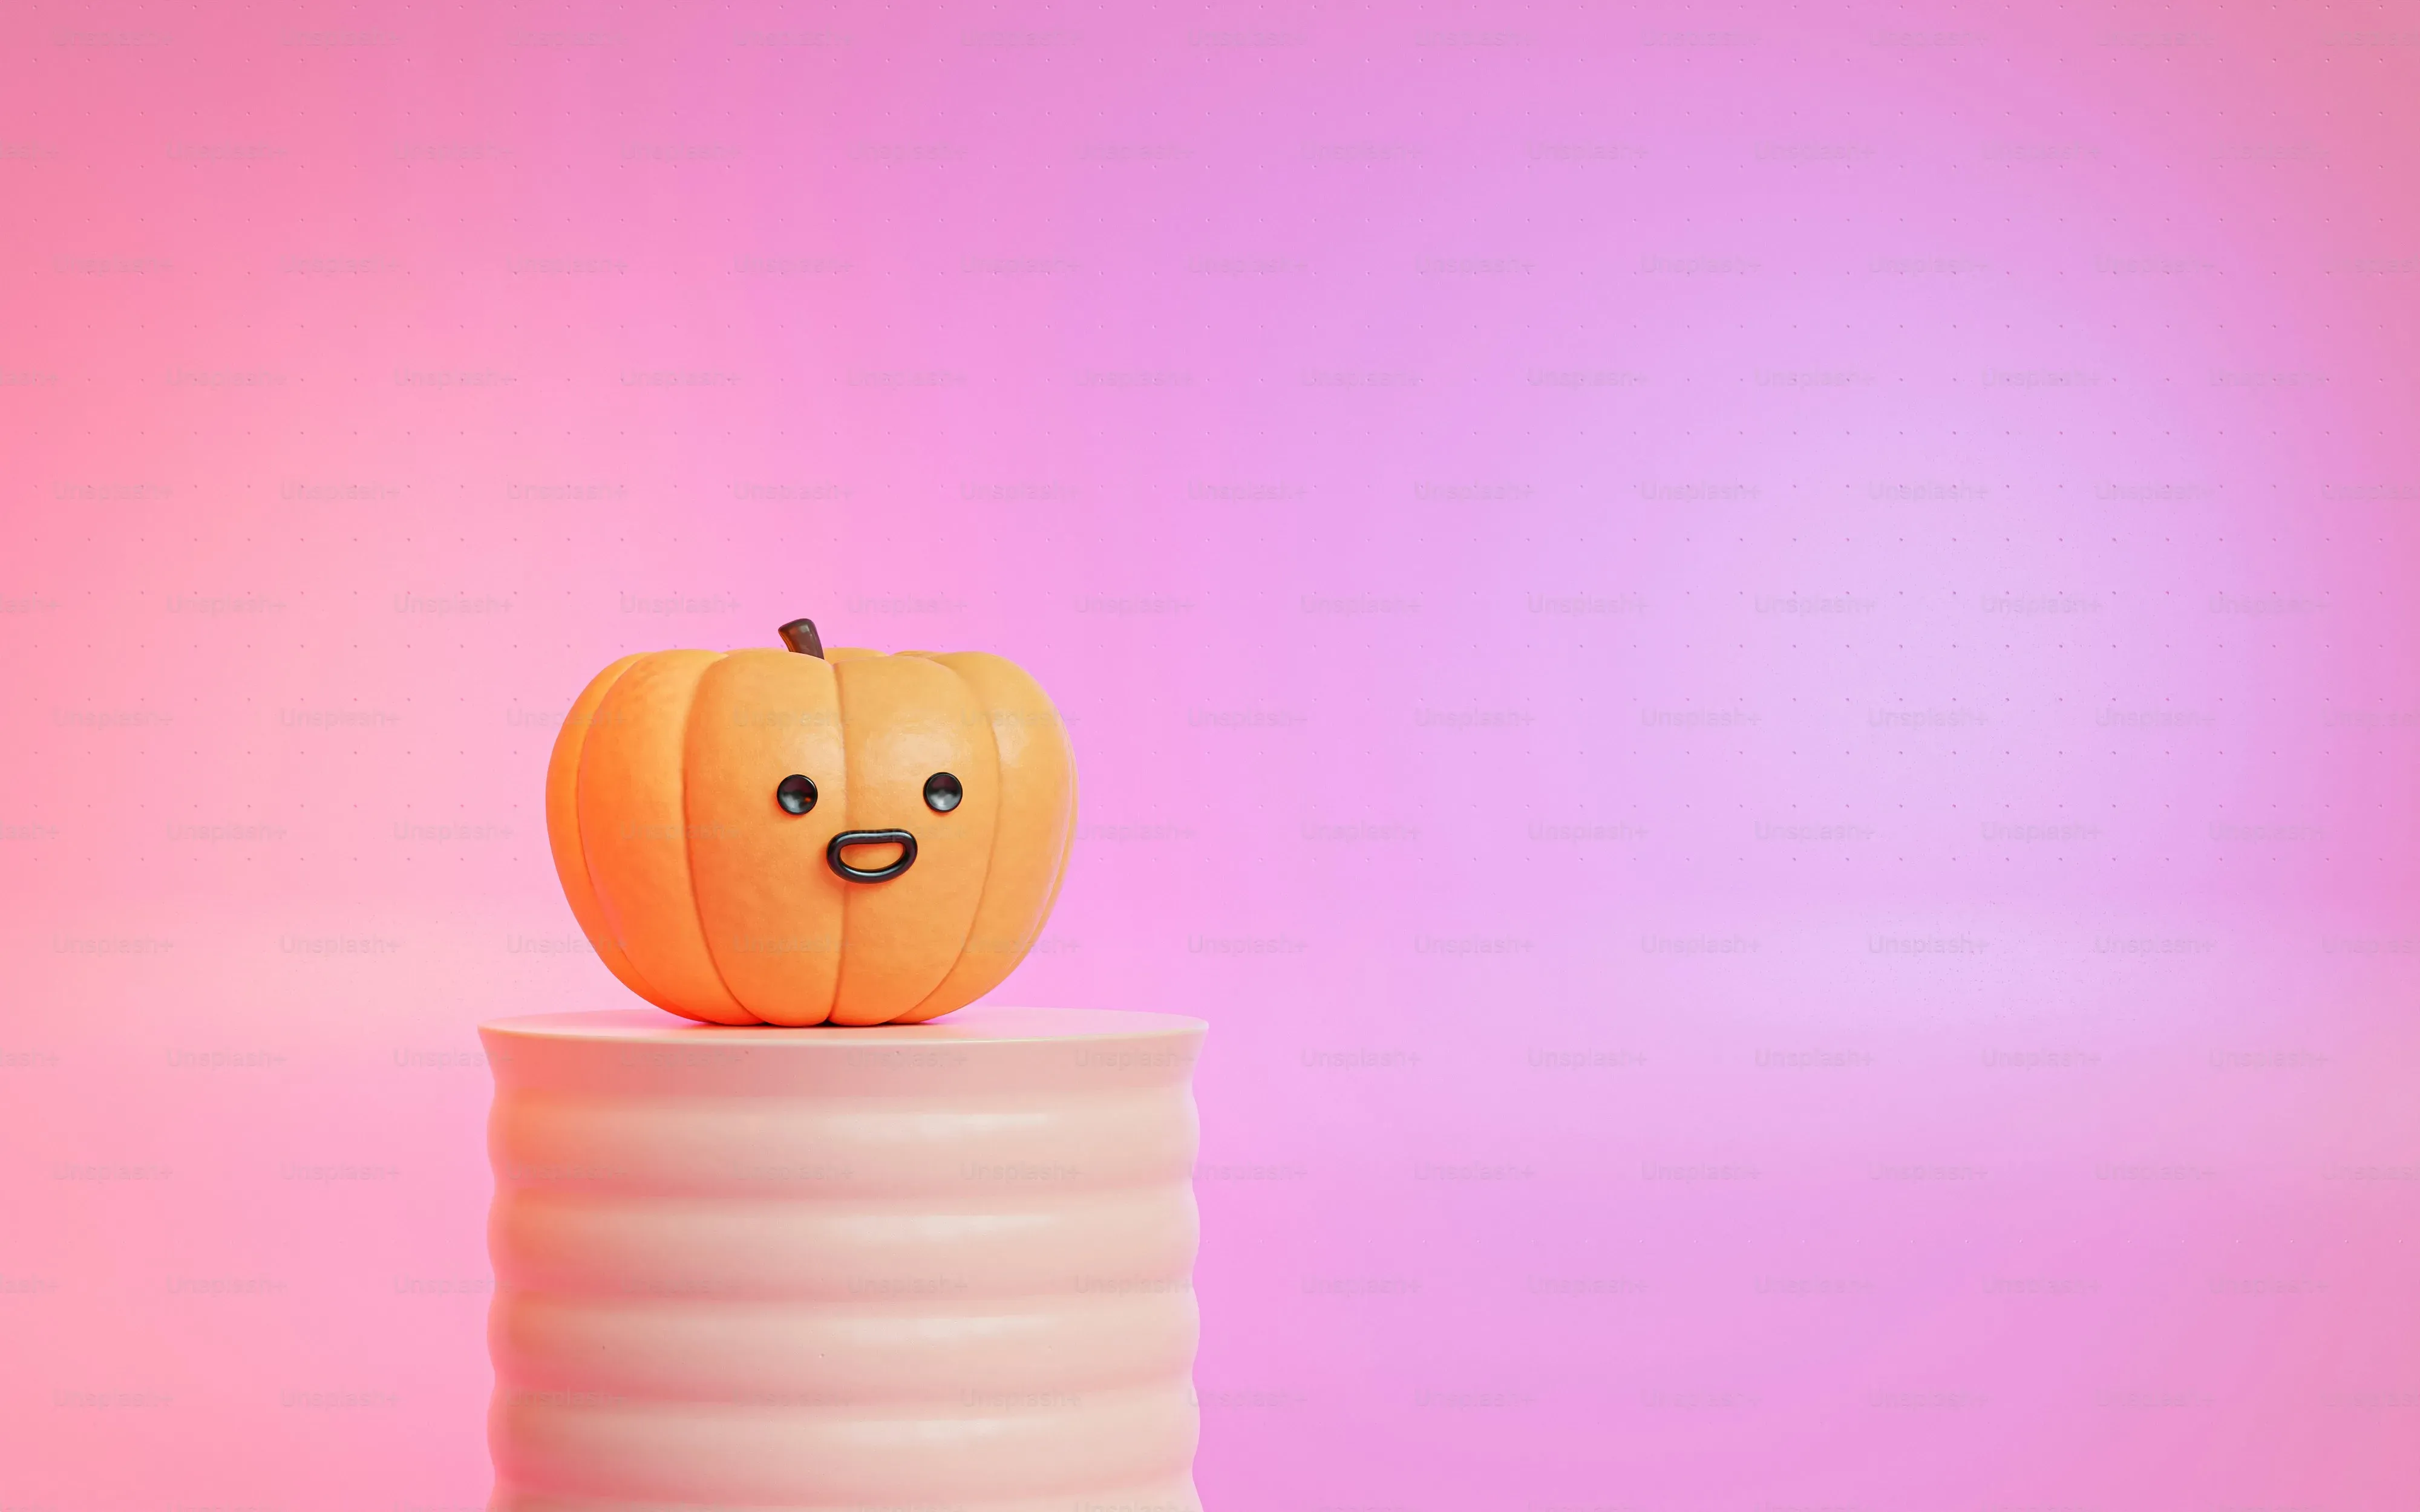
let's get to the fun part: actually designing these little guys. When you thinkcute easy pumpkin faces carving ideas, the absolute simplest is the classic happy face. We're talking basic shapes here. For eyes, simple circles or slightly rounded squares work perfectly. Maybe give one eye a little wink shape (a simple curve) to add some personality. Noses? A small triangle or even just a tiny circle. The mouth is where the magic happens for cuteness. A simple crescent smile is your friend. Cut it shallow for a subtle grin, or deeper for a wide, goofy smile. You can add a couple of small circles or squares inside the smile shape for teeth if you're feeling ambitious, but honestly, a toothless grin is often cuter. Think about the face you'd draw with three-year-old – that's the level of complexity we're aiming for.
Beyond the Basics: Whimsical Expressions
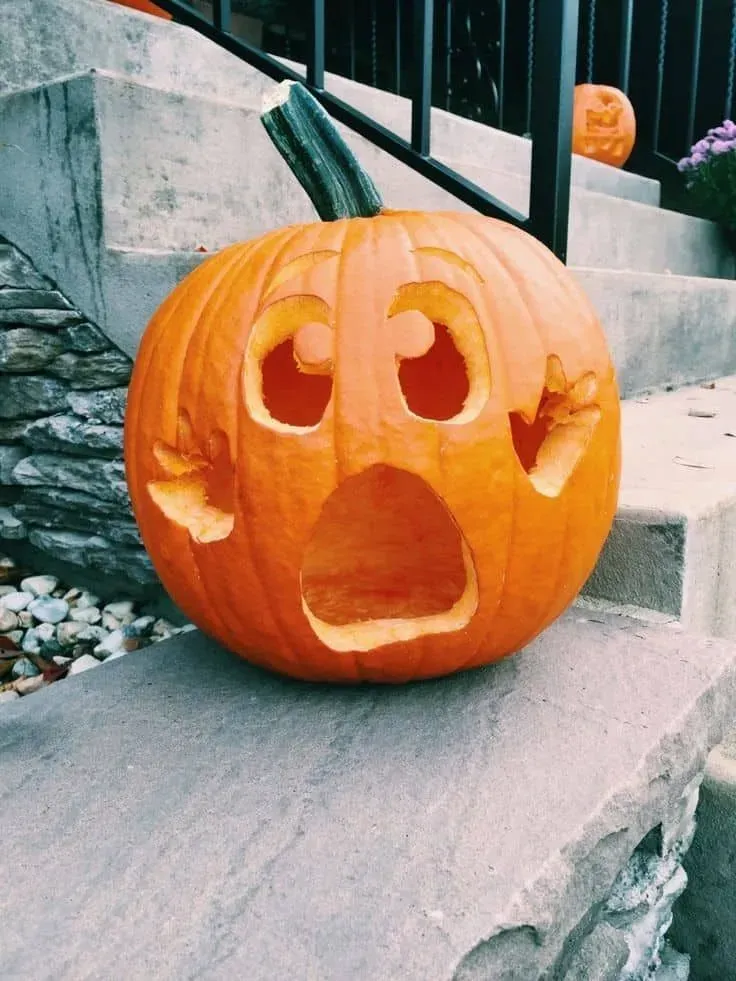
Once you've mastered the basic happy face, you can tweak those simple shapes to create different expressions. Want a surprised pumpkin? Carve large, wide circles for eyes and an oval or 'O' shape for the mouth. A sleepy pumpkin? Simple curved lines for closed eyes and a tiny, faint smile. You can also play with eyebrows – just two small curved lines above the eyes can totally change the expression. A couple of upside-down Vs make it look worried or even a little grumpy, which can be its own kind of cute. Don't overthink it. If a shape feels right and looks simple, go for it. Remember, the goal is charm, not photorealism. Sometimes the slightly imperfect, wobbly cuts make them even more endearing.
So, what's your go-to simple shape for eyes?
Tips for Carving and Displaying Your Cute Creations
Tips for Carving and Displaying Your Cute Creations
Making Your Cute Cuts Count
So, you've picked your simple, adorable design for yourcute easy pumpkin faces carving ideas. Now comes the carving itself. Don't overcomplicate this. First off, wash your pumpkin. Get the dirt off. It just makes everything cleaner. When you cut the lid, try going from the bottom of the pumpkin instead of the top. Seriously, it's a game-changer for stability and makes putting a light inside way easier later on. Plus, no ugly lid line showing on the top of your carved face. Next, scoop out *everything*. Get rid of all the strings and seeds. The thinner the pumpkin walls, the less effort it takes to cut through them cleanly.
When you're actually making the cuts for the eyes, nose, and mouth, don't use a frantic sawing motion. A steady, in-and-out push with a sharp knife works best. Angle the blade slightly inward as you cut; this bevel helps the carved piece pop out easily. If a piece is stubborn, don't just yank it. Wiggle it gently or use the tip of your knife to loosen the edges. Patience saves pumpkins. And definitely sketch your design on the pumpkin first using a dry-erase marker. If you mess up, just wipe it off. Commit with Sharpie only if you are absolutely sure, and honestly, who is ever *absolutely* sure?
Showcasing Your Adorable Pumpkins
Your cute faces are carved! Now you need to show them off. Standard candles are classic, but battery-operated LED lights are safer, last longer, and won't blow out in the wind. Pop a few inside to get a nice, even glow. Think about where you're placing them. A single cute face is nice, but a little collection of different cute expressions on your porch steps or along a walkway looks even better. They create a welcoming, friendly vibe for trick-or-treaters or just anyone passing by.
Sadly, carved pumpkins don't last forever. To get a few extra days out of your hard work, you need to hydrate the cut edges. A simple and effective trick is to spray the carved parts daily with a solution of water mixed with a little bleach (about a tablespoon per quart) or white vinegar. This helps prevent mold and keeps the pumpkin from drying out and shriveling up quite so fast. Some people rub petroleum jelly on the cuts, but I find the spray less messy and it seems to work pretty well for simple faces.
- Spray cut edges daily with water/bleach or water/vinegar mix.
- Use battery-operated LEDs for safe lighting.
- Cut the lid from the bottom of the pumpkin.
- Scoop out all the insides thoroughly.
- Sketch design with dry-erase marker first.
Your Cute Pumpkin Awaits
So there you have it. Skipping the complex, potentially disastrous attempts at horror-show pumpkins doesn't mean skipping the fun. Focusing oncute easy pumpkin faces carving ideassimplifies the process, makes it way more enjoyable, especially if you've got little helpers around, and frankly, results in some genuinely charming porch decorations. You don't need fancy tools or expert skills. Just a pumpkin, some basic carving gear, and a willingness to embrace the simple, sweet side of Halloween. Get carving, and enjoy the slightly less stressful, significantly cuter results.