Table of Contents
Alright, let's talk pumpkins. Every fall, you see those intricate, terrifying masterpieces online and think, "Yeah, I could maybe do that." Then you buy a pumpkin, grab a dull knife, and end up with something that looks less like a spooky ghoul and more like it lost a fight with a badger. The mess? Incredible. The effort? Exhausting. The result? Often disappointing. But what if you could skip the frustration and still get something cool, maybe even adorable, sitting on your porch? That's where the magic of cute but easy pumpkin carving ideas comes in.
Why Try Cute But Easy Pumpkin Carving Ideas This Year?
Why Try Cute But Easy Pumpkin Carving Ideas This Year?
Skip the Stress, Amp Up the Fun
Let's be real. The traditional, intricate jack-o'-lantern carving process can feel like a high-stakes surgery. You scoop out guts, wrestle with sharp tools, and hold your breath hoping you don't slip and lop off a crucial piece of your design (or worse, a finger). For many, this turns a fun fall tradition into a chore. Focusing on cute but easy pumpkin carving ideas changes the game. It’s about enjoying the process, getting creative without the pressure of perfection, and actually ending up with something charming for your porch. Think less "masterpiece" and more "delightfully simple," which is honestly a relief when you've got a million other things going on.
Perfect for All Skill Levels (Especially Beginners)
Not everyone is an artist, and that's okay! Why try cute but easy pumpkin carving ideas? Because they are inherently more forgiving. These designs often rely on basic shapes, simple cuts, or even using tools beyond just a knife, like cookie cutters or drills. This makes it incredibly accessible for total beginners who have never touched a carving tool before. It's also fantastic for involving kids. Complex patterns are frustrating for little hands, but simple, cute designs allow them to participate meaningfully, building confidence and creating fun family memories instead of meltdowns over botched eyes and crooked smiles.
- Less time spent struggling with complex patterns.
- Reduced risk of accidental carving mishaps.
- Opens up the activity to younger children and beginners.
- Focus shifts from technical skill to simple creativity.
- Results are consistently charming and satisfying.
Gathering Your Gear for Cute But Easy Pumpkin Carving Ideas
Gathering Your Gear for Cute But Easy Pumpkin Carving Ideas
What You Actually Need (Spoiler: It's Not Much)
Alright, so you're sold on the idea of cute but easy pumpkin carving ideas. Now, before you head to the store and get overwhelmed by those elaborate, 50-piece carving kits that look like they belong in a surgical ward, let's talk gear. The good news is, you probably have most of what you need lying around. We're not talking about professional-grade chisels here. We're talking about simple, effective tools that make the job painless and get you to the cute result faster. Seriously, ditch the tiny saw that bends the moment it hits pumpkin flesh. We're aiming for efficiency and minimal frustration.
- A sturdy, sharp kitchen knife (for cutting the lid – adult supervision required!).
- A large spoon or ice cream scoop (perfect for gutting).
- A small paring knife or craft knife (for detail work, much better than those flimsy kit tools).
- Cookie cutters (seriously, they make perfect shapes!).
- A dry-erase marker or pencil (for drawing your design).
- A poke tool (like a skewer or drill bit) to mark your design before cutting.
- Newspaper or a drop cloth (because pumpkin guts go everywhere).
Simple Designs: Cute But Easy Pumpkin Carving Ideas for Beginners
Simple Designs: Cute But Easy Pumpkin Carving Ideas for Beginners
Start with the Classics (But Keep it Simple)
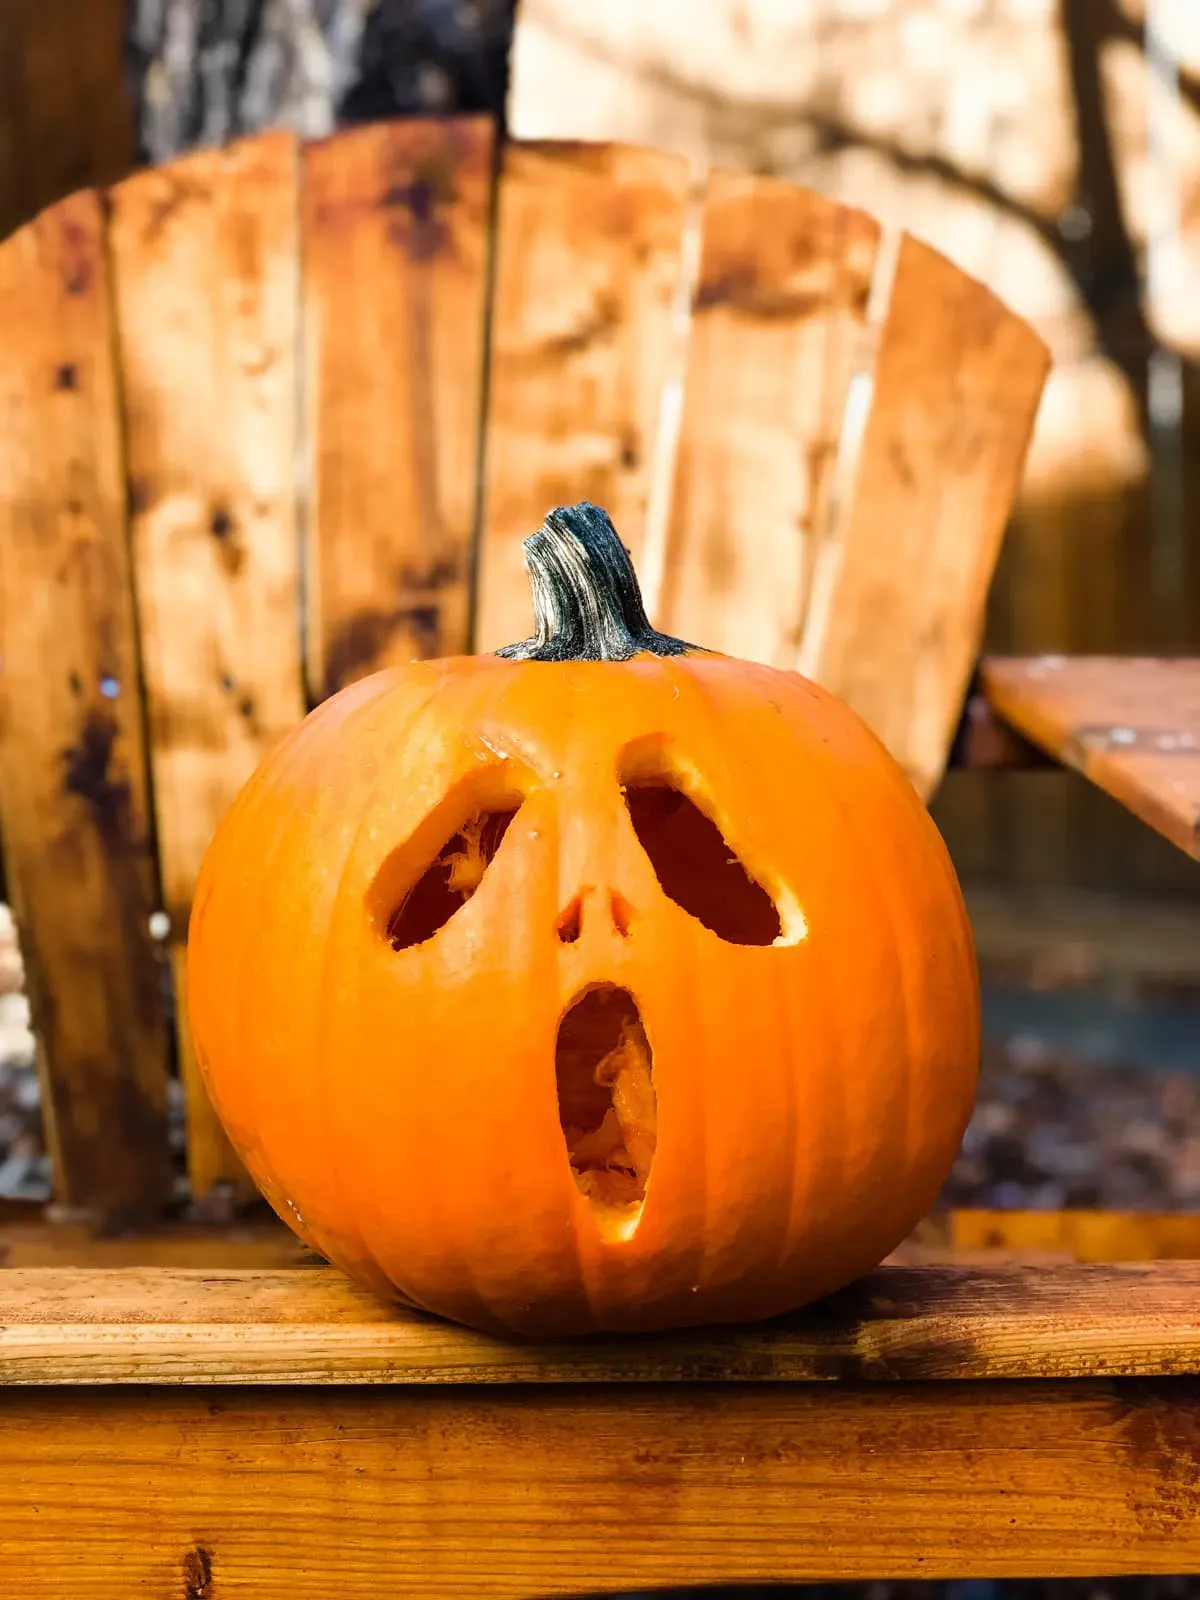
let's get down to the actual carving. When you think of cute but easy pumpkin carving ideas, the absolute simplest place to start is with basic shapes. Forget those jagged teeth that never look quite right. Think circles, triangles, and squares. A classic jack-o'-lantern face made of two circles for eyes and a simple curved smile is about as easy as it gets. You can vary the size of the shapes, tilt the eyes a bit for personality, or give it a surprised look with an oval mouth. The beauty here is that these shapes are easy to cut cleanly, even with basic tools. No intricate details to mess up.
Another easy win? Stars and moon shapes. Use a stencil or freehand it. They look charming and require minimal precision. It’s about getting light through the pumpkin wall, not creating a photorealistic portrait of your pet. Embrace the simplicity.
- Two simple circles for eyes.
- A curved line or simple rectangle for a mouth.
- Basic geometric shapes like triangles or squares.
- Star and moon cutouts are always a good call.
- Varying the size of shapes adds character easily.
Cookie Cutters Are Your Best Friend
Seriously, if you want truly cute but easy pumpkin carving ideas, dig out your cookie cutters. This is a game-changer, especially if you're involving kids or just have zero patience for freehand cutting. Find some fun shapes – bats, cats, ghosts, stars, hearts, whatever you've got. Press the cookie cutter firmly into the side of the pumpkin. Give it a few taps with a mallet or even the heel of your hand if the cutter is sturdy enough. You should see the outline pressed into the pumpkin flesh. Then, use a small knife to follow that outline. Sometimes, if you press hard enough, you can even push the shape right through! Instant, perfect shapes with minimal effort. It feels almost like cheating, and honestly, who cares? The result is undeniably cute.
This method works best on pumpkins with thinner walls, so try to pick one that doesn't feel incredibly dense and heavy for its size. It’s a reliable way to get consistent, clean cutouts every time, which is often the hardest part for beginners.
As they say, "Work smarter, not harder." Cookie cutters are the pumpkin carving equivalent of this motto.
Beyond the Basics: Adding Flair to Cute But Easy Pumpkin Carving Ideas
Beyond the Basics: Adding Flair to Cute But Easy Pumpkin Carving Ideas
Scraping for Subtle Designs
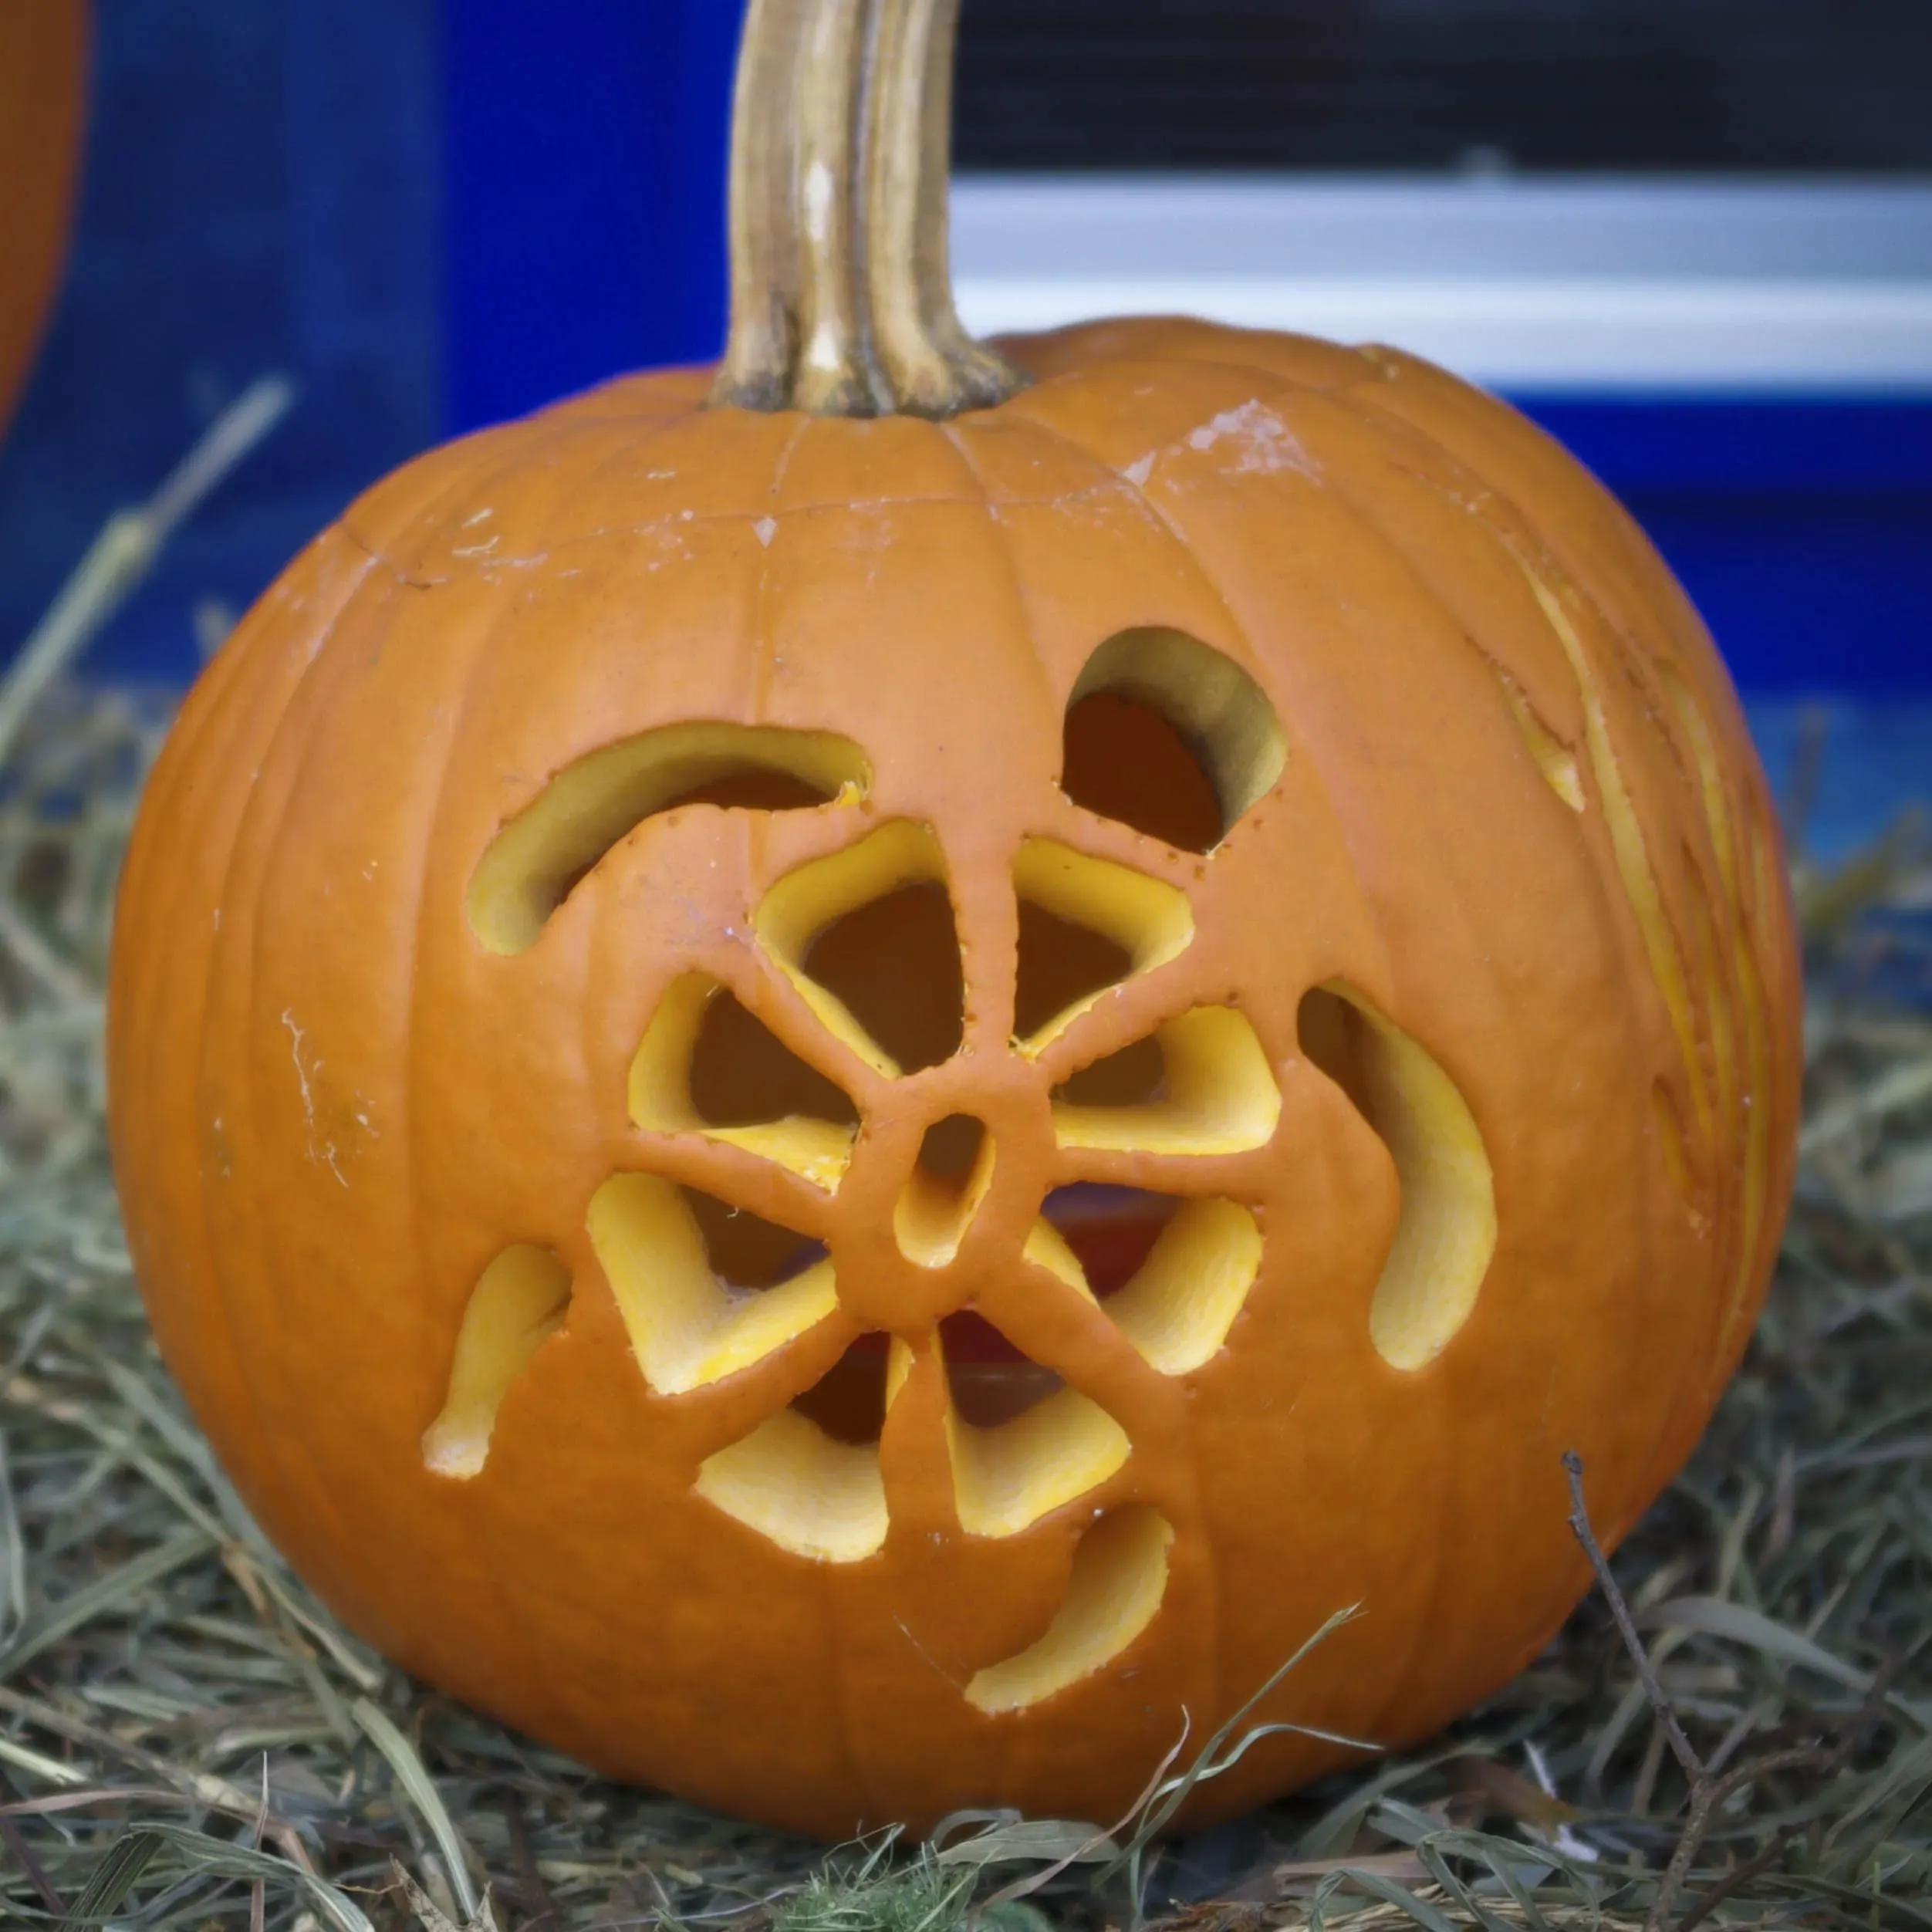
so you've mastered the basic cutouts. Feeling a little adventurous but still want to keep it firmly in the "easy" category? Try scraping the surface. This isn't full-on carving; you're just removing the top layer of orange skin to expose the lighter flesh underneath. It creates a cool, two-toned effect that looks way more complicated than it is. Use a linoleum cutter, a sturdy spoon, or even a potato peeler edge to gently scrape away sections of the pumpkin skin. You can draw a design first – think polka dots, swirls, stars, or simple patterns – and then scrape within the lines. No risk of cutting through the pumpkin wall, just a nice contrast that glows subtly when lit from inside.
This technique is fantastic for adding texture or fine details that would be a nightmare to carve cleanly. It gives your cute but easy pumpkin carving ideas a bit more depth without requiring surgical precision. Plus, if you mess up, it's often easier to blend or cover a scraped area than a full cutout.
Drill Your Way to Easy Patterns
Want another trick for adding easy detail? Grab a drill. Seriously. Different sized drill bits can create perfect circles of various sizes. You can drill patterns, make constellations, or give your pumpkin a Swiss cheese effect. It's incredibly fast and creates super clean holes. Just make sure the pumpkin wall isn't too thick where you're drilling, and always drill from the outside in. Hold the pumpkin steady, pick your spot, and go for it. It’s a surprisingly effective way to add detail that looks intentional and clean, unlike trying to cut tiny circles with a knife.
Drilling is especially good for geometric patterns or adding "eyes" to smaller design elements. It’s definitely one of the more underutilized methods for achieving cute but easy pumpkin carving ideas with minimal fuss. Just be mindful of where your fingers are, obviously. Power tools require a modicum of respect, even when applied to gourds.
- Scraping removes the skin for two-tone effects.
- Use tools like linoleum cutters or spoons for scraping.
- Drilling creates clean, circular holes quickly.
- Vary drill bit sizes for different hole dimensions.
- Both methods add detail without complex cutting.
Keeping Your Cute But Easy Pumpkin Carving Ideas Fresh
Keeping Your Cute But Easy Pumpkin Carving Ideas Fresh
Simple Tricks to Make Them Last Longer
So you've put in the minimal effort required for your cute but easy pumpkin carving ideas, and they look fantastic sitting on your porch. Now, how do you keep them from turning into a sad, moldy mess within 48 hours? It's a common problem. You create something charming, and then nature decides it's time for decomposition. The key here is slowing down the inevitable. After carving, give the inside and all the cut edges a good wipe down to remove any lingering pumpkin guts. This stuff is basically a welcome mat for bacteria and mold. A quick rinse with cold water can help, followed by thoroughly drying the inside and all cut surfaces. Pat them dry with a paper towel. Some folks swear by spraying a bleach solution (one tablespoon of bleach per quart of water) inside and on the cut edges, letting it sit for a few minutes, then rinsing and drying. It sounds harsh, but it does kill mold spores.
Protecting Your Masterpieces From the Elements (and Squirrels)
Keeping your cute but easy pumpkin carving ideas looking good isn't just about fighting mold; it's also about protecting them from the outside world. Direct sunlight acts like a dehydrator, making the pumpkin shrivel faster. Rain can encourage mold growth. Try to place your pumpkins in a sheltered spot, like under a porch overhang. And then there are the creatures. Squirrels, in particular, seem to view carved pumpkins as an all-you-can-eat buffet. Spritzing the pumpkin with a peppermint or vinegar solution can sometimes deter them, as they dislike the smell. There are also commercial animal deterrents, but check that they are safe for use on something that might be near pets or children. Bringing them inside overnight, especially if it's cold or rainy, can also extend their life.
Just how long can a carved pumpkin realistically last outside? Honestly, it depends entirely on the weather. Cool, dry conditions? Maybe a week or more. Warm, humid, or rainy days? You might be looking at just a few days before things get... interesting.
- Clean out all stringy bits and seeds thoroughly.
- Wipe down the inside and cut edges.
- Consider a diluted bleach rinse (1 tbsp bleach per quart water), then rinse and dry.
- Apply petroleum jelly or vegetable oil to cut edges to seal in moisture.
- Keep pumpkins out of direct sunlight and rain.
- Use natural deterrents like peppermint spray or vinegar to discourage pests.
- Bring pumpkins inside during harsh weather or overnight.
So, What Did We Learn About Cute But Easy Pumpkin Carving Ideas?
Look, let's be honest. You probably won't be entering any national carving contests after this. And that's perfectly fine. The goal here wasn't to turn you into a gourd-based Michelangelo. It was about proving that you can tackle a pumpkin without wanting to throw the whole mess in the trash halfway through. You got some tools, you picked a design that didn't require a master's degree in geometry, and you actually did it. Maybe it's slightly lopsided, maybe one eye is a little bigger than the other. Doesn't matter. It's yours, it's on the porch, and frankly, it looks a lot better than that store-bought plastic thing your neighbor put out. So go ahead, bask in the glory of your moderately successful, low-stress, cute-ish creation. You earned it.