Table of Contents
Alright, Halloween is just around the corner, and let's be real, who doesn't love a good jack-o'-lantern glowing on the porch? But maybe the thought of wrestling with a giant gourd and sharp tools feels a little... daunting? Or perhaps you've attempted a masterpiece before only for it to look less like a spooky specter and more like a lopsided potato? You're not alone. Plenty of us want that festive vibe without needing an art degree or risking a trip to the emergency room.
Simple Steps for Spooktacular Pumpkins
Simple Steps for Spooktacular Pumpkins
Picking Your Perfect Pumpkin Pal
first things first when diving into Simple Steps for Spooktacular Pumpkins: you need the right canvas. Don't just grab the first orange thing you see. Look for a pumpkin that feels firm all over – no soft spots or bruises, those are bad signs. Check the bottom too; you want it flat so it won't wobble when you put it out. A good, sturdy stem is a plus, but not strictly necessary if you're carving. Think about the size and shape that fits the design you have in mind, or just one that looks friendly! Sometimes, the pumpkin tells you what it wants to be.
Scooping Out the Guts (The Fun Part!)
Alright, you've got your pumpkin. Now comes the slightly messy, totally necessary part. Instead of cutting the top off, consider cutting a hole in the *bottom*. Seriously, try it! It makes placing the pumpkin over a light much easier later. Use a sturdy, serrated knife for this. Cut in at an angle so the lid (or base) doesn't fall in. Scoop out *everything* inside – seeds, stringy bits, all of it. Get a big spoon or a special pumpkin scooper if you have one. The smoother the inside walls, the better your light will shine through. This step is key for Simple Steps for Spooktacular Pumpkins because a clean interior is a happy interior.
Here are a few essential tools that make this process smoother:
- A sturdy serrated knife (adult supervision recommended!)
- A large, strong spoon or specific pumpkin scooper
- A bowl for the seeds (roast 'em later!)
- Newspaper or a drop cloth to catch the mess
- Gloves if you really hate getting slimy
Getting Your Design Onto the Gourd
Now for transferring your brilliant idea onto the pumpkin. If you're freehanding it, a dry-erase marker works wonders because you can wipe off mistakes easily. For stencils or more intricate designs, tape the template securely to the pumpkin. Use a poker tool or even a sharp pencil to poke holes along the lines of your design. Keep the holes close together – maybe about an eighth of an inch apart. Once you remove the paper, you'll have a dot-to-dot guide to follow with your carving tool. This simple trick is a game-changer for achieving clean lines as part of your Simple Steps for Spooktacular Pumpkins journey.
Prepping for Cute and Easy Pumpkin Carving Success

Prepping for Cute and Easy Pumpkin Carving Success
Getting Your Gear Ready
Before you even think about making that first cut, the real trick to Prepping for Cute and Easy Pumpkin Carving Success is having everything laid out. You don't need a workshop full of specialized gadgets, just the basics. Grab that pumpkin carving kit you probably have stashed somewhere, or just a few items from your kitchen drawer – a sturdy spoon for scooping, a smaller, sharp knife for detail (used *very* carefully by adults only), and maybe a poker tool or a sharp pencil.
Setting up your workspace is just as crucial as having the right tools. Cover your table or floor with old newspaper, a plastic tablecloth, or even a garbage bag you can just bundle up later. Make sure you have good light so you can actually see what you're doing, and keep paper towels or rags handy for the inevitable pumpkin goop. Having everything within reach means less frantic searching when your hands are covered in seeds and stringy bits.
Here’s a quick checklist for your carving station:
- Protective covering for your surface
- Good lighting
- Paper towels or rags
- Garbage bag for waste
- All your chosen carving tools
- A bowl for seeds
Safety Isn't Optional
Look, nobody wants a trip to the urgent care derailing their Halloween fun. A huge part of Prepping for Cute and Easy Pumpkin Carving Success involves taking safety seriously, especially if little hands are involved. Adults should handle all the initial cutting – getting that top or bottom off and doing any deep cuts. Kids can take over with the scooping and using kid-safe carving tools designed for scraping or making simple shapes.
Teach everyone involved the basic rules: always cut away from yourself, keep fingers clear of the blade, and don't rush. If a tool feels awkward or requires too much force, stop and find a better way or a different tool. There are plenty of simple designs that don't require complex, risky cuts. Focus on scraping, simple punch-outs, or using templates with safer tools.
Tool Type | Best For | Safety Note |
|---|---|---|
Serrated Knife (Adults) | Cutting lid/base, large shapes | Requires careful, controlled cuts; always cut away from body. |
Scooper Spoon | Removing guts and seeds | Generally safe; just messy! |
Small Detail Knife (Adults) | Fine lines, small shapes | Highest risk; use slowly and deliberately. |
Kid-Safe Scrapers/Saws | Surface designs, simple shapes | Designed for less risk; still requires supervision. |
Poker Tool/Pencil | Transferring designs | Low risk; watch for sharp point on pencil. |
Our Favorite Cute and Easy Pumpkin Carving Ideas
Our Favorite Cute and Easy Pumpkin Carving Ideas
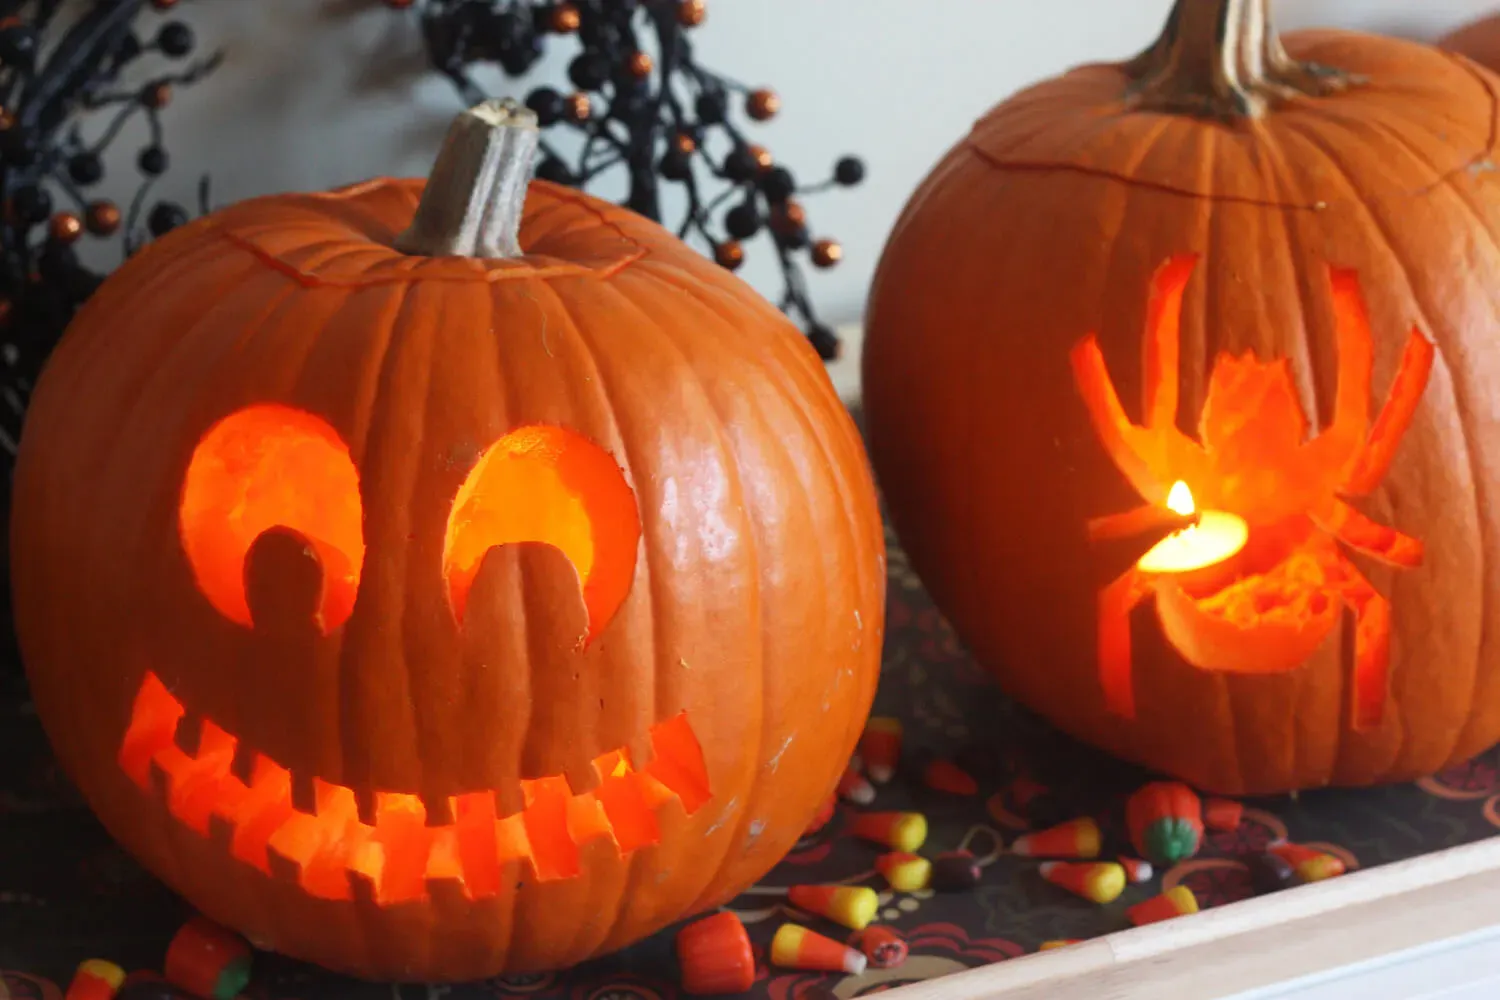
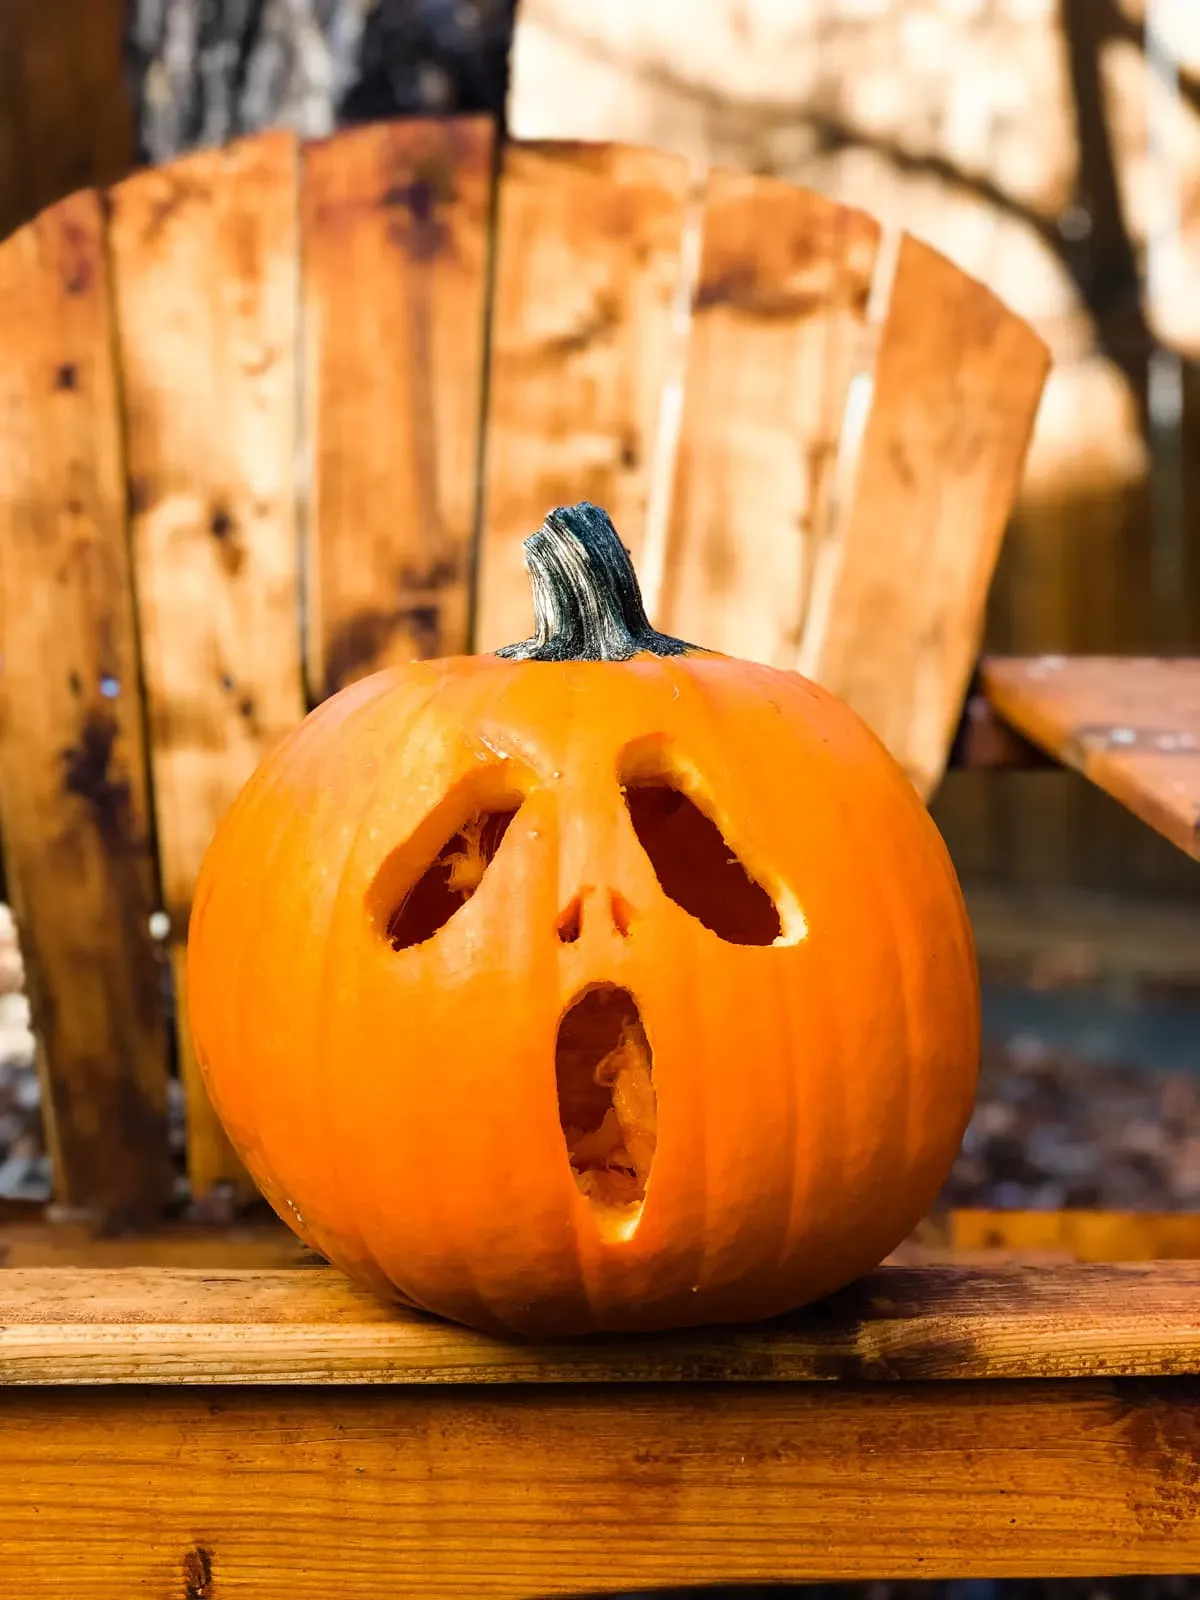
Classic Cute Faces That Anyone Can Do
Alright, let's get to the fun part: actually putting a face on that pumpkin! When we talk about cute and easy pumpkin carving ideas, the simplest place to start is with classic expressions. Think friendly smiles, wide eyes, maybe a little nose. You don't need to be an artist. Simple shapes work best here – triangles for eyes, a jagged or curved line for a mouth. The beauty is in the imperfection; slightly wonky features often look even more charming.
Grab your poker tool and dot out your design first. This is your safety net. See how it looks before you commit with the carving tool. For these simple shapes, those small, kid-safe saws in carving kits are perfect. They let you slowly saw along the dotted lines without the risk of a big, uncontrollable knife cut. Remember, you're not trying to win a sculpture contest, just create a cheerful glow. These basic faces are the foundation of countless cute and easy pumpkin carving ideas.
Beyond the Grin: Animals and Simple Silhouettes
Ready to try something a little different but still keep it firmly in the "easy" category? Let's think animals or simple silhouettes. Instead of carving out complex features, you can carve the outline of something simple. Think a little bat silhouette, a friendly cat profile, or even just stars and moon shapes dotted across the pumpkin. These designs look impressive but often involve less intricate cutting than a detailed face.
Cookie cutters can be your best friend here. Find metal cookie cutters in simple shapes – stars, circles, maybe a small ghost. Press the cookie cutter firmly into the pumpkin skin (you might need a rubber mallet to tap it gently) and then carve out the shape it leaves. Or, for silhouettes, draw the simple outline and use your small saw to cut it out. These Our Favorite Cute and Easy Pumpkin Carving Ideas rely on shape and negative space rather than detailed carving, making them much more forgiving.
Simple Shape Ideas:
- Stars and moons
- Geometric patterns (circles, squares, triangles)
- Simple hearts
- Dots of varying sizes
- Straight lines or zigzags
Making Your Cute and Easy Pumpkin Last
Making Your Cute and Easy Pumpkin Last
Why Carved Pumpkins Go Sad and Droopy
so you've just finished creating your adorable, easy-to-carve pumpkin masterpiece. It looks fantastic! You put it out on the porch, glowing proudly. Then, a few days later, you notice something isn't quite right. The edges are starting to curl, the carved parts look a little... shriveled. It's the sad reality of carved pumpkins – they're basically open wounds on a piece of produce, and they start to break down pretty quickly. Moisture loss and bacteria are the main culprits turning your cheerful jack-o'-lantern into a droopy mess. It's frustrating after you put in the effort, even for cute and easy pumpkin carving ideas.
Give Your Gourd a Spa Treatment
So, how do you fight the inevitable droop? One of the best tricks for Making Your Cute and Easy Pumpkin Last is simple: give it a good cleaning *after* carving. I know, sounds weird, right? But washing away the sugary pulp residue helps prevent mold and bacteria from setting up shop. After you've finished carving, gently rinse the inside and all the cut surfaces under cold water. Then, and this is key, make sure it's completely dry. Pat it down with paper towels, or even let it air dry for a bit before putting a light inside. A clean, dry surface is less inviting to the things that make pumpkins rot.
Here's a quick post-carving cleanup routine:
- Rinse inside and carved areas with cold water.
- Gently pat dry with paper towels.
- Allow to air dry completely before lighting.
- Consider a light spritz of a bleach/water solution (1 tsp bleach to 1 quart water) on cut surfaces, letting it dry completely.
Locking in That Precious Moisture
Once your pumpkin is clean and dry, the next step in Making Your Cute and Easy Pumpkin Last is to tackle moisture loss. The cut edges dry out, causing that sad, shriveled look. You can combat this by applying a thin layer of petroleum jelly or vegetable oil to all the carved surfaces. Think of it like moisturizing the pumpkin's "skin." This creates a barrier that slows down the drying process. Reapply it every few days, especially if you live in a dry climate. It might seem like a small step, but this little bit of effort can significantly extend the life of your cute and easy pumpkin carving ideas, keeping them looking fresh and spooky for longer.
Your Charming Pumpkin Awaits
See? That wasn't so bad, was it? You've got the basics down, a few genuinely doable ideas in your back pocket, and the know-how to keep your hard work looking good. No need for elaborate stencils or professional tools; just a bit of patience and these simple steps. Now you can actually enjoy that spiced latte while your cute, easy-to-carve pumpkin adds some festive cheer to your doorstep. Go forth and carve something that makes you smile, because honestly, that's the best kind of Halloween magic there is.